

How to make grocery bag holders. You can store lots of plastic bags in these until you’re ready to reuse them. These make fantastic gifts for the holidays and are quick to make!
This post may contain affiliate links which may earn me commissions should you click through them and take certain actions. As an affiliate for Amazon, Cricut, xTool, Home Depot, and other sites, I earn from qualifying purchases. Please DIY carefully. View my full legal disclosures here.
The majority of my content is generated by me, as are 99% of the photos and videos, but I utilize technology for titles, descriptions, video editing out all of my ums, and occasionally for text overlay on images.
Please read the whole post so you don’t miss any important information!
DAY SEVEN of the DIY gift series! I’m excited. Grocery bag holders make great gifts- I’m sure most people need a better place to store their plastic bags and if someone already owns one, they can probably use another. These are also fairly easy to make so they’re a decent project for someone new to sewing.
Here’s a quick video of how they work:
Best part? They’re a great way to use smaller scraps of fabric. Check out the full video tutorial below.
No time to sew it now? Pin it for later: https://www.pinterest.com/pin/48554502216816124/
This sewing tutorial and more are available in my book, 14 Easy Sewing Projects for Your Kitchen! Get it via my shop below! Keep scrolling for the tutorial for this project only.
How to Sew Grocery Bag Holders
Supplies for Grocery Bag Holders
- Woven Fabric for Holder: 22″ x 11″ for the body and 3″ x 8″ for the strap (this size can be adjusted if you prefer!)
- Snaps
- Elastic
Tools
Below is a video tutorial on sewing grocery bag holders, but you can scroll below for the photo tutorial if you prefer.
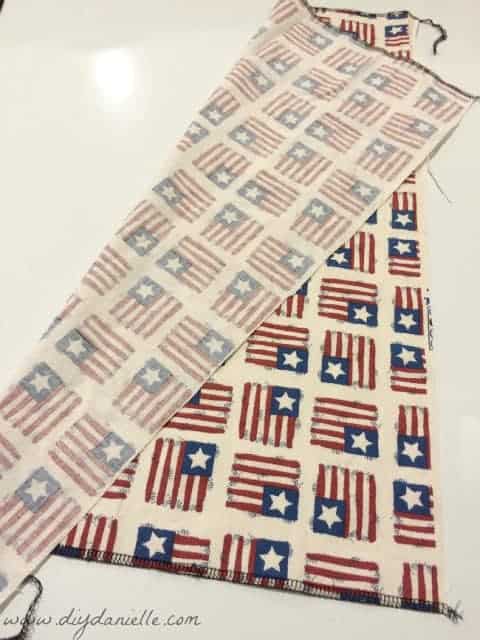
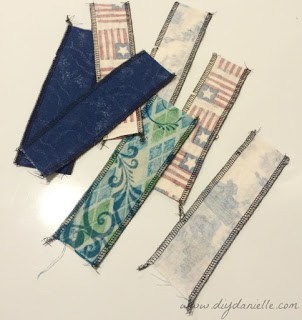
Cut your fabric (make sure you use great scissors like these Gingher scissors).
Serge the top and the bottom edges. If you don’t have a serger, you can zig zag the edges.
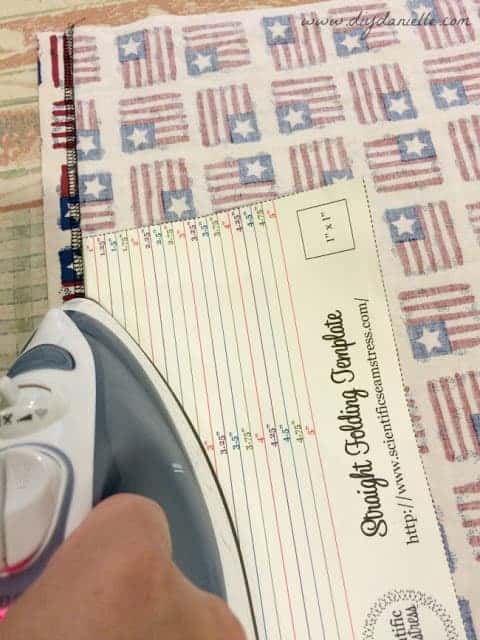
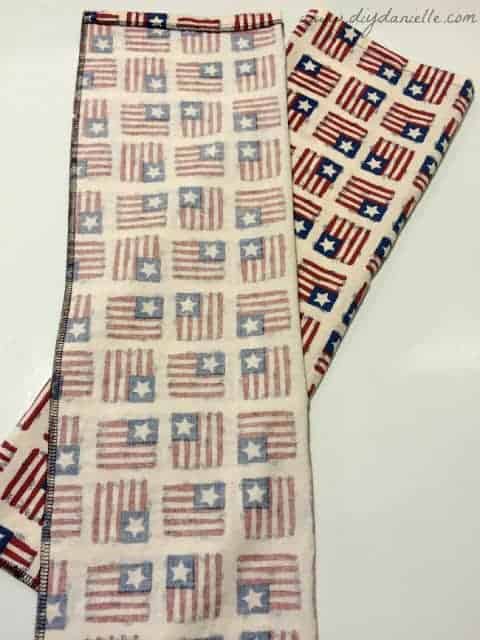
Fold over the top edge, iron, then sew a straight stitch. This finishes the top of the grocery bag holder.
Fold the fabric right sides together, joining the two sides that haven’t been serged. Serge. Turn right sides out. If you don’t have a serger, you can just sew a straight stitch and zig zag the edge if you want to prevent future fraying.
Create your straps. Sew right sides together, turn, top stitch. The ones below were serged, not sewn.
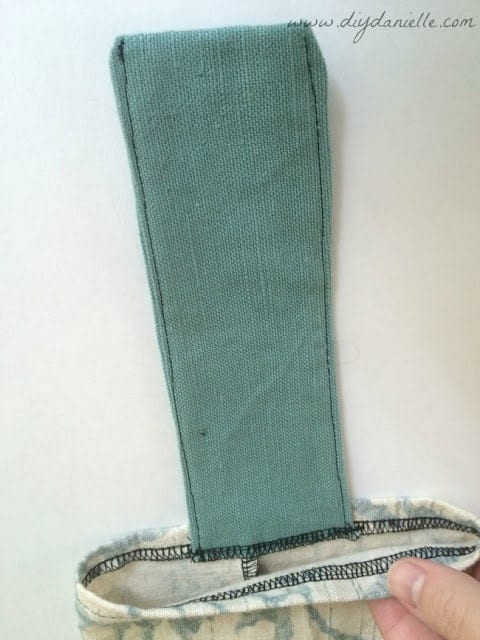
Attach strap to top of grocery bag holder. I just did a straight stitch across, making sure to reinforce by back stitching over the strap.
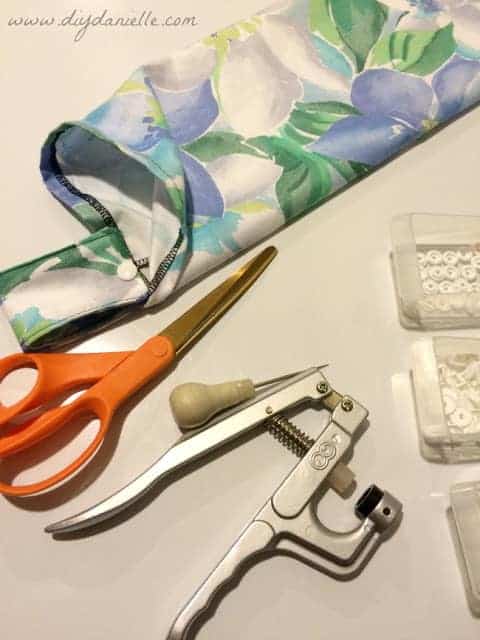
Add snaps. If you don’t have snaps, you could just sew the loop completely to the holder. Learn how to sew snaps here.
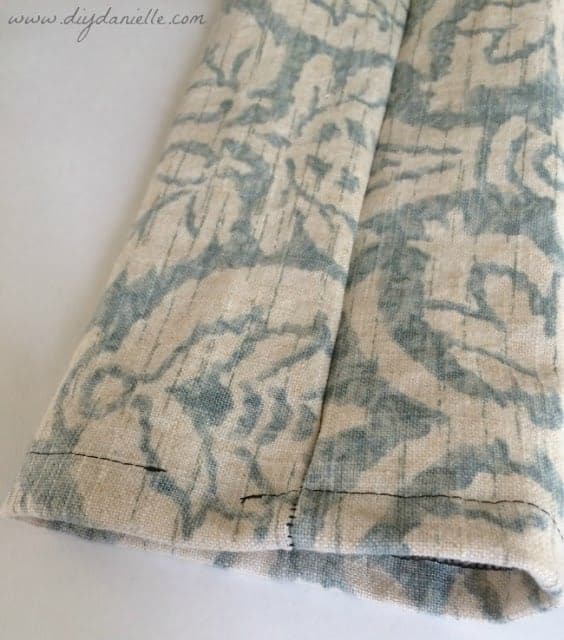
On the bottom of the holder, turn over the edge and sew a straight stitch around the holder. This creates a casing for your elastic. Make sure you leave a small opening.
I used a safety pin to feed my elastic through the casing. Once it was all the way around the bottom of the holder and the elastic was nice and scrunched up, I sewed the elastic to itself.
Sew closed the casing.
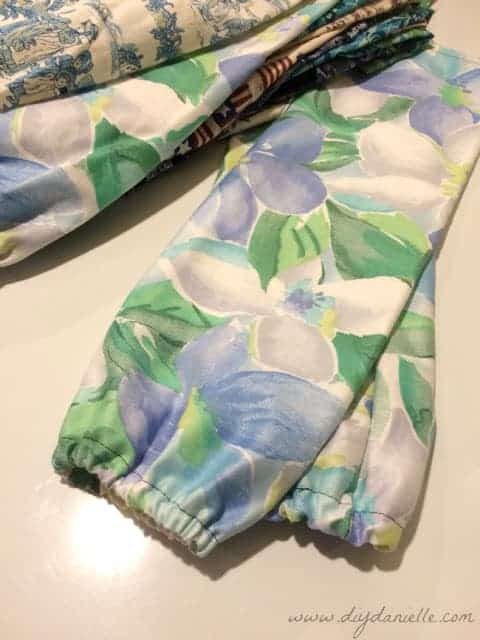
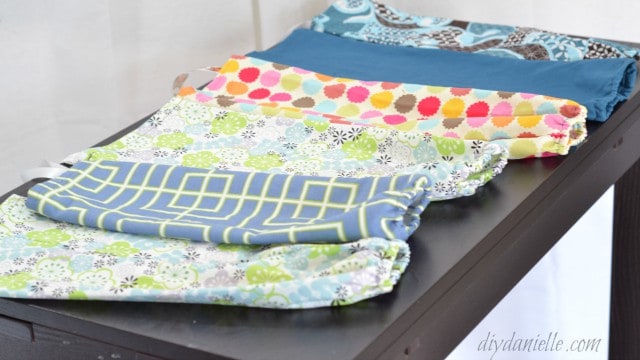
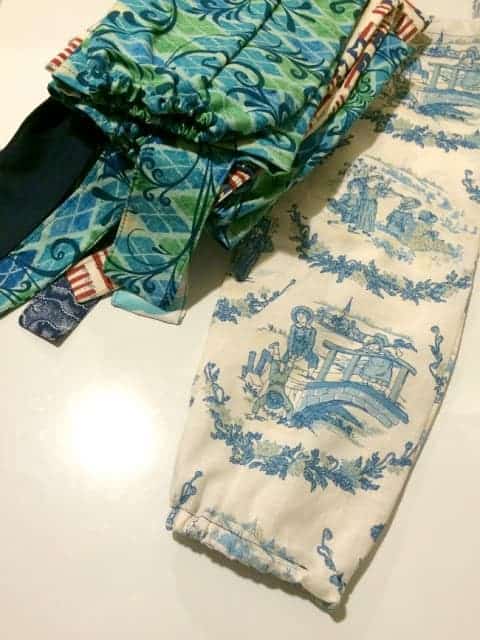
The finished products came out super pretty… I love them.

DIY Grocery Bag Holders
Make your own grocery bag holders with this easy sewing tutorial. You can store lots of plastic bags in these until you’re ready to reuse them.
Materials
- Woven Fabric for Holder: 22″ x 11″ for the body and 3″ x 8″ for the strap
- Snaps
- Elastic
Tools
- Sewing machine
- Scissors or rotary cutter/cutting mat set
- Safety Pin or Bodkin
- Iron / Ironing Board
Instructions
- Cut your fabric.
- Serge the top and bottom edges.
- Fold over the top edge, iron, then sew a straight stitch.
- Fold the fabric right sides together, joining the two sides that haven’t been serged.
- Serge and turn right sides out.
- Create your straps.
- Sew right sides together, turn, top stitch.
- Attach strap to top of grocery bag holder.
- Add snaps.
- On the bottom of the holder, turn over the edge and sew a straight stitch.
- Sew closed the casing.
Recommended Products
As an Amazon Associate and member of other affiliate programs, I earn from qualifying purchases.
-
 Rowenta DW5080 1700-Watt Micro Steam Iron Stainless Steel Soleplate with Auto-Off, 400-Hole, Brown
 -
 450PCS Safety Pins for Sewing Craft Cloth, Premium Large Safety Pins Set Durable Assorted 7 Sizes 19mm - 54mm for Home Office Use DIY Art Jewelry Marking with Storage Box by Hidayy
 -
 NW Elastic Bands Spool Sewing Band Flat Elastic Cord (White, 3/4 Inch)
 -
 Bundle - 2 items: Starter Pack KAM Plastic Snap Setting Pliers & Awl Set with 100 Complete KAM Plastic Snap Sets for Cloth Diapers/Baby Bibs/Buttons/Unpaper Towels (Rainbow Spectrum)
 -
 Gingher 8-Inch Knife Edge Dressmaker's Shears
Other DIY Gift Ideas from the Series
- DIY Pot Holder
- DIY Art Displays
- DIY Cloth Napkins or Wipes
- DIY Mint Extract
- DIY Reusable Bread Bag (to give with fresh bread)
- DIY Braided Dog Toy
- DIY Paper Mache Pokeball
- DIY Peach Infused Liquor
- DIY Pot Holder for a Casserole Dish
- DIY Fabric and Wood Cross
- Free Adult Apron Pattern
- DIY Cake Mix Cookies in a Mason Jar
- DIY Pillowcase
- DIY Library Tote Bag
- DIY Tile Coasters
- DIY Coffee Cozy
- DIY Essential Oil Storage Box
- DIY Bowl and Casserole Dish Covers
- DIY Dry Oil Perfume
- DIY Lunch Bag
- DIY Wall Decals
- DIY Pokemon Boo Boo Bags
- DIY Cement Candle Holders
- DIY Wood Step Stools
- DIY Easy Soy Candles
- DIY Cutting Boards
- DIY T-Shirt Stencils Using Freezer Paper
- DIY Balancing Wine Holder
- DIY Easy Concrete Planters
- DIY Reusable Gift Bags
Please share and pin this post! You can also post your project and tag the DIYDanielle team on Instagram @doityourselfdanielle!


Web Story: DIY Grocery Bag Storage Holders
Great tutorial.
Thanks Chris