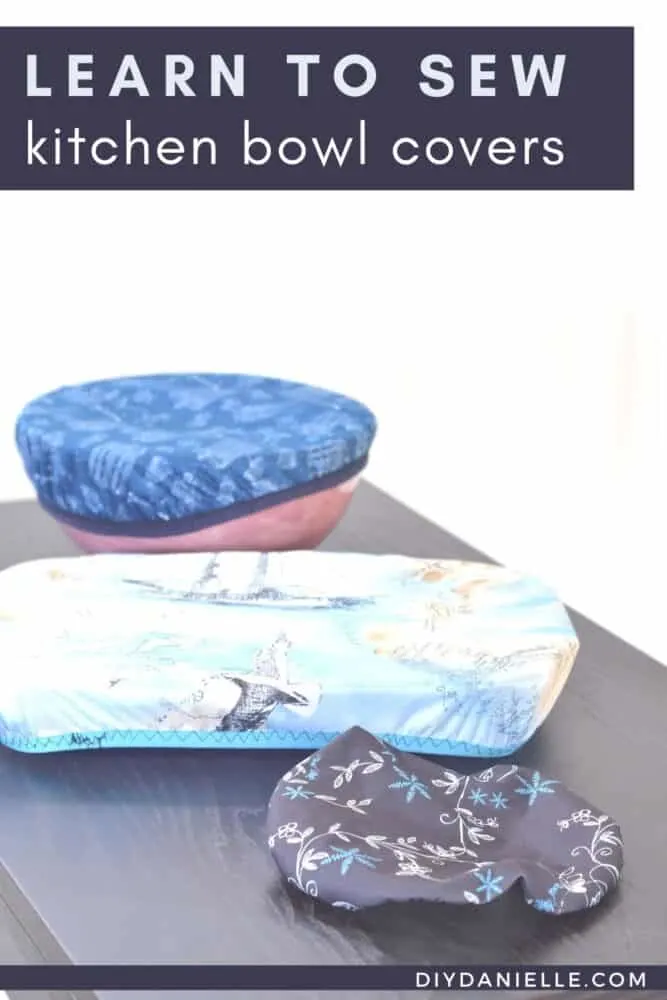
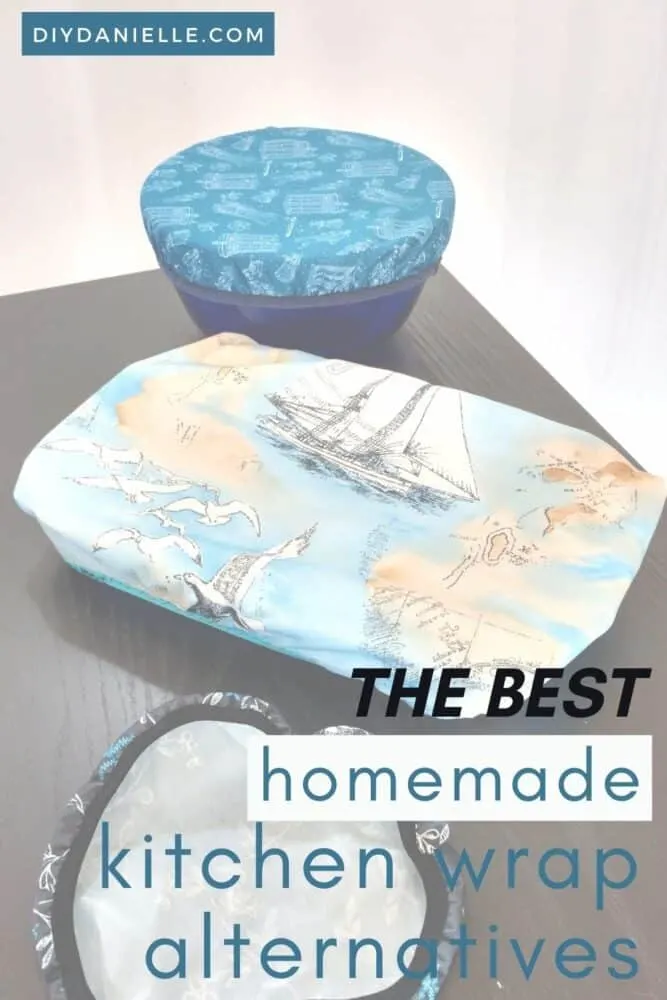
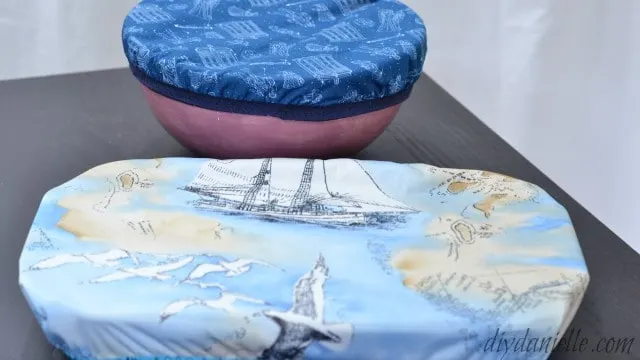
DIY Reusable bowl covers. This is a great alternative to plastic wrap.. They’re washable and ecofriendly. They’re also easier to put on.
I DETEST plastic wrap and aluminum foil. They seem like such a huge waste of money and environmental resources. Plus, they’re a pain to put onto a bowl or casserole dish. I wanted an alternative to plastic wrap – and I found it!
Reusable bowl or casserole covers are so much easier. These are pretty simple to make with some basic sewing skills, although sewing with FOE is always a challenge when you’re not familiar with it.
This tutorial and MORE are available in my book, Sewing for Your Kitchen.
This post may contain affiliate links which may earn me commissions should you click through them and take certain actions. As an affiliate for Amazon, Cricut, xTool, Home Depot, and other sites, I earn from qualifying purchases. Please DIY carefully. View my full legal disclosures here.
Please read the whole post so you don’t miss any important information!
Can’t sew? Check out these fitted bowl covers on Amazon.
Supplies
- FOE or Fold Over Elastic
- PUL (polyurethane laminate) Fabric, food safe
- Your bowl or casserole dish to make a pattern from
- Typical sewing supplies
How to Make an Alternative to Plastic Wrap
You have a lot of different options for fabrics as an alternative to plastic wrap. I use clean dish towels to make my reusable bread bags. For a lot of items that could get wet though, I like to use food safe PUL.
PUL or polyurethane laminate is a fabric that was initially designed for hospital use because it can be washed on high heat. Eventually people started to make cloth diapers with them, then we’ve all made other things with them as well. I make reusable refrigerator liners with them, reusable snack bags, wet bags and more. Technically PUL is water resistant- not quite waterproof, but better than nothing. Like plastic wrap, if you tip a bowl of soup upside down with this on top, it’ll still spill everywhere. But it’s not apt to soak through the fabric if a bit splashes around inside the bowl. If that makes sense?
I like the fabric particularly because it can be washed in the washing machine. I keep a wet bag in my kitchen for all of our dish towels and do a load of kitchen laundry each week, usually with our regular towels. That said, these don’t usually get too dirty so sometimes I’ll quickly hand wash in the sink. They dry fast.
Needless to say, it’s a pretty good alternative to cling wrap. It’s also a great alternative to tin foil. I never did figure out when I was supposed to use the two… but both are a pain to put on a container. They’re never wide enough! These snap right on, being fitted like a fitted sheet. SO convenient.
Here’s a video to show you how, or you can scroll down below for the photo tutorial.
How to Make Reusable Bowl Covers
Bowl covers use PUL and FOE (fold over elastic).
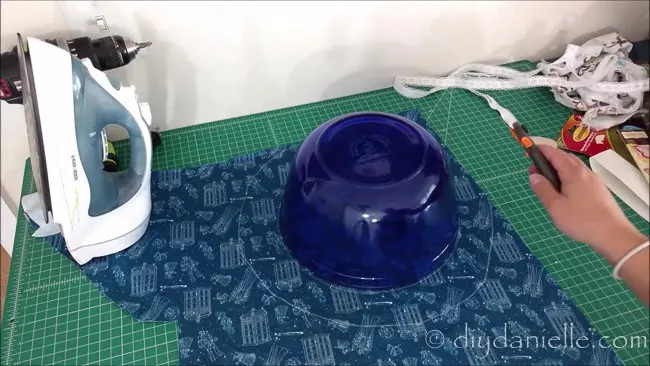
You’ll start by laying your bowl upside down on your PUL. Trace the bowl, then trace another circle further out. The extra distance will be for your overlap over the edges of the bowl.
Now you just need to pick some coordinating FOE. Fold over elastic is like bias tape, except it’s stretch. You can fold it over your edges and stretch it as you sew to make an item scrunch up and be fitted.
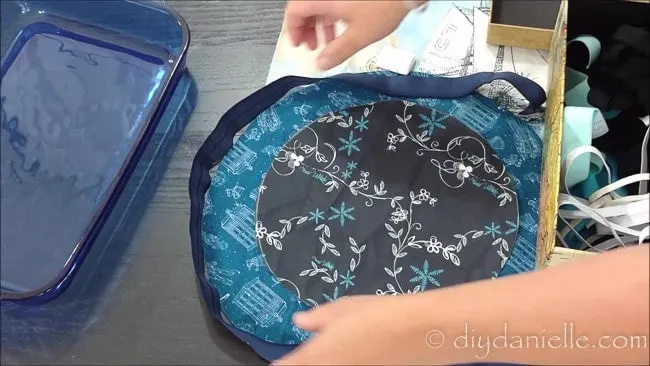
As mentioned, fold the FOE over the edge of your bowl cover, stretching the FOE as you use a zig zag or stretch stitch to sew it on. You want to make sure you’re only stretching the FOE- not the fabric too. The reason you need a zig zag or stretch stitch is so the thread/stitching can stretch out as the elastic/cover is in use. If you use a straight stitch, the stitching will likely pop after just a little use.
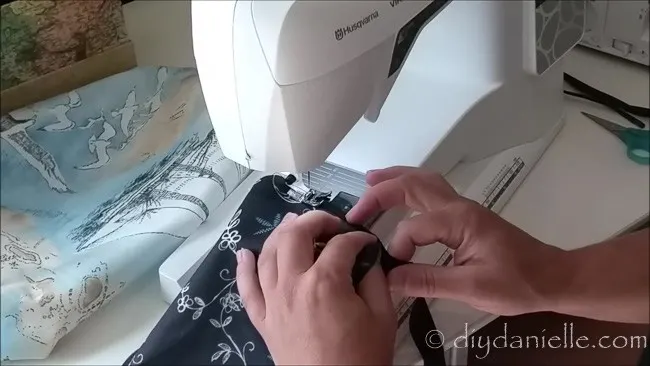
Once you’re finished, keep it for yourself or give them as gifts. People LOVE these. But… first, tell them what they are. I always try to remember to explain my gifts because I make odd things, and when I gifted these a few people had been thinking they were shower caps. Apparently my son thinks they’re a perfect cap too!
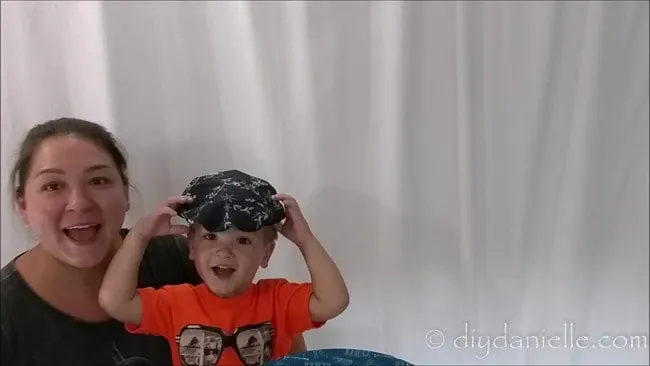
Now these fit pretty well over the casserole dish too (the biggest bowl cover anyways), but if you want a more perfectly fitted option, keep reading.
How to Make a Casserole Dish Cover
These are made pretty much the same way as you’d make a fitted sheet for a bed.
You want to start by turning your casserole dish upside down on the fabric. Add a seam allowance- enough to give you some overlap over the edges.
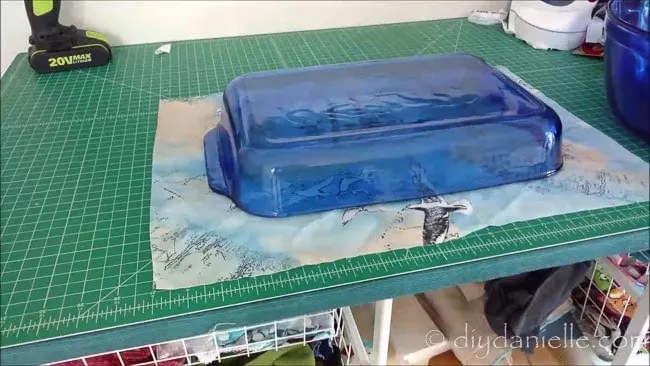
In each corner, cut out an equal sized square. The square should be just a bit smaller than the space around the casserole dish.
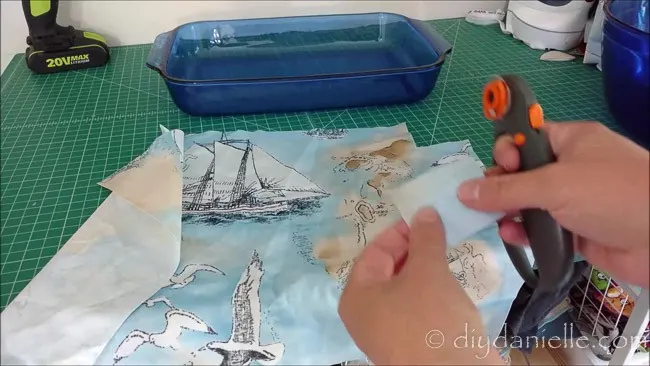
To create a fitted appearance, you take the area where you cut out your square and face the edges right sides together. Sew a straight stitch along that. It creates a corner like here:
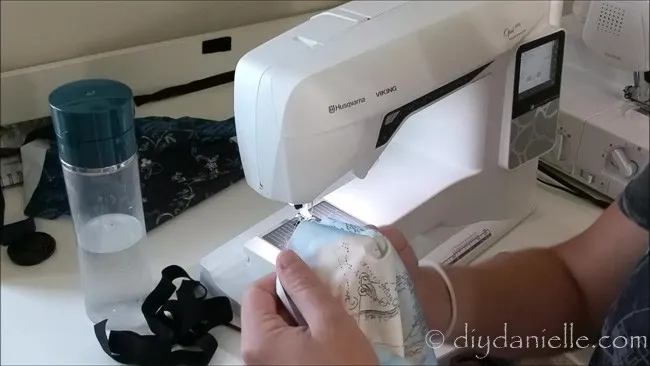
Do that to all four corners, then sew on your FOE, just like you did with the reusable bowl covers.
Please share and pin this post! If you make this project, share it in our Stuff Mama Makes Facebook Group. We have regular giveaways for gift cards to craft stores. You can also tag me on Instagram @doityourselfdanielle; I love seeing everything you make!
Easy to make DIY gifts:
- Make your own Pot Holder
- DIY Grocery Bag Holders
- DIY Art Displays
- How to make Cloth Napkins or Wipes
- DIY Reusable Bread Bag (to give with fresh bread)
- Learn to make a Braided Dog Toy
- DIY Paper Mache Pokeball
- Recipe for Peach Infused Liquor
- Create a Large Pot Holder for a Casserole Dish
- DIY Fabric and Wood Cross
- Free Adult Apron Pattern
- DIY Cake Mix Cookies in a Mason Jar
- DIY Pillowcase
- DIY Library Tote Bag
- DIY Tile Coasters
- DIY Coffee Cozy
- DIY Essential Oil Storage Box
- DIY Dry Oil Perfume
- DIY Lunch Bag
- DIY Wall Decals
- DIY Pokemon Boo Boo Bags
- DIY Cement Candle Holders
- DIY Wood Step Stools
- DIY Easy Soy Candles
- DIY Cutting Boards
- DIY T-Shirt Stencils Using Freezer Paper
- DIY Balancing Wine Holder
- DIY Easy Concrete Planters
- DIY Reusable Gift Bags
