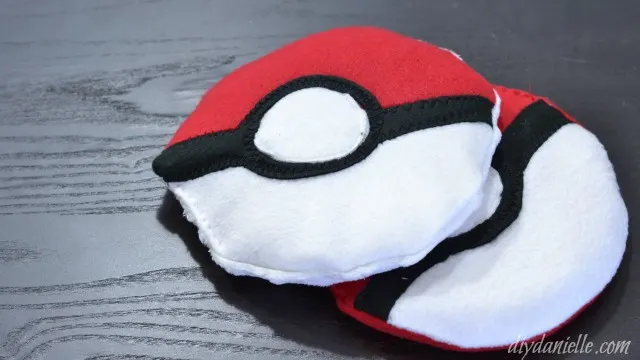
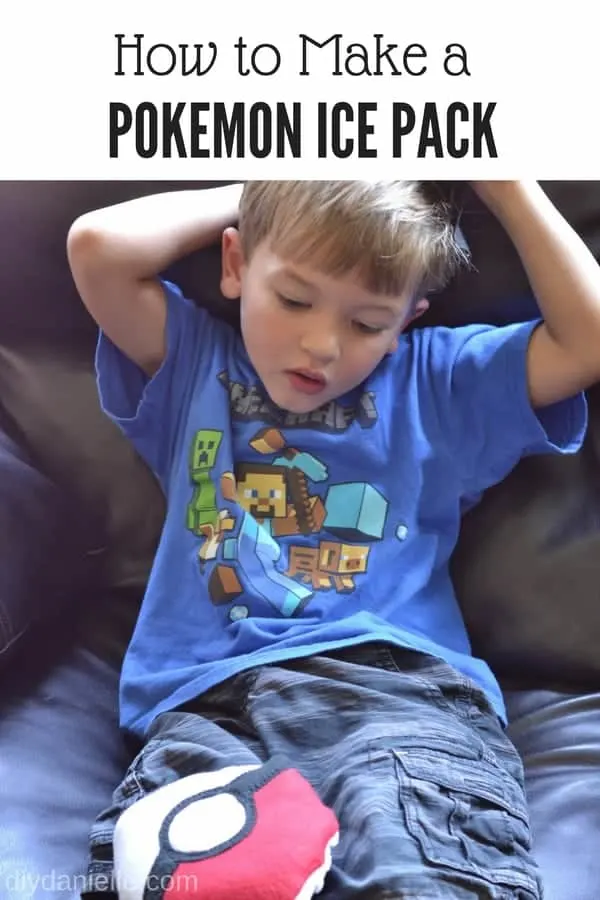
Learn how to make your own ice packs using fabric. Shape them like a Pokeball with our free pattern.
This post may contain affiliate links which may earn me commissions should you click through them and take certain actions. As an affiliate for Amazon, Cricut, xTool, Home Depot, and other sites, I earn from qualifying purchases. Please DIY carefully. View my full legal disclosures here.
Please read the whole post so you don’t miss any important information!
I love the idea of making ice packs for my kids or as a gift for others. Many people call these “boo boo bags” and it’s a cute way to make this less difficult for the kids! Whenever someone tells me to “just” put an ice pack on a toddler’s bumps and bruises, I laugh and I laugh and I laugh. They don’t sit still well and you’d think you were killing them.
This makes it more fun! I’ll mention that I made mine with fleece. I would recommend a regular red and white cotton or knit fabric for the main portion of the bag. It’s a bit thinner and I think the coolness will convey through the bag better. The fleece definitely felt a bit warm still, despite being put in the freezer.
Supplies
- Fleece/Felt/Knit Fabric (or other non fraying fabric) for the black and white details on the Pokeball
- Red/White fabrics of your choice for the main bag. A thinner fabric may help keep the bag cooler- the fleece was pretty warm, even when put through the freezer.
- Rice and funnel
- Sewing machine
- Needle and thread to hand sew
I used rice for the inside of mine, but I’d recommend making the cover removable if you use rice. Otherwise you can’t really wash it without cooking the rice (ask me how I know!).
Get the pattern for the boo boo bag by signing up below.
How to Make a Boo Boo Bag to Use as an Ice Pack for Kids
Step 1: Cut your fabric from the Pokeball pattern, available to subscribers.Step 2: Sew your red and white halves together.
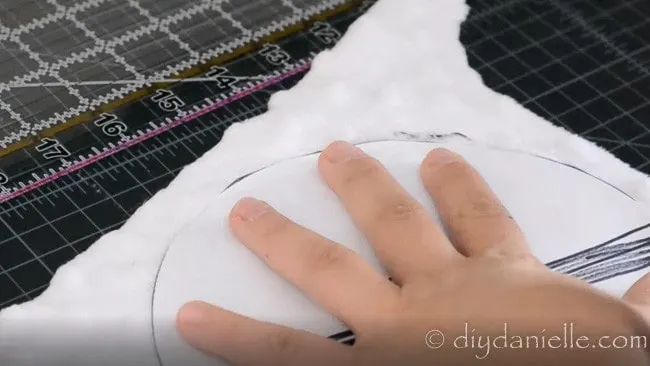
Step 3: Add your black and white details (the stripe around the ball)
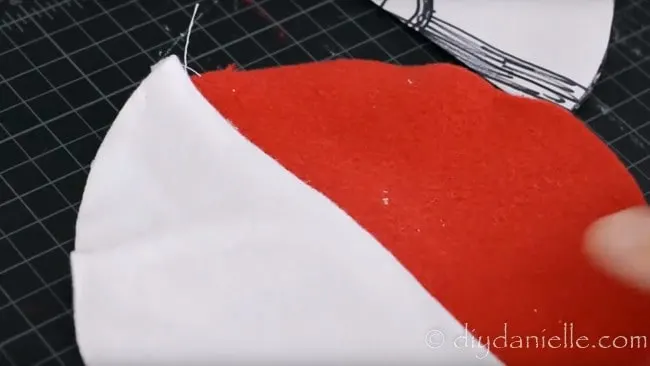
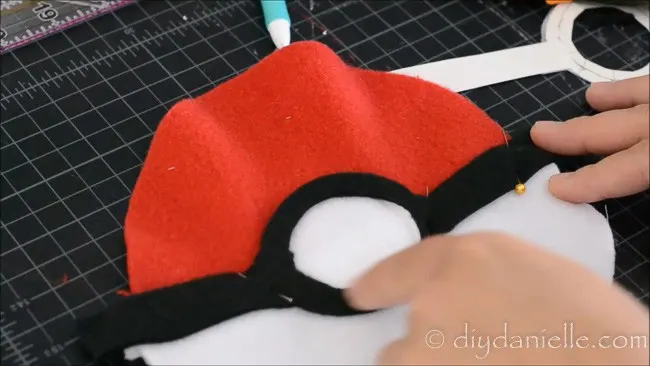
Step 4: Sew the back and front fabrics right sides together. Leave an opening to turn.
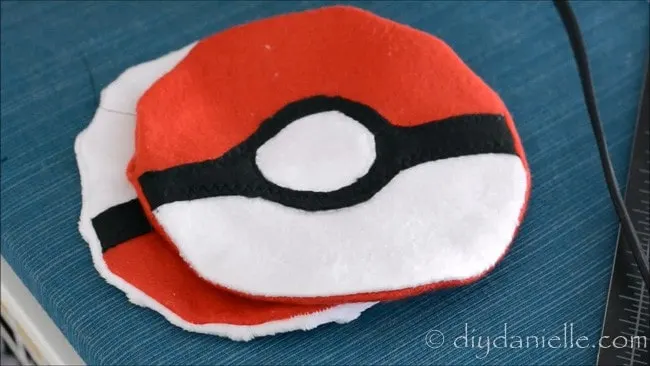
Step 5: Turn right sides out. Iron.
Step 6: Add rice.
Step 7: Hand sew it closed.
Don’t forget! Share your final projects on the Stuff Mama Makes Facebook group!
Love it? Pin it!
Thanks for taking the time to read this post! I really appreciate the time you’ve taken. Please share, like, and pin my post if you enjoyed it. Follow me on social media and subscribe to my email list to keep up to date on all of my latest projects!
Here are some other gift DIYs to try!
- DIY Grocery Bag Holders
- How to Make Homework or Art Displays
- Easy to Make Cloth Napkins or Wipes
- Mint Extract Recipe
- Reusable Bread Bag DIY (to give with fresh bread)
- MYO Braided Dog Toy
- Make your own Paper Mache Pokeball
- Peach Infused Liquor Recipe
- Sewing Pattern: Extra Large Pot Holder
- Make a Fabric and Wood Cross
- Adult Women’s Apron Pattern
- DIY Cake Mix Cookies in a Mason Jar
- Pillowcase DIY
- How to Make a Library Tote Bag
- Craft Easy Tile Coasters
- Free Coffee Sleeve Pattern
- Craft an Essential Oil Storage Box
- Learn to Make Reusable Bowl and Casserole Dish Covers
- Make your own Dry Oil Perfume
- FREE Lunch Bag Pattern
- DIY Wall Decals
- Cement Candle Holders DIY
- Build Easy Wood Step Stools
- Make Easy Soy Candles
- DIY Cutting Boards
- How to Make T-Shirt Stencils Using Freezer Paper
- DIY Balancing Wine Holder
- How to Make Easy Concrete Planters
- Sew Easy Reusable Gift Bags
