
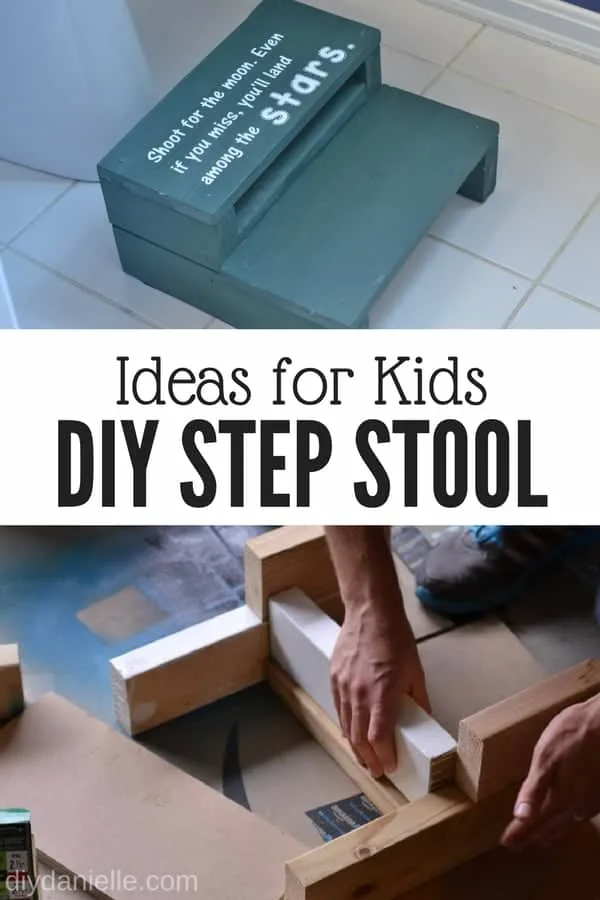
How to build a DIY step stool for kids. These are great for giving kids a boost while they use the potty, wash their hands, or brush their teeth. They are also easy to build with 2x4s.
This post may contain affiliate links which may earn me commissions should you click through them and take certain actions. As an affiliate for Amazon, Cricut, xTool, Home Depot, and other sites, I earn from qualifying purchases. Please DIY carefully. View my full legal disclosures here.
Please read the whole post so you don’t miss any important information!
Am I picking boring gift ideas or what!? I know kids love toys. But the parents yo…. it’s pretty likely the kids have enough toys and that the parents are already overwhelmed with cleaning it all up. And for the 1st or 2nd birthday party, sometimes practical gifts just make more sense.
A DIY step stool is a practical gifts for a young child and it will come in so useful. You can decorate the stepping stool however you want for that child… paint it fun colors, add stencils or decals, mod podge fabric or scrapbook paper on it. Get creative.
I’m not sure receiving a step stool at age 1 will end up in the memory banks for the kids, but they’ll use that stool to brush their teeth, wash their hands, and to help them reach the counter to help their mom or dad make cookies. And maybe someday they’ll look back fondly on it.
Supplies for a DIY Step Stool
Supplies listed below may include affiliate links to the products.
- 1 1/4″ screws (8)
- 2 1/2″ screws (4)
- 2x4s
- (1) 4 x 11 3/4″
- (2) 4 x 13 1/2″
- (2) 4 x 6 5/8″
- 3/4″ thick wood, cut to:
(1) 15 x 6 7/8″
(1) 15 x 6 5/8″
- Tools
DIY Step Stool Tutorial
Check out this video tutorial or scroll down below for the photo tutorial.
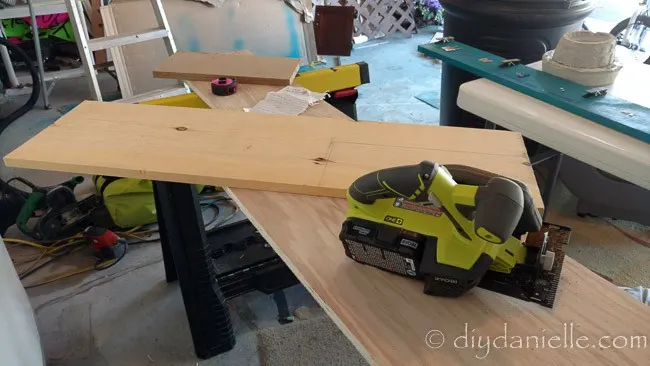
Start by cutting your wood as indicated in the supplies list. We used a lot of 2x4s for this, but it wasn’t purely 2x4s. The nice thing was that we had a lot of scrap wood to use and it made this project pretty much free to make. We cut all of our wood for all three stools at once.
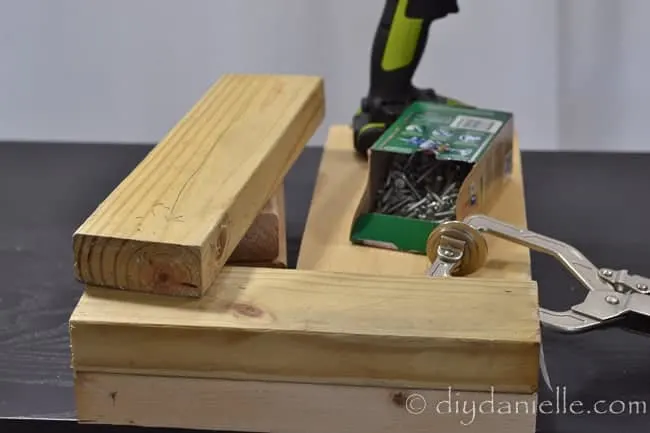
Next you’ll take your wood and work out how to put them together. We laid out extra pieces of wood to keep everything flush- the back piece, the front piece, and the 2×4 under the white cross piece are all just to hold things in place while we put it together.
Make sure you’re working on a flat surface.
We screwed in the side pieces to the middle support. That should form the base, then you can screw the tops of your steps on.
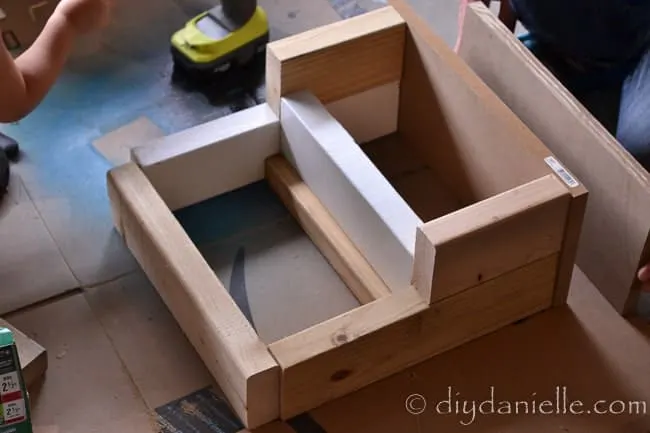
One suggestion is to use a countersink. These bits drill a little hole in the wood prior to placing the screw. It allows a small indention for the head of the screw so it won’t leave a bump. You could fill in over the screw head with wood filler then sand/paint over it. Or you can just leave as-is.
Test the stool. The adults all hopped up and down on it first.
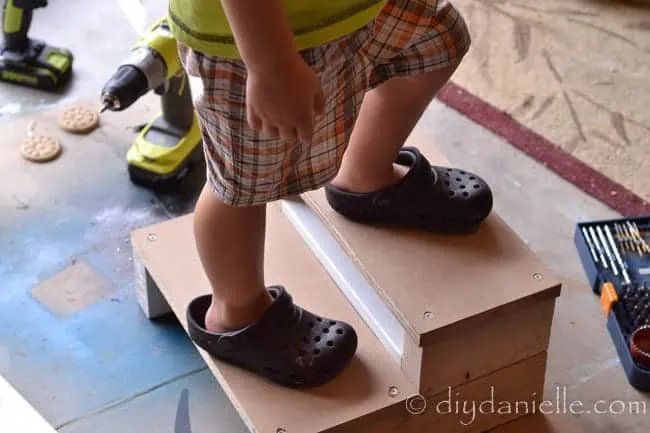
Paint or stain. Depending on your paint, you may want to follow up with something to seal these, such as polyurethane.
Add your vinyl. Use permanent vinyl (651) or else it will peel off. I love being able to customize these with quotes. Probably should’ve put something like ‘Shoot for the toilet’ on the light green one though! Ha.
I had to do some research for this post. This post was inspired by the following blog posts: Super Simple 2×4 Wooden Step Stool.
If you love simple woodworking projects for kids, check out our indoor climbing wall and the mobile mining setup we made for the kids’ birthday party.
Don’t forget! Share your final projects on the Stuff Mama Makes Facebook group!
Here is a list of all the gift tutorials in this series:
- DIY Grocery Bag Holders
- How to Make Homework or Art Displays
- Easy to Make Cloth Napkins or Wipes
- Mint Extract Recipe
- Reusable Bread Bag DIY (to give with fresh bread)
- MYO Braided Dog Toy
- Make your own Paper Mache Pokeball
- Peach Infused Liquor Recipe
- Sewing Pattern: Extra Large Pot Holder
- Make a Fabric and Wood Cross
- Adult Women’s Apron Pattern
- DIY Cake Mix Cookies in a Mason Jar
- Pillowcase DIY
- How to Make a Library Tote Bag
- Craft Easy Tile Coasters
- Free Coffee Sleeve Pattern
- Craft an Essential Oil Storage Box
- Learn to Make Reusable Bowl and Casserole Dish Covers
- Make your own Dry Oil Perfume
- FREE Lunch Bag Pattern
- DIY Wall Decals
- How to Make Ice Packs Shaped like Pokeballs!
- Cement Candle Holders DIY
- Make Easy Soy Candles
- DIY Cutting Boards
- How to Make T-Shirt Stencils Using Freezer Paper
- DIY Balancing Wine Holder
- How to Make Easy Concrete Planters
- Sew Easy Reusable Gift Bags
Thanks for taking the time to read this post! I really appreciate the time you’ve taken. Please share, like, and pin my post if you enjoyed it. Follow me on social media and subscribe to my email list to keep up to date on all of my latest projects!

MADELINE NEWTON
Saturday 24th of March 2018
wonderful my kids have these that they received from their aunt and uncle and they still love them they feel the love of their family ...thank you for posting this great project it is so great to do for children to have their own step and it lasts for ever and is filled with love...
Danielle
Saturday 24th of March 2018
Awesome!