
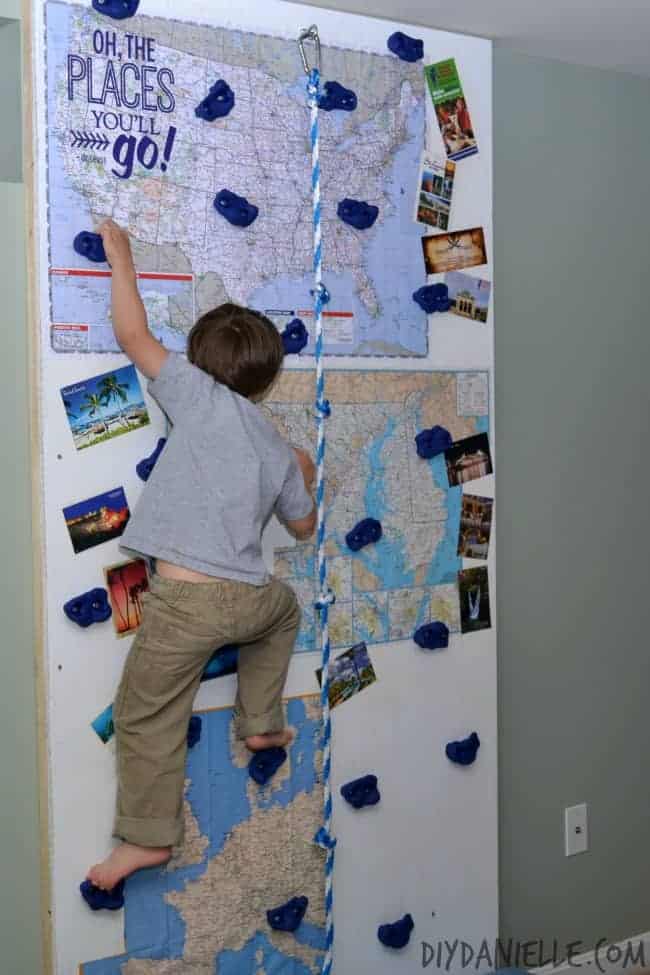
How to build an indoor rock climbing wall for a playroom. This easy and affordable DIY is perfect for busy kids in the winter.
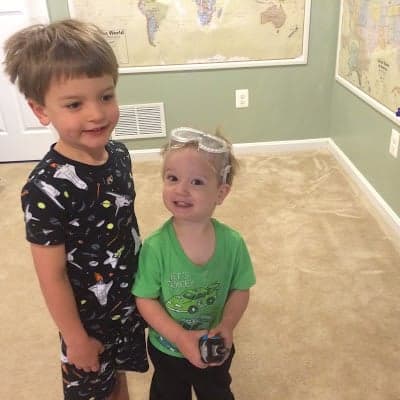
Our kids love to climb. Both children learned to climb up furniture before they learned to walk, and we’ve had furniture mounted to the walls forever as a result. Fortunately, they seem to be getting better about sticking with things they’re SUPPOSED to climb these days. But we really enjoy rock climbing and we wanted to give them something safe to climb in the house. And we need something for bad weather and winters where my kids NEED to get their wiggles out. A rock climbing wall didn’t take up a ton of room so it was my ideal solution. It was also nice wall decor for the basement playroom because I have been working hard to fill the wall space to make the area look more inviting.
Check out my Framed Maps / Book Jacket Wall Art / Upcycled DVD Jackets / Mug Rack for more basement wall decor ideas.
This wasn’t an extremely difficult project. The bulk of the project was me trying to get the decor just right. I’m not 100% happy with the maps, although I still love the idea of them. I just am not sure they’ll hold up long term. If I were to do this again, I’d probably distress the wood instead because I think it would stand up better to all the wear and tear this wall will get.
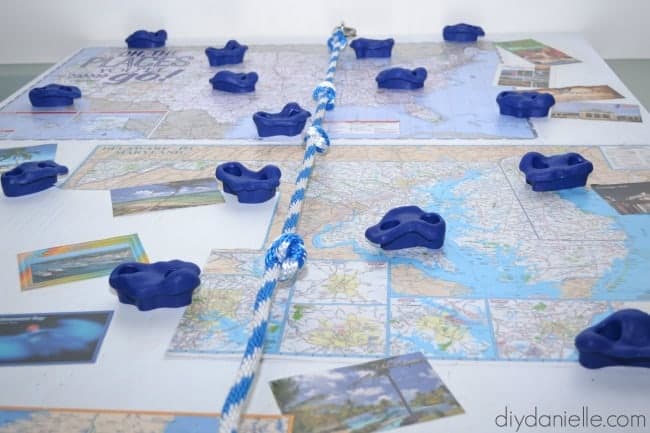
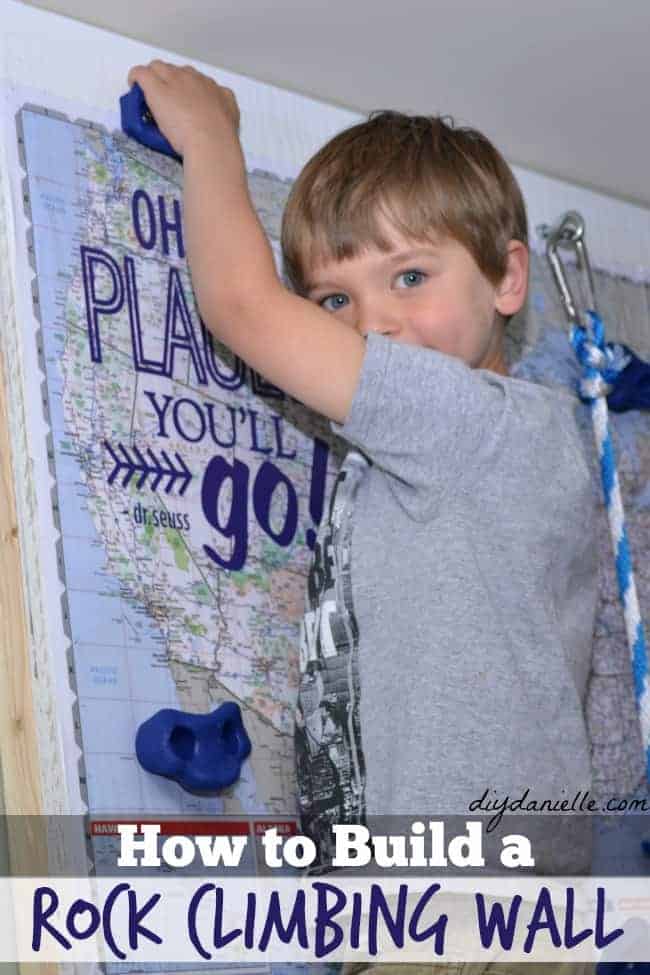
I wanted to make this blend in nicely to our room. We already had a map theme in the room and I was thinking the “Oh the Places You’ll Go!” quote from Dr. Seuss would be a perfect fit for this project. It represented my hope that my boys will travel, learn about the world and other cultures, and be open to trying new things- things that might be challenging such as climbing walls and trying activities that force them to grow through hard work and persistence.
Disclosure: Please use safety precautions while building and climbing a rock climbing wall. Create and use at your own risk.
Supplies
- Wood: We used a $17.43 piece of .328″ x 47.875″ x 95.875″ Pine
- (3) 2x4x8 Top Choice Stud $9.33 total
- Rock Climbing Pegs: These are the holds that we got (we got two sets of the 3 packs) but they didn’t have the hardware to install them. You may be better off getting a set that includes the hardware because the hardware is expensive. ($29 x 2 for our set plus the cost of hardware). We used lag screws for hardware… we brought the hold to the hardware store and found the screws to match. These pegs take 2 screws each and our lag screws were 1/4 x 1-1/2. We spent around $10.50 for all of them.
- Mod podge
- Decorating the wall: Maps (ones you’ve collected or AAA ones are cheapest option), Post Cards, Silhouette Cameo with 651 Vinyl and transfer paper
- Sealing the wall: General Finishes Flat Out Flat Topcoat ($37), Deft Clear Wood Finish (2 cans, $12)
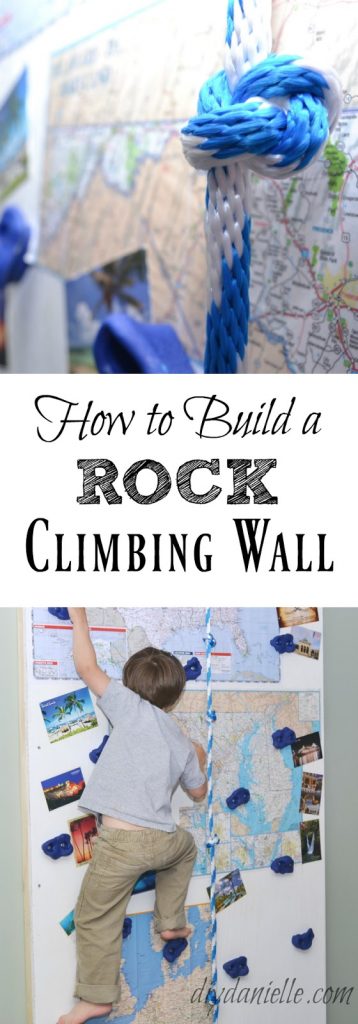
- Rope… $5?
- Carabiner (quality one)… $10?
- Screw with eye loop… $5?
- Dry wall screws- 4 inch
- Upcycled crib mattress and fabric from my stash… free. People often give away crib mattresses on Freecycle if you need one or ask around.
Total cost: $164.26
How to Build a Rock Climbing Wall
Cut your wood down to the height and width you want. The height can’t be higher than your wall, of course, but also make sure you can get it to wherever you plan to mount it. We had to go in through our back door to get ours down into the basement… and it took a lot of wiggling and squeezing it through.
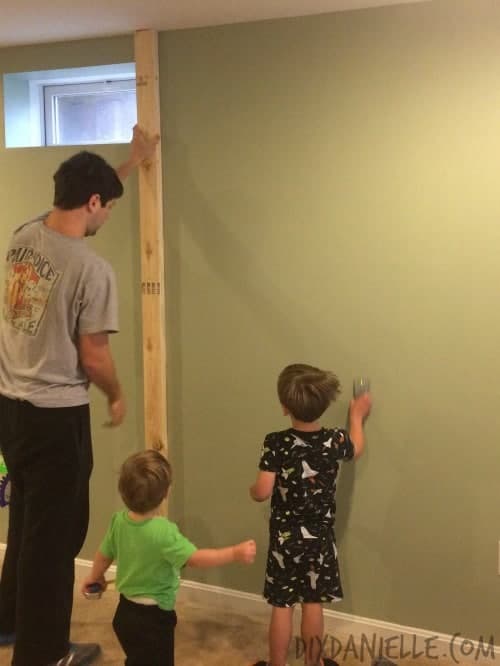
Make sure to use your safety gear!
Paint your wood wall. I used primer, then white paint.
You need (3) 2×4’s that you can cut to the height of your wall.
Mount each of the 2×4’s to the studs of the wall using a dry wall screw longer than 3 inches.
Mount your rock climbing wall onto the 2×4’s using drywall screws, we just added screws in several spots until it seemed sturdy enough. Once the wall was mounted, I used mod podge to add on my maps and post cards. I also used my Silhouette Cameo to print the Dr. Seuss quote. It would be helpful to have done this BEFORE we mounted the wall. You want to use a good amount of mod podge under the maps to adhere them. Let dry. Then add mod podge on top of the maps too. Make sure to use your fingers to flatten them. I’m so bad at this.
Once dry, you add your topcoat. I let that dry and followed up with several layers of the clear wood finish. I let each layer dry before going with the next layer. Now that this is finished, you can mount your rock climbing pegs.
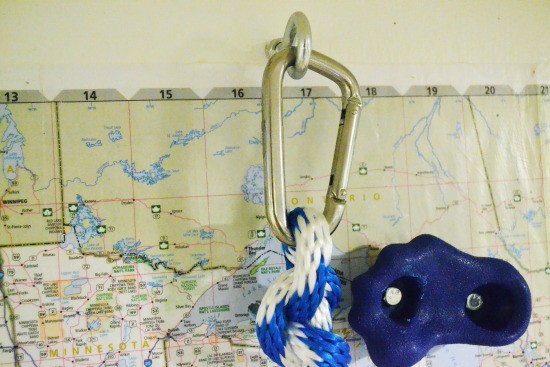
We added a clip and rope for the kids to use.
I upcycled an old crib mattress for padding under the wall. I made a fitted sheet for it from upholstery fabric.
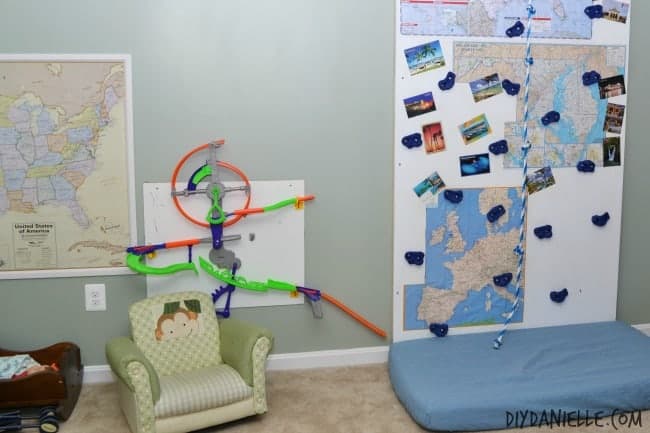
We LOVE how it turned out. I wish the maps had come out better, but alas… it will work fine. As we travel, my goal is to add more post cards to our wall.
Love me? PIN ME for later! You can totally do this project!
Other Posts You’ll Love:


Looks awesome! Your kids are super lucky to have a climbing wall in their playroom. Found your post at Mom to Mom Mondays
Nicole | The Professional Mom Project
Thanks! 🙂
Wow, how awesome for your kids to have their very own rock climbing wall. Thanks for sharing at DI&DI.
This rock climbing wall looks like fun. I wish I had one when I was a little. It's great to have for rainy days and winters and keeping children moving. Thanks for sharing at Mom-to-Mom Mondays.
This is so cute! It would be perfect for an indoor playroom. As a kid, I always thought that it would be great fun to have a slide inside our house. A climbing wall would have only intensified my excitement!
What a fun idea! I wish we had a playroom or spot for something like this. My kids would love it!
What a sweet and fun idea!!! Thanks for Sharing! #HomeMattersParty
That climbing wall is super cool! My little boy would love that wall in his playroom. Thanks for sharing with us at the Talented Tuesday Link Party!
Have a great week, Kim @ This Ole Mom
This looks like such a fun idea! My son keeps eyeing the rock climbing wall at his sister's school, he would love this.
You know, initially I was hesitant because I thought we'd spend a fortune doing it. But it was one of the more reasonable projects I've done (cough, not that this says much).
This is such a great idea. And so kid friendly! Congratulations on your feature. 🙂
Thanks Mary! 🙂 You too!
where did you find the rock pegs ?
Amazon. If you click the link in the supplies list, it will take you to a bunch of options. The ones we got have two holes and no screws with them. I think it might be a slightly better deal to buy the ones with the hardware included, depending on how you want to put them on. The hardware for the ones that can be moved around is VERY expensive at the hardware store.