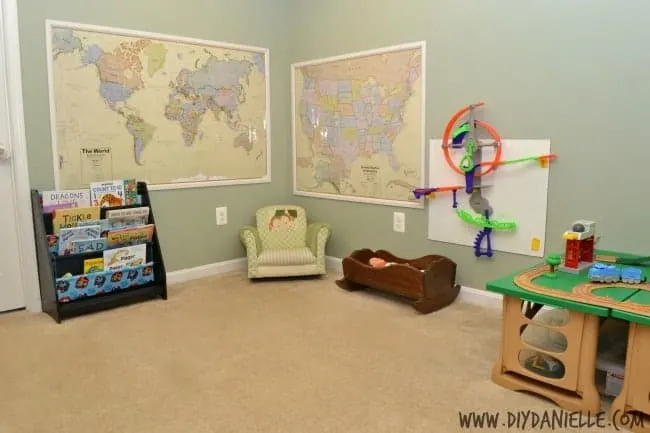
How to frame large maps for wall decoration in a home school area of a basement playroom.
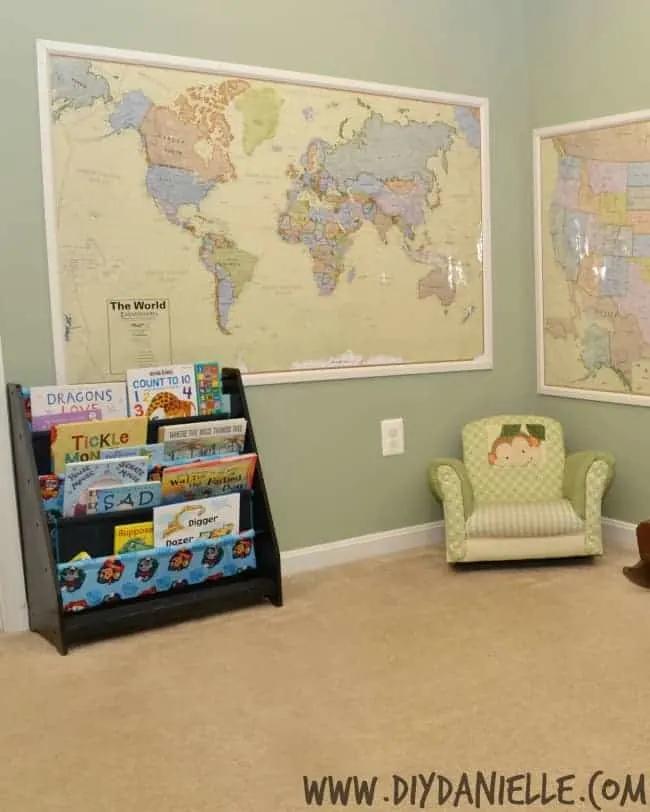
My oldest son, 4 years old, loves maps. He’s got some odd interests for a little guy, but maps are gorgeous so we bought two huge maps at Costco and tacked them up on the walls. But then they ripped where the tacks were and they were getting a lot of wear and tear. So we decided to frame the maps so they would look more intentionally like wall decor and to preserve them better. There’s no glass on the front- the maps have a shiny laminated type covering so it didn’t seem necessary.
Supplies
Supplies listed below may include affiliate links to the products.
- Wood moulding
- Nail gun
- Maps
- Tape or something to help hold the map on the wall until you can get the wood on.
- Wood filler (optional)
Tutorial
Using tape, hang your map.
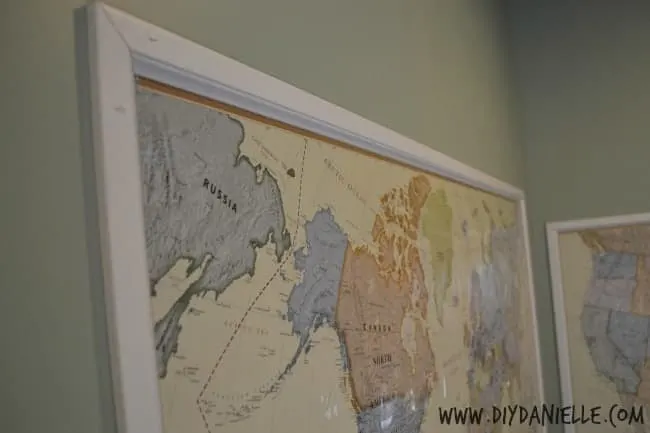
Cut your wood to the sizes that you need for your map. Using a nail gun, add the frame around the map. You could glue the frame together first if you want.
Finished. So easy.
Optional: You could paint the frame. My husband suggested that filling the holes that the nail gun made would look nicer, but we didn’t want to mess around with it and it didn’t look bad as is.

Here’s a better view of the frames:

Thanks for taking the time to read this post! I really appreciate the time you’ve taken. Please share, like, and pin my post if you enjoyed it. Follow me on social media and subscribe to my email list to keep up to date on all of my latest projects!
Disclosure of Material Connection: Some of the links in the post above are “affiliate links.” This means if you click on the link and purchase the item, I will receive an affiliate commission. Regardless, I only recommend products or services I use personally and believe will add value to my readers. I am disclosing this in accordance with the Federal Trade Commission’s 16 CFR, Part 255: “Guides Concerning the Use of Endorsements and Testimonials in Advertising.”


Cari Dunn
Tuesday 1st of March 2016
I love this! We have maps printed on much smaller paper, but this would be awesome in our homeschool room.
Renz HomemadeZagat
Thursday 25th of February 2016
This is a great idea. Encourages learning and it's cute. I paid to have a muuuuch smaller picture framed. Won't happen again
Tiffany | Pretty Real
Thursday 25th of February 2016
love this idea!! playroom, here I come! ;)
Tara Brelinsky
Wednesday 24th of February 2016
Cute idea and it looks so simple. The maps definitely add a pop to the walls. Did you use maps that were already laminated?
Danielle
Wednesday 24th of February 2016
Yes, these were ones that Costco had for sale!
Nayhamar M.
Wednesday 24th of February 2016
Hi! I loved your blog! Sorry my comment but I have a question about your layout. I have a blog and I chose this template too, but my photos doesn't look good in the Home Page. I don't know why :( Did you make something in yours? Sorry again, but I don't know what to do now, I changed I lot of things (html) but this is a trick one. my blog: www.nayhamar.com
Danielle
Wednesday 24th of February 2016
Did you mean that your photos aren't laid out the same way? I'm not sure. I think mine just did it correctly from the start.