
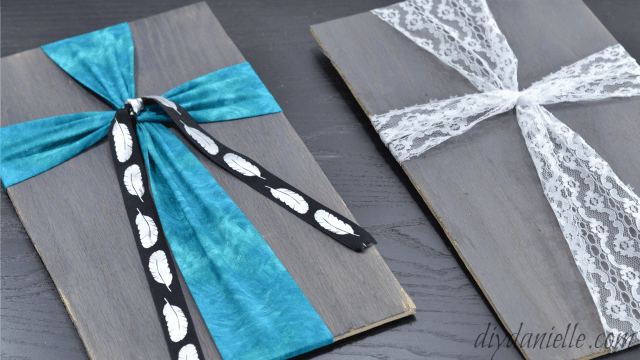
How to make a fabric and wood cross for wall decoration.
This post may contain affiliate links which may earn me commissions should you click through them and take certain actions. As an affiliate for Amazon, Cricut, xTool, Home Depot, and other sites, I earn from qualifying purchases. Please DIY carefully. View my full legal disclosures here.
The majority of my content is generated by me, as are 99% of the photos and videos, but I utilize technology for titles, descriptions, video editing out all of my ums, and occasionally for text overlay on images.
Please read the whole post so you don’t miss any important information!
I have been seeing the burlap and wood cross idea floating around on Pinterest for a while and I ADORE them. You have a lot of flexibility with them- you can use fabric or ribbon, you can paint your wood whatever color you want, and you can add Bible verses or quotes.
The sky is your limit. It’s also a really simple project. I was able to make a couple of these in under 30 minutes, even while taking video and photos.
Supplies for a DIY Cross
- Wood
- Vintage Wood by Amy Howard: Better with Age, Salvaged Timber (I received this free to try at The Haven Conference and it’s ahhh-mazing).
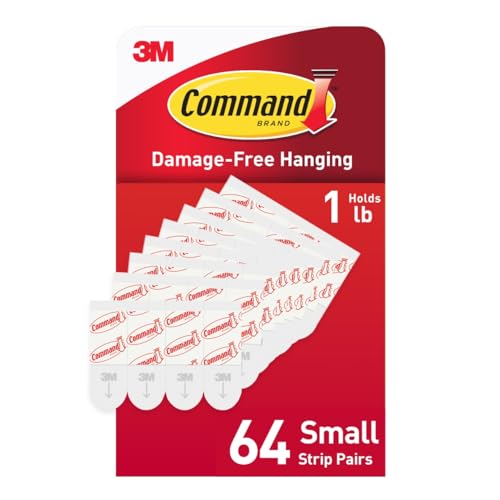
- Command Strips or D Rings
- Fabric and/or Ribbon
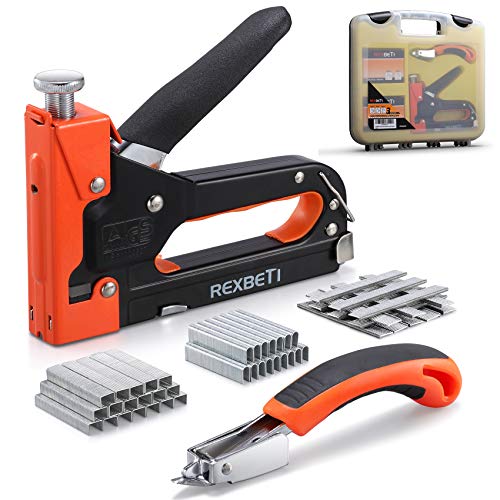
- Optional: Staple gun or glue gun
How to Make a Fabric Wrapped Wood Cross
These are so easy and so much fun to make. Check out the video tutorial below.
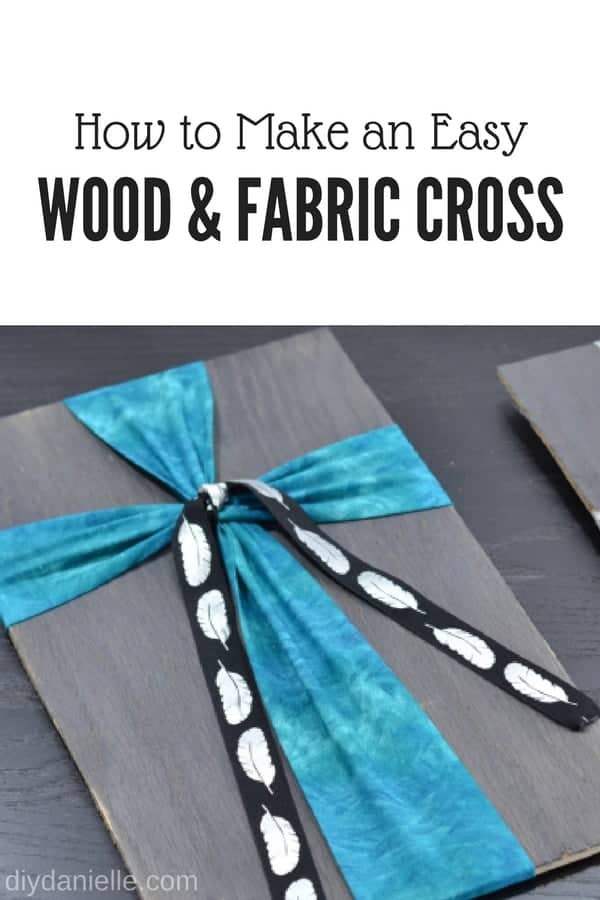
Start by painting or staining your wood board. You want your board to be taller than it is wide.
Once dry, you can apply poly or leave as is. I didn’t bother with poly, seeing this is a decor item.
If you’re using fabric, you don’t need to sew the edges. You do, however, need to cut your strips of fabric for the cross, then fold over the raw edges and iron them down. These won’t be seen.
I stapled the beginning of my fabric strip to the back of the wood to make this easier (no bulky knot in the back). Then I wrapped it around the front of the wood, stapling the other end to the opposite end.
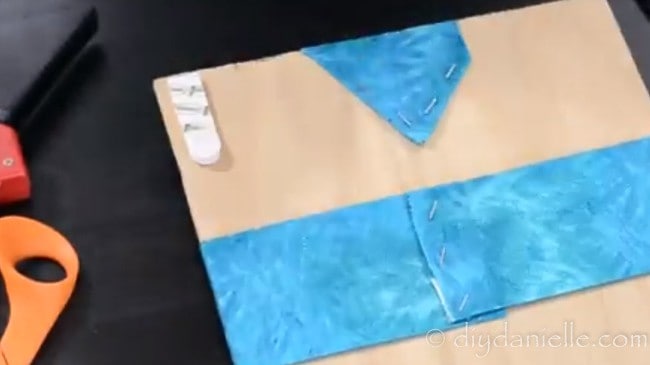
I took a second strip of the same fabric and did the horizontal part of the cross.
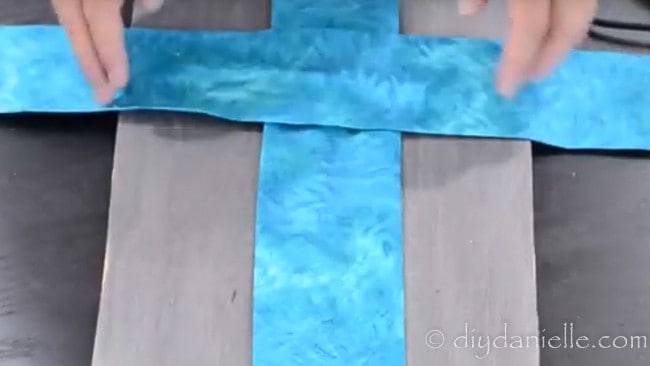
While you may want to just do a knot in the back, keep in mind that you want this to lay flat against your wall so the staple gun is the best option.
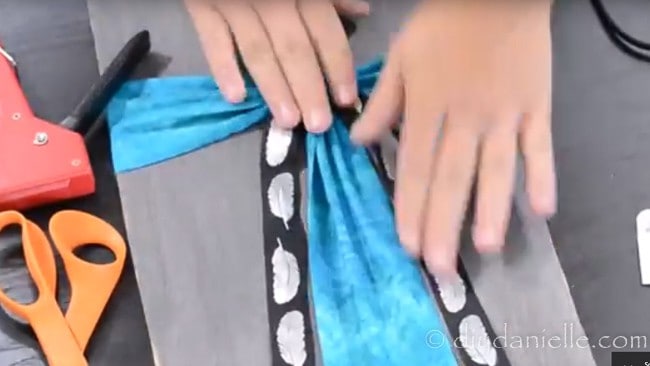
Once I had both fabric strips crossing, I added a ribbon tie to the middle.
I added Command Strips to the back of my wood for hanging the crosses. Love it? Pin it!

How To Make An Easy Fabric And Wood Cross
Learn how to make a DIY fabric and wood cross for a beautiful wall decoration.
Materials
- Wood
- Vintage Wood by Amy Howard
- Command Strips
- Fabric and/or Ribbon
Tools
- Staple gun
- Iron
Instructions
- Paint or stain your wood board.
- Let dry.
- Apply poly or leave as is.
- Cut strips of fabric for the cross.
- Fold over the raw edges and iron them down.
- Staple the beginning of the fabric strip to the back of the wood.
- Wrap it around the front of the wood.
- Staple it to the opposite end.
- Add a second strip of the same fabric for the horizontal part of the cross.
- Use the staple gun to secure the back of the fabric strips.
- Add a ribbon tie to the middle.
- Hang with command strips.
Recommended Products
As an Amazon Associate and member of other affiliate programs, I earn from qualifying purchases.
Gift ideas from this series:
- Make your own Pot Holder
- DIY Grocery Bag Holders
- DIY Art Displays
- How to make Cloth Napkins or Wipes
- DIY Reusable Bread Bag (to give with fresh bread)
- Learn to make a Braided Dog Toy
- DIY Paper Mache Pokeball
- Recipe for Peach Infused Liquor
- Create a Large Pot Holder for a Casserole Dish
- Free Adult Apron Pattern
- DIY Cake Mix Cookies in a Mason Jar
- DIY Pillowcase
- DIY Library Tote Bag
- DIY Tile Coasters
- DIY Coffee Cozy
- DIY Essential Oil Storage Box
- DIY Bowl and Casserole Dish Covers
- DIY Dry Oil Perfume
- DIY Lunch Bag
- DIY Wall Decals
- DIY Pokemon Boo Boo Bags
- DIY Cement Candle Holders
- DIY Wood Step Stools
- DIY Easy Soy Candles
- DIY Cutting Boards
- DIY T-Shirt Stencils Using Freezer Paper
- DIY Balancing Wine Holder
- DIY Easy Concrete Planters
- DIY Reusable Gift Bags