
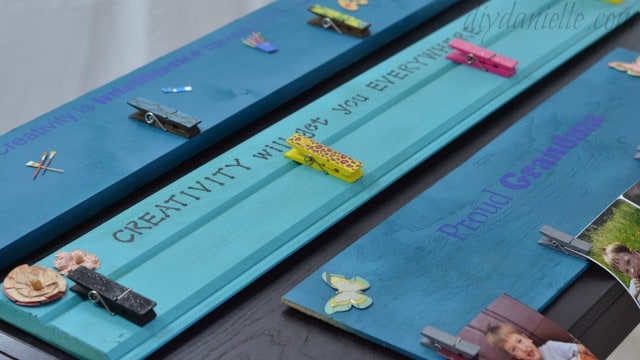
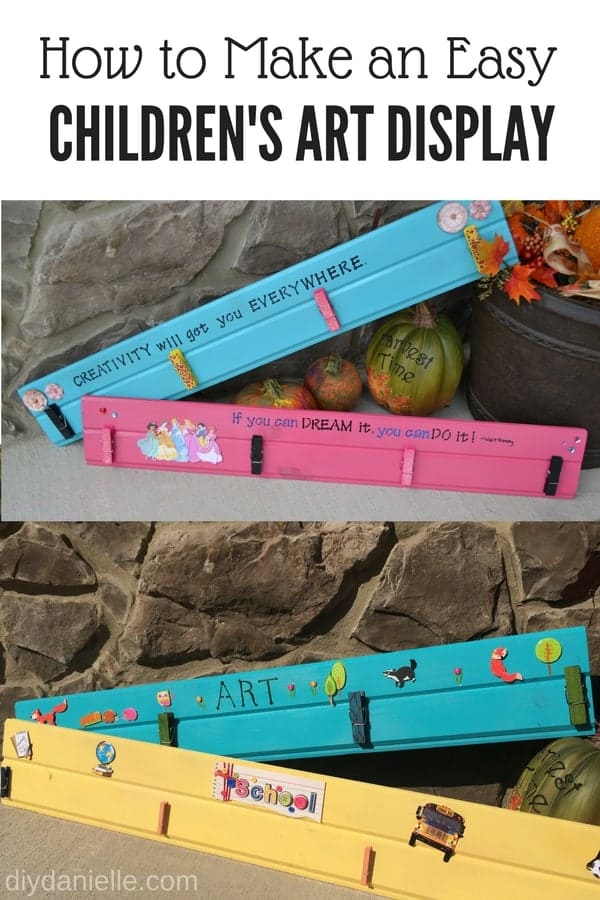
How to make your own DIY children’s art display. These work well for holding children’s art or homework, as well as for holding cards or photos.
This post may contain affiliate links. Using these links helps support my blog. Thank you!
Art displays- or homework, photo, or card displays- are fun to make. You can make them as simple or complicated as you want. We love them because they get the art off our refrigerator and onto our walls.
Supplies for a DIY Children’s Art Display
Supplies listed below may include affiliate links to the products.
- Rustoleum Painter’s Touch 2x Spray Paint (or other paint)
- Wood
- Clips
- Wood Boards
- 3M Picture Hanging Command Strips (the size appropriate for your wood) or Heavy Duty Single Hole D Ring / Triangle Strap Hanger w/ Screws
- Embellishments of your choice. I used scrapbook stickers.
- Vinyl 651 for Lettering or use stencils.
Note: You want to match your choice of stencils vs. 651 with your paint choice. Some glossy paints are hard to stencil or apply 651 to.
How to Make DIY Children’s Art Display
This video will show you how to make your own art display or you can scroll down for the photo tutorial.
Step 1: Add your Command strips or D rings to the back of your display.
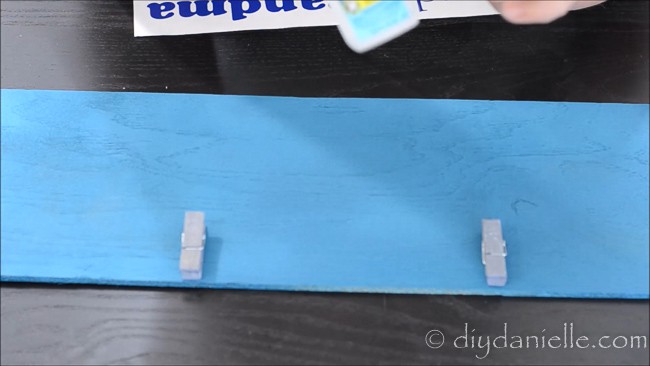
Step 2: Paint your wood. I generally use spray paint because I find it faster. Alternatively, you could use stain. Let dry.
Step 3: Use glue to attach your clips with even spacing across the board.
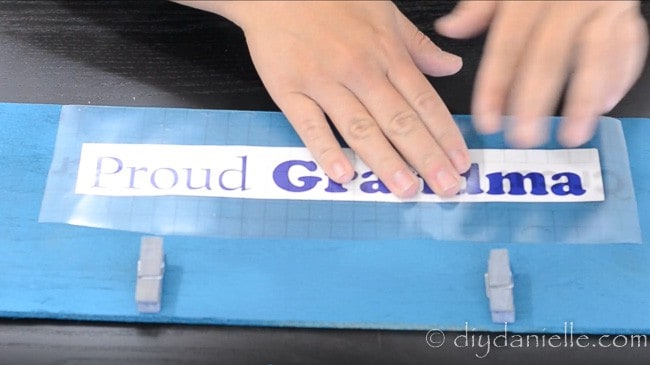
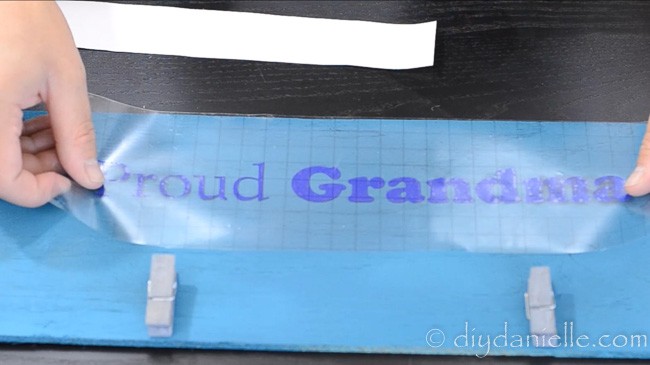
Step 4: Above the clips, you can add permanent/outdoor vinyl or you can hand write lettering.
Step 5: Add any additional embellishments that you want. I love using scrapbook stickers.
Love it? Pin it!
Other DIY Gifts in the Series
- DIY Pot Holder
- DIY Grocery Bag Holders
- DIY Cloth Napkins or Wipes
- DIY Mint Extract
- DIY Reusable Bread Bag (to give with fresh bread)
- DIY Braided Dog Toy
- DIY Paper Mache Pokeball
- DIY Peach Infused Liquor
- DIY Pot Holder for a Casserole Dish
- DIY Fabric and Wood Cross
- Free Adult Apron Pattern
- DIY Cake Mix Cookies in a Mason Jar
- DIY Pillowcase
- DIY Library Tote Bag
- DIY Tile Coasters
- DIY Coffee Cozy
- DIY Essential Oil Storage Box
- DIY Bowl and Casserole Dish Covers
- DIY Dry Oil Perfume
- DIY Lunch Bag
- DIY Wall Decals
- DIY Pokemon Boo Boo Bags
- DIY Cement Candle Holders
- DIY Wood Step Stools
- DIY Easy Soy Candles
- DIY Cutting Boards
- DIY T-Shirt Stencils Using Freezer Paper
- DIY Balancing Wine Holder
- DIY Easy Concrete Planters
- DIY Reusable Gift Bags
This is a cool project! We’re so glad you party with us at Merry Monday. We always look forward to your projects.
Thank you!
These are so cute!! Thank you for sharing with us at #HomeMattersParty. We would love to see you again next week.
Thank you!
I loved this concept- my sister wants to do start making gifts instead of buying. This is a great gift to start with 🙂 Thanks Danielle – big fan of videos too
Thank you! I've been working hard at them and really enjoying the process. Still learning.
And making gifts is awesome, particularly when it's something the person can really truly use and needs. 🙂