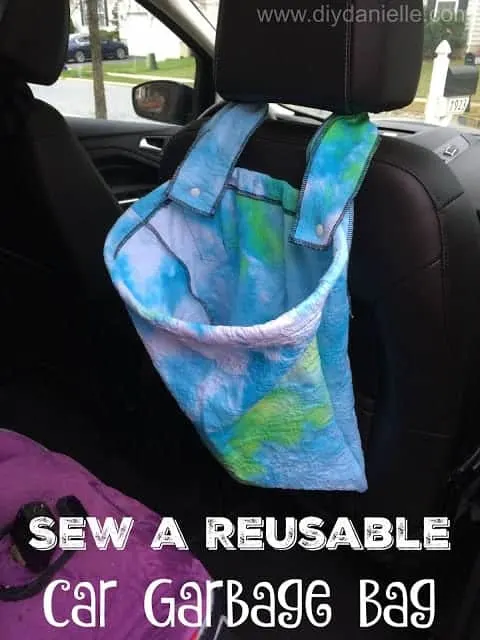
How to sew a garbage bag for your vehicle. This has an open rim made from an upcycled wire hanger so it makes it easy for kids to toss their garbage- without leaving their car seat. These would make great gifts for the holidays!
I have discovered something… my kids have no problem throwing their garbage into a bag if I make one available in the car. But garbage never made it into our tiny garbage bag because it was hard for the kids to reach and really a bit small for the amount of garbage we produce before I empty it (totally my fault).
I decided to make something bigger, something that would make throwing things out from the comfort and safety of their car seats much easier. And I think I have succeeded! I placed it behind the passenger seat- my oldest son sits behind it and he’s forward facing (and has long arms!) so he will be the most likely to actually put the garbage in there. Now I can hand HIM garbage whenever I need something thrown out… oh how the tables have turned!
Supplies
Supplies listed below may include affiliate links to the products.
- Wire hanger and wire cutters
- Fabric
- Snaps or Hook & Loop
Tutorial
Step 1: Cut a piece of fabric 38″ tall x 17.5″ width.
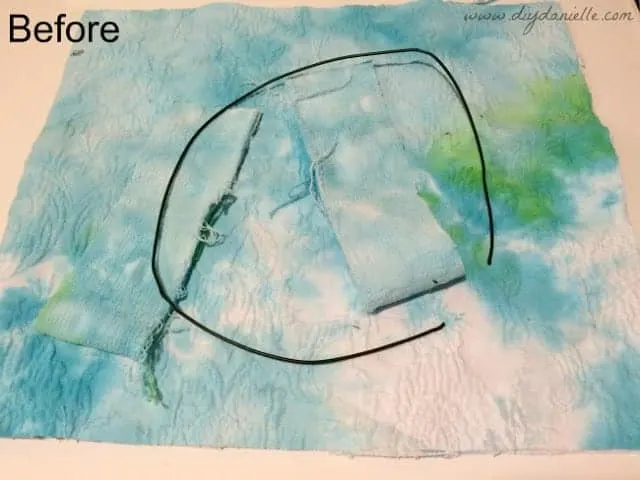
Step 2: I also cut two strips of fabric for the straps and serged the edges. This was faster and easier than folding them over to create a thicker strap- and my fabric was super thick with just one layer so I was happy to skip that part. I pinned the strap to the portion of the fabric that would be the back outside of my bag. I sewed them down, making sure to not sew it down near the top- this is where our casing will be and I don’t want the strap getting in the way.
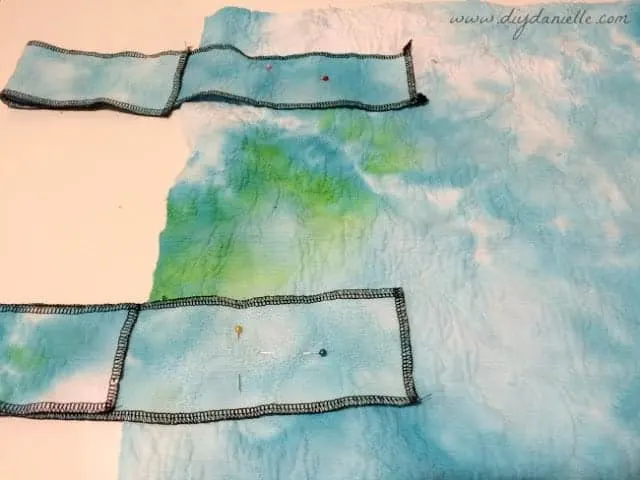
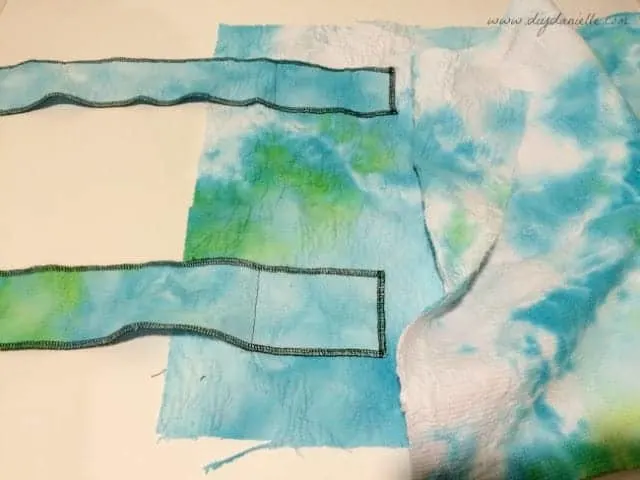
I sewed across, and then all the way down and around in a rectangular shape.
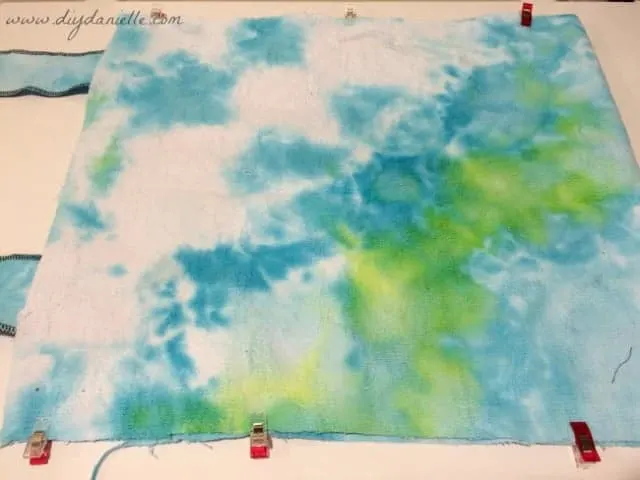
Step 3: I folded my fabric in half, facing right sides together. I pinned, then serged the two sides.

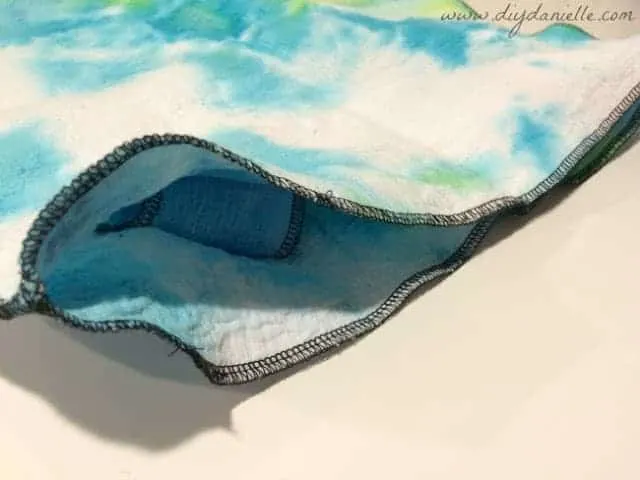
Step 4: I serged around the whole top of my bag to finish the edge.
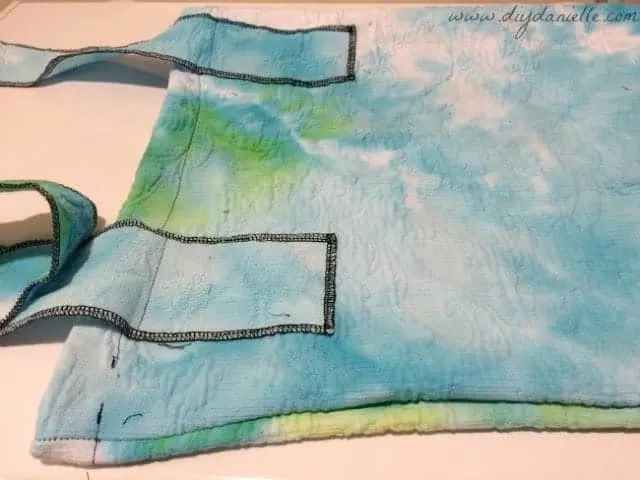
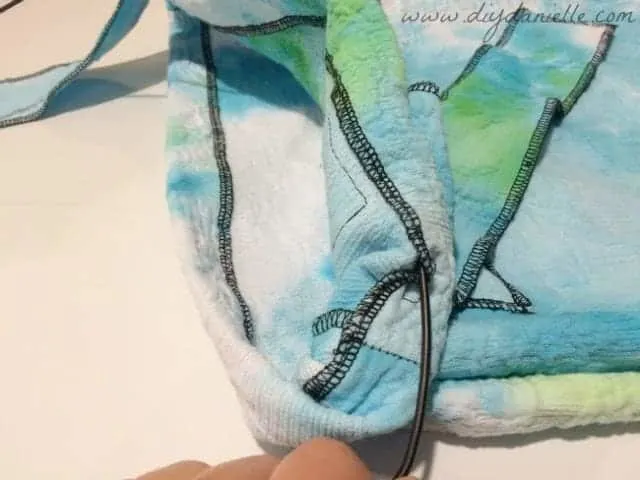
Step 5: I folded the top edge over to create the casing, sewing around the whole top of the bag. I left an opening to feed the hanger through.
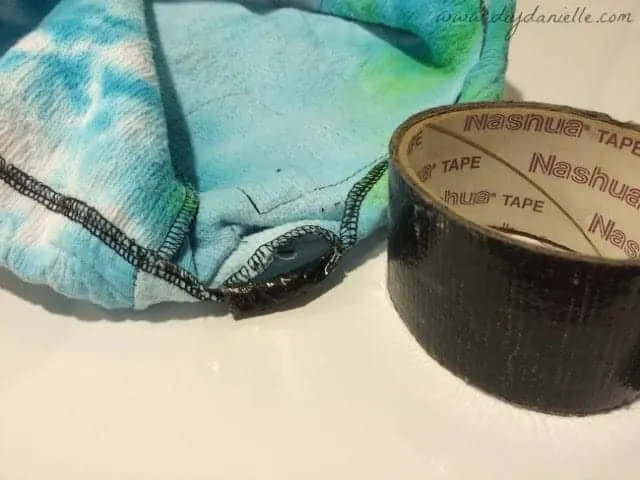
Step 6: Feeding the hanger through the casing. Once I got it all the way around, I held the two ends together and taped them with heavy duty tape. Then I just sewed the casing closed.
Step 6: Add your snaps or hook & loop to the straps.
Here’s the finished product! G was such a good model today!

Thanks for taking the time to read this post! I really appreciate the time you’ve taken. Please share, like, and pin my post if you enjoyed it. Follow me on social media and subscribe to my email list to keep up to date on all of my latest projects!

Hilda Rodgers
Wednesday 11th of November 2015
Great idea Danielle! I'm always looking for a garbage bag in our van but having a nice big hanging one like this would make it easy for everyone!
shoppinggalnyc
Tuesday 10th of November 2015
Very cute - love your son's shirt too LOL.
-Michellewww.LeHoarder.com
Danielle
Wednesday 11th of November 2015
Lol thanks, me too :)
Just Plain Marie
Tuesday 10th of November 2015
What I like most about your bag is that it's not *small*. Most of the ones you buy are so small that you can't put anything in them.
Danielle
Wednesday 11th of November 2015
Yes, that was a necessity!