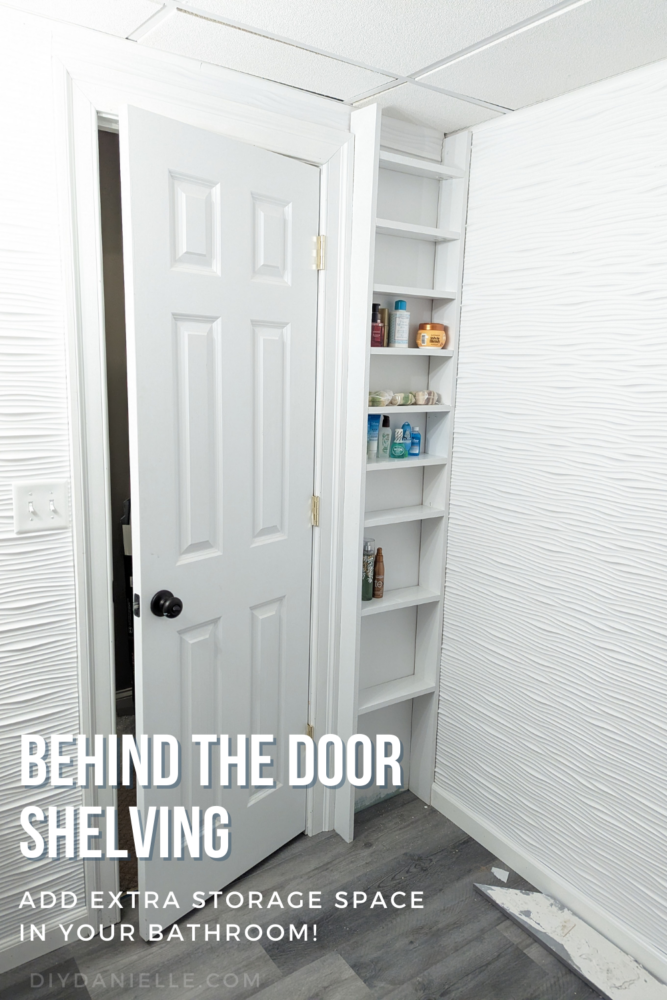
Want to add storage behind a door in your home? Here’s easy to build behind the door storage project that gives you lots of extra shelving!
When we went to renovate our bathroom, we ran out of extra panels for the walls. I was just shy a tiny bit, and it seemed like a BIG chore to special order ONE piece. But I had a brilliant idea! The area I need was behind the bathroom door. I decided I could add a shallow shelf behind the door which would provide lots of storage space for items like toilet paper, bath products, and more. I’m SO happy with how it came out! It was a brilliant solution to the problem.
Here’s how to add behind the door storage for YOUR home! The shelving here ended up being 4.5″ deep. If you want it deeper, you could cut away the wall and make recessed shelving like these recessed shelves I made in my living room.
This post may contain affiliate links which may earn me commissions should you click through them and take certain actions. As an affiliate for Amazon, Cricut, xTool, Home Depot, and other sites, I earn from qualifying purchases. Please DIY carefully. View my full legal disclosures here.
The majority of my content is generated by me, as are 99% of the photos and videos, but I utilize technology for titles, descriptions, video editing out all of my ums, and occasionally for text overlay on images.
Please read the whole post so you don’t miss any important information!
I did a HORRIBLE job photographing this process and I have no idea why. It is SO frustrating when I forget to take photos or videos.
Easy Behind the Door Storage
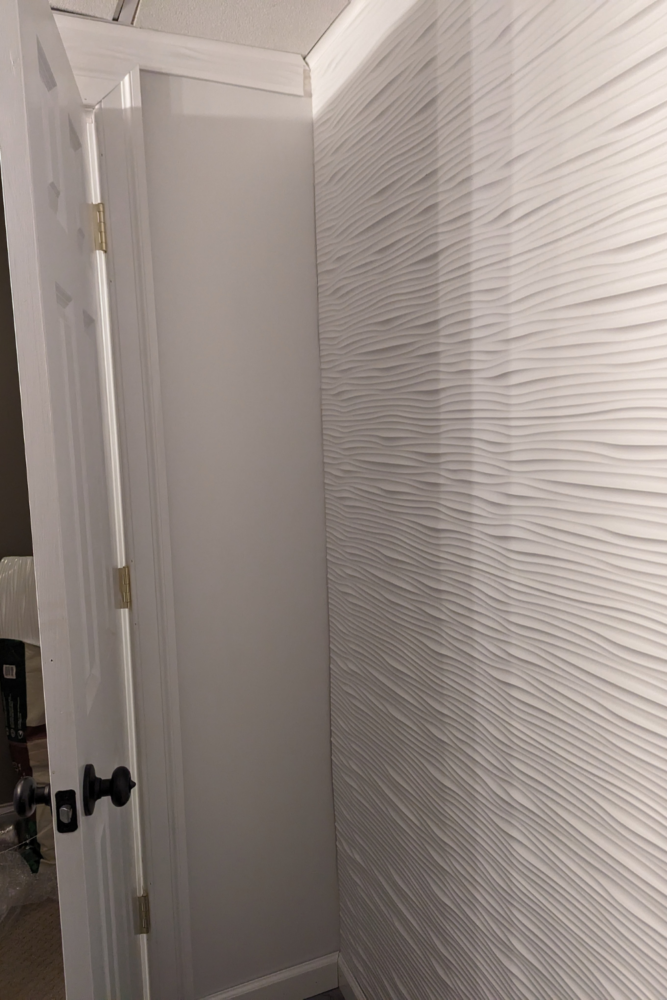
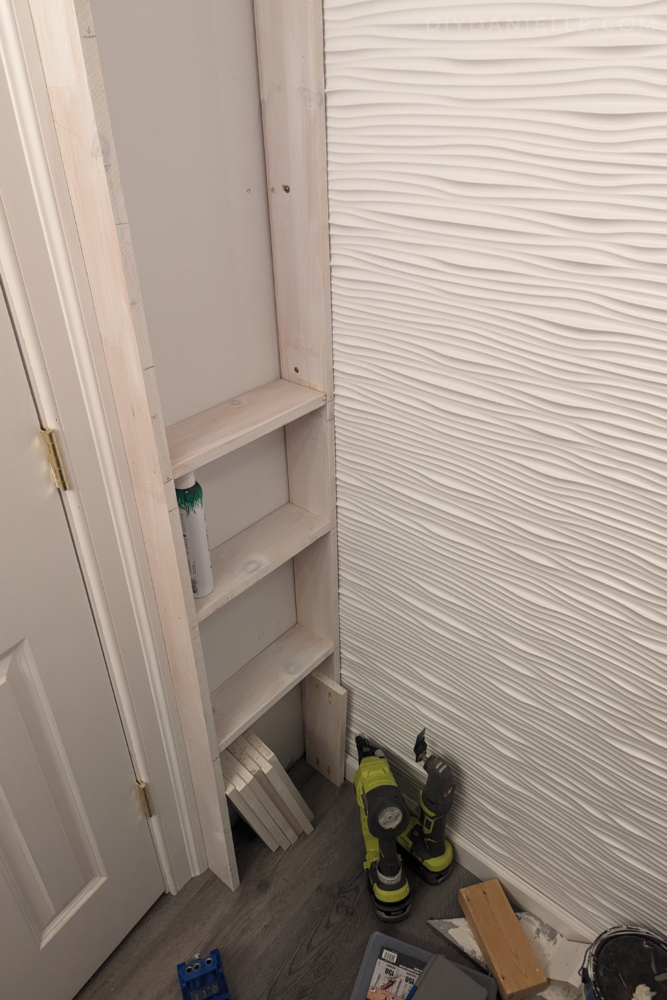
Before you begin, you’ll want to test to see how deep your shelves can be. I placed a piece of 4.5″ scrap wood behind the door (along the side closest to the door hinges), then opened the door fully to see if the door pushed it. If the wood doesn’t move, you should be good. I took a peak through the gap where the hinges are to make sure it was safe!
Supplies:
- 4.5″ wide wood: I choose pine vs. ripping plywood because I didn’t want to deal with raw plywood edges. I needed (2) pieces cut from floor to ceiling, then shelf pieces that were the width of the space between the two long pieces.
- Kreg Pocket Hole System
- Level
- Ryobi Airstrike
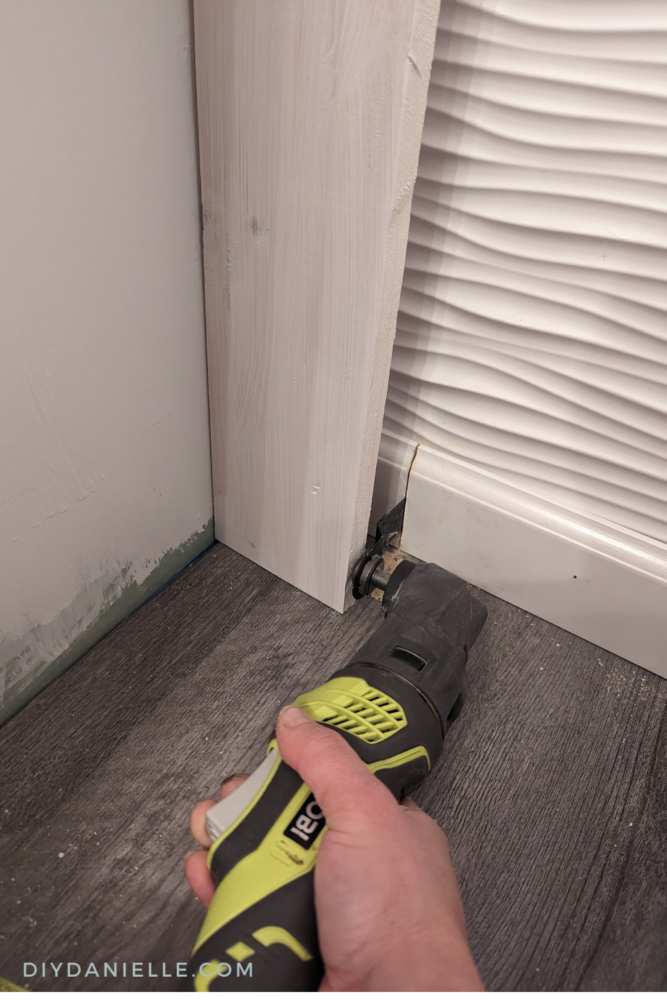
- Ryobi JobPlus for removing the baseboard (if needed, or you can just pry it off, cut it and reinstall).
- Primer & Paint: I choose white
I primed then painted my wall in advance, but you could prime and paint at the same time you do your wood pieces too.
Step 1: Cut your wood. Your two long pieces of 4.5″ wide wood will run from ceiling to floor. Your width should be the width between those two pieces on your wall. In our case, we needed 13.25″ shelf lengths because our wood was .75″ thick (x2 = 1.5″) and the wall was 14.75″.
Math looks like this: Width of the wall – (width of long pieces of wood x 2).
The number of shelves you’ll need will be dependent on how far apart you want your shelves spaced and how tall your ceiling is. This is a basement bathroom so our ceiling isn’t particularly tall. I wanted some shorter shelves that would hold toilet paper (gave those shelves around 6″ clearance) and I wanted some taller shelves to hold paper towels and other supplies. At the bottom, I left room to store the plunger and brush so I measured that out in advance.
Sand the wood if necessary.
Step 2: Either remove the baseboard for the moment, or use the JobPlus to cut away enough baseboard to place your tall pieces of wood on either side of the wall. Fit them in place to make sure everything fits well before moving on to step 3.
Step 3: Prime the wood you’ve cut and the wall. I did this in my garage to cut down on the mess.
Step 4: Paint the wall and the wood you cut (or you can assemble and paint at that point).
I am going to explain the steps that I took here. I built my shelves in place. This worked out better for me because it’s a tight spot. TECHNICALLY, it would probably be better to build it separate then place it, but I’ll explain it my way. You do you!
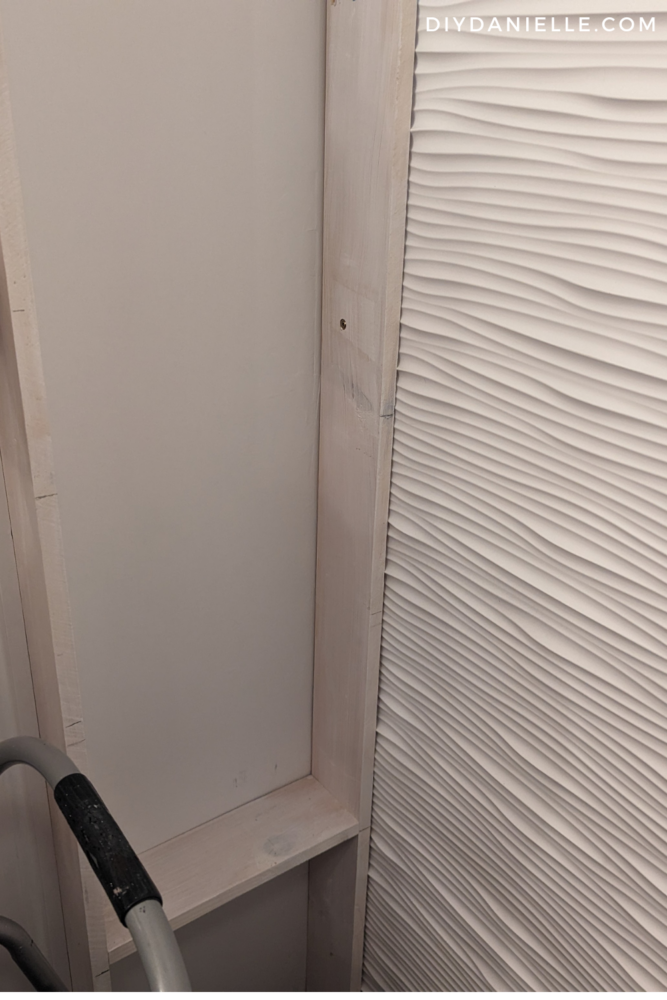
Step 5: I placed my two long board on either side of the wall. For the piece that attaches to the moulding around the door, I added wood glue and used my Airstrike to attach the piece. For the side that is next to the wall, I screwed it into the wall. I have Fasade wall tiles on that side so it would have been tricky to attach it any other way.
Step 6: I used my Kreg Jig kit to add pocket holes to all of my shelves, then I installed the shelves at the heights I wanted, ensuring that each shelf was level.
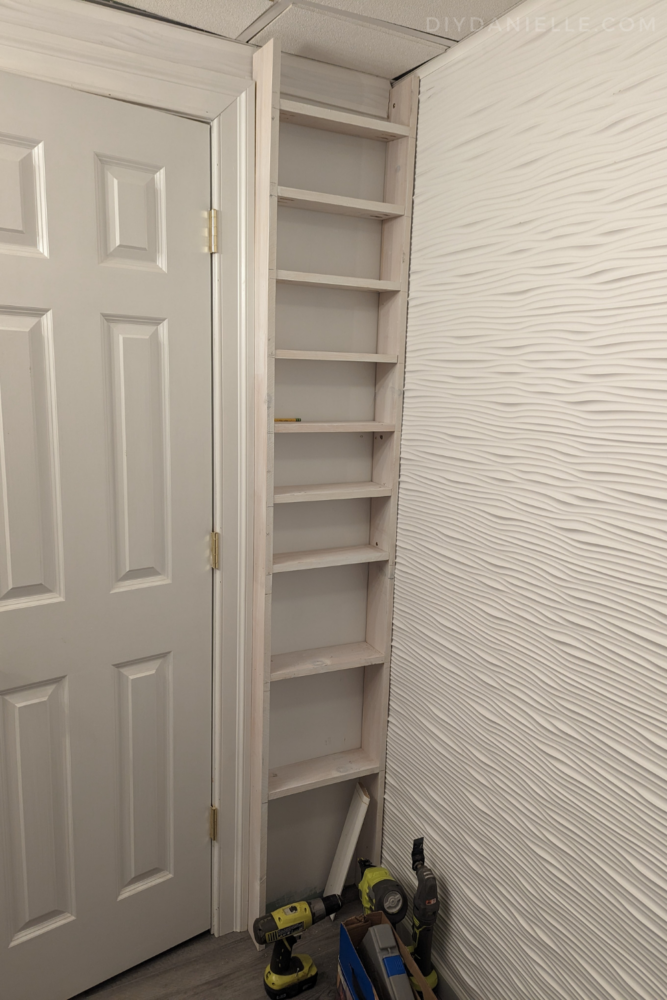
Step 7: Paint your shelves. Let dry. I sort of wish I’d painted the wood before installing, but either way works… and I didn’t need to tape anything, seeing everything was white.
Now you can just fill the shelves up! Enjoy!
Interested in other bathroom projects? Here are some ideas from this renovation project and others!
- Installing Palisades Shower Tiles
- Installing DumaWall Shower Tiles
- How to Install Laminate Flooring
- How to Use Caulk
- 17 DIY Bathroom Vanity Ideas
- 20 DIY Bathroom Decor Ideas
- 17 Small Bathroom Makeovers
- Small Condo Bathroom Renovation Project
- How to Waterproof Shower or Bath Walls
- Behind the Door Bathroom Shelving
- How to Install the Ovation Bathtub Door
- How to Install Dreamline French Corner Shower Doors (these are stunning)
- How to Install a Pull Out Shelf in a Bathroom (without drilling into your cabinet!)
- Full Basement Bathroom Renovation Project REVEAL!
- Kids Bathroom Renovation Project REVEAL!
Please share and pin this post! You can also post your project and tag the DIYDanielle team on Instagram @doityourselfdanielle!