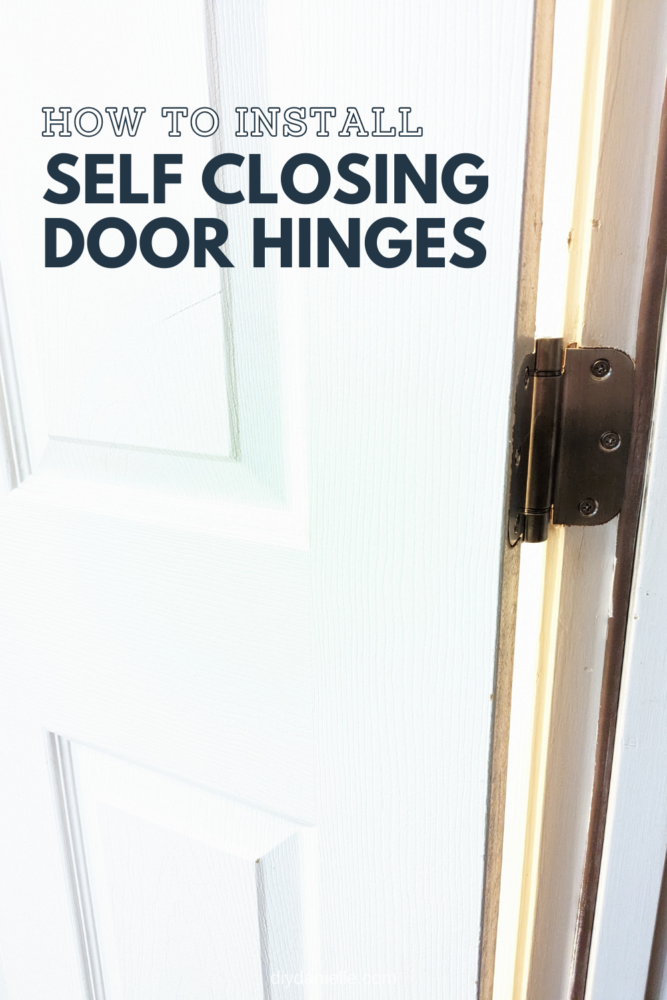
Install self closing door hinges in minutes with 6 easy steps and our tutorial! Make sure the kids keep the doors closed and the pets out.
My kids leave EVERY DOOR OPEN. They leave lights on. They leave cabinet doors open. This ends up being a problem because we have dogs. The dogs are allowed nearly everywhere, but I don’t like them garbage can surfing in the bathroom or going into the basement (for some reason, one dog considers the basement carpet ‘the outside’). In an attempt to work smarter, not harder, I’ve been installing smart devices that turn off lights and wake them up, etc. and now I’m adding self closing door hinges.
I installed interior self closing door hinges on three interior doors in our home, and I’m going to install some barn door hinges that are self closing on our kids’ playhouse. The kids tend to leave the door open, then complain that bugs get inside. Quite frankly, the birds nests bother me the most because once they move in, I’m afraid to accidentally close them in or out.
This post may contain affiliate links which may earn me commissions should you click through them and take certain actions. As an affiliate for Amazon, Cricut, xTool, Home Depot, and other sites, I earn from qualifying purchases. Please DIY carefully. View my full legal disclosures here.
The majority of my content is generated by me, as are 99% of the photos and videos, but I utilize technology for titles, descriptions, video editing out all of my ums, and occasionally for text overlay on images.
Please read the whole post so you don’t miss any important information!
How to Install Self Closing Door Hinges
Supplies
- 3.5” Self-Closing Door Hinges, 3.5 Inch x 3.5 Inch Spring Hinges, Stainless Steel Adjustable Door Hinges with 5/8″ Radius Corners, 3 Pack: https://amzn.to/3GwJHFt
- Screwdriver
- Ilyapa Heavy Duty Self Closing Shed Door Hinges, 4 Pack – Black Square Hinges for Gate, Barn or Storage Shed: https://amzn.to/484v7Rq
Tutorial for the Self Closing Interior Door Hinges
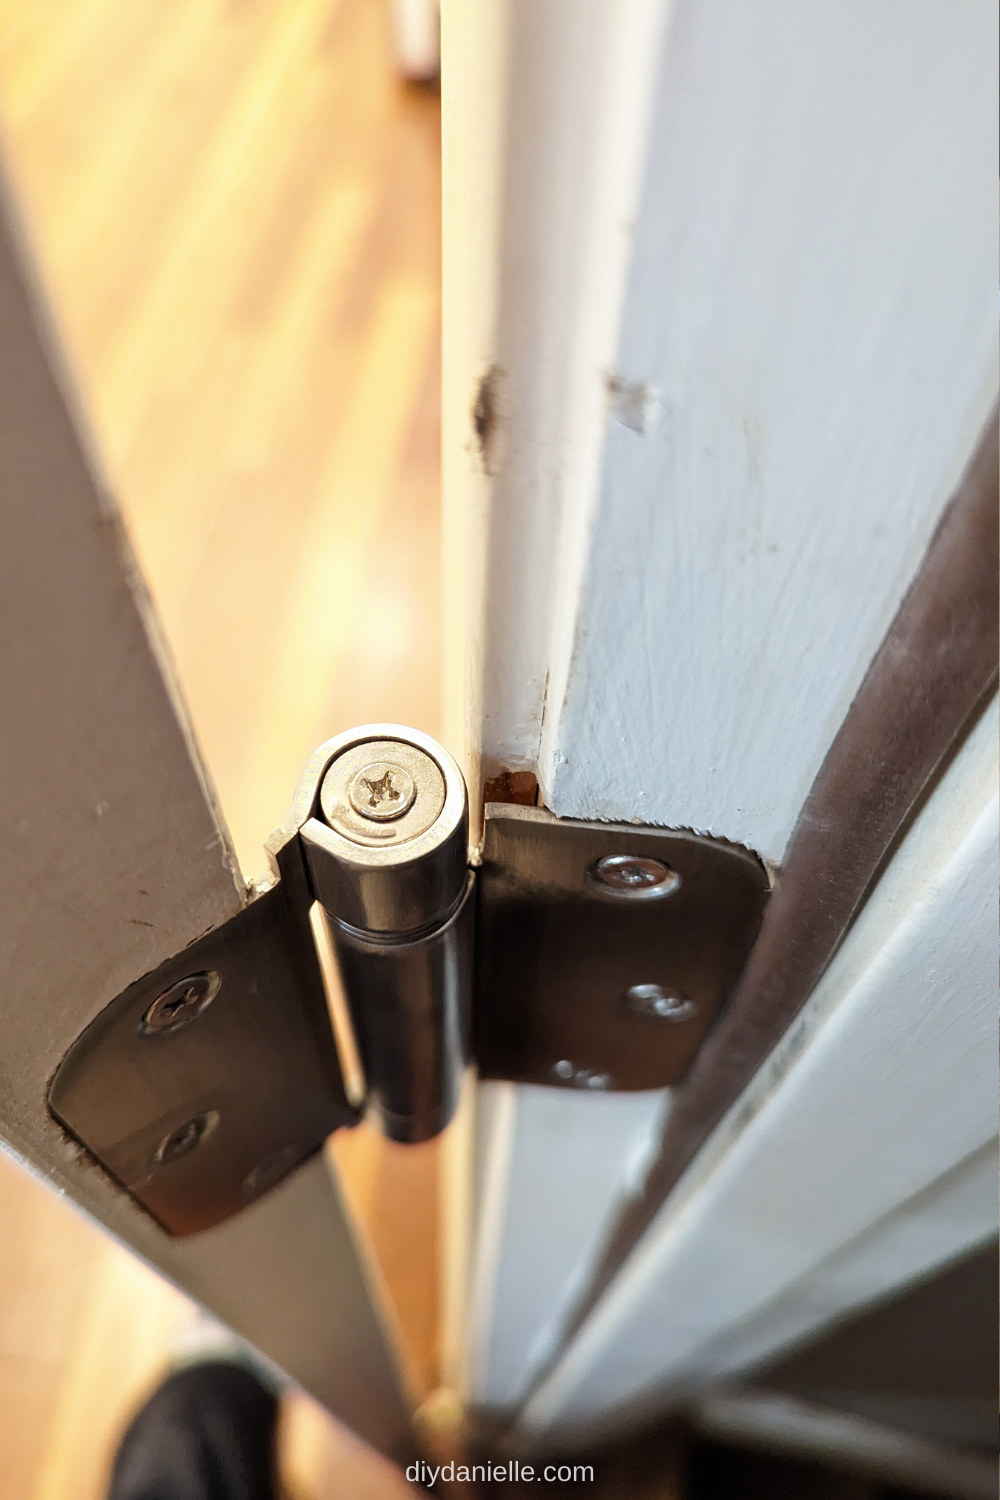
Step 1: Remove the middle hinge on your interior door. This just entails removing the screws. The hinge itself may feel stuck after, but usually it’s just a bit ‘sticky’ due to the paint. You should be able to pry it off easily.
Step 2: Place your self closing door hinge with the screw facing up… this should fit over the same spot your original hinge was.
If it doesn’t, you may have purchased the wrong hinge…
they sell different sizes and different screw combinations.
Step 3: Screw this in with the NEW screws that came with your hinges. These match the finish AND they’re a bit longer. And longer is better.
Step 4: Remove the screw on the top of the hinge.
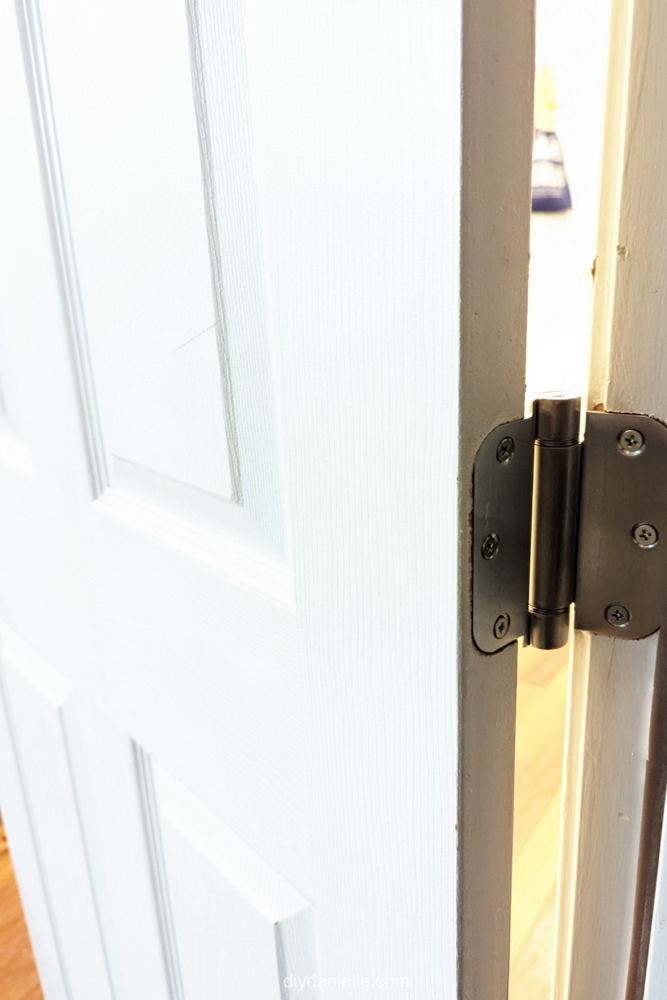
Step 5: Use the included Allen wrench to tighten the hinge until the door shuts on its own. You may need to wear gloves or use a wrench to hold the Allen wrench at the end, when it is harder to tighten it by hand.
Step 6: Once the hinge is tight enough to close the door on its own, put the screw back in the top of the hinge. Use a screwdriver to install it. This screw holds the tension tight.
How to Adjust Self Closing Door Hinges
If your door stops closing, you can remove the screw at the top of the hinge, then use your allen wrench to tighten it until the door is closing properly again.

Once it is, replace the screw and tighten it.
Please share and pin this post! You can also post your project and tag the DIYDanielle team on Instagram @doityourselfdanielle!