

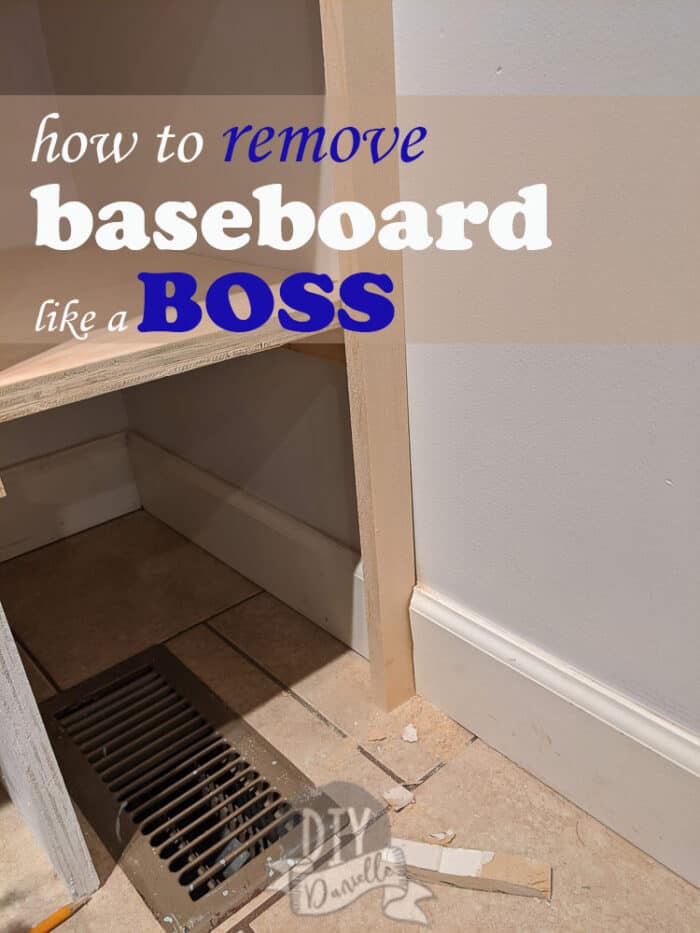
How to cut baseboard when it’s in place on the wall so you can remove a portion to place built ins or to remove a section in the way for DIY projects.
This post may contain affiliate links which may earn me commissions should you click through them and take certain actions. As an affiliate for Amazon, Cricut, xTool, Home Depot, and other sites, I earn from qualifying purchases. Please DIY carefully. View my full legal disclosures here.
The majority of my content is generated by me, as are 99% of the photos and videos, but I utilize technology for titles, descriptions, video editing out all of my ums, and occasionally for text overlay on images.
Please read the whole post so you don’t miss any important information!
One of the major irritations for adding built ins to our home has been cutting off baseboard so it won’t interfere with placing the backs of cabinets or shelves.
When we built our first DIY entertainment center, we removed the baseboard and built a base. To avoid removing the baseboards when we built our second built-ins, we created a “floating” DIY TV stand (technically the cabinets have feet).
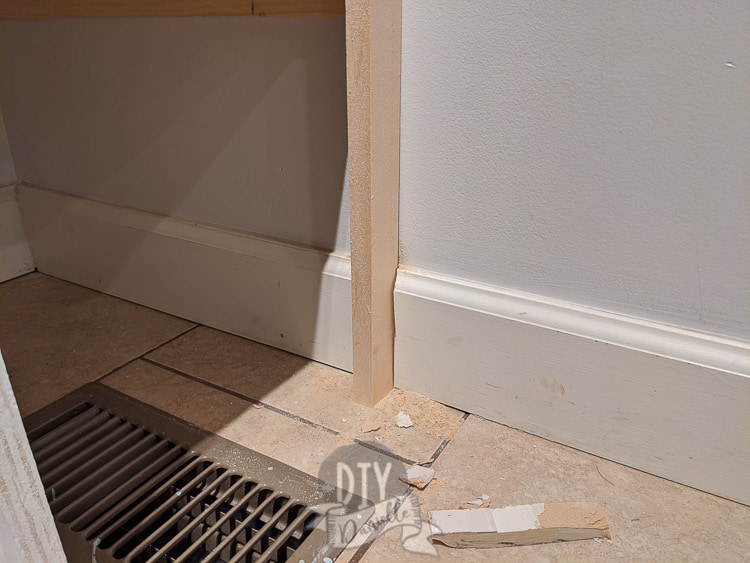
For our laundry room shelving, I knew I’d need to cut the baseboard to make it look RIGHT. My friend Scottie at Saved By Scottie suggested using Ryobi’s Job Plus tool.
Game. Changer.
It was fun, exact, and it did the PERFECT job for me! Let me show you how it’s done!
How to Remove Baseboard from Your Wall
This is a super quick and easy project.
Supplies to Remove a Chunk of Baseboard
- Pencil
- A piece of the trim you want to insert where the baseboard will be (if you just want to take off all of the baseboard for a larger area, you’ll just cut at each end)
- Safety goggles
- Dust mask or respirator
- Ryobi’s Job Plus tool.
First, I put assembled my Job Plus tool with the black wood blade. Please check your user manual for instructions on assembling the tool.
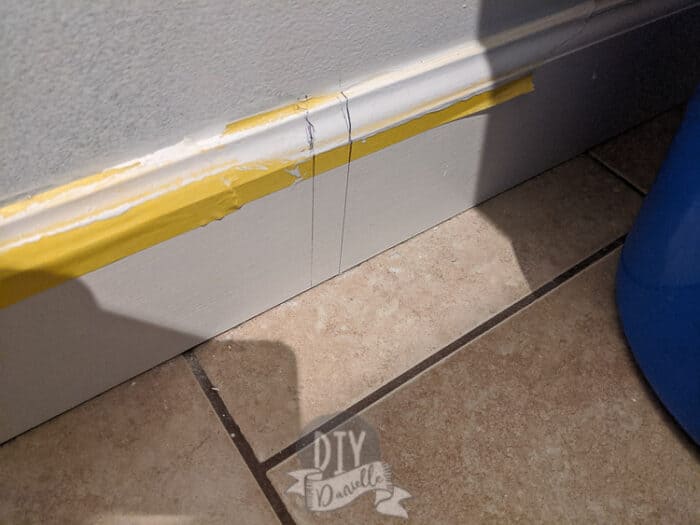
Take a scrap piece of your trim to make sure the width of the cut is correct. Hold it in place above the baseboard and mark on either side at the top.
Move the trim piece down so it’s centered between those two marks. Make sure it’s level. Use a pencil to draw a straight line on either side of the trim. This gives you a line to follow with your Job Plus.

Now that your mark is drawn, you can use your Job Plus to cut along the line. You gently place the tip of the blade on the line and LIGHTLY press; I sort of held it there and let it do its job. DO NOT press hard. As the tool works, you’ll feel some give… this is a good indication to move your blade up, down, or in.
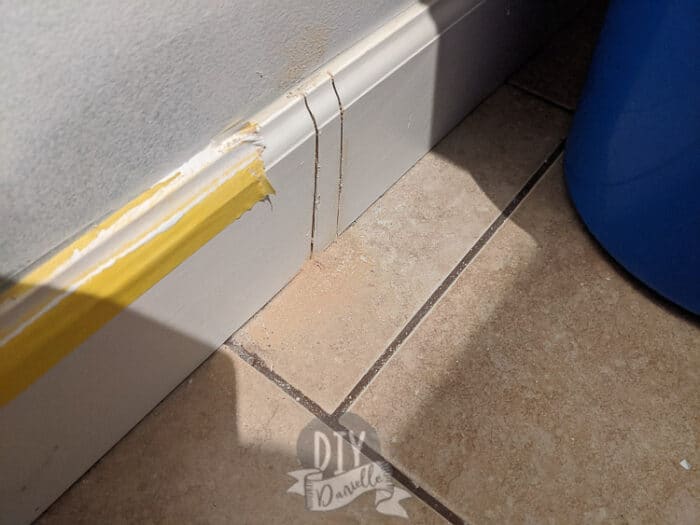
When you cut through the wood of the baseboard, you’ll feel a difference. You ideally don’t want to cut into the drywall behind the baseboard so don’t go any further. I am covering the area with trim so it’s not a big deal if a bit of the drywall gets nicked.
Once you get both lines cut with the tool, you’ll need to cut lightly at the top of the baseboard to separate it from the wall. You may be able to just use a knife or other sharp edged tool to pry it away.
Remove the cut of baseboard and you’re ready to go! This was SUPER easy. I’m excited to have a tool that will work for this job; removing baseboard is a stressful and time consuming part of putting in built-ins.
Here’s a video showing the process:
I’ll need to caulk these in quite a few areas but that’s a job for another day! I’ll show that job when I put together the full project video.
Make sure to keep an eye out for my small laundry room update! In the meantime, you can check out my other built-in projects:
Please share and pin this post! You can also post your project and tag the DIYDanielle team on Instagram @doityourselfdanielle!
How to Cut Baseboard on the Wall
Learn how to cut baseboard when it’s already on the wall if you need to remove it to add a new DIY project, like a built-in.
Materials
- Pencil
- A piece of trim
- Safety goggles
- Dust mask or respirator
Tools
- Ryobi’s Job Plus tool
Instructions
- Take a scrap piece of your trim to make sure the width is correct.
- Hold it in place above the baseboard and mark on either side at the top.
- Move the trim piece down so it’s centered between those two marks.
- Use a pencil to draw a straight line on either side of the trim.
- Use your Job Plus to cut along the line.
- Once both lines are cut, lightly cut at the top of the baseboard to separate it from the wall.
- Remove the cut of baseboard.