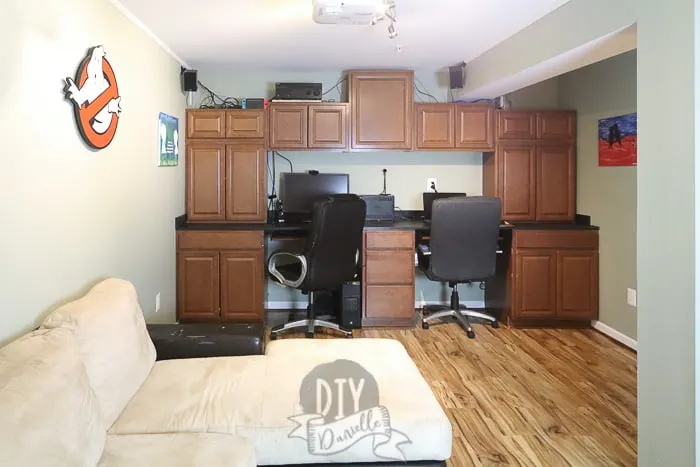
How to make your own built in desks for a home office using almost entirely kitchen cabinets. These were intended to function as standing desks, but we also used tall stools.
This post may contain affiliate links which may earn me commissions should you click through them and take certain actions. As an affiliate for Amazon, Cricut, xTool, Home Depot, and other sites, I earn from qualifying purchases. Please DIY carefully. View my full legal disclosures here.
Please read the whole post so you don’t miss any important information!
Originally posted March 16, 2015, but the photos and some additional details/thoughts were added April 19, 2020.
In terms of time, the bulk of the time investment was for the contractor to finish the room and for us to figure out how we wanted to configure our cabinets though so I really can’t complain about this portion of the project in terms of how long it took from install to completion. THIS part was quick once we knew what we wanted.
I had grand notions here. First of all, I wanted standing desks. We tried to work out a way to do this without spending a ridiculous amount on custom cabinets, but I didn’t like any of the solutions. So we went with normal size cabinets.
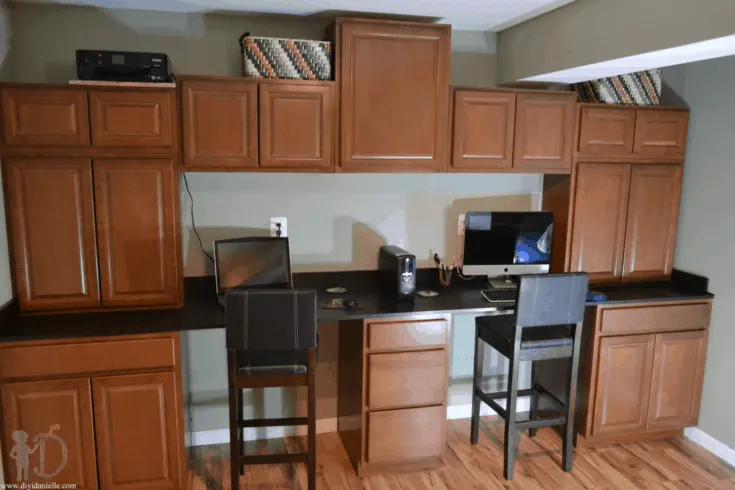
The result is these.
I may end up mounting my monitor (the iMac on the right) higher up on the wall, building a base for the keyboard and mouse, and using it as a standing desk that way.
But I do like using a stool as well so this has worked out okay. I’m definitely more comfortable with this setup than I was with our lower desks so we’ll see if I decide to fix it up as a standing desk later.
Secondly, I had planned to buy unfinished cabinets or refinish cabinets that were used, then distress them like I did with our built-in entertainment center.
I couldn’t find what I wanted, however, and I wanted to finish this project very badly so we went with these cabinets which were in stock. Not distressing cabinets DID save me a ton of work. But check out the built-in entertainment center post if you want to compare. They really are quite lovely.
This project is fairly straight forward. We had our kitchen renovated for us when we lived in a condo, and now I cringe to think how much we could’ve saved if we had done it ourselves.
Here’s some of the steps and pictures of our process:
To begin, we removed the baseboard on that wall. Since then, I’ve found THE BEST way to remove baseboard so make sure to check that out.
We used kitchen cabinets for the bottom of the desks. These allowed a TON of additional storage space. They’re fairly tall though so they’re not what you’d expect for a typical desk. When you measure your space, you want to leave a good distance between each station for your legs. Otherwise it will feel cramped.
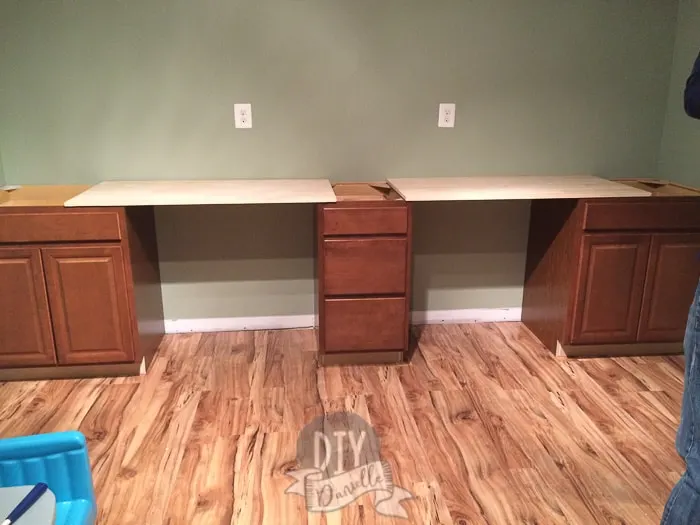
The cabinets were attached to the wall using 2.5″ drywall screws and the baseboard was reattached where appropriate. We also added quarter round to match the laminate floors.
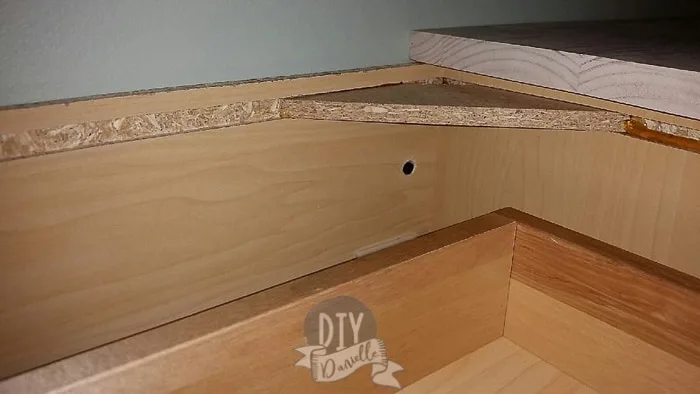
Cut your countertop. We used several pieces of good quality wood that we purchased at the store. This needs to be solid so it won’t bow. You could always order counters as well.
Attach countertop with wood glue. We drilled holes and added dowels to help hold the pieces of the countertop together as we had three cuts of wood, I believe, total.
Then I stained (ebony stain) and added poly to the countertop to protect it.
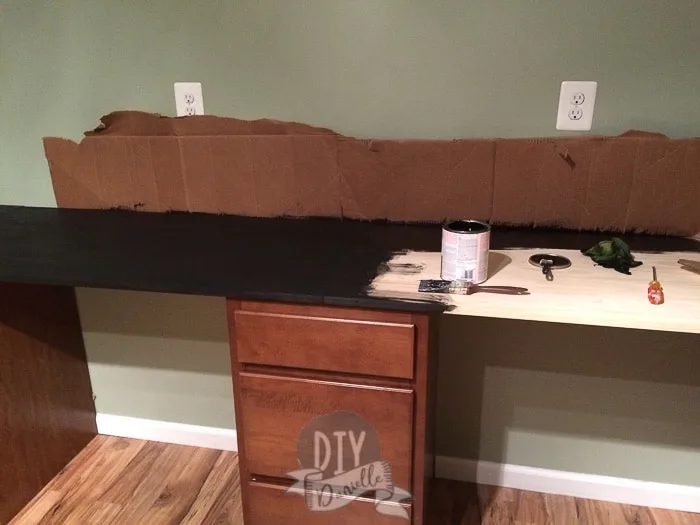
I got stain on my cabinets accidentally, but I wet a corner of a Magic Eraser and it came right off (phew)!
Beginning left to right, we installed the upper cabinets. These were anchored to wall using 2.5″ drywall screws. Make sure they are level. It helps to have a second person, but it turned out that TV tray tables were pretty helpful to hold them up too.
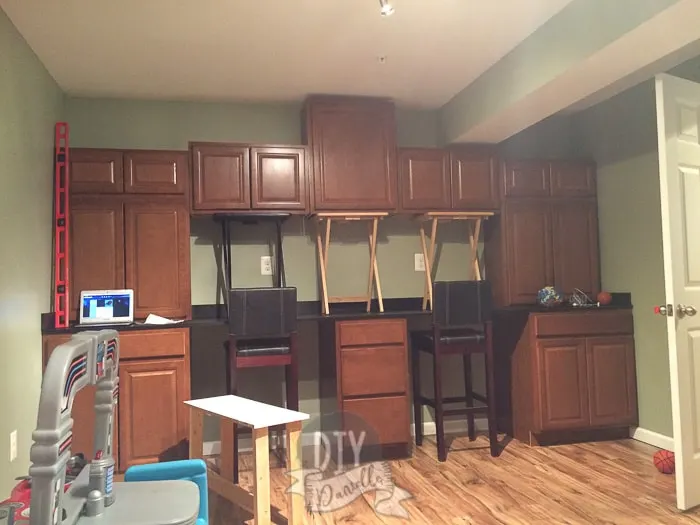
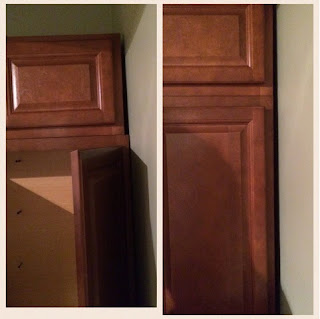
We went to install these all the way across and discovered the wall was bowed on the right side of the office area so we couldn’t just push the cabinets right up to the wall.
In the picture below, you can see where the top cabinet was a bit further from the wall because it wouldn’t push flush (left). As a result, we had to move our cabinet below it to the left so they’d lined up (right). Not a big deal, but we were caught off guard.
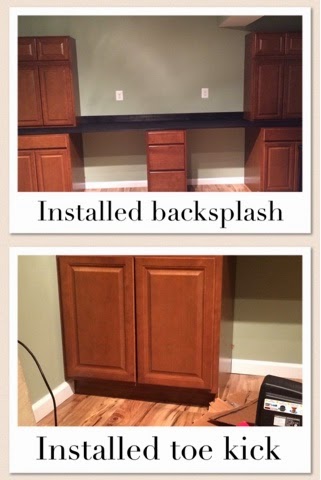
We added a backsplash piece to countertop. Then we installed toe kick piece to bottoms of lower cabinets.
Optional
- Install lighting. We did some really fabulous under cabinet lighting in our built-in entertainment center if you want to try it. Very simple and affordable.
- Add hardware to cabinets.
- Add the 2″ grommets, after drilling a hole with your 2″ forstner bit in the sides of the cabinets. This helps organize your electronics and keep them out of sight.
Final Thoughts
The storage space for this office was AWESOME. I loved that all of the storage was hidden. But looking back, knowing more about DIY/woodworking now, I would not do this the same way again.
First, I realllllly like everything to be even. It drives me nuts that the cabinets don’t line up straight across the top. NUTS. I think we’d talked about adding storage above at some point and never got to it.
Second, I love using cabinets for projects like our DIY TV stand, but I PREFER to have custom DIY bookshelves over them. Adding closed cabinets instead makes the space feel smaller, particularly with the darker finish that was on these cabinets.
We’ve done so many different built-ins at this point that I really like certain “looks” better. And customization for the space tends to win out over ease of building it all.
Using ONLY cabinets is certainly SUPER easy, but you don’t get the custom look that you do from building your own shelving.
It’s also WAY cheaper to build them custom (not including your time). I redid our laundry room with plywood shelves customized to the space and 1x2s for trim and it looks fantastic.
What it boils down to is that this WORKED and we had enough storage space to make ANYONE blissful. We could hide it all away. I had bins with toys in there and I would cycle through the toys so they’d always be “new” and fun. I could work on my computer while the kids played on the floor.
Eventually we also turned this into a theater room. Sometimes the darkness of the space was tough for me… I like light in the rooms I spend a lot of time in. But it was the PERFECT space for a theater room.
Here’s the desk side again…
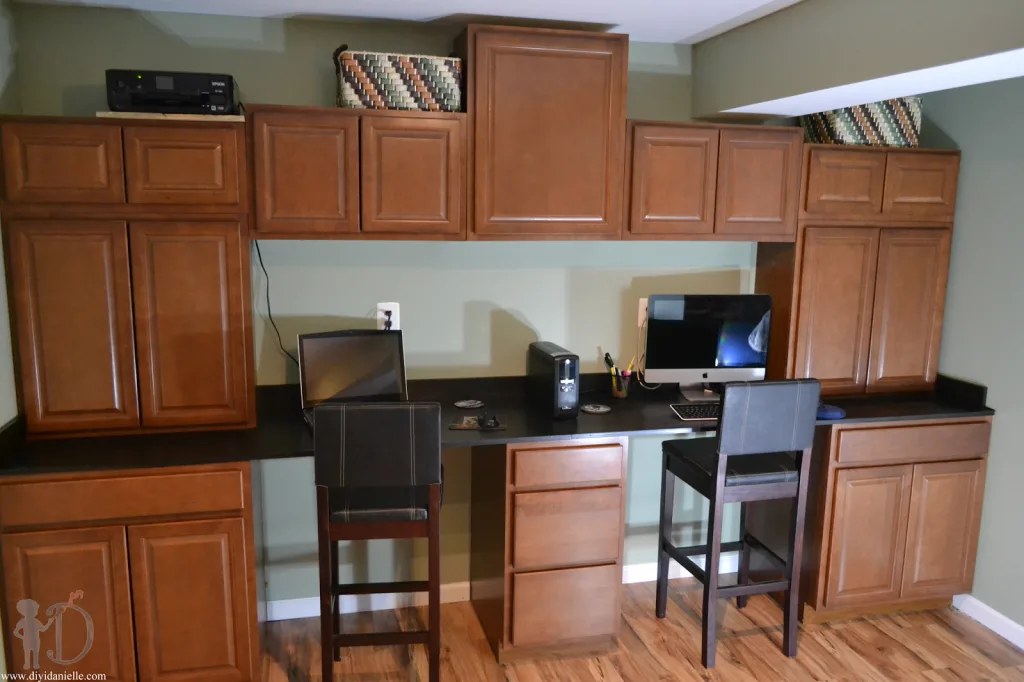
And here’s the side with the theater setup and our DIY arcade machine.
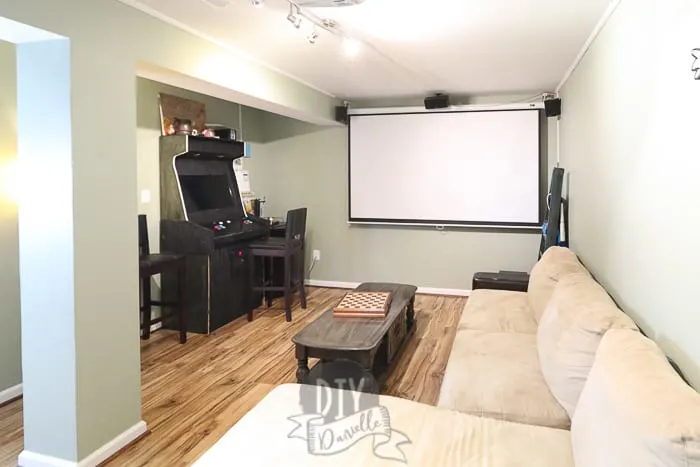
I love these floors so much. They were by far my favorite part of this room with the paint color being my 2nd favorite thing!
I wrote two other posts about this project if you’re interested:
I also have a post with lots of Home Office Organization Ideas for once your office is all setup!
Please share and pin this post! If you make this project, share it in our Stuff Mama Makes Facebook Group. We have regular giveaways for gift cards to craft stores. You can also tag me on Instagram @doityourselfdanielle; I love seeing everything you make!
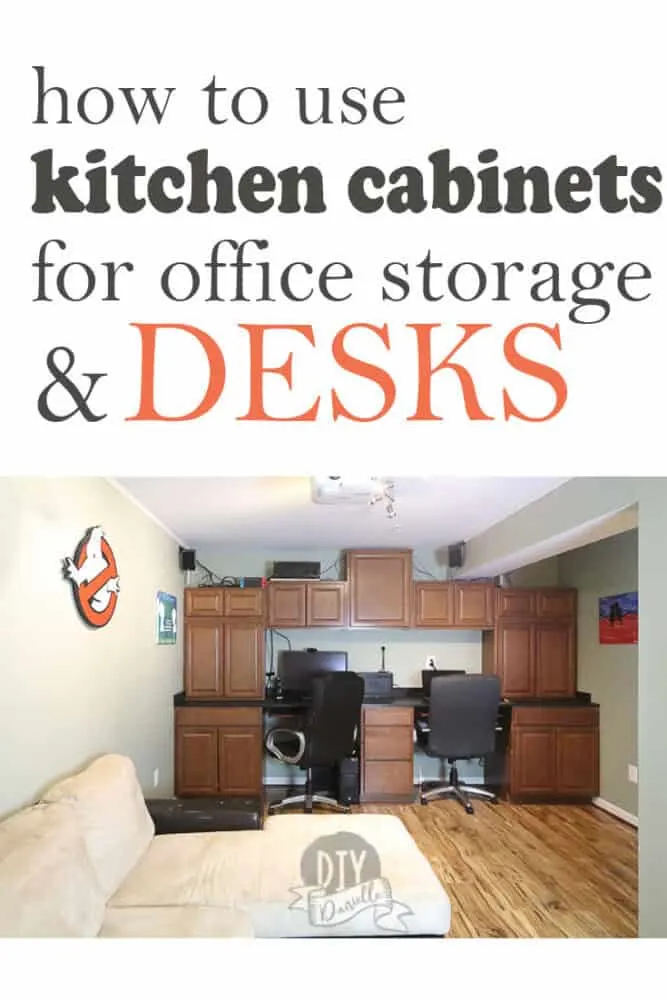
DIY Built In Desks for Home Office
Make your own built in desks for a home office with standing desks that can also use tall stools for sitting.
Materials
- Upper and lower cabinets.
- Good quality wood for countertop.
- Wood Glue
- Stain
- Dowels
- Drywall Screws
Tools
- Drill
Instructions
- Remove baseboard.
- Place bottom cabinets.
- Attach them using 2.5″ drywall screws.
- Reattach baseboard.
- Cut your countertop.
- Attach countertop with wood glue.
- Drill holes and add dowels to help hold the pieces of the countertop together as you cut the wood.
- Paint/stain countertop as desired.
- Install upper cabinets. Anchor them to wall using 2.5″ drywall screws, making sure they are level.

