How to upcycle an old kid’s shirt into a Minecraft sign for your child’s room. This is a great way to save your child’s favorite shirt!
This post may contain affiliate links which may earn me commissions should you click through them and take certain actions. As an affiliate for Amazon, Cricut, xTool, Home Depot, and other sites, I earn from qualifying purchases. Please DIY carefully. View my full legal disclosures here.
The majority of my content is generated by me, as are 99% of the photos and videos, but I utilize technology for titles, descriptions, video editing out all of my ums, and occasionally for text overlay on images.
Please read the whole post so you don’t miss any important information!
Do your kids have that ONE clothing item that they just don’t want to give up? Ever? My kids ADORE their Minecraft shirts, but they’re SO hard on their clothes. This shirt had a stretched out neck and had seen better days, but the image on the front was still good.
I suggested to my kids that we could turn it into a sign for my son’s Minecraft Room. They were 100% on board with this idea. I’ll probably regret this later as they have a LOT of favorite clothing items.
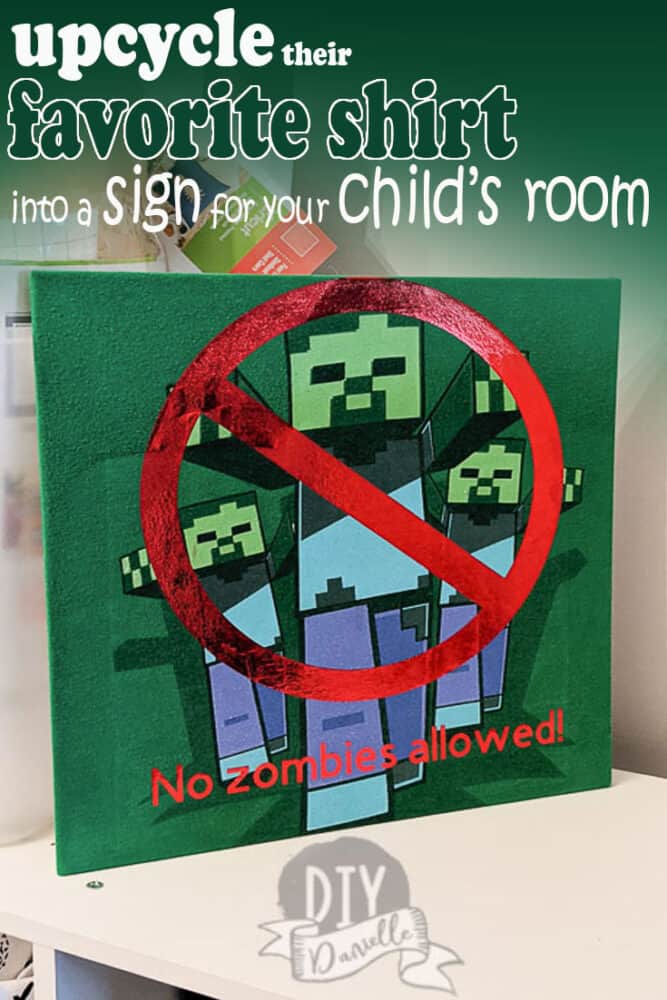
They told me they wanted the sign to say NO ZOMBIES ALLOWED! Well that seems reasonable! With a little bit of leftover Cricut iron on and an upcycled canvas panel from my DIY Dust Jacket Art, I was able to make this FAST and EASY.
DIY No Zombies Minecraft Sign
Supplies
- Old (or new) Minecraft shirt
- Glue gun: I love the Ryobi Glue Gun
- Canvas Panels
- Command Strips, Small
- Cricut Maker™
- Cutting mat
- Weeding tool
- Cricut EasyPress™ with the Pressing Pillow Underneath
- Teflon Sheet or scrap cotton fabric
- Iron On Vinyl: I used red and black. The red is iron on foil.
- Design: No Zombies Sign
Use the Discount Code DIYDANIELLE on cricut.com for 10% off any cutting machine or heatpress (no minimum). Excludes: materials/accessories/mystery boxes/etc. Applies to US/CA only, code expires 12/31/23.
I really don’t want to get too in-depth with this project because it is SUPER simple. This doesn’t need to be over explained so it will be short.
First, cut off the back of your shirt and the sleeves. You don’t need them. You can use those scraps to make DIY braided baskets or just use them as rags.
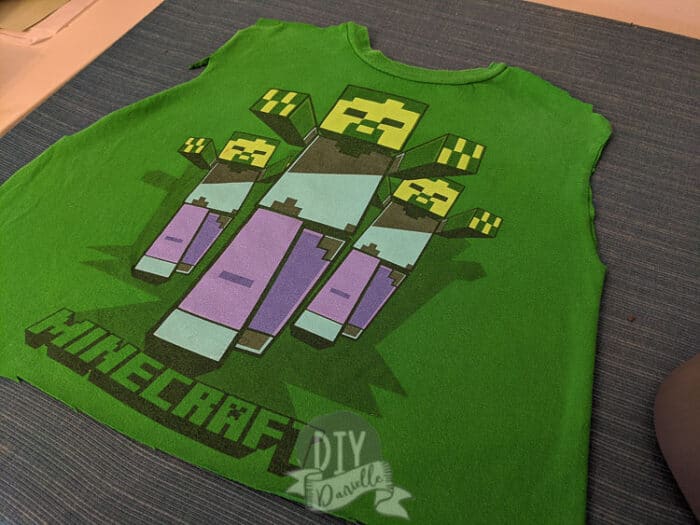
Iron your shirt front.
Prepare your Cricut machine and iron on. Don’t forget to mirror the image and text, and place the iron on shiny side down on the cutting mat.
Your machine can now cut the image out. You might want to consider removing the middle of the “no smoking” circle to save scraps for other projects if you’re cheap like me, lol.

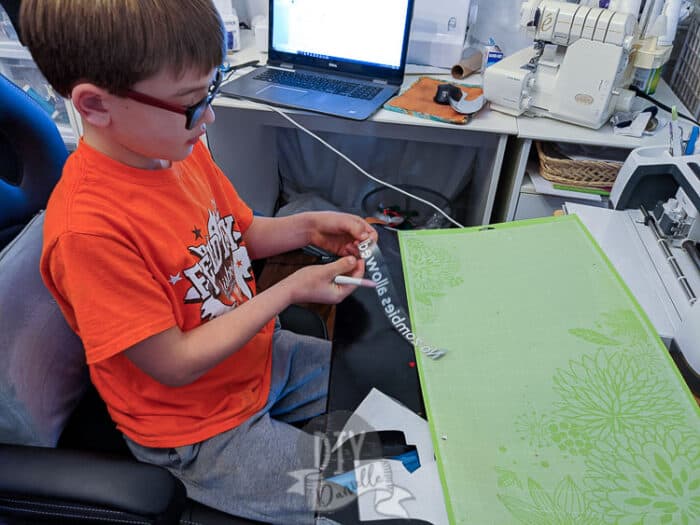
I recommend letting your kids help weed the excess iron on away! He really liked it and hey, it’s their sign.
Now you can iron on the image and words over the shirt design.
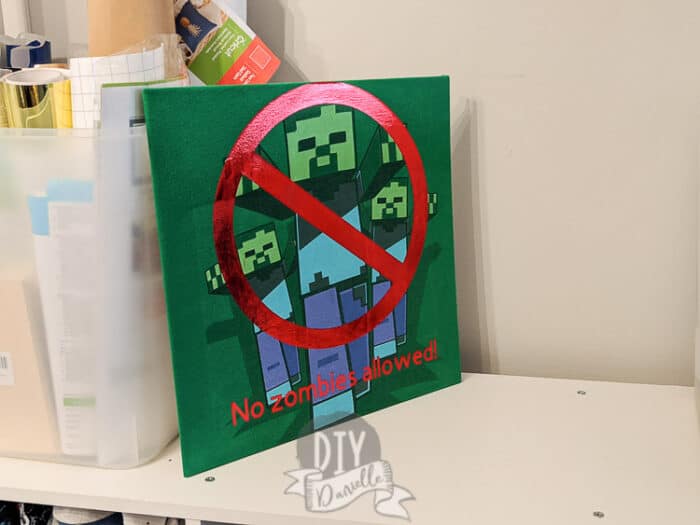
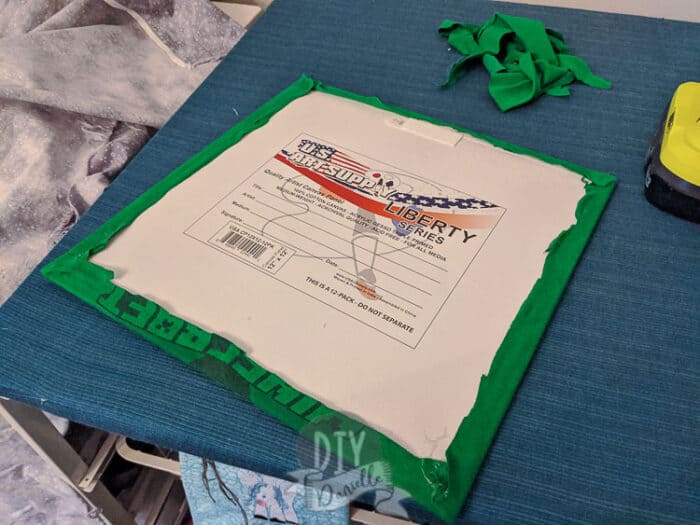
Use hot glue and a glue gun to attach the shirt to the canvas.
I love using Command Strips to hang these type of canvases.
And that’s it! Enjoy!
Don’t forget to check out my tutorial on how to make a Minecraft style sign with your child’s name.
Please share and pin this post! You can also post your project and tag the DIYDanielle team on Instagram @doityourselfdanielle!