How to make a simple Minecraft name sign using your computer and a Cricut Air 2. Love this pixelated name art!
This post may contain affiliate links which may earn me commissions should you click through them and take certain actions. As an affiliate for Amazon, Cricut, xTool, Home Depot, and other sites, I earn from qualifying purchases. Please DIY carefully. View my full legal disclosures here.
The majority of my content is generated by me, as are 99% of the photos and videos, but I utilize technology for titles, descriptions, video editing out all of my ums, and occasionally for text overlay on images.
Please read the whole post so you don’t miss any important information!
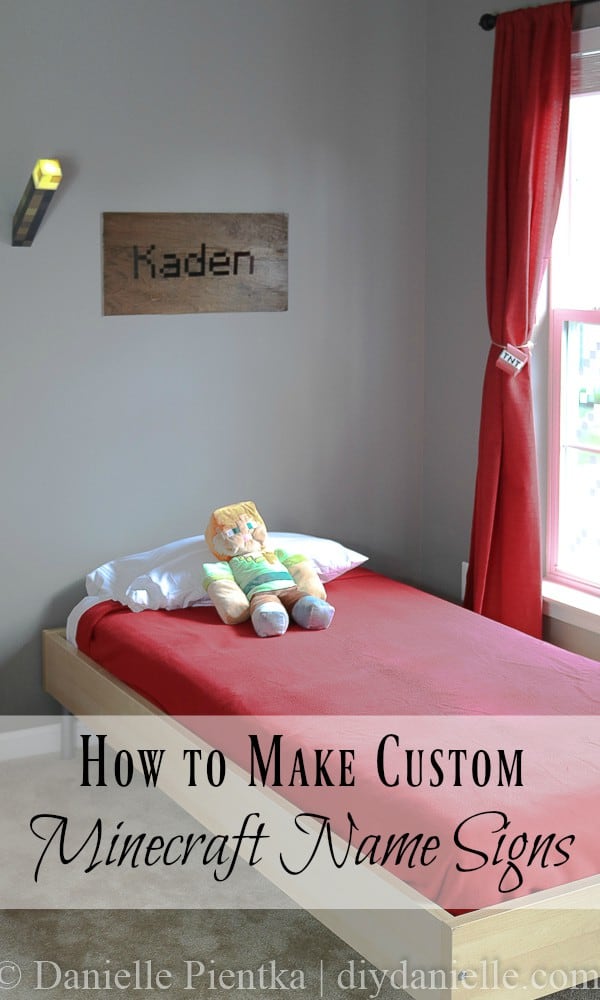
When I was putting together my sons’ Minecraft room, I knew I’d need wall decor which is always a struggle for me. I often let walls stay blank while I mull over the possible options for decorating them. I’m bad at hanging wall decor and I’m bad at decorating walls. It’s such a rough process for me. But when it came to an authentic Minecraft room, I knew I wanted some Minecraft signs! These were super easy to make and very satisfying.
I also like having name signs for my kids so they work on name recognition (my 5 year old knows his name, but it’s good for the 3 year old).
Use the Discount Code DIYDANIELLE on cricut.com for 10% off any cutting machine or heatpress (no minimum). Excludes: materials/accessories/mystery boxes/etc. Applies to US/CA only, code expires 12/31/23.
How to Make a Name Sign Using Pixelated Minecraft Letters
Supplies
- Lightweight thin plywood board
- Stain: I used Dark Walnut, but lighter might be more authentic
- Polyurethane
- Black Outdoor Vinyl: Use permanent (if placing on a piece of wood) and you’ll want a long piece of it.
- Cricut Air 2
- Transfer paper
- 12×24″ Cricut Mat
- Command Strips (size will depend on how heavy your wood is)
First, you need to get your words printed. You’ll need the Minecraft video game to do this. Create a sign with your child’s name in the game, then get close and take a screenshot.
Start a new project in Design Space and upload the image. You’ll need to crop around the name, then use the eraser to get rid of everything but the black lettering. Once you do that, you’re ready to resize the name and print.
I used one of the long mats from Cricut and some permanent vinyl that came in a roll. This is important because my image was longer than the 12×12″ size of some vinyl cuts and certainly longer than the 12×12 mat.

I resized the names and rotated them to print sideways so the length could go down the 24″ side. This meant I didn’t need to limit myself to a 12″ width for the sign. My lettering was around 16″, I believe, and I was able to print them all on the one long piece of vinyl.
This is how it looked printing…

Once printed, I just weeded my vinyl in preparation for transferring it to the wood.
Now you need to prepare your wood. You really have a lot of options for what you want to use for wood, but I went with a lightweight thin plywood that had a pretty grain to it. The board is sold in squares fairly cheap (around $5) and I was able to cut it in half so I could make one for each boy. The width of my board was 20″ roughly, but I decided that I didn’t want the lettering wider than 16″.

Now you want to stain your wood. I used a dark walnut, but I think lighter might be slightly more authentic.

Once this dried, I applied a layer or two of polyurethane and let it dry.
Flip it over and add your Command Strip(s) to the back.
Once you’re done that, you can apply your names using your transfer paper. If you want to go truly Minecraft authentic on this project, you’ll center the words at the top of the board and leave an awkward amount of blank space at the bottom. I centered it in both directions because that blank space drives me absolutely crazy in Minecraft.
Now you can hang your sign over your child’s bed! Done!
Love Minecraft? Upcycle an old shirt into a wall hanging. You could even make these cute custom 8-Bit Pixel Portraits to hang on the wall too!
Please share and pin this post! You can also post your project and tag the DIYDanielle team on Instagram @doityourselfdanielle!