
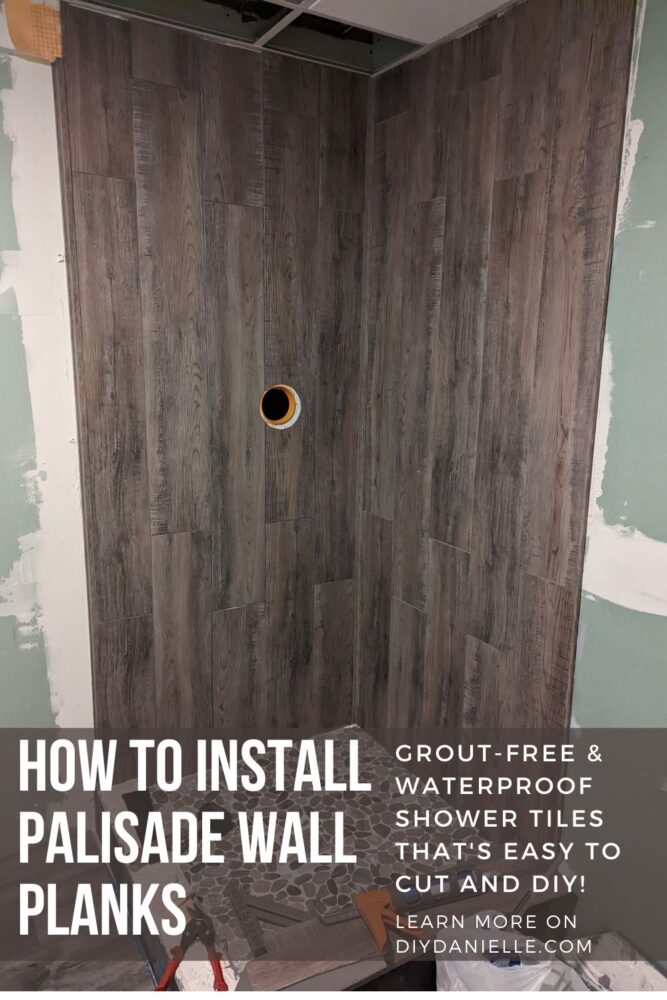
How to install the Palisade shower kit, waterproof and grout-free tiles that install similar to laminate flooring.
We’ve been working FOREVER on finishing the roughed-in bathroom in our basement. I ordered a lot of the supplies for it LAST November and the project kept getting pushed back. We finally hired someone to finish the shower pan as we got stuck on this step, but I wanted to install the shower tiles myself. I opted to install the Palisade Wall Panel shower kit, which didn’t require grout and was easy to cut. Today I’m going to show you how easy it is to install. Many thanks to DIY Decor Store for Sponsoring this post and providing the products.
This post may contain affiliate links which may earn me commissions should you click through them and take certain actions. As an affiliate for Amazon, Cricut, xTool, Home Depot, and other sites, I earn from qualifying purchases. Please DIY carefully. View my full legal disclosures here.
The majority of my content is generated by me, as are 99% of the photos and videos, but I utilize technology for titles, descriptions, video editing out all of my ums, and occasionally for text overlay on images.
Please read the whole post so you don’t miss any important information!
Many thanks to the DIY Decor Store for sponsoring this post and providing some of the supplies for the project!
How to Install the Palisade Shower Kit
This kit is very easy to install and it’s similar to the Dumawall Kit that I installed in my kids’ bathroom. The tiles are thinner though, similar to laminate flooring, and I love the look of them.
Supplies:
- (1 Kit) Palisade Wall Planks, Natural Oak Shower Kit (SKU 53381)
- Loctite Power Grip adhesive
- Caulking Gun: I used a manual one, but this Ryobi caulk gun would be MUCH easier with the hard to push out adhesive.
- Flooring Tapping Bar
- Mallet
- Utility Knife with extra blades
- Jigsaw
- Pencil
Note that the kit comes with clear caulk. White caulk would be fine above and below the wall, but make sure you’re using a clear caulk for between the planks or else the seams will look bad.
Tutorial
I’m going to give you the instructions for a shower similar to mine. This has one true corner vs. the two that a standard size bathtub would have. Please read the instruction manual in your Palisade Wall Plank/Shower Kit for full instructions and to ensure you follow them for your specific shower layout.
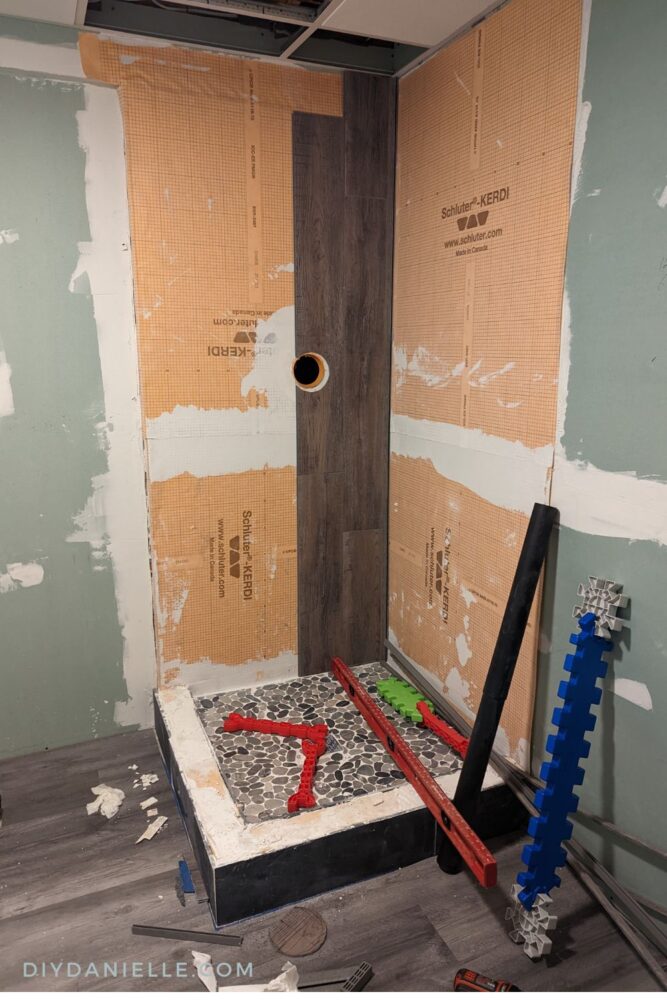
Installing the Corner Trim
As I only had one corner, I started my shower walls by installing the inner corner trim piece, cut to the correct height, in the corner of the shower. I recommend using an adhesive such as Loctite Power Grip adhesive for the trim pieces. Once that corner trim piece is adhered, you can start installing your wall plants, ensuring that you fill in the gaps inside the corner trim with caulk.
Cutting Palisade Planks
- These planks cut easily using a utility knife and a speed square. You score the line, then snap the planks in two.
- Make sure to cut the correct end. You want to leave the tongue and groove in the correct spots… the cut ends (“raw ends”) should only be on the very bottom or top of the shower walls. Likewise, ensure that the tongue and groove on the long sides of the planks is correct as well.
- When cutting out an area for the faucet and shower head, you can draw the lines out and cut them with a Jigsaw.
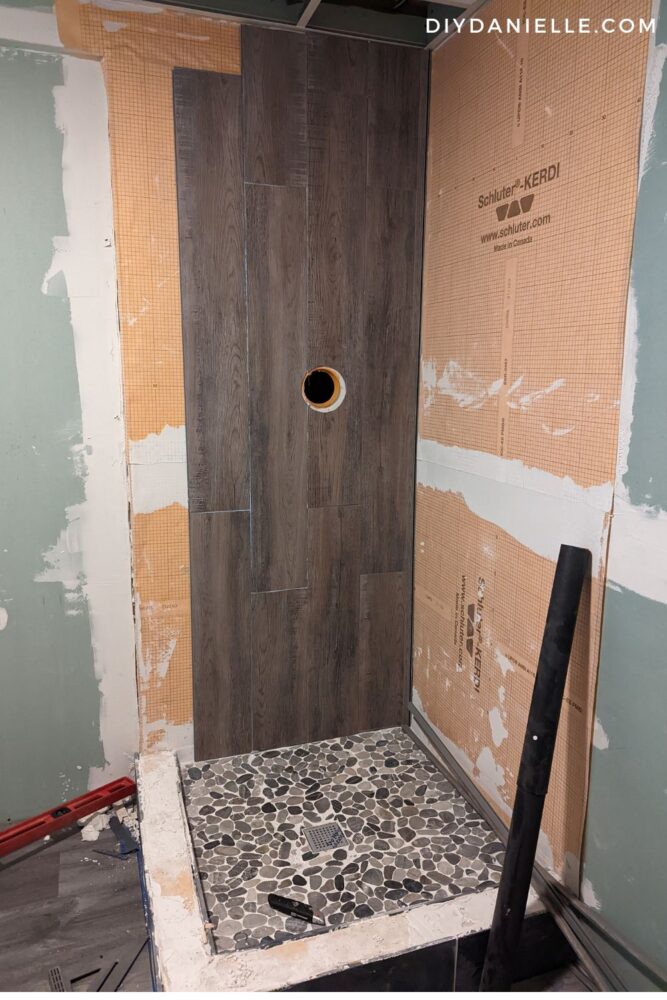
- You want to ensure that you follow a pattern for the planks. For example, my bottom plank for my first column was 21.5″ then I had a full plank, and the top plank was the size of the gap between the middle plank and the ceiling. The first piece of the second column was 31″ tall, then a full plank, then another plank that was cut to the size of the gap between the middle plank and the ceiling. I repeated this pattern.
Installing the Planks
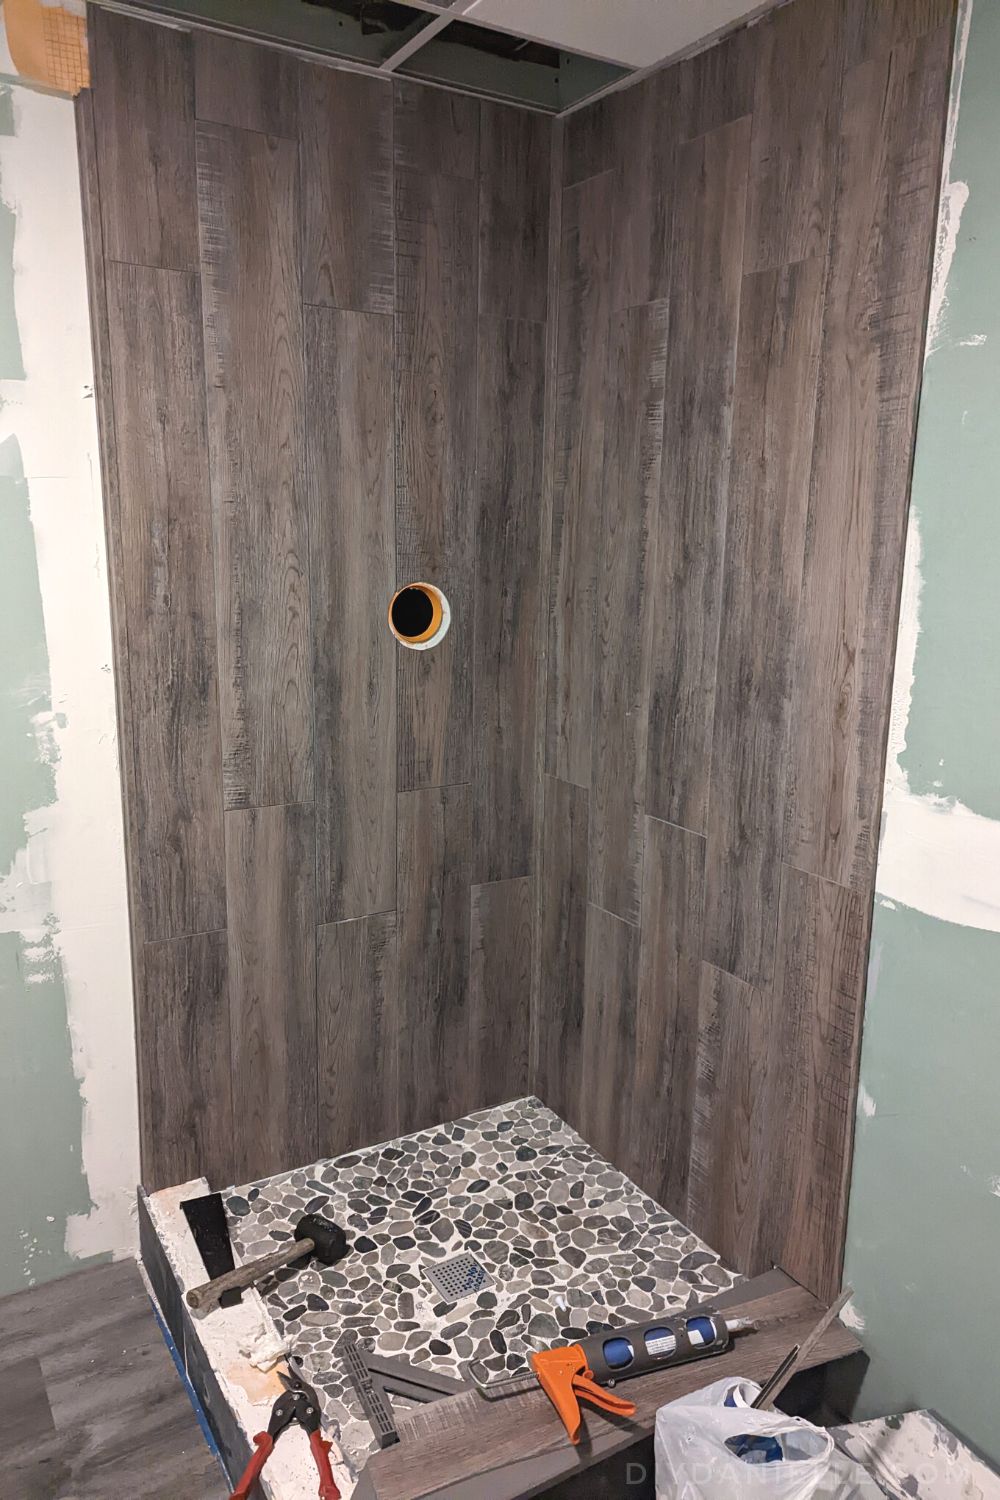
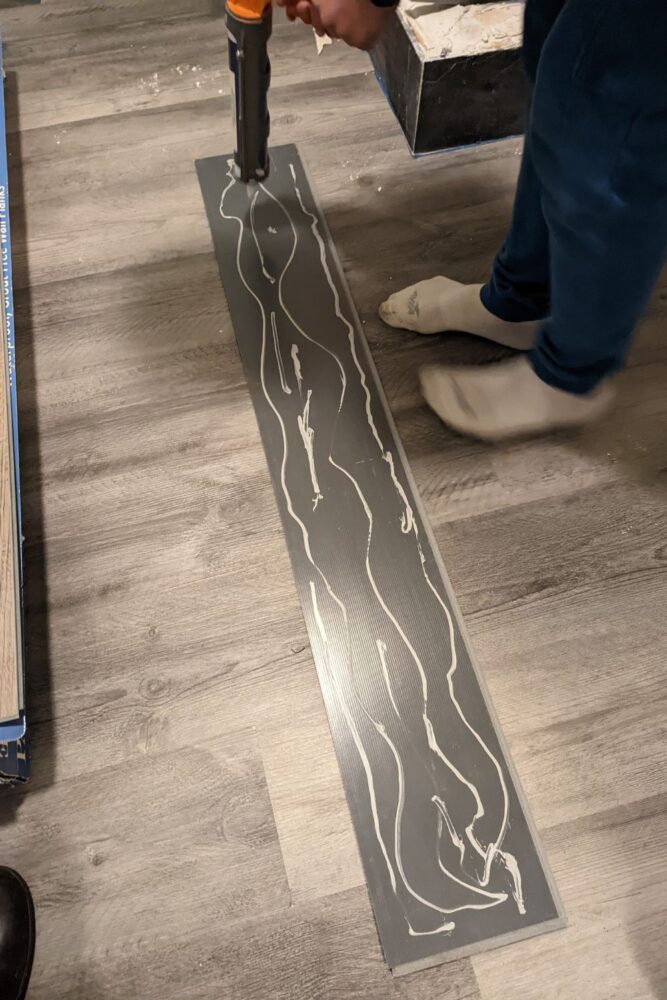
Installing the planks is relatively straight forward. I worked my way out from the corner trim, starting on the bottom left. I cut the first plank, added adhesive to the back and added caulk to the gap in the corner trim. Then I slid the plank into place.
After I used a full plank on top of it, making sure the tongue and groove inserted properly into each other. Again- I used caulk along the seams and adhesive on the back of the plank.
Any excess caulk or adhesive was wiped away with a wet paper towel. I completed each column before moving on to the next column.
If you’re having trouble sliding the planks into place fully, you can use a tapping bar (used for installing laminate flooring) and a mallet to help slide the planks into the correct position. Just make sure the tongue and groove is inserted properly because using the bar and mallet.
Adhesives
- The shower kit adhesive works fine for most of the planks, but a faster drying adhesive such as Loctite Power Grip adhesive is easier for installing trim pieces and small pieces of plank.
Installing the J Trim Along the Exterior
The J Trim is the last step and it applied to the outside edges of the wall tiles. You’ll add adhesive to the back of the J-Trim, and add caulk to the inner groove where the tiles will be inserted.
You’ll caulk the top (near the ceiling) and bottom (near the floor) instead of using a trim piece.
Video Tutorial
Please share and pin this post! You can also post your project and tag the DIYDanielle team on Instagram @doityourselfdanielle!
Thank you for sharing this!!! I never heard of this product and we’re doing a bathroom right now! You may have saved us so much money and pain from trying to do ceramic wall tiles.