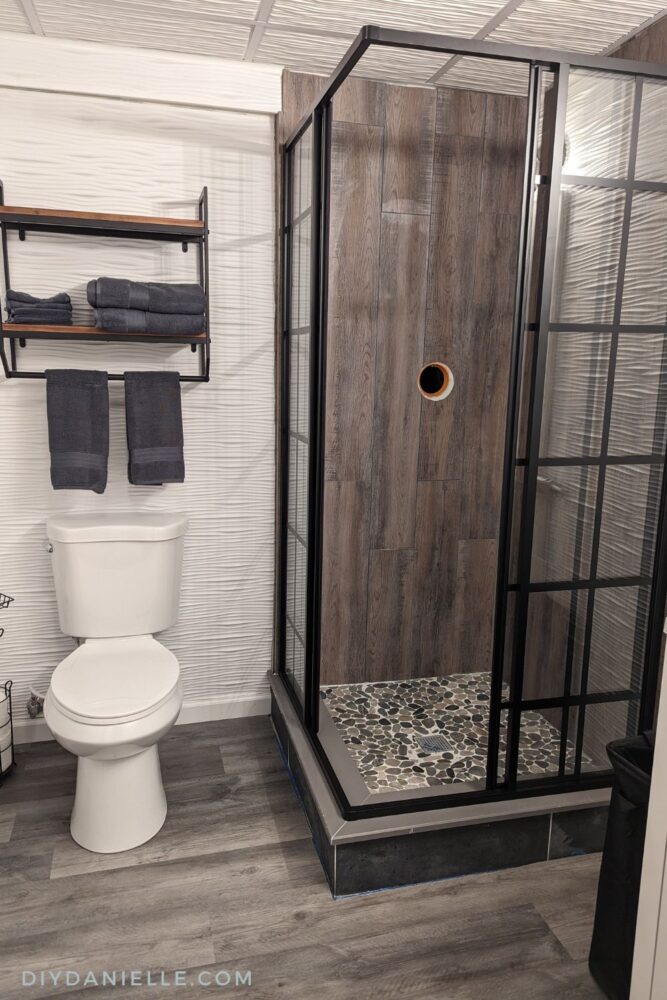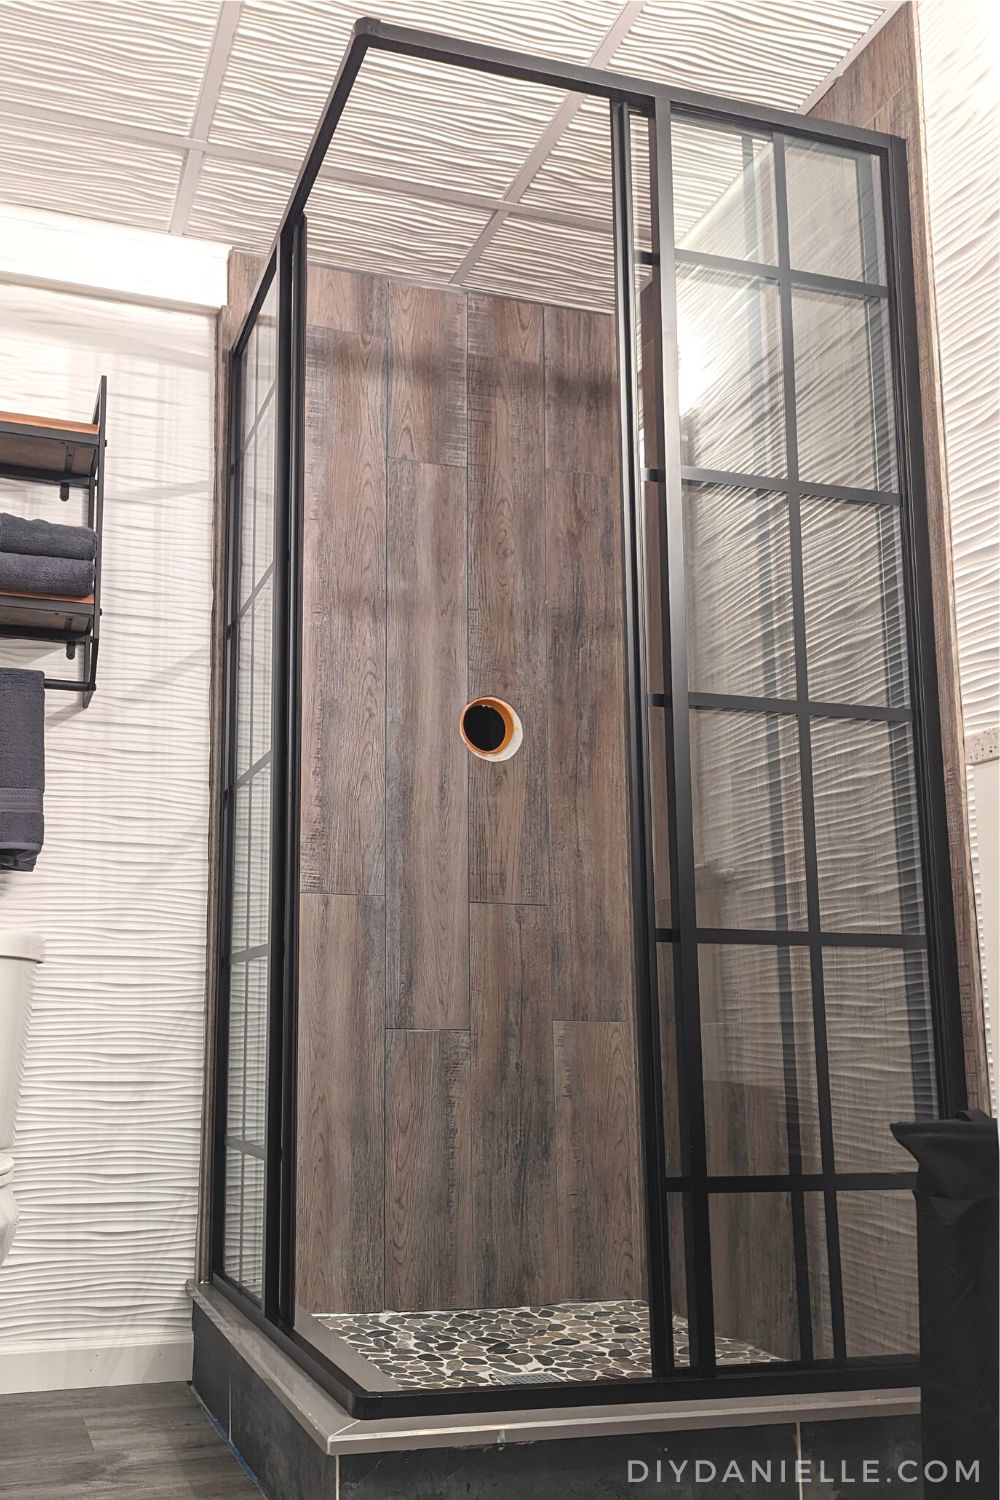
Review and installation of the Dreamline Shower Doors. This alcove door set is a stunning addition to our basement bathroom that we renovated!
When we started our basement bathroom rough-in project, we wanted to maximize our use of the space to make a comfortable and functional bathroom for guests, as well as for our family. A corner shower was a must, but I didn’t want a shower door that would open out and take up additional space. That would have meant choosing a smaller vanity and therefore we would have less storage space in the bathroom. These Dreamline Shower Doors worked PERFECTLY for the space. The corner doors that open in the corner gave us plenty of extra space for a big vanity without sacrificing comfort.
This post may contain affiliate links which may earn me commissions should you click through them and take certain actions. As an affiliate for Amazon, Cricut, xTool, Home Depot, and other sites, I earn from qualifying purchases. Please DIY carefully. View my full legal disclosures here.
The majority of my content is generated by me, as are 99% of the photos and videos, but I utilize technology for titles, descriptions, video editing out all of my ums, and occasionally for text overlay on images.
Please read the whole post so you don’t miss any important information!
Here’s an installation video. These were fairly easy to install, although it was nice to have two of us doing the job. I was worried about moving the pieces around by myself because I didn’t want to accidentally break the doors. I opted to have Home Depot deliver these to my house for an additional fee because I was so worried about breaking something during transport.
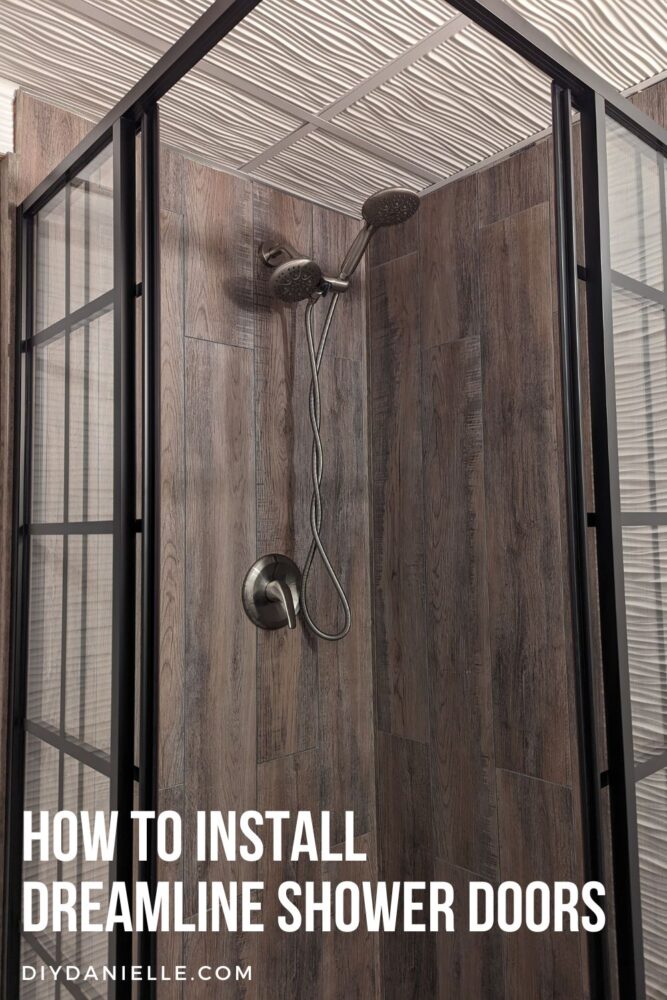
How to Install Dreamline Shower Doors
I’m going to explain how we installed this door. PLEASE PLEASE PLEASE check your instructions before following mine! Companies change their instructions occasionally and I’d hate for you to install this incorrectly because you followed my 2022 video with your 2025 doors. Or, for that matter, because I forgot to include a step.
Supplies
- Dreamline Shower Doors, Black Framed (these are also sold in other styles and colors): https://homedepot.sjv.io/e4o65D
- Drill Bits
- Drill
- Caulk, Clear
Step 1: Measure out your space and install the rails.
The instructions give you the measurements to figure out where to place your rails. Dry fit your rail, check to make sure it’s level, and make a pencil mark on your shower tiles (Pictured: Palisade Shower Kit) where the screw holes are on the rails. You’ll predrill the holes in those areas, apply clear caulk to the back of the rail and to the screw holes, then attach the rails using the included screws.
Step 2: Predrill your connector pieces
There is a corner connector for both the top and bottom. The two stable shower walls connect using this piece. You’ll predrill the hole where the connectors attach to the stable shower walls on either side.
Step 3: Fit the stable shower walls into the rails.
Step 4: Connect the stable shower walls using the corner connector.
These just screw into place.
Step 5: Place your wheels for the sliding doors on the bottom and top rails.
Step 6: Install each door individually, using the included screws to attach them to the wheels in the rail.
The wheels in the rail spin which makes screwing the screws in tricky, but you’ll get it eventually!
Step 7: Adjust doors so they close without a gap.
Step 8: Attach the stable panels to the rail in the wall.
You’ll predrill the hole, then use the included screws to attach them. The set comes with the white piece and a black cap. The white piece gets screwed in with the screw, then the cap attaches to the white piece.
Step 9: Apply caulk along the bottom of the rail.
You’ll walk to caulk along the bottom of the rail. This helps keep water from leaking out of the shower where the shower doors meet the curb. Do NOT caulk inside the rail where the door rolls. Let your caulk dry for the time indicated on the container (usually 24 hrs+) before using the shower.
Tutorial: How to Apply Caulk
Interested in other bathroom projects? Here are some ideas from this renovation project and others!
- Installing Palisades Shower Tiles
- Installing DumaWall Shower Tiles
- How to Install Laminate Flooring
- How to Use Caulk
- 17 DIY Bathroom Vanity Ideas
- 20 DIY Bathroom Decor Ideas
- 17 Small Bathroom Makeovers
- Small Condo Bathroom Renovation Project
- How to Waterproof Shower or Bath Walls
- Behind the Door Bathroom Shelving
- How to Install the Ovation Bathtub Door
- How to Install Dreamline French Corner Shower Doors (these are stunning)
- How to Install a Pull Out Shelf in a Bathroom (without drilling into your cabinet!)
- Full Basement Bathroom Renovation Project REVEAL!
- Kids Bathroom Renovation Project REVEAL!
Please share and pin this post! You can also post your project and tag the DIYDanielle team on Instagram @doityourselfdanielle!