
Learn how to caulk a shower or bathtub with my simple and straightforward guide. From caulk or grout to time-saving tips! Easy Bathroom DIY!
This post may contain affiliate links which may earn me commissions should you click through them and take certain actions. As an affiliate for Amazon, Cricut, xTool, Home Depot, and other sites, I earn from qualifying purchases. Please DIY carefully. View my full legal disclosures here.
The majority of my content is generated by me, as are 99% of the photos and videos, but I utilize technology for titles, descriptions, video editing out all of my ums, and occasionally for text overlay on images.
Please read the whole post so you don’t miss any important information!
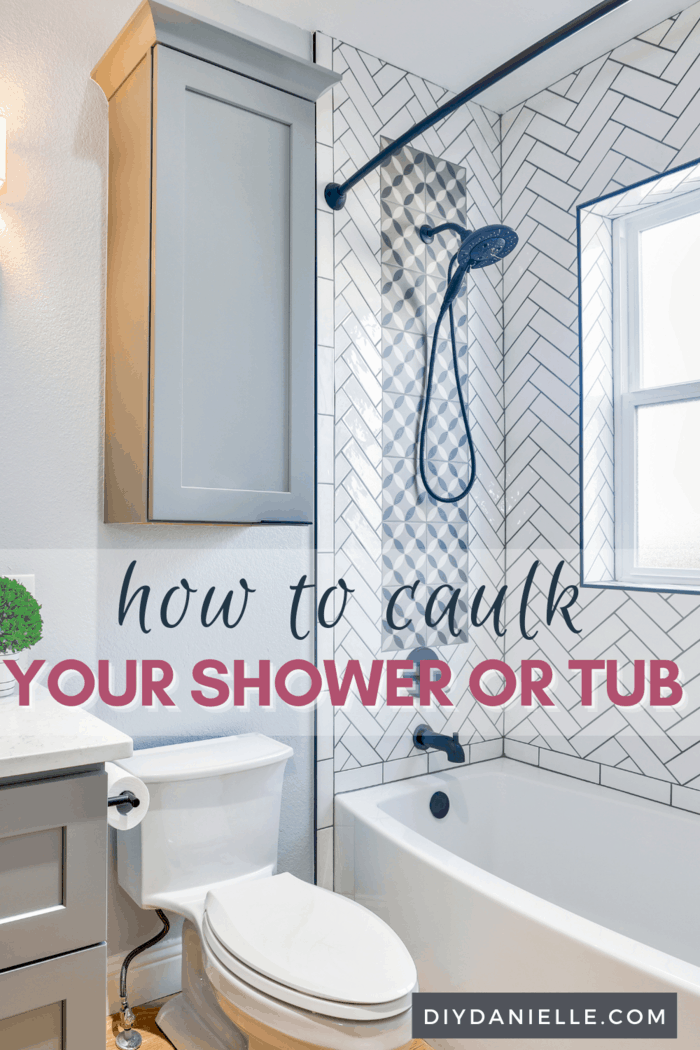
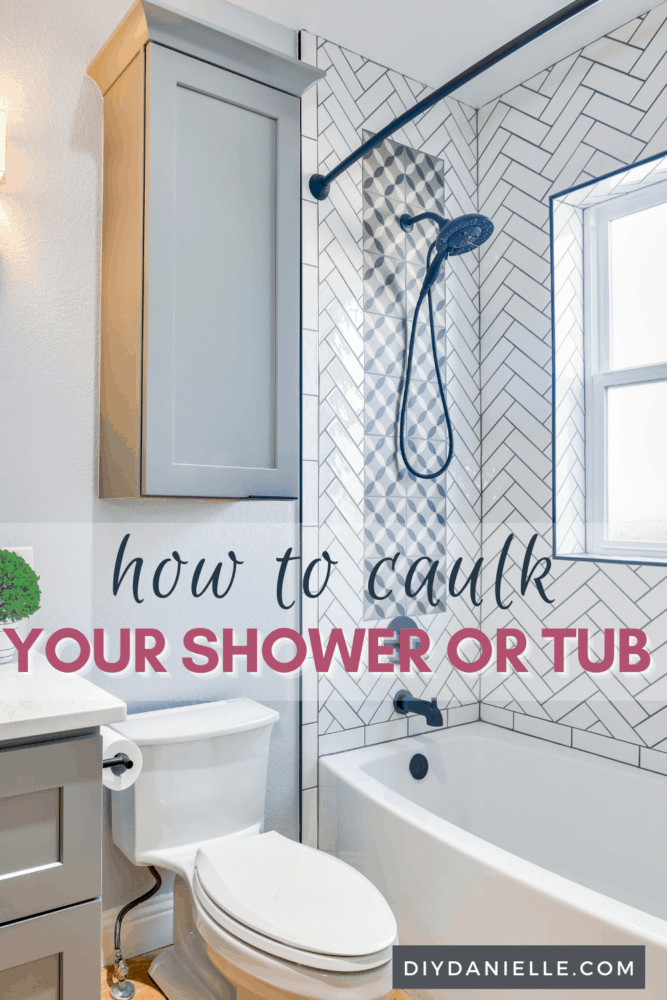
If you’re looking for a simple guide on how to caulk a shower or tub, you’ve come to the right place. There’s nothing more satisfying than doing something yourself and saving time and money in the long run. So if you need to caulk or grout your bathroom, get ready to discover this step by step guide. Hopefully by the end of this post you’ll feel confident and empowered and know exactly how to caulk a shower like a pro.
Should I Use Caulk Or Grout?
Before you get carried away with bathroom DIY, you’ll first need to understand the difference between caulk and grout. This is where most home DIY projects go wrong. Failing to understand why a certain product is used for a particular job is basically setting yourself up to fail.
Grout is typically used to fill in those gaps between bathroom tiles, whereas caulk is going to provide a water-tight seal around the edges of your shower or tub.
Caulk is a flexible filler and since temperature can cause materials to expand and contract, to fill in anywhere that is prone to temperature change, you’ll need caulk. Your shower or tub will be exposed to both cold and very hot water and this, along with general wear and tear, can cause gaps to form around the edges.
If you use grout instead of caulk, which is cement based, it might do the job for a couple of days, but a few weeks down the line, you’ll end up with the same problem.
The best type of caulk to use in your shower or around your tub is a siliconized acrylic caulk, which is easy to apply and highly flexible.
Caulking Supplies
You only need a few supplies for this project and they’re items you should probably keep around for other projects.
Caulk Applicator/Caulk Gun: These are generally pretty affordable, starting at $6 or thereabouts. I have two or three caulk guns and they all seem to be pretty similar. The tip cutter that some of the models include isn’t really worth an extra few dollars as those tend to be pretty dull.
Silicone Caulk: There are quite a few different types of caulk that you can buy, but you want one that is meant for use in bathtubs and showers. There are other types of caulk for the exterior of your home, as well as for around baseboards, windows, etc.
Disposable Gloves: It’s tough to clean caulk off your hands so gloves come in pretty handy.
Respirator or Mask: I have asthma and find the fumes from caulking to be pretty strong so I generally wear a respirator.
Video Tutorial: How to Caulk a Tub
Here’s a quick video explaining how to caulk a bathtub… keep scrolling if you’re here for a photo tutorial.
How To Caulk In 5 Simple Steps
Now you know which material to use, it’s time to learn how to caulk a shower or bathtub. Give yourself a good couple of hours to complete this job, as it’s going to take a steady hand to get this right the first time. Slow and steady wins the race after all.
Step 1: Prepare the area for caulk. If you’re refreshing your caulk you’ll need to remove any old strips as well as thoroughly clean away mold and mildew. You’ll need a clean and dry surface to apply the new water-tight seal.
Top tip: For stubborn caulk, use a utility knife or putty knife to gently peel it away.
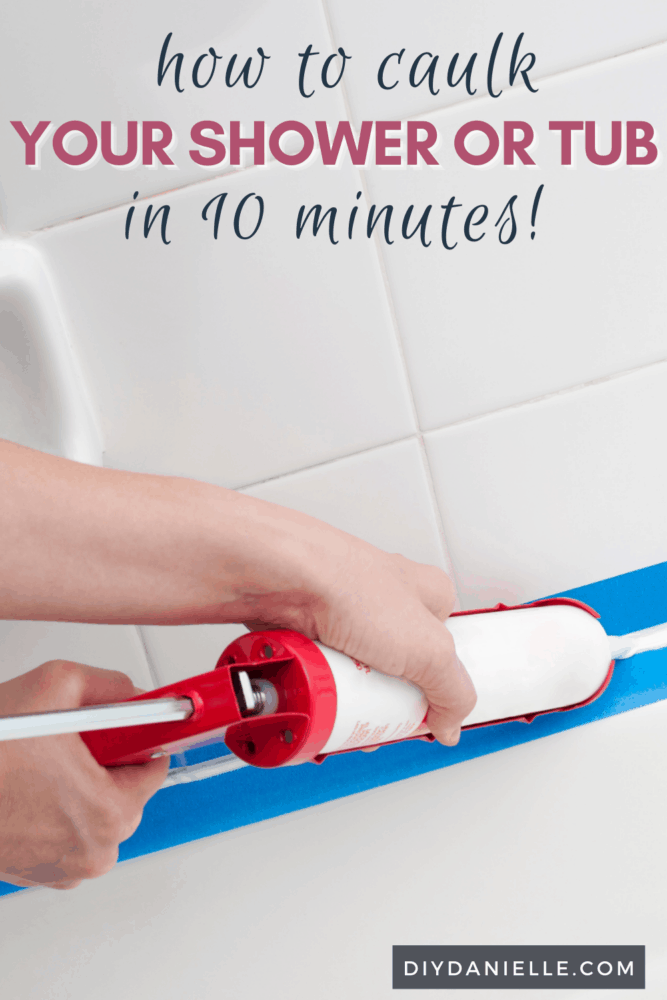
Step 2: Now all the old caulk has been removed, you can use painters tape to mark out exactly where you’ll need to apply the caulk seal. Apply it above and below the area you’ll be caulking and as you smooth out the wet caulk, it will help you get a professional finish.
If you’re caulking a bathtub, fill it with water. The weight of the water helps push the tub down where it will be when the tub is in use (minus the weight of the human).
Here’s an example of how someone places painter’s tape to help guide them while they’re applying the silicone caulk.
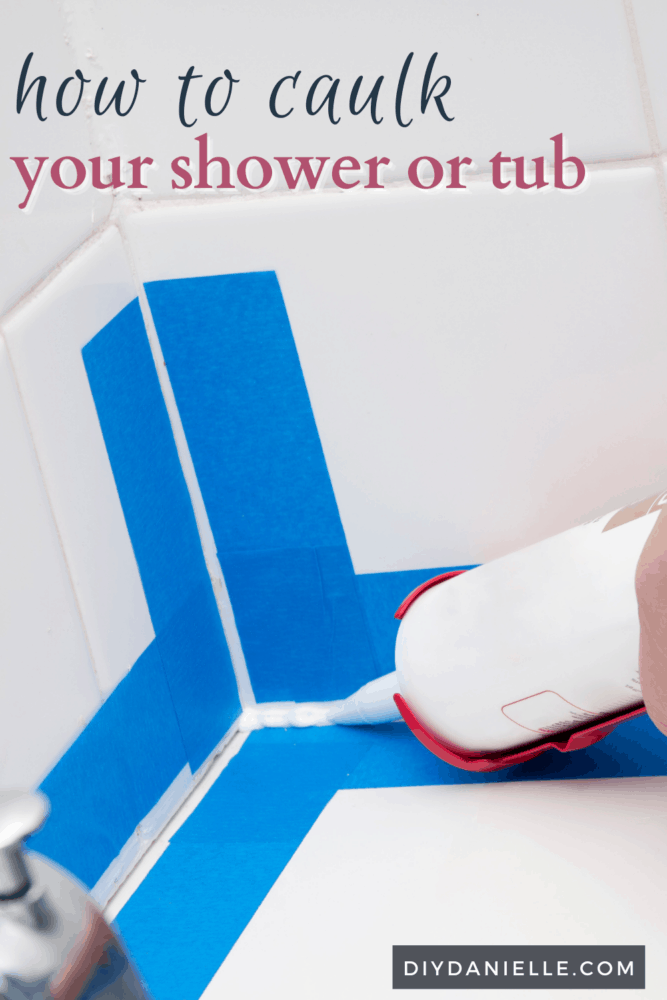
Step 3: Cut the tip off the nozzle to match the gap you’ve created with the painters tape. Then starting at the inner corner of the shower trap. Use a caulk gun at a 90 degree angle to the gap, and gently apply the right amount of pressure to have a continuous stream of caulking. Remember less is more at this point!
Or if you’re caulking a bathtub, apply an even bead of silicone sealant around the edge of the tub.
Step 4: Wet your finger and as you apply the caulking to the gap, smooth it over for a professional and clean finish. If you’ve applied too much caulk, use a damp finger to remove it before it dries.
Step 5: Remove the painters tape while the caulk is still wet. Do this from one corner to the other and slowly to prevent the wet caulk from being removed or smudged.
Congratulations, you’ve just learned how to caulk a shower! Yes, it really is that easy. So, take your time, invest in a good quality caulk and applicator gun and get ready to save yourself time and money by taking on this DIY project on your own!
How To Caulk A Bathtub
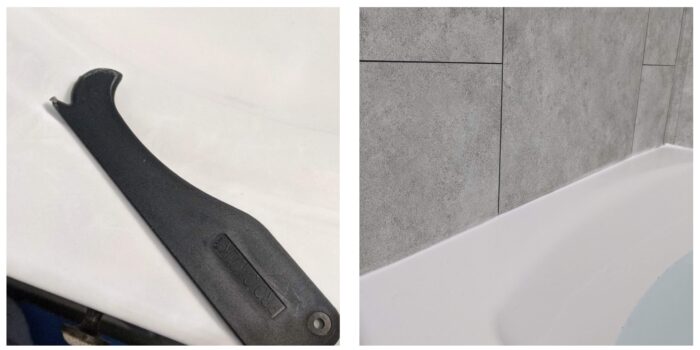
1. Remove old caulk (if applicable). This tool works well for that.
2. Clean up around the tub, making sure to wipe away any dust and debris.
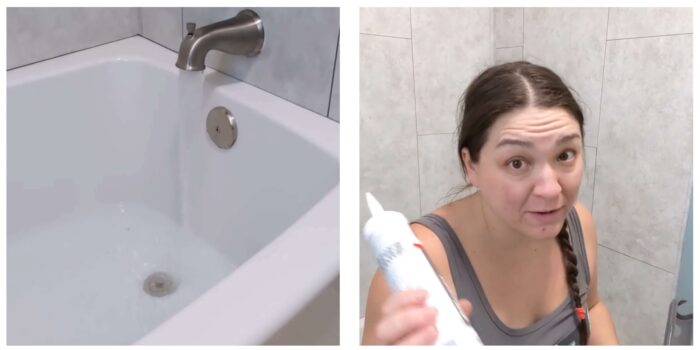
3. Fill your tub.
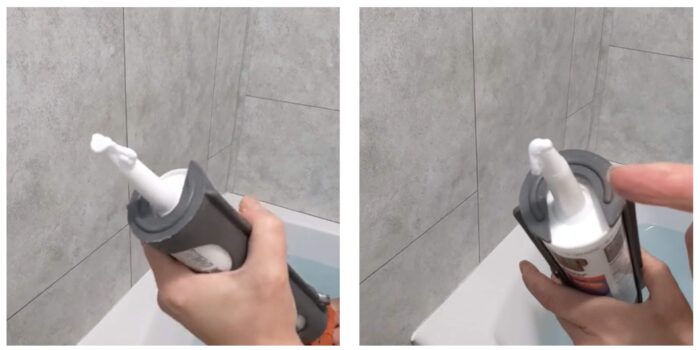
4. Cut your caulk tube at a sharp angle.

5. Pierce the inner foil.
6. How to use your caulk gun.
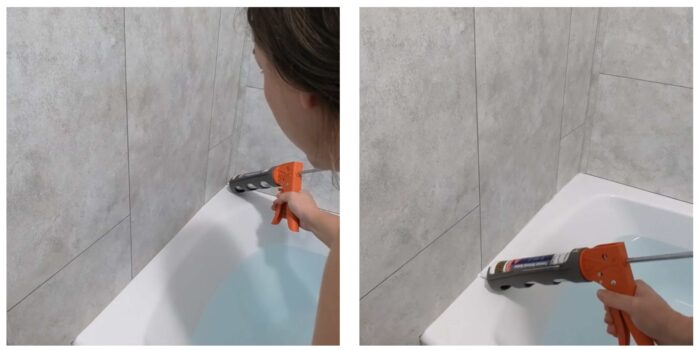
7. Lock ‘n load.
8. Run a bead of caulk in one direction along the gap between your bathtub and wall.
9. Release the pressure on the caulk gun.
10. Use a finger or the Procaulk kit piece to smooth along the caulk.
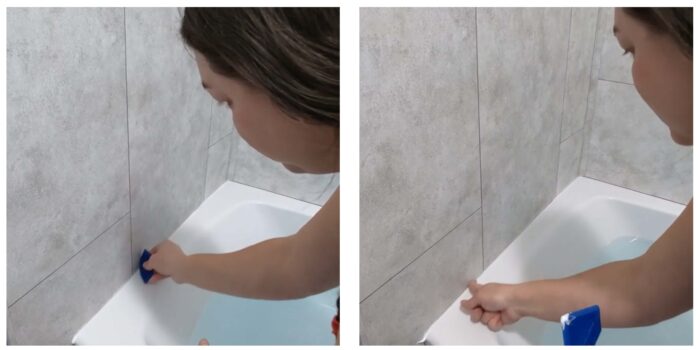
11. Wipe finger/Procaulk piece clean. Repeat for other sides of the tub. Let dry 24 hrs (or according to your tube of caulk/silicone sealant).
Interested in other bathroom projects? Here are some ideas from this renovation project and others!
- Installing Palisades Shower Tiles
- Installing DumaWall Shower Tiles
- How to Install Laminate Flooring
- How to Use Caulk
- 17 DIY Bathroom Vanity Ideas
- 20 DIY Bathroom Decor Ideas
- 17 Small Bathroom Makeovers
- Small Condo Bathroom Renovation Project
- How to Waterproof Shower or Bath Walls
- Behind the Door Bathroom Shelving
- How to Install the Ovation Bathtub Door
- How to Install Dreamline French Corner Shower Doors (these are stunning)
- How to Install a Pull Out Shelf in a Bathroom (without drilling into your cabinet!)
- Full Basement Bathroom Renovation Project REVEAL!
- Kids Bathroom Renovation Project REVEAL!
Please share and pin this post! You can also post your project and tag the DIYDanielle team on Instagram @doityourselfdanielle!

How to Caulk a Shower or Bathtub
I'm showing you the simple way to caulk your shower or tub, and how to use a caulking gun.
Materials
- Painter's Tape
- Silicone Sealant
- Procaulk Kit
- Disposable Gloves
- Mask
Tools
- Caulk Gun
Instructions
- Remove old caulk if necessary.
- Clean up around the tub.
- Fill your tub with water.
- Cut your caulk tube at a sharp angle piercing inner foil.
- Lock 'n load.
- Run a bead of caulk in one direction along the gap between your bathtub and wall.
- Release the pressure on the caulk gun.
- Smooth along the caulk.
- Wipe finger/Procaulk piece clean.
- Repeat for other sides of the tub.
- Let dry 24 hrs.
Recommended Products
As an Amazon Associate and member of other affiliate programs, I earn from qualifying purchases.

