
How to install an Ovation bathtub door. Ditch the dingy shower curtain and let light in with this beautiful bathroom upgrade.
We’ve been working on the kids’ bathroom renovation. Their bathroom is divided into two smaller rooms; a small room with the toilet and shower, and a larger room with sinks and a mirror. The 1990s style sink had one sink and a vanity area to sit and put on makeup. It really isn’t a practical space for three boys. We needed more space, and I wanted the toilet/shower room to feel more open.
I started by hiring a contractor to install a window in the room. This was pricey, but worth it. The natural light really makes the space feel more open and less dingy. He also removed the old tub and installed a new Ovation Tub. The contractor also installed cement board which is a special type of “drywall” that is made for wet environments; true drywall can’t be exposed to moisture.
This post may contain affiliate links which may earn me commissions should you click through them and take certain actions. As an affiliate for Amazon, Cricut, xTool, Home Depot, and other sites, I earn from qualifying purchases. Please DIY carefully. View my full legal disclosures here.
The majority of my content is generated by me, as are 99% of the photos and videos, but I utilize technology for titles, descriptions, video editing out all of my ums, and occasionally for text overlay on images.
Please read the whole post so you don’t miss any important information!
Once he was finished, I applied Redgard as a waterproof barrier between the cement board and the tiling. I added waterproof Dumawall Tiles from the DIY Decor Store, then we installed this door. Keep an eye out on my blog for new projects in my bathroom renovation project- there’s lots more to come!
Installing the door was much easier than I anticipated. We installed a DIY Screen Door and a storm door in the past two years, and this was far easier than either of those projects.
Supply list (with affiliate links):
- Ovation Shower Door
- Ovation Tub (make sure the drain is on the correct side)
- Screwdriver
- Torpedo Level
- Silicone Sealant/Caulk (Clear)
Video: This is a bit more detailed than the tutorial below.
Tutorial:
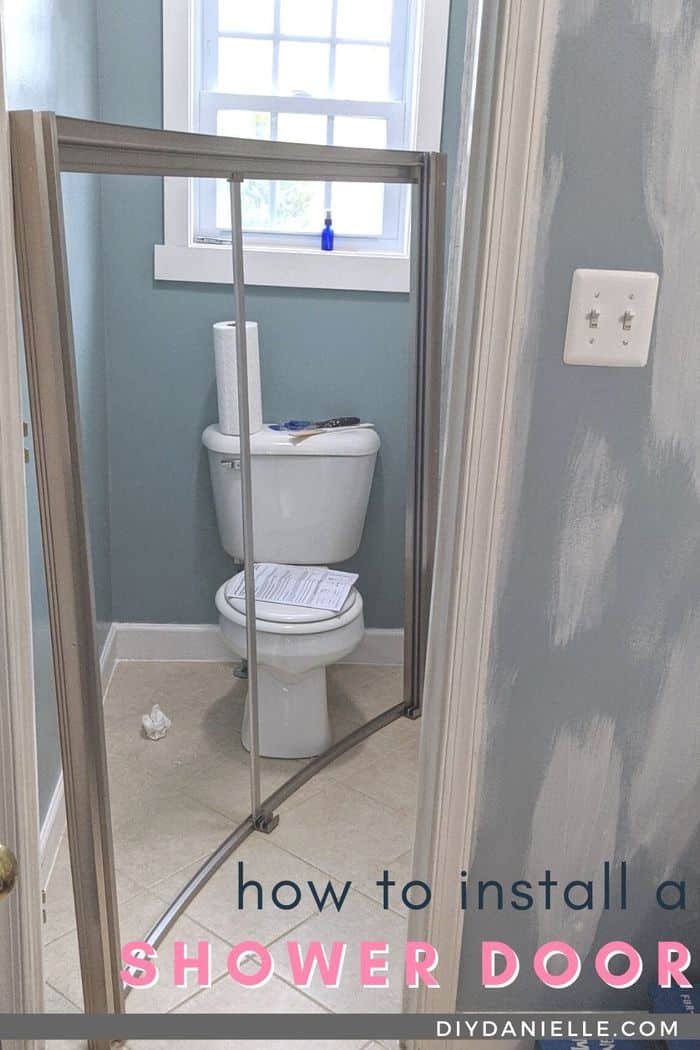
Build your frame.
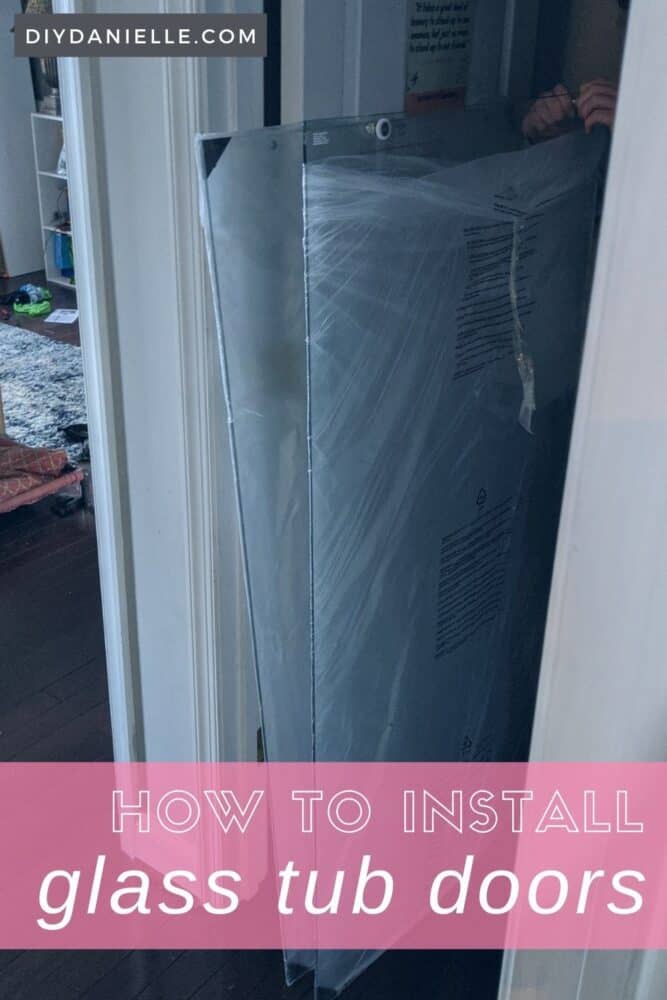
Leave the glass in the box.

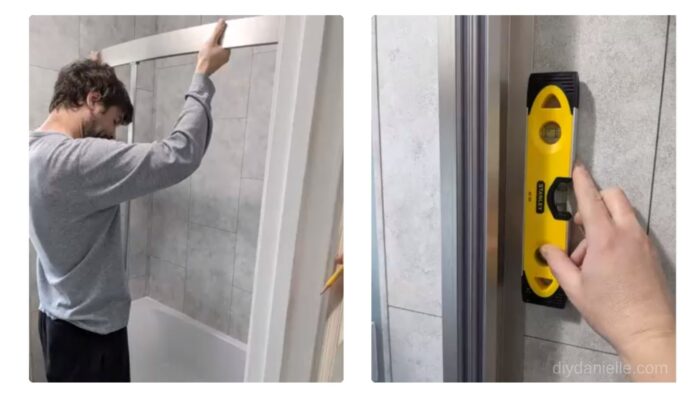
Place your frame on your Ovation bathtub.
Make sure your side pieces are plumb (level vertically).
Mark where your screws will go.
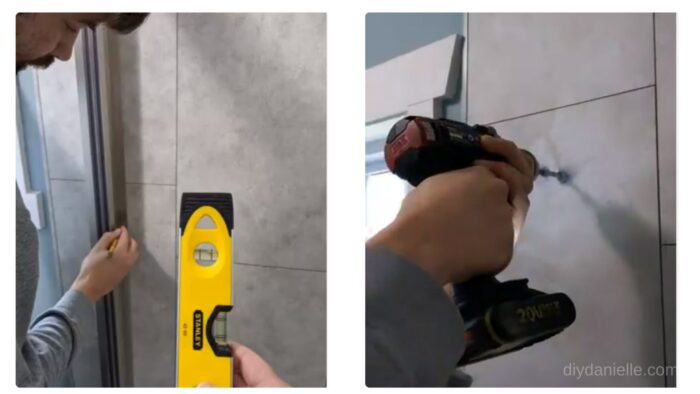
Use wall anchors if you don’t have a stud behind your tiles: Use a 1/4″ drill bit to predrill.
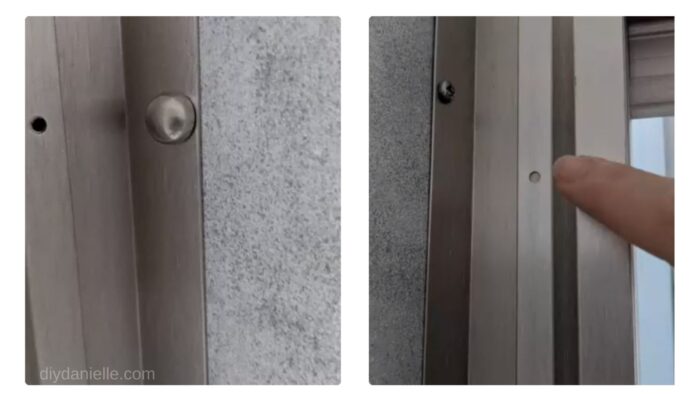
Place your wall anchors.
Attach frame with screws to wall anchors.

Use washers.
Add screw head covers.
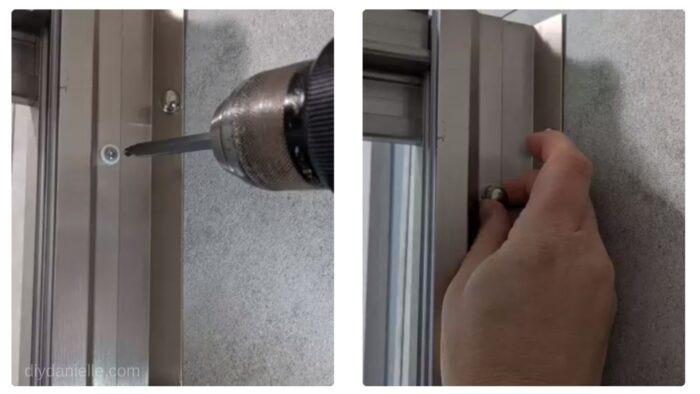
The sides on the frame are adjustable. You need to predrill the holes once adjusted to the right size.
Screwing in the side pieces of the frame.
Put covers on.
Clean up debris.
Add the rollers to each door.
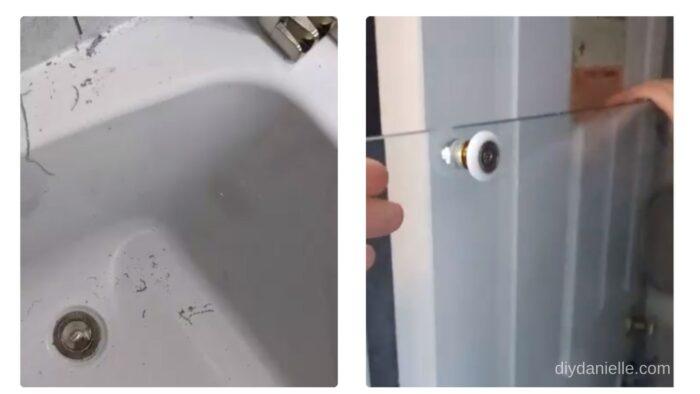
Place your glass doors.
As an alternative to a glass door, you can use two panels to update the look of your curtained bathtub or shower.
When we updated our basement bathroom, we used the Dreamline shower doors which are square and open at the corner. They’re GORGEOUS so make sure to check them out too!
Please share and pin this post! You can also post your project and tag the DIYDanielle team on Instagram @doityourselfdanielle!

How to Install an Ovation Bathtub Door
Materials
- Ovation Shower Door
- Ovation Tub (make sure the drain is on the correct side)
- Silicone Sealant/Caulk (Clear)
Tools
- Screwdriver
- Torpedo Level
Instructions
- Build your frame. Leave the glass in the box.
- Place your frame on your Ovation bathtub.
- Make sure your side pieces are plumb (level vertically).
- Mark where your screw holes will go.
- Use wall anchors if you don't have a stud behind your tiles: Use a 1/4" drill bit to predrill.
- Place your wall anchors.
- Attach frame with screws to wall anchors. Use washers.
- Add screw head covers
- The sides on the frame are adjustable. You need to predrill the holes here once adjusted to the right size.
- Screwing in the side pieces of the frame.
- Put covers on.
- Clean up debris.
- Add the rollers to each door.
- Place your glass doors.