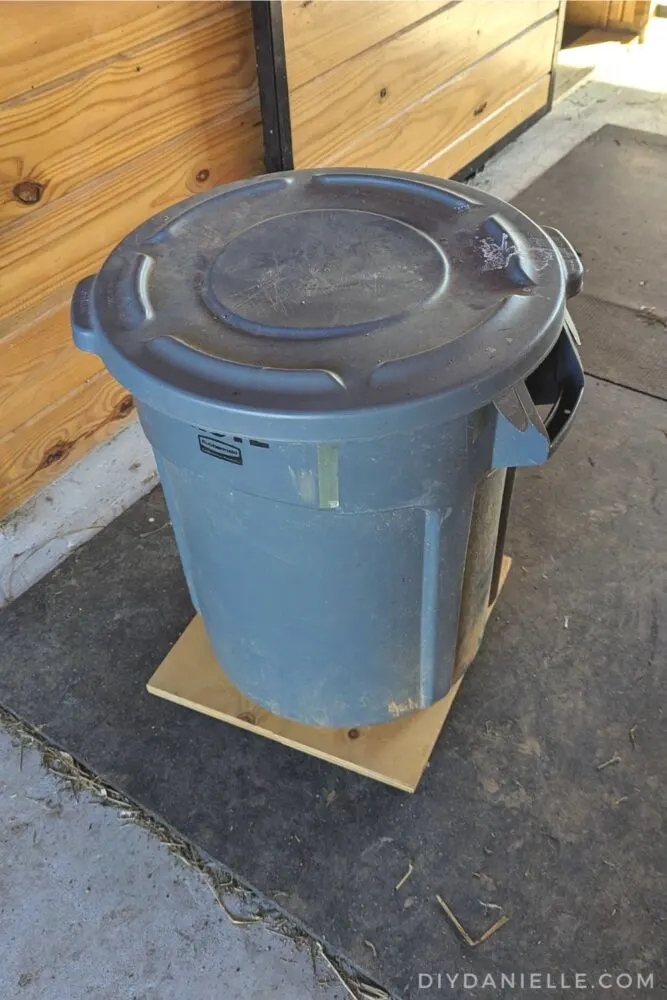
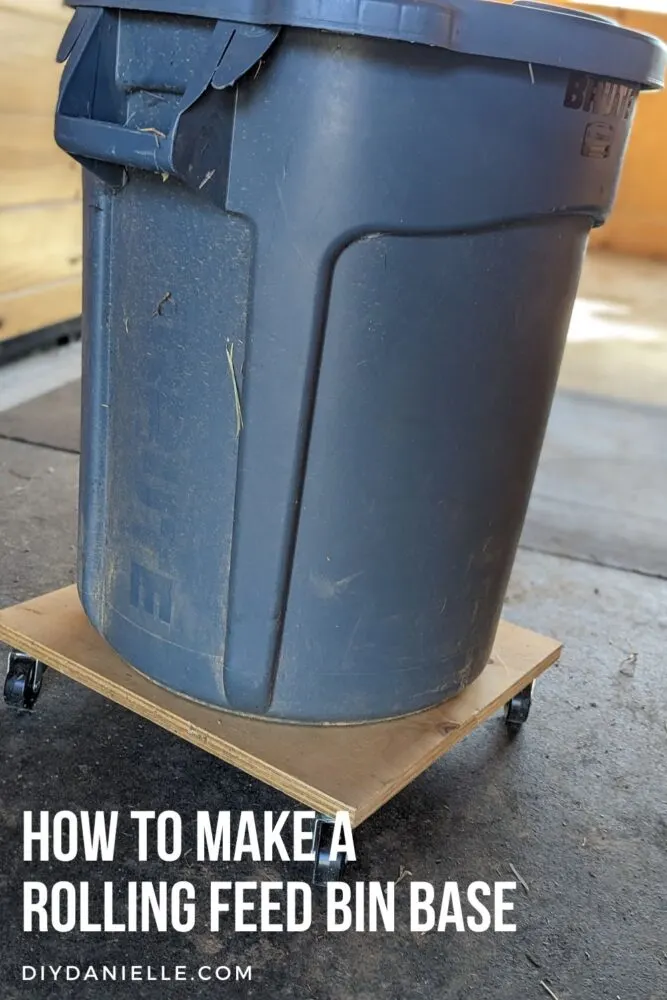
How to make easy rolling feed bins that you can use on your farm to move feed bins around. This makes for easier cleaning for your tack room.
I’ve had this project in my very, very long queue for a while. I had all of the supplies setup too. I’m a little embarrassed by how many projects I have the supplies for, but haven’t finished. This project took all of ten minutes too and used some scrap plywood that was otherwise taking up space so it was a SILLY project to procrastinate on. I just forgot! But here’s a quick and easy tutorial on how to make your own rolling feed bins.
How to Make Rolling Feed Bins
I highly recommend buying metal feed bins because the mice/rats have a hard time getting into them. But the plastic ones work well for me as well. If they ever get through, I’ll upgrade them all to metal, but in the meantime they work.
Supplies:
- 12 pk of Casters, 4 per bin
- 3/4″ Plywood: I’m using some nice plywood scraps because they were leftover from a furniture project, but cheap plywood is fine too!
- Screws: 3/4″ screws
Step 1: Cut a piece of plywood slightly larger than your feed bin.
Your plywood can be circular or square, as long as it’s bigger than your feed bin base. I used scraps of plywood so I didn’t need to cut anything.
Step 2: Attach your casters using 3/4″ screws.
You’ll use a drill and 3/4″ screws to screw in four casters, one on each corner.
Step 3: Prime and paint, if desired.
Prime and paint if desired. I didn’t.
Having these feed bins on wheels makes my life SO much easier when I need to move bins around. This is useful to clean up the feed room and space, particularly so mice won’t try to make nests under the bins.
Please share and pin this post! If you make this project, share it in our Stuff Mama Makes Facebook Group. We have regular giveaways for gift cards to craft stores. You can also tag me on Instagram @doityourselfdanielle; I love seeing everything you make!


