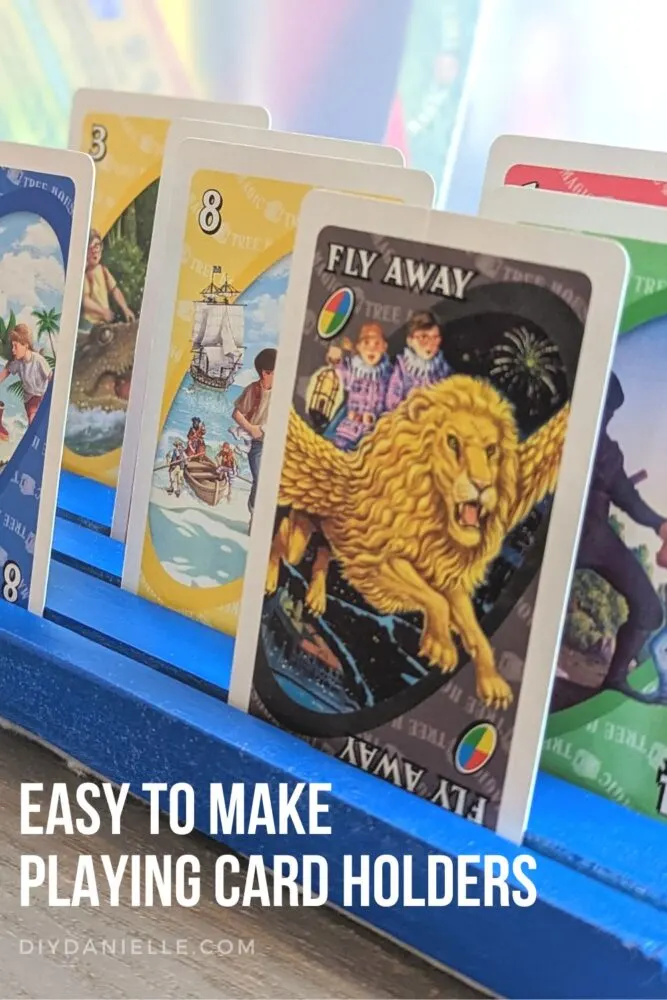
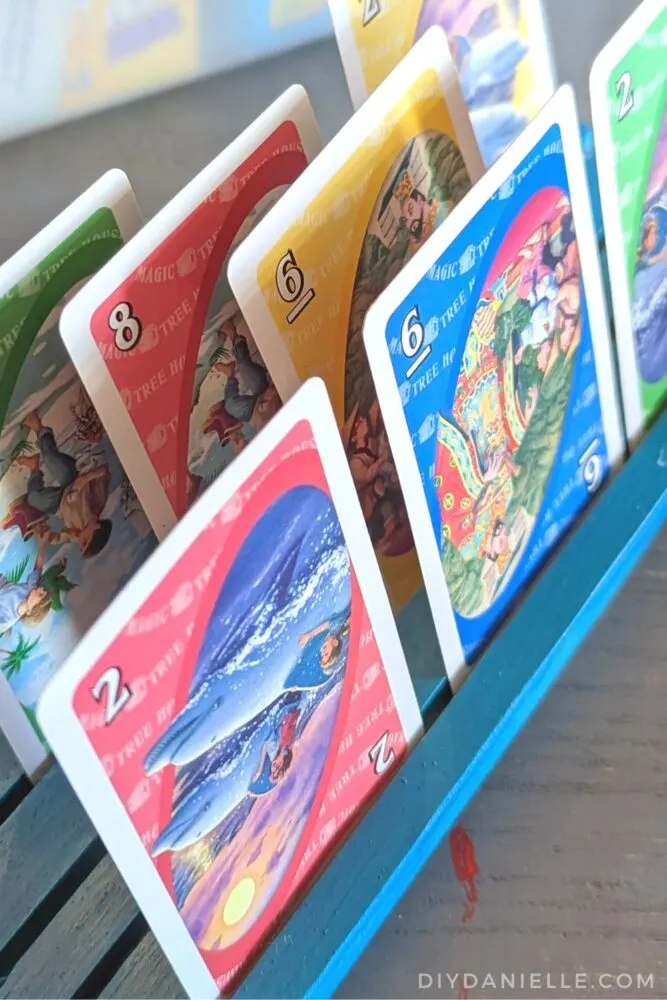
Learn how to make DIY Card holders for playing cards. These work well for kids, and you can also use them to cover the Arcade1Up screen!
We decided to get the family an Arcade1Up table this year for Christmas and while it has some neat options to cover the cards when it’s your turn, I wanted to make covers that would also function as DIY Card Holders. These are perfect for little hands who have a hard time holding a lot of cards- particularly when you’re dominating at Uno!
DIY Card Holders for Playing Cards
If you use an 8′ 1×3 then you’ll end up with 12 of these. Want to make less? Cut the board into a smaller section in advance.
- 1x3s: https://homedepot.sjv.io/4ebn0Z
- Table Saw: https://homedepot.sjv.io/JrGdXa
- Felt
- Glue Gun: https://homedepot.sjv.io/yRDB7y
- Primer
- Paint (spray paint is easier)
- Sander: https://homedepot.sjv.io/x9xJ4d
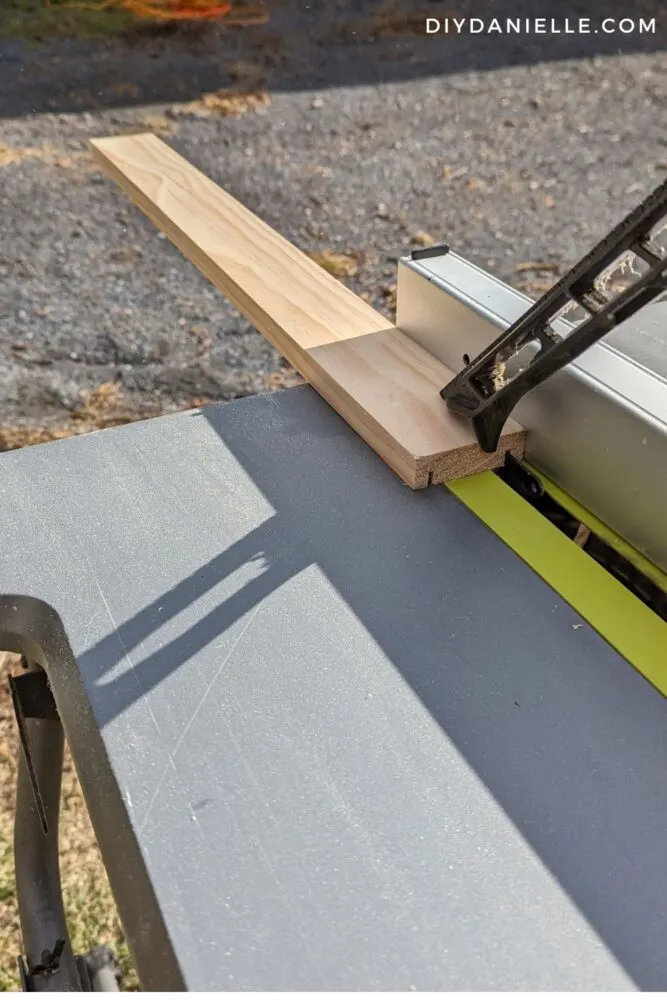
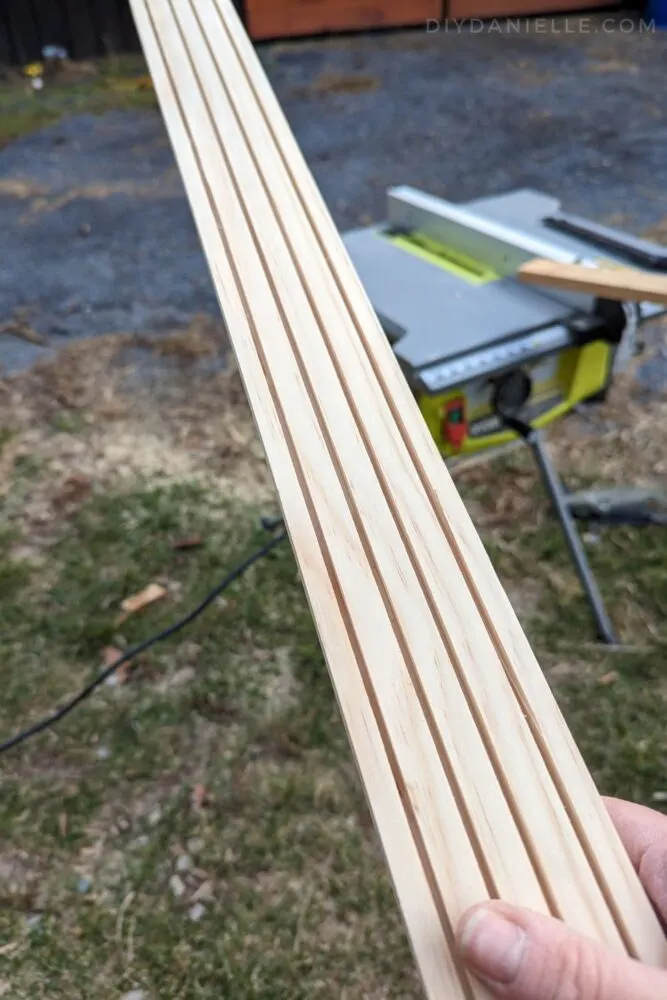
Step 1: Take your 8′ long 1×3 and use the table saw to make 4 groove cuts in it. You’ll need to lower your saw blade so it won’t cut through the whole board, of course. Be very careful.
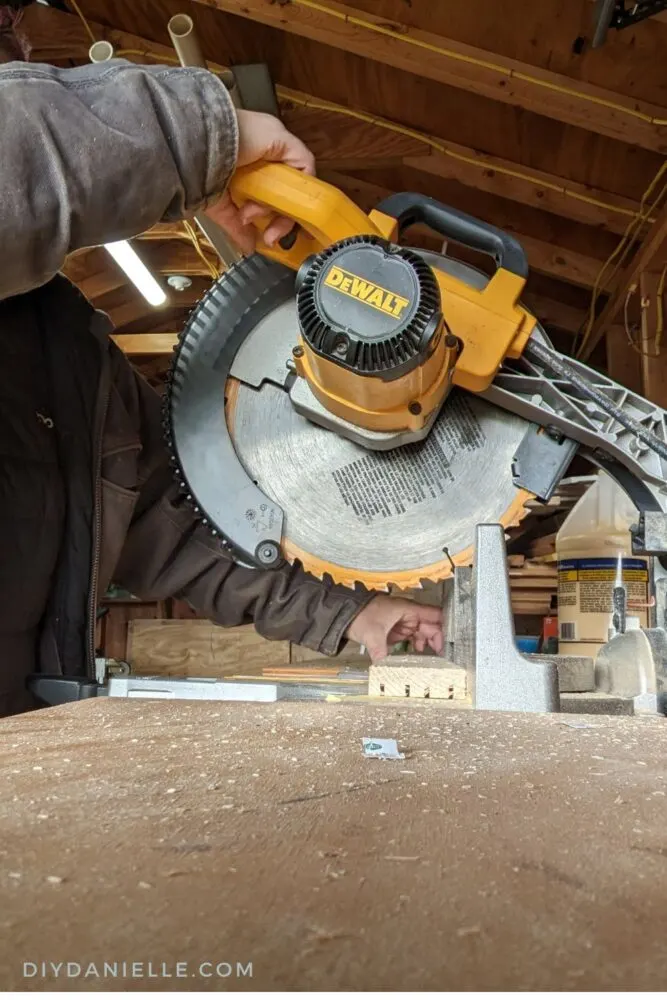
Step 2: Cut your 1×3 into 8″ sections.
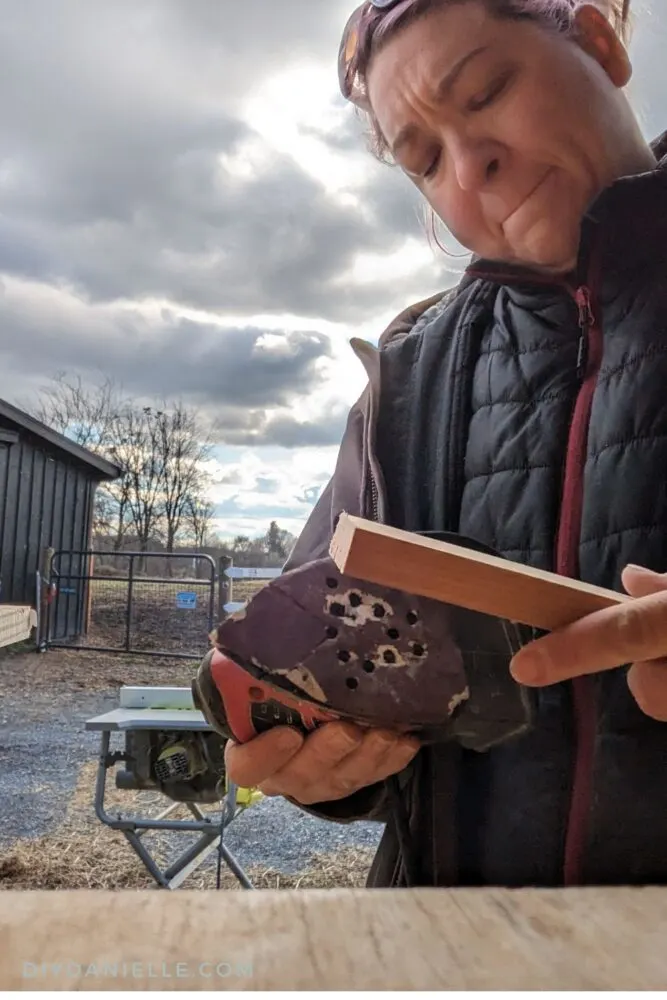
Step 3: Sand any rough edges.
Step 4: Prime.
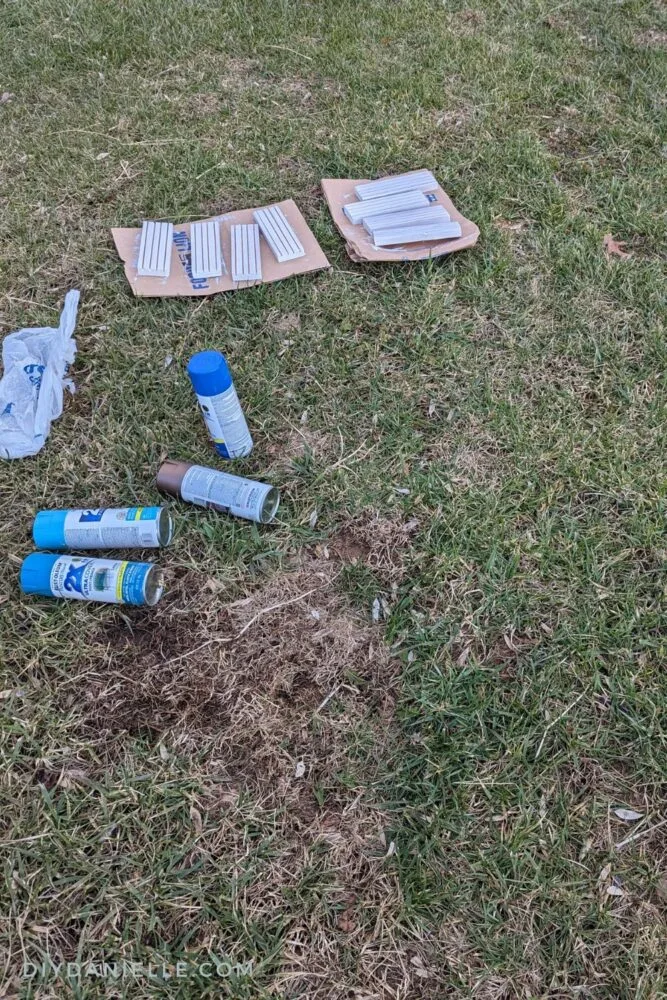
Step 5: Spray Paint. You could use regular paint, but spray paint lets you get deeper into the groove cuts with less effort. You do not need to prime/paint the bottom, but you can if you want.
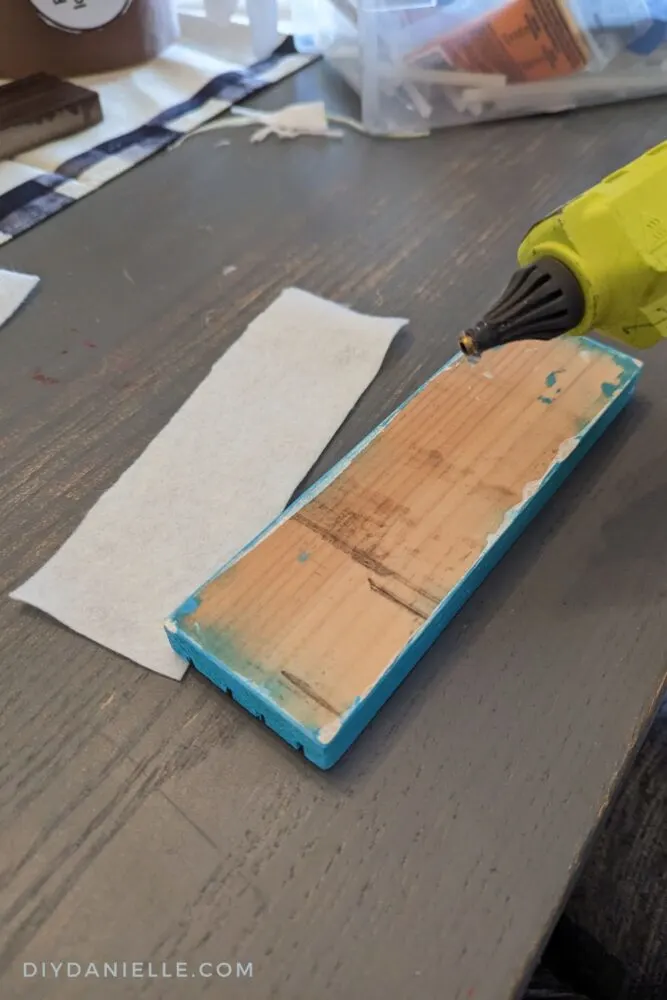
Step 6: Glue felt to bottom of the card holders.
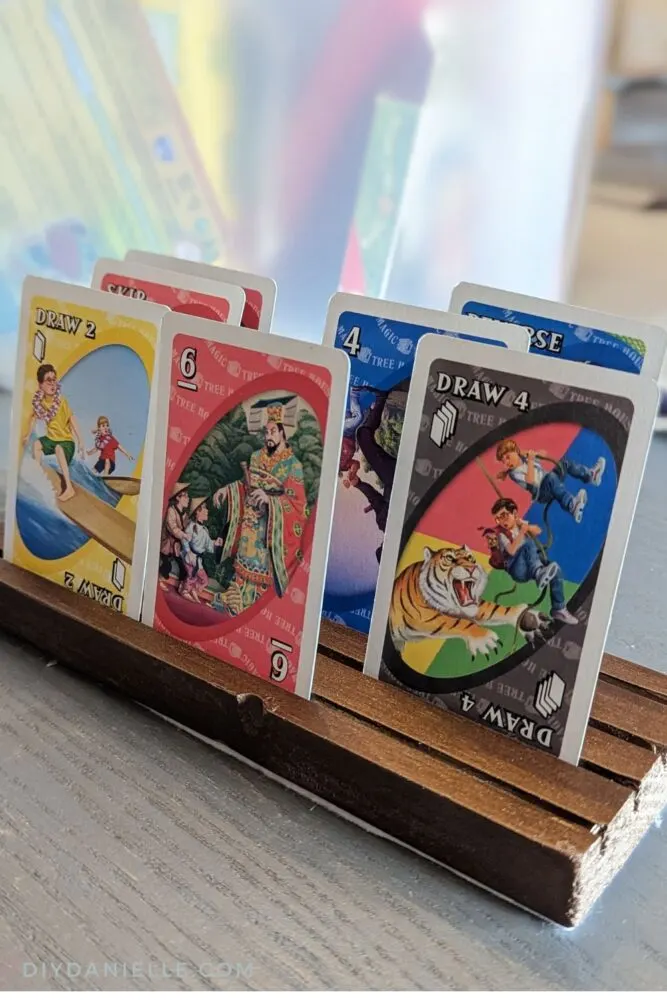
View of the card holders from the front and from above.
Please share and pin this post! If you make this project, share it in our Stuff Mama Makes Facebook Group. We have regular giveaways for gift cards to craft stores. You can also tag me on Instagram @doityourselfdanielle; I love seeing everything you make!
