
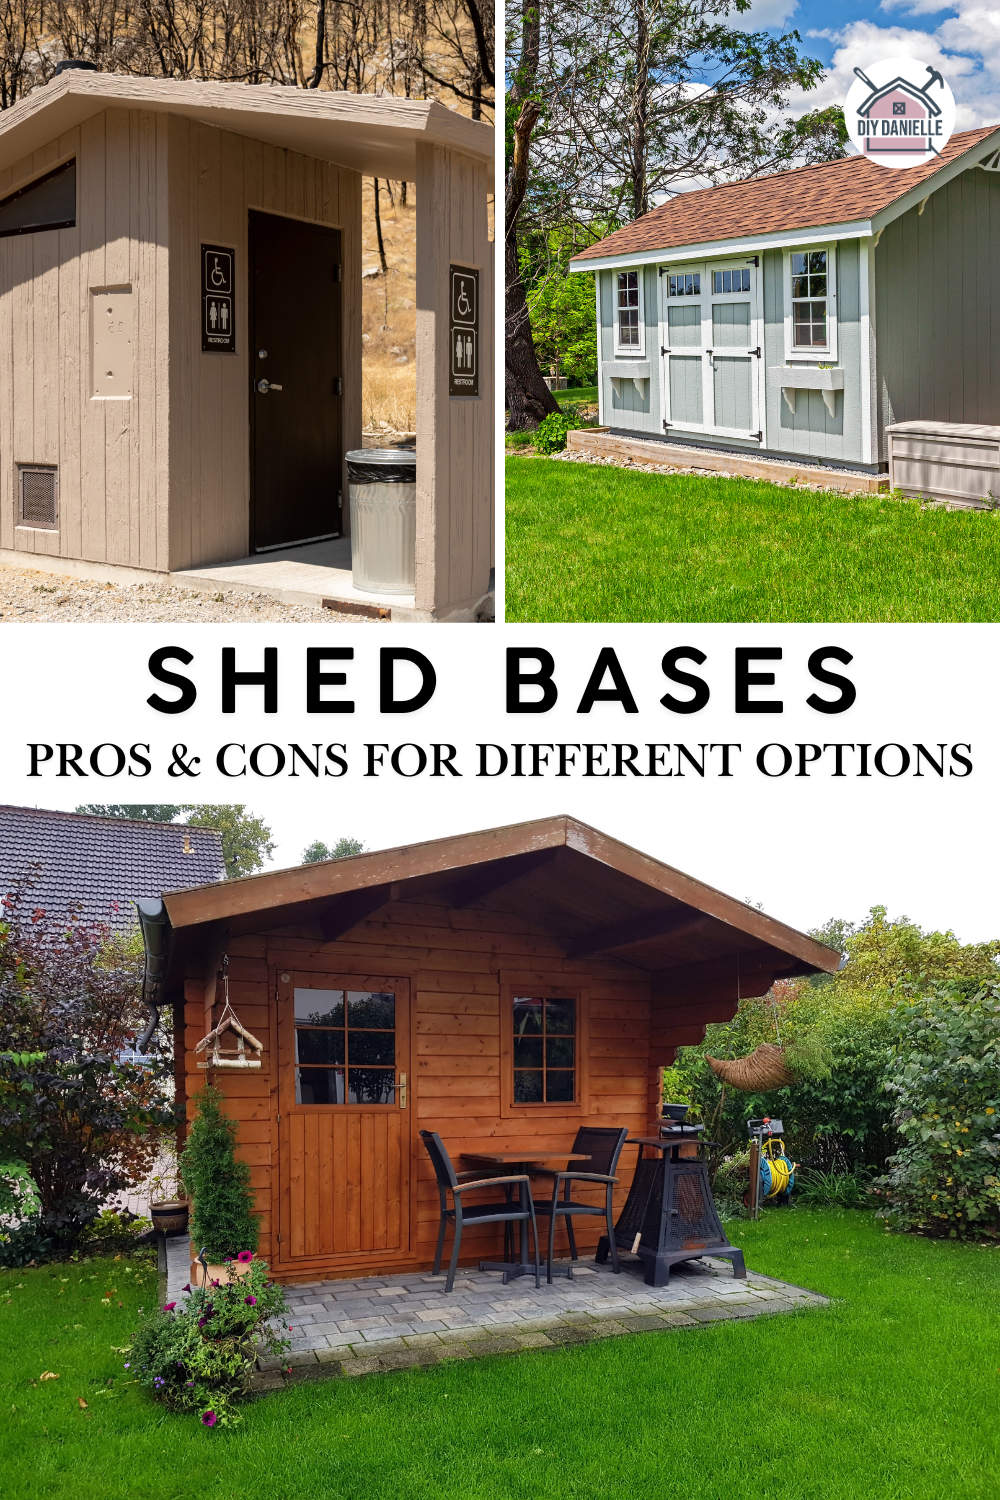
Learn about different types of shed bases with pros and cons. Includes real-life insights, photos, and tips from personal experience with sheds on our farm.
She Shed
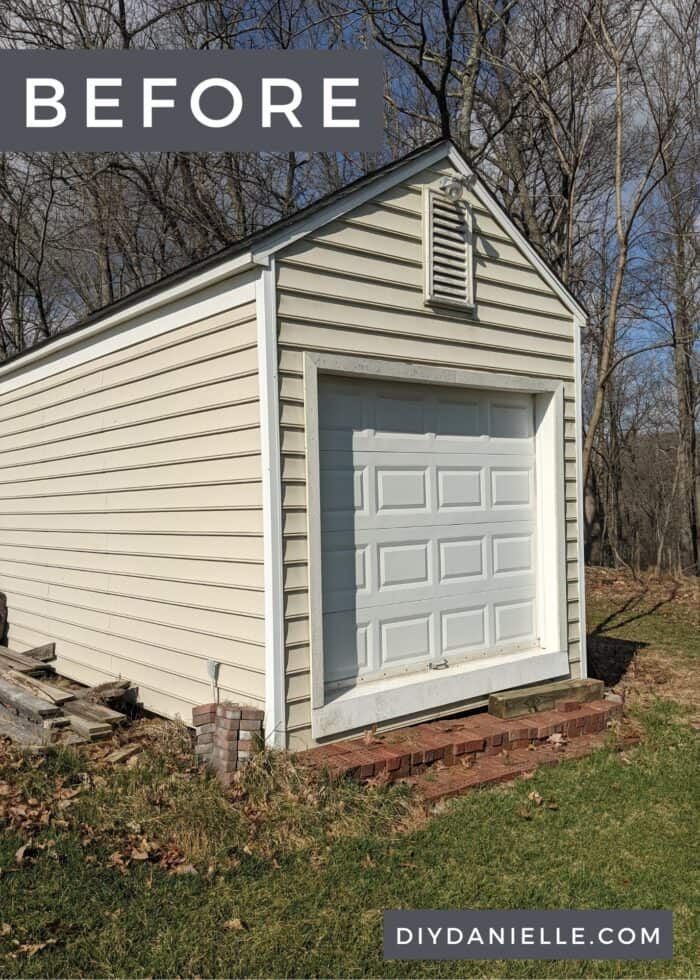
This DIY She Shed started with a 10×20 run down shed with a rotten floor with one small window. Now it’s the PERFECT craft space! Here’s how she DIY’ed it.
I needed a space to work in that was quiet and away from my family. Open floor plans are all fun and games until your kids are home for the summer or… say… there’s a pandemic that closes schools for a year and a half.
Our property came with a few older sheds that needed work. I decided to convert the 10×20 shed in the backyard into my she shed. This was a LONG process and not as affordable as I wished due to rising wood and supply prices.
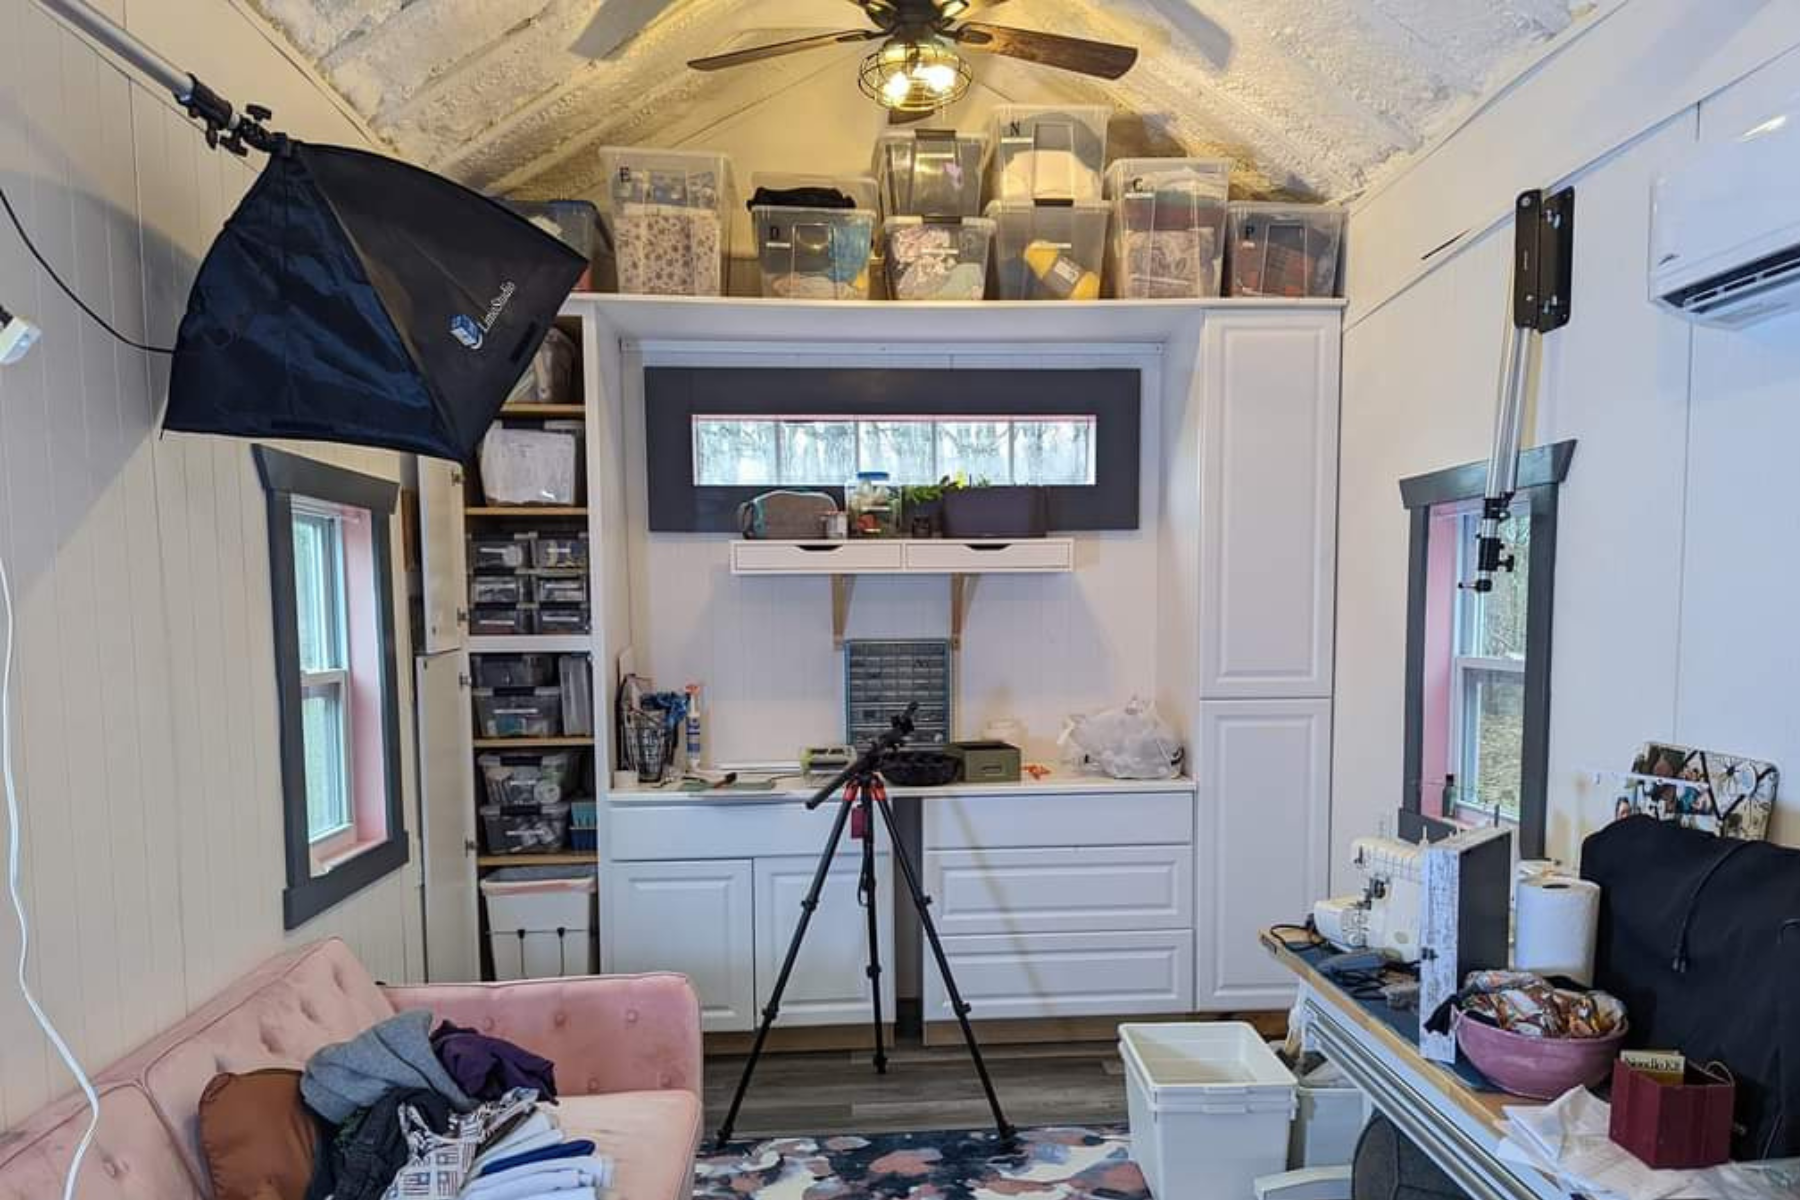
But we’re almost done! And I LOVE the space. It’s climate controlled, holds all of my craft supplies, and there’s plenty of storage space.
DIY SHE SHED
Here’s the progress so far on my she shed renovation:
Repairing the Shed
There were several repairs that we needed to make to this shed, although we will be doing repairs on the other sheds as well which I’ll write about all of the repairs in my shed repair series.
Here’s what I needed to do for THIS shed though.
- Repairing a Shed Floor: The floor of the shed near the garage door was rotting and starting to break apart. We needed to cut away the rotten wood and replace with new wood.
- How to Remove a Garage Door: The garage door was the cause of the rotten floor. We could have fixed the leak, but a garage door didn’t seem like a good fit for the space. It would be a pain to insulate, it would let out lots of cold/hot air whenever I opened it, and it just wasn’t pretty. I sold the old door.
- How to Frame a Garage Door: We had to frame the entire area where the garage door had been to create a wall. We also added a door in the process.
- How to Install House Wrap on Your Shed: House wrap was our next step. The house wrap keeps the wood walls protected from weather. It goes under siding. This was the easy part of the project (and it turns out, nobody had ever used house wrap on this shed so we had to deal with some damage).
- Installing Siding on the Shed: We used scraps of siding to put siding back on the shed where the garage door had been. The nice thing about siding is that it’s usually pretty easy to buy a few pieces of matching siding at the store, unless you have really unique siding.
Insulating the Shed
I did a lot of research on the Types of Insulation for Your Shed or Home. While I would have liked to use a more ecofriendly option like denim or wool, I didn’t have an affordable way to get those supplies. I opted to DIY the project and use traditional fiberglass insulation. Here’s my tutorial on How to Install Insulation for a Shed.
For the ceiling, I hired a company to do spray foam insulation.
Installing Windows for a Shed
Installing windows in a shed is totally unnecessary if you’re using it for storage, but when you want to use it for an office or craft space, they become necessary.
The original shed had a thin horizontal window on one of the short sides, and we replaced the garage door with a standard exterior door that had a window. It wasn’t enough light.
My Mother’s Day gift was four windows, two for each long side of the shed. I didn’t want anything to do with this DIY (hey the gift comes with installation right?) as I was feeling pretty sick at the time and overwhelmed with the shed renovation in general.
My husband did the bulk of this DIY: How to Add Windows to Your Shed.
Once he was done, I did the interior work: How to Install Interior Trim to a Window: Casing and Jambs. I LOVE how the casing came out. And because it’s a SHE shed, I did the casing in dark gray and added a pop of color by painting the window jambs pink. I LOVE it.
Electricity, Heating, and Cooling for a Shed
Heating and cooling was a necessity for my shed because I didn’t want my sewing machines or other supplies to get mold or to break. We bought a mini split ductless HVAC (it also has a dehumidifier) and had a technician install it. We saved money by installing the concrete slab for the minisplit before he came.
To run the mini split, we needed electricity of course. I checked into solar pricing but it looked like we’d need $20k of solar panels which wasn’t realistic. My husband did the wiring inside the shed, including getting ceiling fans/lights installed BEFORE they ran electric. The electrician we hired had a boring company come out to dig and ran the electric plus installed a panel for us.
If I did this again, I would 100% trench myself. This would have saved us a lot of money and aggravation (they messed it up, then they didn’t install conduit properly… overall, it was a disaster). Note that you may need the inspector to see the conduit during installation so DO NOT COVER THAT UP until after install.
- Heating and Cooling a Shed
- How to Pour a Small Concrete Slab for a MiniSplit
- Running Electric to Your Shed: Tips for Saving Money
Shed Walls
Initially, I looked into Drywall and Drywall Alternatives for Your Shed. I really wanted to do it right and do drywall, tape, and mud. But I have learned SO MANY THINGS about renovation with this DIY project and I didn’t have the energy to learn more. I also didn’t know how I’d get the drywall home with my minivan. I’d heard of people using paneling so I decided to go that route.
Finishing Touches to the She Shed
I haven’t finished the blog posts for my finishing touches, but these are the posts I’m working on now.
- Trim above the paneling.
- Lighting for a She Shed
- Shed Flooring
- Installing Cabinets for Craft Room Storage
Honestly, this has been one of my favorite projects to work on and it’s so satisfying to see how far I’ve come on this she shed! I can’t wait to show you the rest!
How to Install Base Cabinets: Perfect for Crafts, Toys, and More!
How to install base cabinets. Installing cabinets is an easy way to add storage and they’re EASY to install.

How to Install Laminate Flooring: Step-by-Step Guide for a Flawless Finish
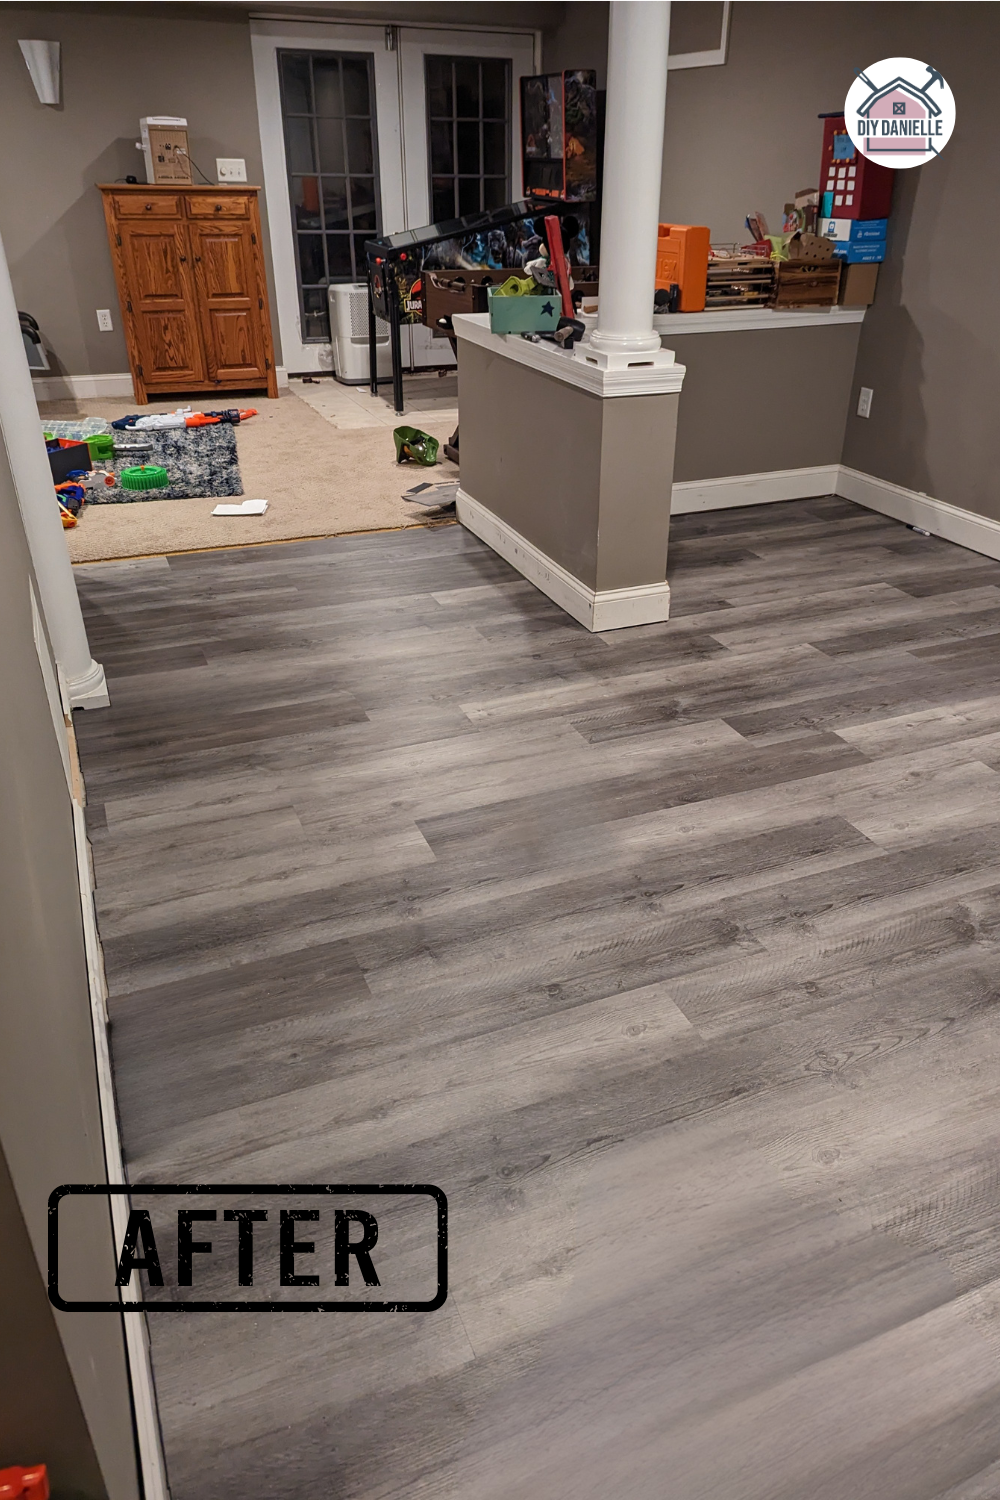
Laminate flooring is easy to install and a GORGEOUS addition to any space. Here’s how I installed it for both my she shed and bathroom!
17 Spectacular She Shed Ideas You Don’t Want To Miss!
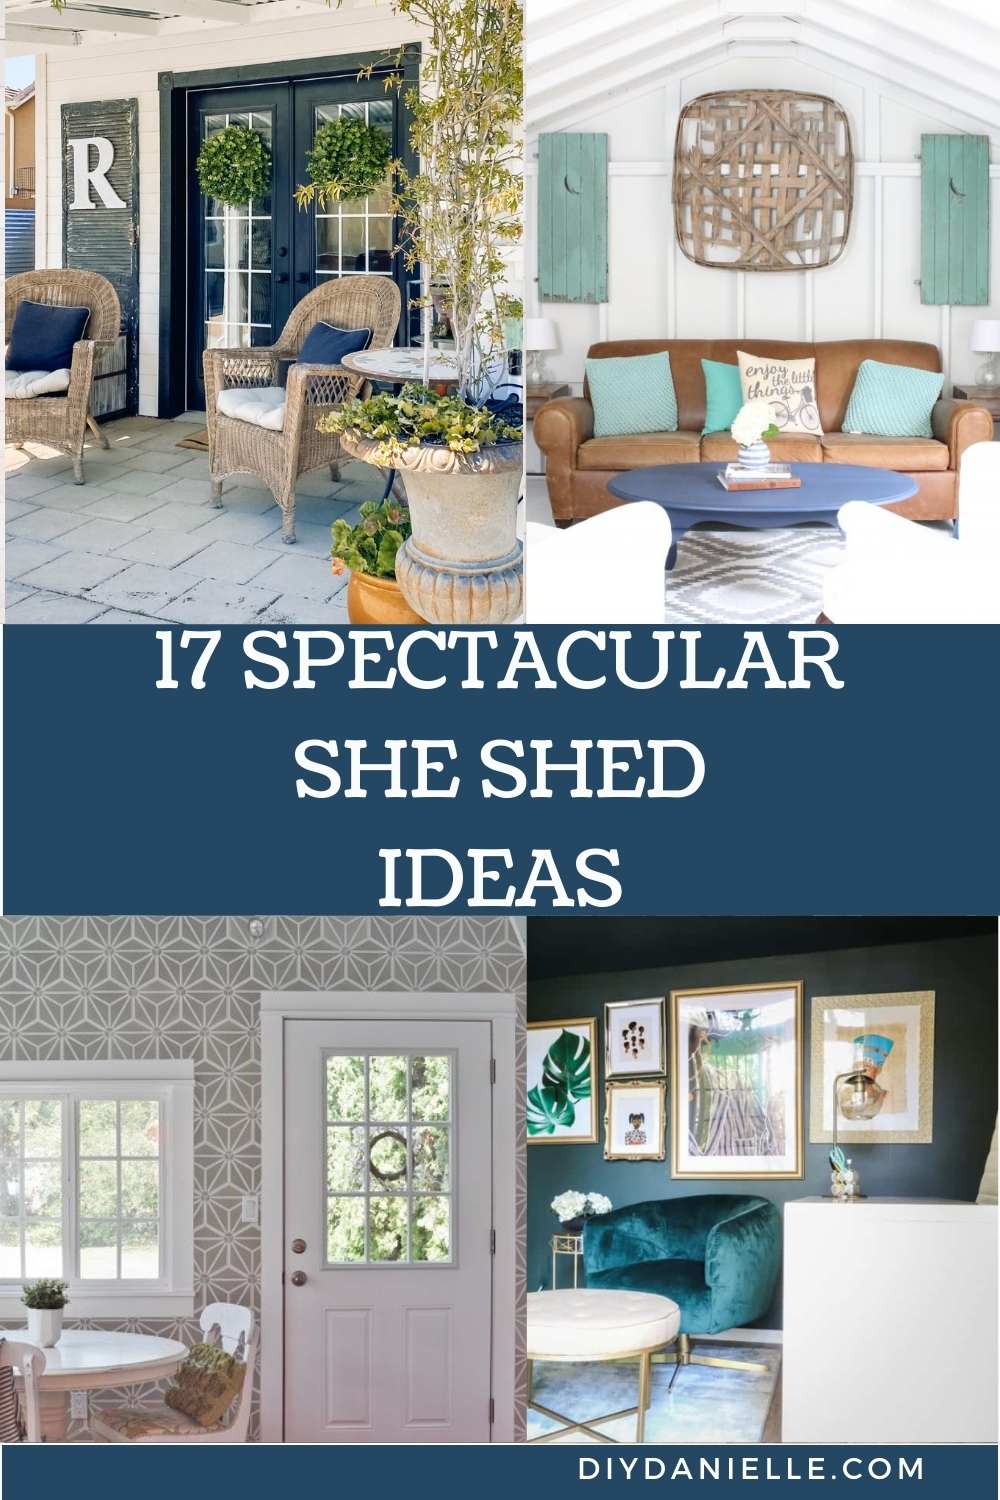
Are you looking for some fun and inspiring she shed ideas to help you create the perfect space? These 17 fabulous ideas will give you all the inspiration you need!
Choosing Lighting for Your She Shed

Deciding what to use for lighting in a she shed. Adding the right lighting can help make the space brighter and more welcoming.