
How to install vinyl siding: This is a BASIC guide to how we installed vinyl siding on our shed when we framed out a garage door to a wall.
In the process of updating our shed into an office space, I learned how to install vinyl siding. This may be my FAVORITE home renovation DIY to date. It’s really easy and oddly satisfying to install. While we were working with what we had— leftover siding that matched the shed— I’m going to give you some other vinyl siding ‘looks’ that I’ve seen become popular in the past few years as well.
This is going to be a super basic guide to vinyl siding… I’m a DIY’er, not a builder or a siding pro. I want to give you the DIY-friendly version of siding instead of an overwhelming video with intense details. You can find some of those on YouTube, but this may be a good starting place if you’re like us and completely new to this.
This post may contain affiliate links which may earn me commissions should you click through them and take certain actions. As an affiliate for Amazon, Cricut, xTool, Home Depot, and other sites, I earn from qualifying purchases. Please DIY carefully. View my full legal disclosures here.
The majority of my content is generated by me, as are 99% of the photos and videos, but I utilize technology for titles, descriptions, video editing out all of my ums, and occasionally for text overlay on images.
Please read the whole post so you don’t miss any important information!
Why Use Vinyl Siding?
Vinyl siding is often the preferred option for siding because it’s low maintenance. While wood needs to be cared for, vinyl siding can be installed and not touched for years. It’s less prone to damage from insects or wind, the color doesn’t seem to fade, and its longevity makes it an economical option.
Vinyl Siding Maintenance
Vinyl siding can be washed or power washed as needed if it starts to look a bit green. Areas that are shaded seem more prone to this type of growth.
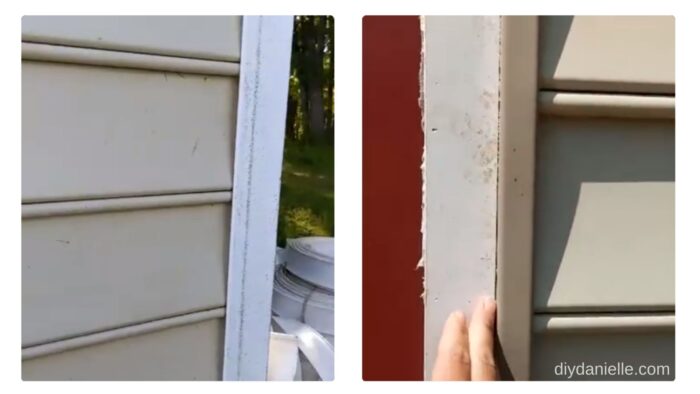
If your vinyl siding cracks, you should patch it. Otherwise, water can leak through and damage the wood behind it.
How Vinyl Siding Works
A home exterior is built, generally, with 2x4s or 2x6s as framing. A product such as OSB is used over the framing; this looks like a big 4×8′ piece of wood. Tyvek, or another type of house wrap is installed over the OSB.
House wrap prevents any water that gets behind the vinyl siding from damaging the wood behind it. The house wrap repels water so water simply drips down to the ground below, rather than soaking into the wood; the house wrap also allows moisture from the interior of the building to escape.
Corner trim goes around the building’s corners. J-Trim goes around doors and windows. A vinyl siding starter strip goes along the bottom of the exterior wall, where you want the vinyl siding to start. The first “plank” of vinyl siding fits snugly into the starter strip. The vinyl siding is then installed with both raw ends covered by either the corner or J-trim. It’s important to start vinyl siding at the bottom of the wall and work your way up.
You’ll notice that the cut outs on the vinyl siding where you attach nails are rather long. This allows for the siding to shift, assuming you don’t nail the nails in too tightly, when weather causes expansion or contraction.
Types of Vinyl Siding
While vinyl siding used to come in only a couple different “looks,” they have started to manufacture a lot of different appearances for it. It all seems to install the same and have the same perks over wood siding; you just get to be a bit more creative. I imagine that the more crevices in the design, the harder it is to clean, but that is just a guess.
Here are the options I’ve seen:
- Dutch Lap
- Faux Stone
- Shingle Style (I’m REALLY digging this look) aka “Shake Vinyl”
I’ve heard there are even more options available, but those are what I saw available from Home Depot. I try to use materials that I can find easily locally because otherwise shipping building supplies can be pricey.
This is some shingle style vinyl siding that I saw on our recent trip to visit family. I LOVE LOVE LOVE this- the color, the look… everything.
How to Install Vinyl Siding
Supplies:
Here’s a video of the process. For the photos and breakdown, keep scrolling.
Tutorial
Step 1: Install your OSB
Step 2: Install House Wrap
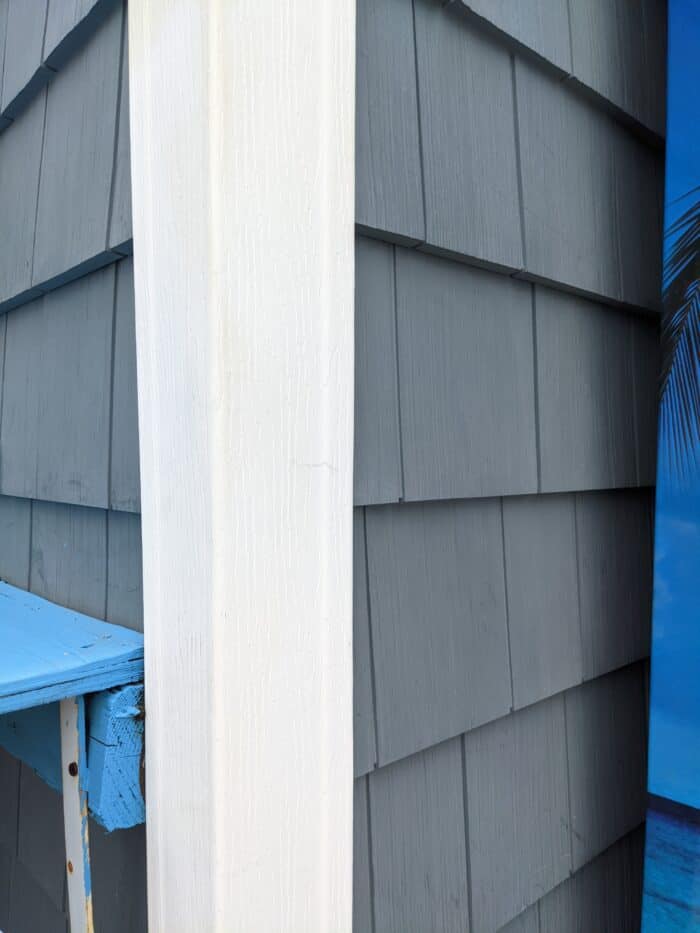
Step 3: Attach corner trim around the building’s corners.
Step 4: Attach J-Trim around doors and windows.
Right Photo: J Trim along the sides of doors/windows. The vinyl siding tucks into it.
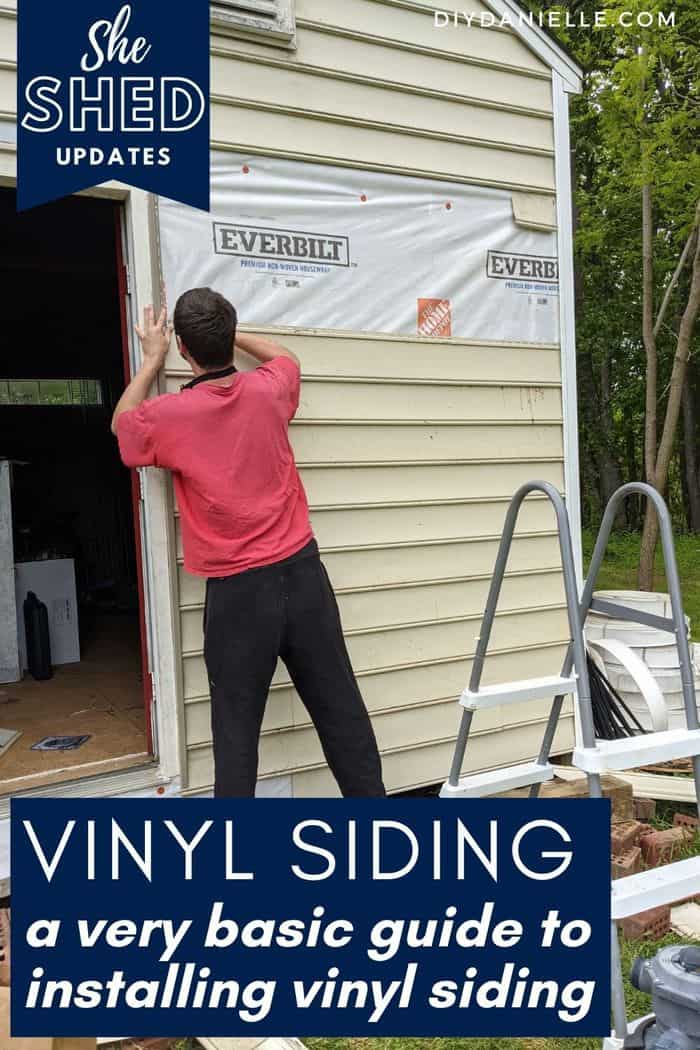
Step 5: Attach a vinyl siding starter strip goes along the bottom of the exterior wall. Note that we were reusing the vinyl siding and the original siding starter strip.
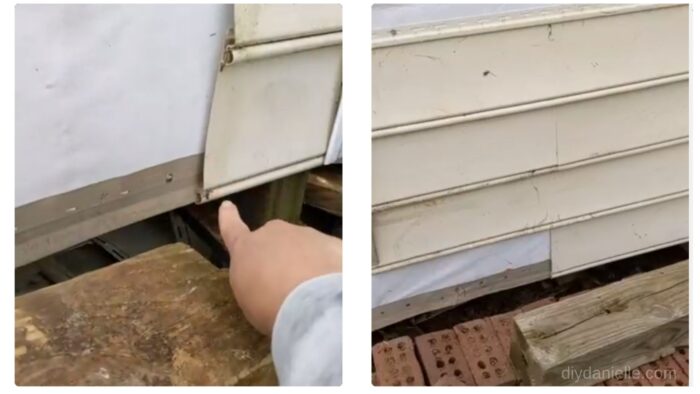
Step 6: Start with your first vinyl siding plank and hook it into your siding starter strip. Make sure the sides of your planks are behind the J trim and/or corner trim. Nail the pieces in, but don’t nail them in too tightly as they need room to move as needed (temperature changes can cause some shifting).

Step 7: Add your last bit of trim to the top of your siding (not shown as we were just filling in the area where the garage door was previously).
How to Attach Vinyl Siding Pieces
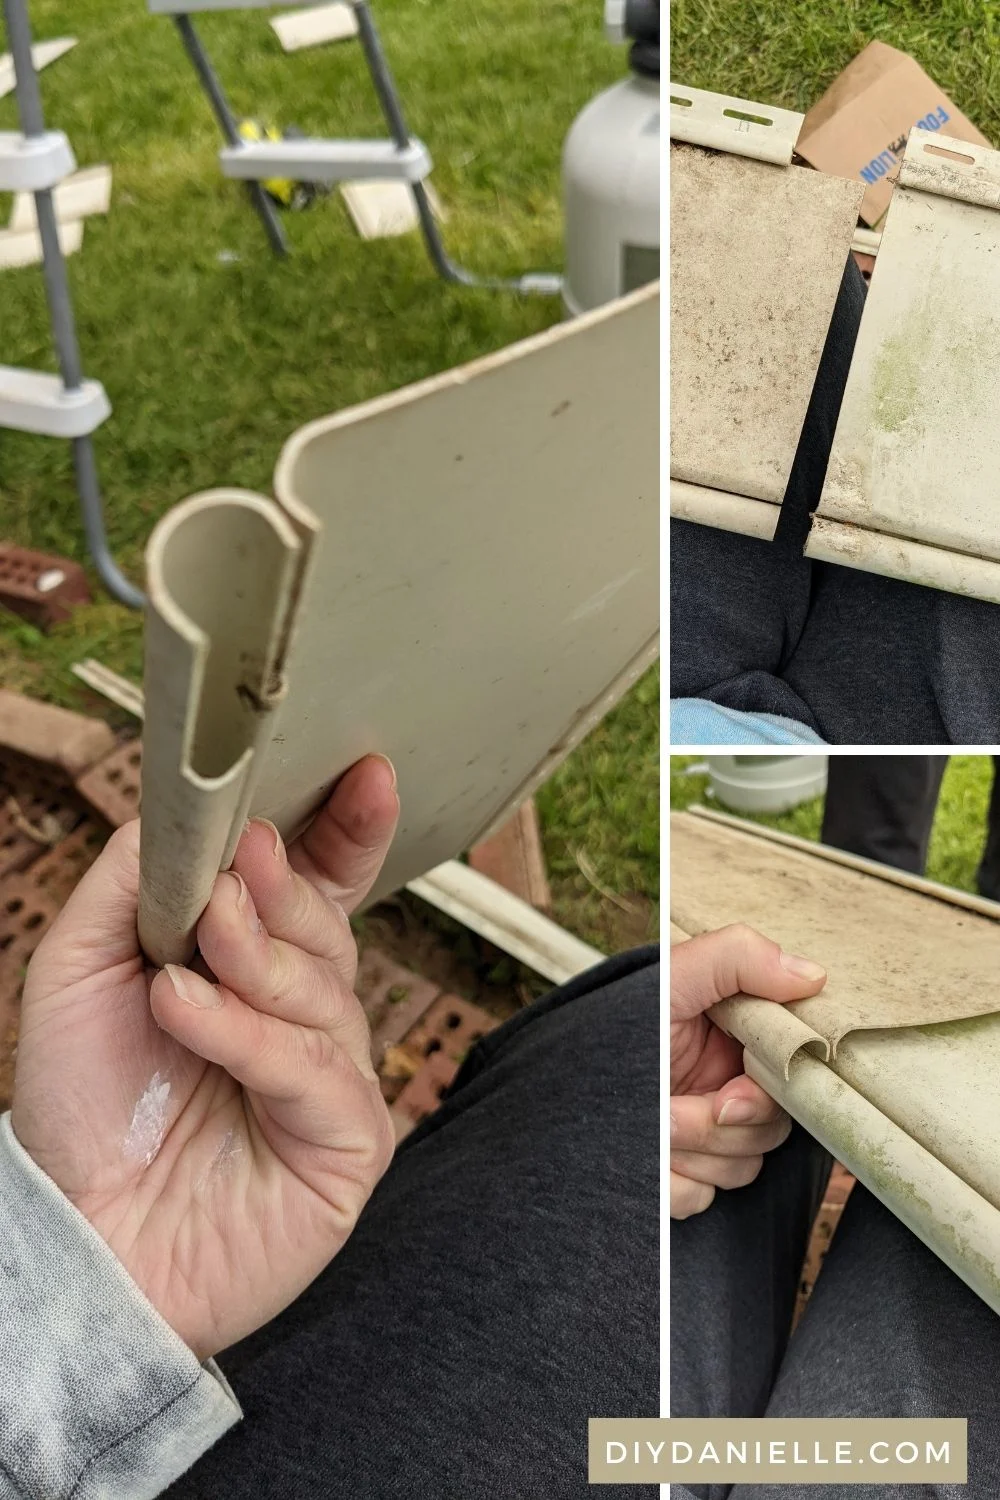
This was a question I COULD NOT find the answer to… I did SO much internet digging. So I figured I’d share a quick video on how to combine two pieces of siding to attach them horizontally. They will not fit without cutting the siding edge where they overlap. You’ll want a pair of tin snips or something to hand cut the vinyl siding with.
Excuse the SUPER dirty siding. We cleaned it before putting it up, but I didn’t remember to get photos/video AFTER I cleaned it. Note that this works for THIS style of vinyl siding, but other types may differ in how they connect.
Please share and pin this post! You can also post your project and tag the DIYDanielle team on Instagram @doityourselfdanielle!

Google Web Story: How to Install Vinyl Siding
A Basic Guide to DIY'ing Vinyl Siding
A basic guide on how to install vinyl siding.
Materials
- Corner Trim
- Vinyl Siding J Trim
- Nails
- Siding
- Vinyl Starter Strip
Tools
- Level
- Hammer
Instructions
- Install House Wrap
- Install corner trim.
- Install J trim around any doors or windows.
- Attach vinyl starter strip.
- Start installing vinyl siding at the bottom and work up. Hammer in nails loosely to attach.