
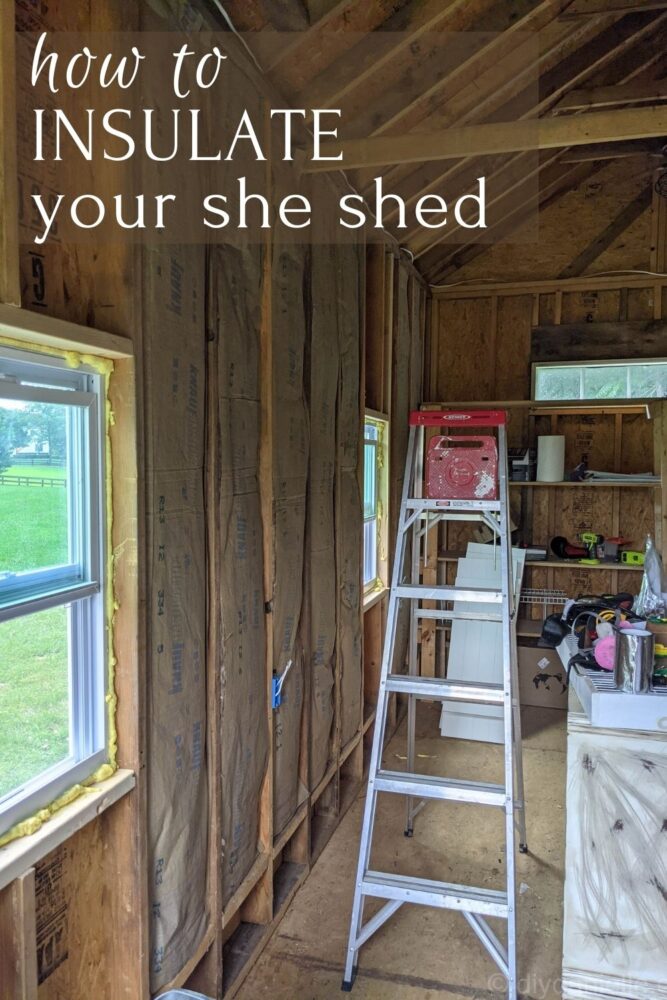
How to insulate a shed with fiberglass batts so you can keep it climate controlled using a mini split HVAC system or another type of heating or cooling system.
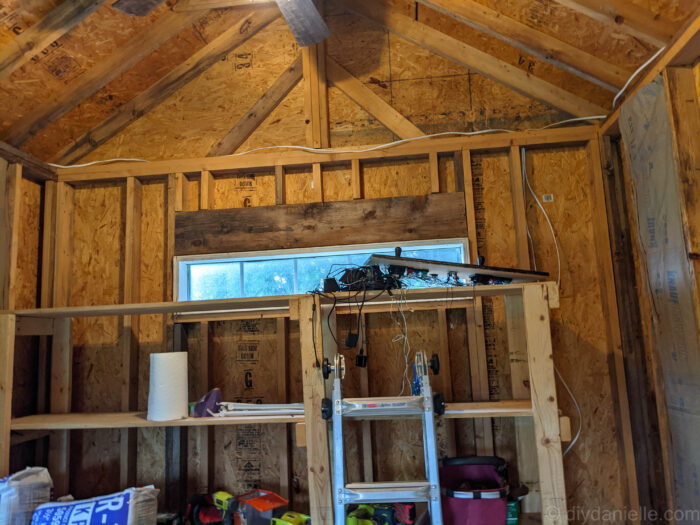
One of our first priorities with the shed was to make it more comfortable to work in. We started working on this in the middle of the summer and it’s HOT here in Maryland. Many days are in the 90s and the humidity is high. Adding windows, insulating, installing ceiling fans, running higher powered electricity, and then doing the insulation were all high priorities to making the space more comfortable to work. I get really sick with hot weather so I was rushing to hit all of these milestones. And once the insulation was installed, I was able to have the mini split HVAC system installed. Working because SO much more comfortable once that was done.
For this post, I’m going to talk about some basic tips for insulating a shed. I have a separate post if you’re interested in what types of insulation are available; I really wanted to use sheep wool insulation, but couldn’t find a local vendor to buy it from.
This post may contain affiliate links which may earn me commissions should you click through them and take certain actions. As an affiliate for Amazon, Cricut, xTool, Home Depot, and other sites, I earn from qualifying purchases. Please DIY carefully. View my full legal disclosures here.
The majority of my content is generated by me, as are 99% of the photos and videos, but I utilize technology for titles, descriptions, video editing out all of my ums, and occasionally for text overlay on images.
Please read the whole post so you don’t miss any important information!
Choosing an R Value
We’re in Zone 4 for insulation and the recommended R-value for 2×4 walls is R13-15. I opted for R-13 as the shed is a small structure that isn’t terribly expensive or difficult to heat and cool. A higher R value indicates better insulation, but that doesn’t mean you should just buy the biggest R value product. It’s important to choose your insulation R value based on the climate where you live. Someone who lives in Kentucky won’t need the same insulation R value as someone who lives in Alaska.
Home Depot: Guide to R Values and Zones
Measuring How Much Insulation You Need
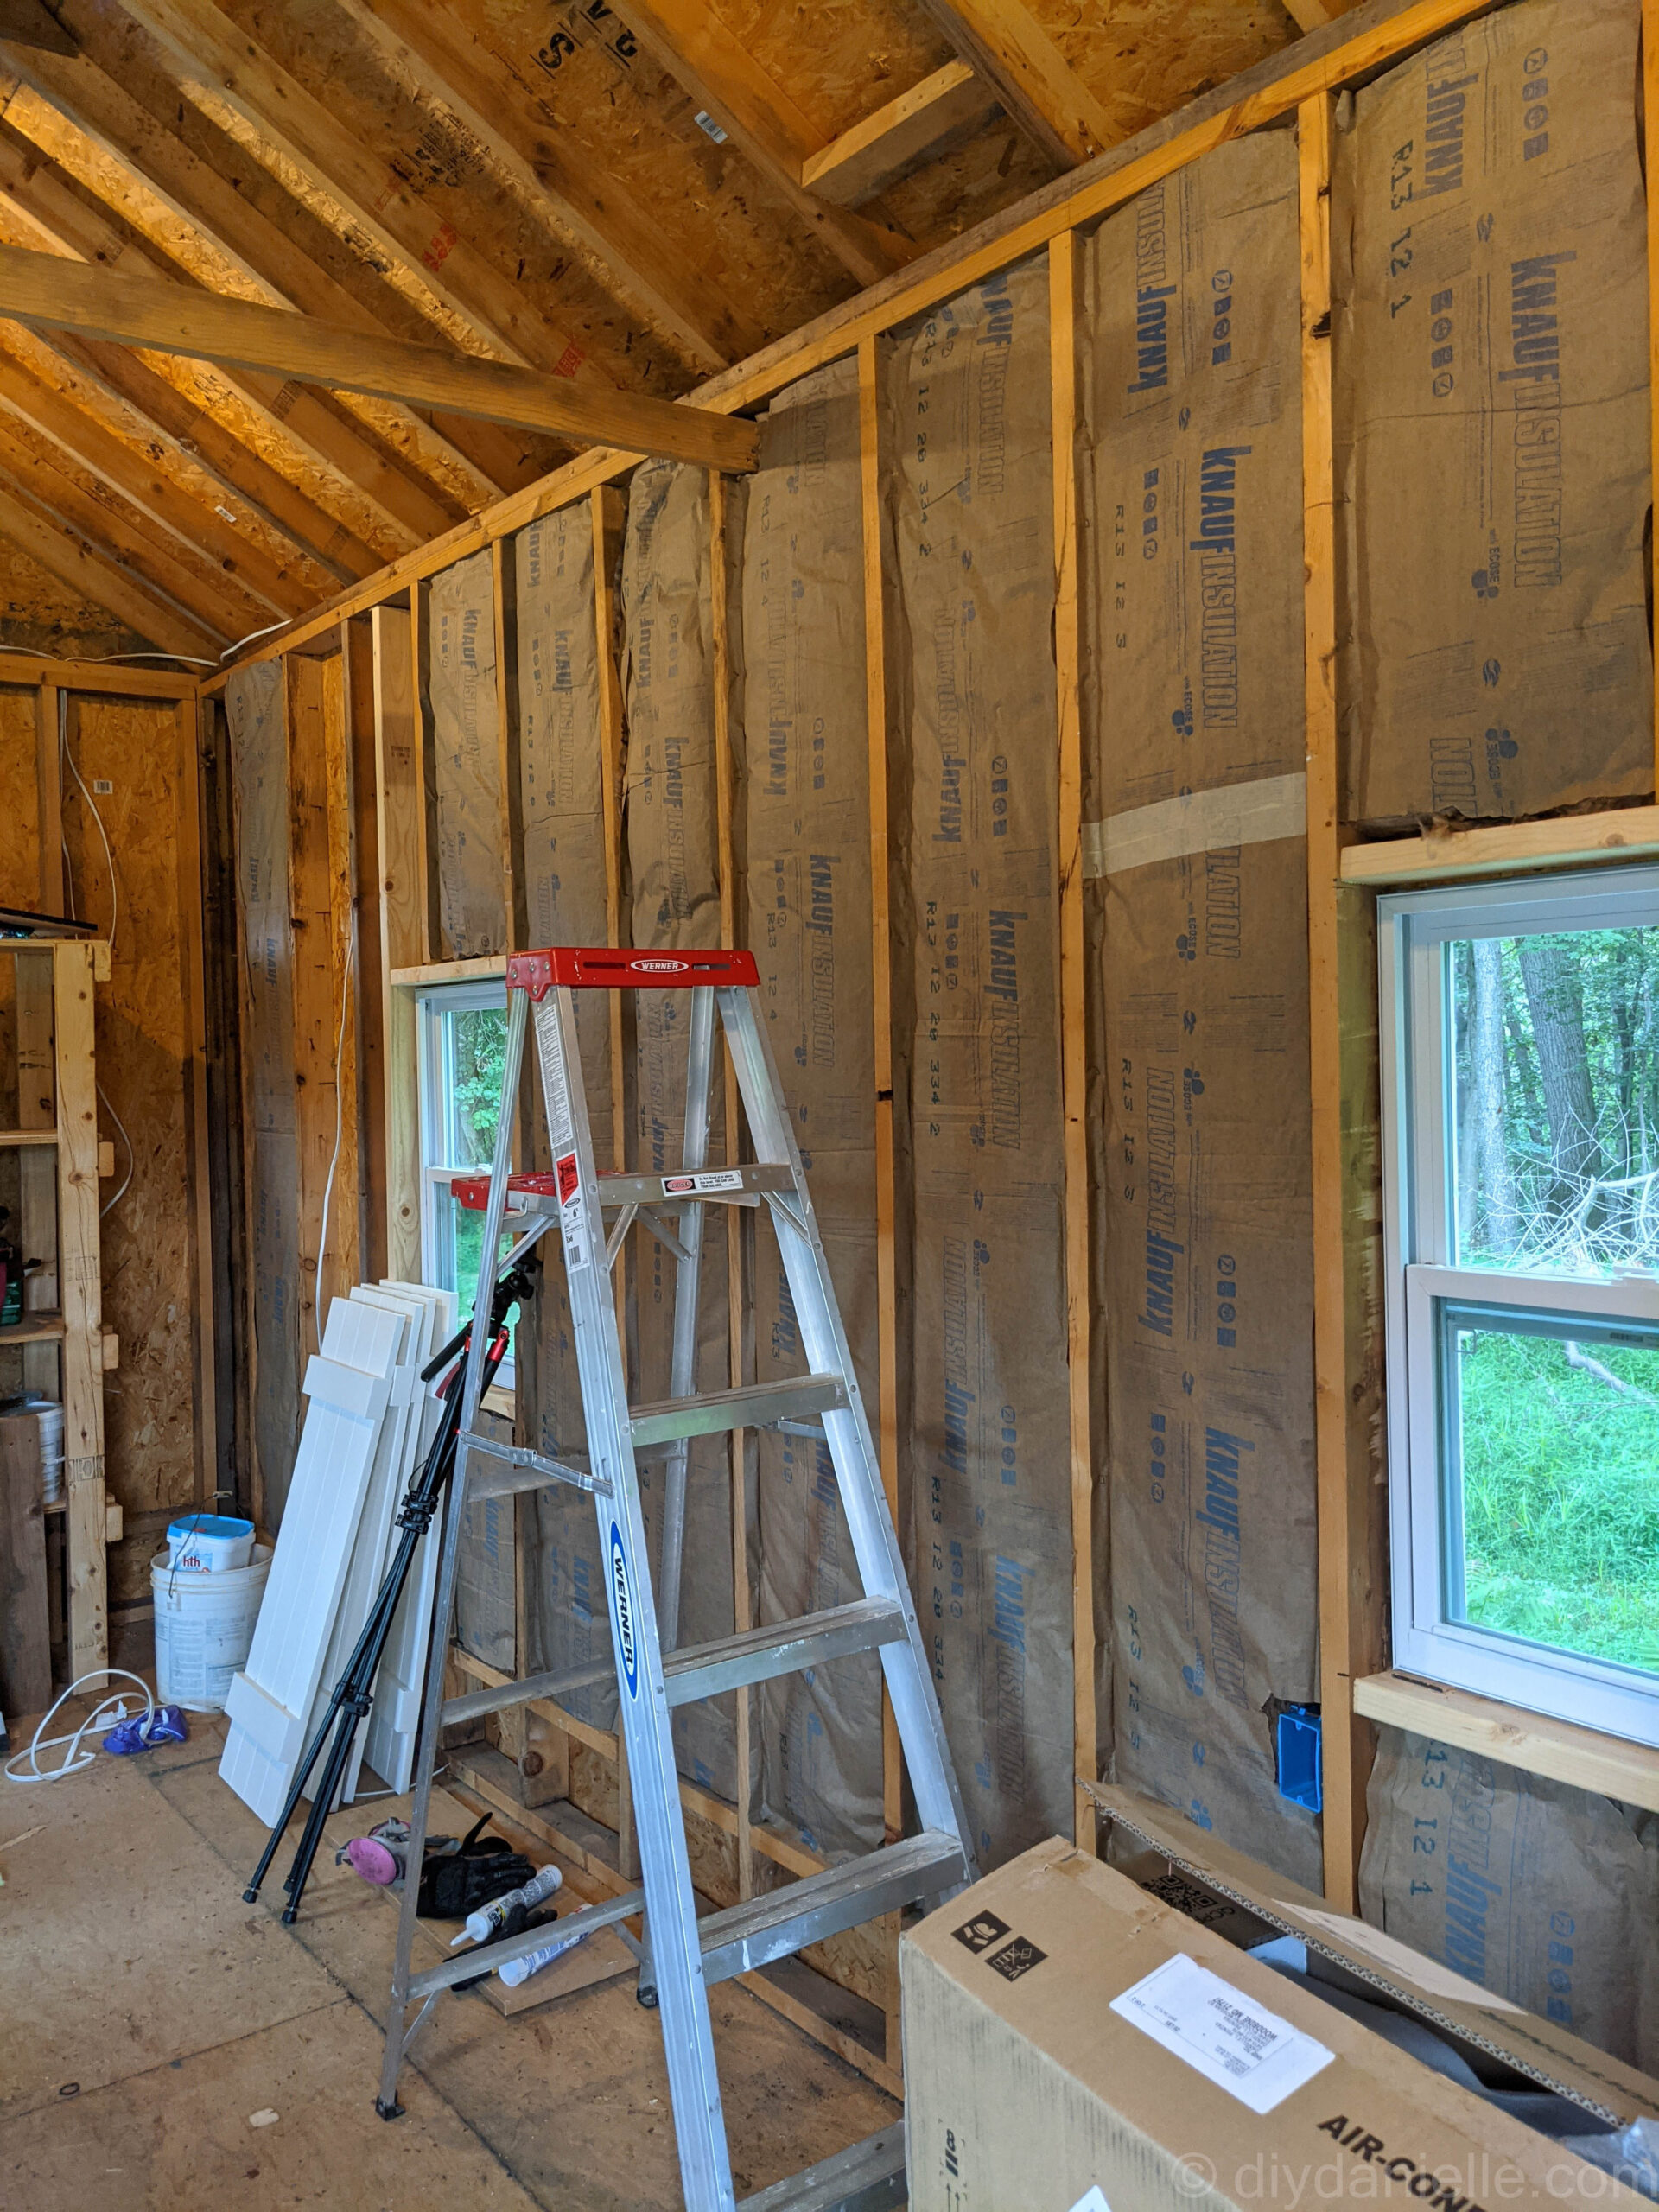
Our studs are 16″ on center. This means that when you measure from the center of one stud to the center of the next, it’s 16″ apart. There’s about 14.5″ of empty space between the studs. I counted the sections between studs and found that my shed had a total of 41 sections that are 9′ tall.
I found these R13 batts for $54.48 per package. Each package covers 116 sq ft so I needed 5 packages.
How to Insulate a Shed
Insulating is a pretty easy job, but it’s time consuming. You’ll spend a lot of time going up and a down off the ladder, stapling the insulation into the studs, and cutting insulation. Here’s how to do it.
Safety
If you’re installing fiberglass insulation, you want to make sure you have the proper safety gear. You’ll want a respirator, gloves, long sleeves and pants to avoid skin contact, and goggles. It will feel really itchy if you touch it… and honestly, I get itchy just looking at it, as you can probably tell in the video.
Supplies
- R13 batts x 5 Total: $272.40
- Staple gun*
- Extra Staples: You’ll need a lot more than you think. I think I may have gone through 2-3 boxes, but I may have been overly diligent stapling the insulation in.
- Utility knife or a special knife for cutting insulation
- Straight edge
- Safety gear: Respirator, gloves, long sleeves, long pants, and eye protection
*This is a cheap product and does the trick, but I’ll talk more about why you may want to upgrade to a better one in Tip 3 below.
Tips for Insulating
Tip 1: Do the easy parts first.
The area between the studs is called a stud bay. Cutting batts down to the correct size is time consuming. Rather than going back and forth cutting and installing the insulation, install all of the full 8′ batts first. I pulled out all of the 8′ batts and placed them in each in a bay. Then I tackled cutting and stapling separately.

Tip 2: One step at a time.
First, I put all of the 8′ batts in their bays. Then I cut batts for the other stud bays. Finally, I stapled everything in.
Working like this means less back and forth. It will make the job much easier.
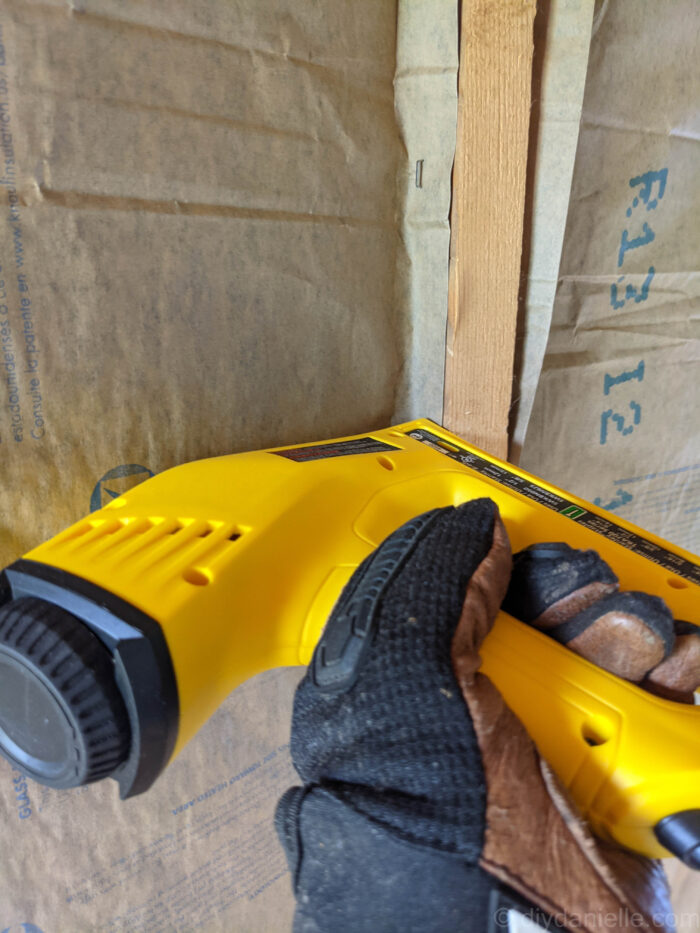
Tip 3: Buy the right equipment.
I purchased a $30 staple gun for stapling the batts to the studs. It is a CORDED staple gun so you need to have power to plug it into. I ran into some issues installing this with my low powered electric in the shed (prior to the new electric being run); it wasn’t stapling all the way into the wood. It was MUCH better once the new electric was installed, but I’d recommend splurging here and buying a cordless stapler. The Ryobi Crown Stapler would probably work well. I just HATED working around the cord and needing to plug/unplug as I moved around. You don’t realize how much stapling is involved until you start. If your time is more valuable than money, or if you do a lot of DIY projects, invest in or borrow the better staple gun.
I also cut my batts using an old utility knife. It is important to have fresh blades to swap out. A dull blade will slow you down a LOT.
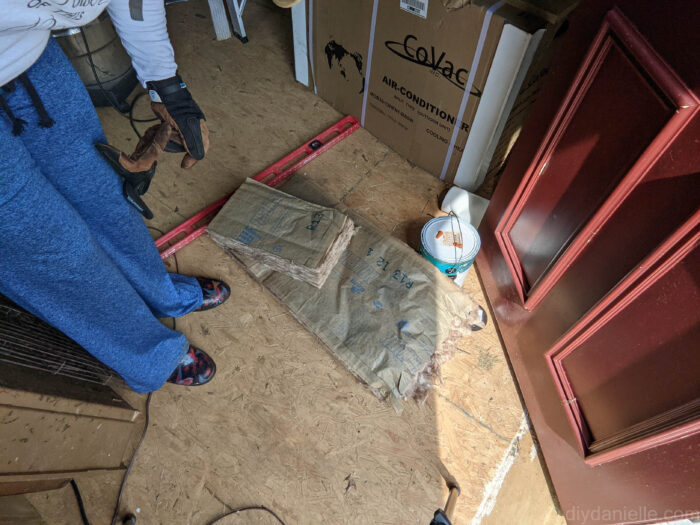
Tip 4: Have a good place to cut the insulation.
You’ll want a clear spot to cut insulation, a straight edge, and your knife nearby. I would kneel on the straight edge to hold it in place and put weight on the batt so the knife would cut clear through the batt. Your knife will cut through the insulation so a scrap piece of wood underneath is helpful.
I was thinking that a giant paper cutter type device would be really helpful for quickly cutting batts of insulation.
Tip 5: Create a stud bay template for frequent cuts.
Many of my smaller stud bays were all the same size. I cut a template piece of insulation (perhaps a cardboard template would have been better) and used that to cut may smaller batts
Tip 6: Keep as much of the edge paper as possible.
Make cuts so that you retain as much of the edge paper (the sides that are folded over) as possible. This is what you staple to the studs.
Tip 7: Staple to the sides of the studs, not the top.
If you staple the batts to the top of the studs, where your drywall will attach, it may interfere in drywalling if the staples don’t lay flat. Instead, you can staple the batts to the sides of the studs. This keeps the staples out of the way.
Tip 8: Working around outlets.
You can’t insulate over an outlet or window, for obvious reasons, so you’ll need to cut out the insulation around those areas. Try to leave NO empty space. The batts should be pulled apart (see video) from the outlet up to where the wiring comes down so the wiring is sandwiched in between the middle of the batt.
If you’re wondering if the outlets might let in cold or hot air, the answer is that they do. I buy foam insulators for any outlets on the exterior of my home to prevent this. They’re VERY easy to install.
Tip 9: Perfection is not a realistic expectation.
For the Type A’ers like myself, this is just a reminder that contractors don’t do things 100% perfectly either. Lower your expectations and do the best job that you’re able.
Insulating: Step By Step
- Clean up your space. Use a ShopVac to clean up any debris between your studs and on your floor.
- Add your batts to any bays that need a full sized batt.
- For bays with an electrical outlet, peel the batts apart so the electric wiring can be sandwiched between the batts. Cut out the area for the outlet box.
- For smaller bays, cut batts to size and insert.
- Staple batts onto the sides of the studs. If you haven’t added the electric yet, wait to staple until the wiring is sandwiched inside the batts.
Insulation Process Video
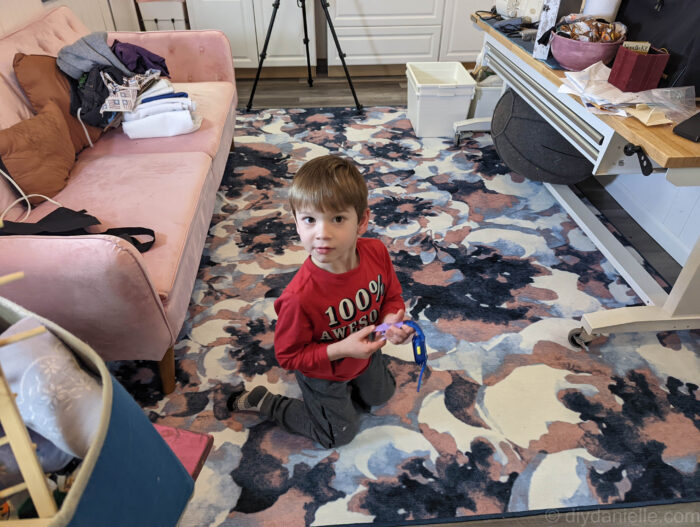
My 10 year old really enjoyed stapling so I put him to work stapling all of the batts in, at least for the lower parts. It was really helpful to have him do this while I cut and placed other batts. At one point, he was finishing up stapling batts while my husband and I started putting the wall panels on.
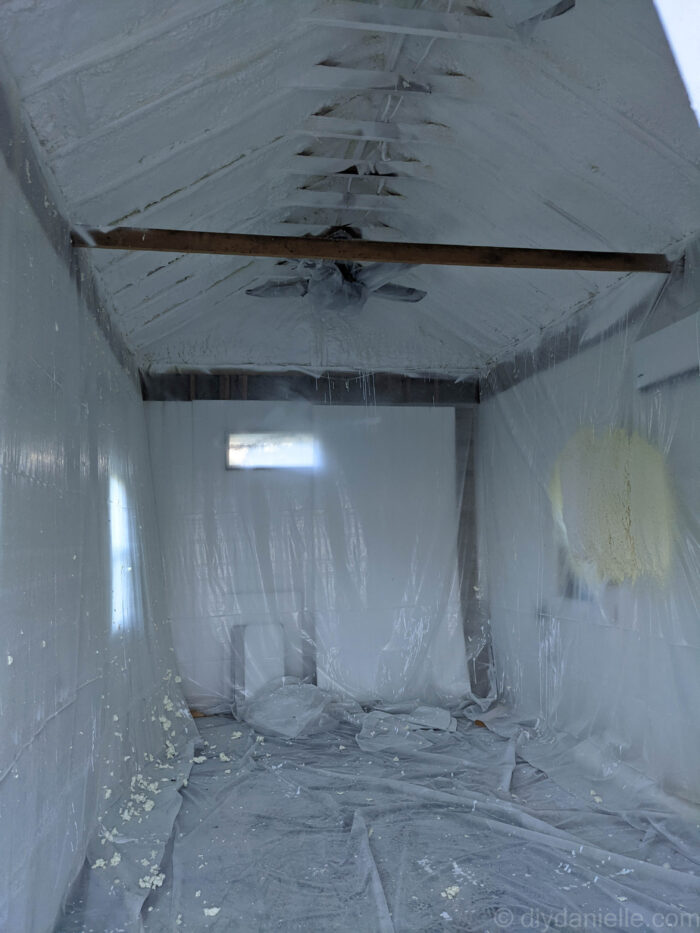
Spray Foam Insulation: Our Ceiling Solution
While I had originally planned to insulate the ceiling myself, it was VERY high and I wasn’t sure how to manage it because the studs on the ceiling or on the short side above the 9′ walls weren’t similar to my wall studs- there was no neat spot to pop the insulating bats into.
I decided to splurge on this and hired a company to do spray foam insulation on the roof. This ran $1500 for the roof + an additional $400 to put a special coat of paint on it to seal it so I could use the ceiling “as is” without adding sheetrock or paneling.
The spray foam was closed cell foam R-21. Spray foam companies come in with special equipment because the foam is pretty toxic. You’ll want to plan to be out of the space for a few days after they spray it until the smell dissipates.
I wish they’d been able to do the floor as well. The main issue that the spray foam company mentioned is that the lack of insulation in the floor meant that moisture could come into the shed through the floor and get trapped inside the shed. This could cause issues with mold. My minisplit has a dehumidifier, however, and I haven’t had any moisture issues in the shed.
Insulating the Floor
I should have insulated the floor before fixing the rotten part of the flooring and putting the laminate flooring down. I wasn’t sure how big of a difference insulating the floor would make, and I did NOT want to rip up all of the floor to put it in.
The main issue was the price of wood currently and not wanting to replace anything that didn’t NEED to be replaced. The secondary issue was I had no idea what type of insulation to put under there or how to protect it from bugs and mice. I thought that perhaps I could just have the spray foam folks shoot the foam under there, but unfortunately they could not.
We made it through the whole summer without an insulated floor though and it didn’t seem to be a big issue. The winter was harder. On very cold days, the floor was VERY chilly to walk on. I ended up purchasing an 8×10 Ruggable rug to put down to keep my feet a bit warmer. Overall, it’s been manageable, but I’ll probably try to solve this problem long term.
One possible solution that we may pursue is to use a big roll of plastic to staple under the shed. This will hopefully block out drafts. Then I’d like to shovel some loose rock under the shed to make it less hospitable to mice and snakes, and also so it creates a better drainage area for any water. And last, but not least, the gutters and minisplit need to have the water they’re expelling be directed away from the base of the shed.
Interested in another DIY project to renovate a “shed” space into a living space? I used slightly different options for heating and cooling it. Check out my DIY office that I made from a tack room in our barn!
Please share and pin this post! You can also post your project and tag the DIYDanielle team on Instagram @doityourselfdanielle!
Thank you for all the information. Very helpful. How would you suggest insulating the floor? My shed is already set in place and there is no way to get to the underneath from the outside or inside.
I wish I knew. If you haven’t put nice flooring down already, the shed floor can be taken up to insulate- that’s what I wish I’d done lol. Some people just go without. It hasn’t been HORRIBLE in the winter… I put down a carpet so my feet don’t get cold. But I haven’t found a good solution or fixed mine yet. It might be not worth the time and money to fix it– it’s fairly climate controlled and no issues with it.
What size is your shed? I wish you had shown more progress photos. Why did you decide to do insulation batt for the walls then spray insulation for the ceiling?
I did spray insulation on the ceilings because it was REALLY high and I don’t like working upside down, plus the top short walls didn’t have normal stud bays. It was a bit tricky and it was just easier to go with the spray foam.
Shed is 10×20. I haven’t done the full reveal blog post yet…I have too many unfinished projects and adding some EASY to diy trim to the she shed interior has delayed me from doing it. (sheepish grin) I ended up finishing my barn tack room first… and then started the basement bathroom. ADHD problems.
Nice job explaining all the steps, but I would argue the way you hung your insulation is incorrect. I understand why you chose to staple to the sides of the studs, but this will cause issues if this is a climate controlled shed. Overlapping the paper wings from the insulation over the studs creates a vapor barrier. This keeps condensation moisture out of the insulation that will grow mold over time. This is a very important step for health reasons. If this is not climate controlled, it should not be an issue. But without heat/air why would you need insulation at all? Stapling to the side of the stud would not pass code in a lot of areas.
Hello. I am going to insulate a shed but was wondering if I should put a house wrap first inside before insulation. My shed was built with vertical pine boards and there is spaces where the air is coming in. Or should I chalk the spaces/cracks.
Thank you
Possibly the kind they blow in. Not spray liquid like cut up memory foam pillows ( my favorite), except it’s insulation. They do walls this way. I was thinking about installing radiate floor heating so I want something that will withstand the critters as well.