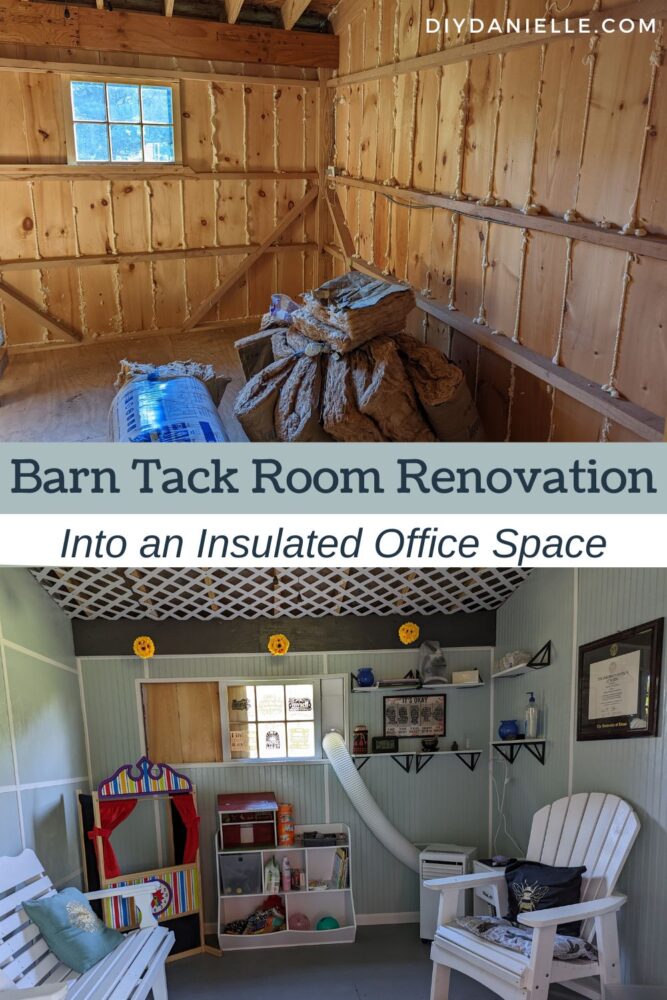
How to turn a tack room in a barn into a usable space with a few simple and affordable DIY projects. This was perfect for my AAT office.
When I went to open an animal-assisted therapy practice, I knew I’d need an office in the barn. I decided to update the tack room into a usable space to see clients when we weren’t able to work in the field or aisle. The space is cozy, works well in both the summer and the winter, and it has lots of storage space. Here’s how I did it all! I’m glad the She Shed Renovation gave me all of the necessary skills that made this… easier. Not quite a “breeze,” but it was all less intimidating than the she shed was!
This post may contain affiliate links which may earn me commissions should you click through them and take certain actions. As an affiliate for Amazon, Cricut, xTool, Home Depot, and other sites, I earn from qualifying purchases. Please DIY carefully. View my full legal disclosures here.
The majority of my content is generated by me, as are 99% of the photos and videos, but I utilize technology for titles, descriptions, video editing out all of my ums, and occasionally for text overlay on images.
Please read the whole post so you don’t miss any important information!
Barn Build
We ended up buying a modular barn from a big company so the process went like this: we had a excavation company put in the base for the barn (level the area, add concrete footers), then the two large sections of the barn were brought in.
They place the two big sections- one was the three stalls on the right side, the other section was the two stalls + tack room.
A couple of days later, they brought in a team of a few guys and they built the roof over the two sections, forming the aisle. My total barn is 30×36′, perfect for my practice and property.
This wasn’t a cheap project, but it was a lot cheaper than if we’d had something custom done. I LOVE the barn and it works well for our purposes. The only thing I miss is a loft… while I like how low the building is and HATE the idea of hopping into a loft to get hay, the storage would be nice. Ideally you shouldn’t store hay in a barn due to the fire risk, but it’s still such a hassle to find space elsewhere to store enough hay for four horses, goats, and sheep for an entire winter.
Insulating the Tack Room
Insulating the tack room was pretty simple. I started out by using cans of spray foam to fill in the cracks in the walls. I covered ANY SPOT where I thought cold air would leak through. This was probably overkill and not something a normal builder would ever do, but I am the one paying for heating and cooling so I wanted whatever help I could get.
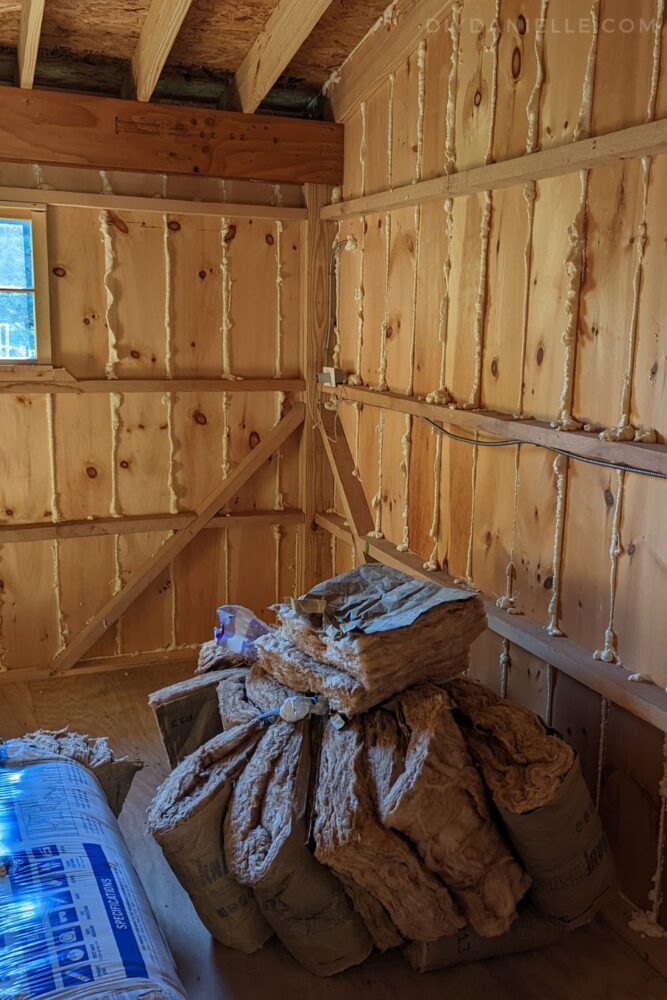
I had leftover batts of insulation from the She Shed renovation so I used those, then bought some extra when I ran out. I insulated every wall except the side finished with plywood already, plus the ceiling. Note that the tackroom doesn’t have typical stud bays so I had to fudge it a bit to add the insulation. The correct method would probably have been to add stud bays, but with wood prices currently, meh. I made it work.
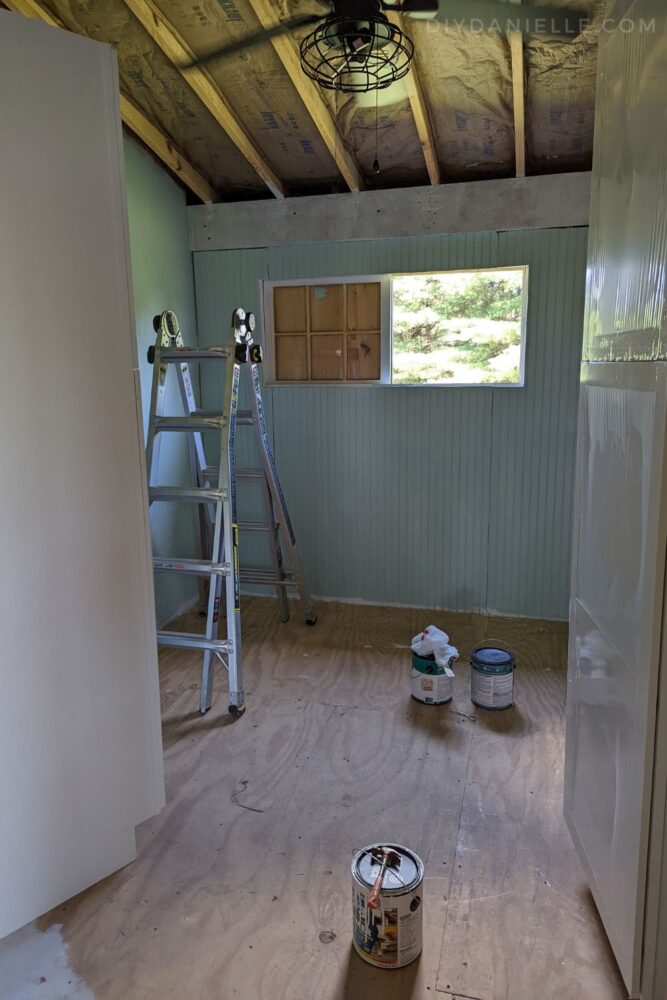
Walls
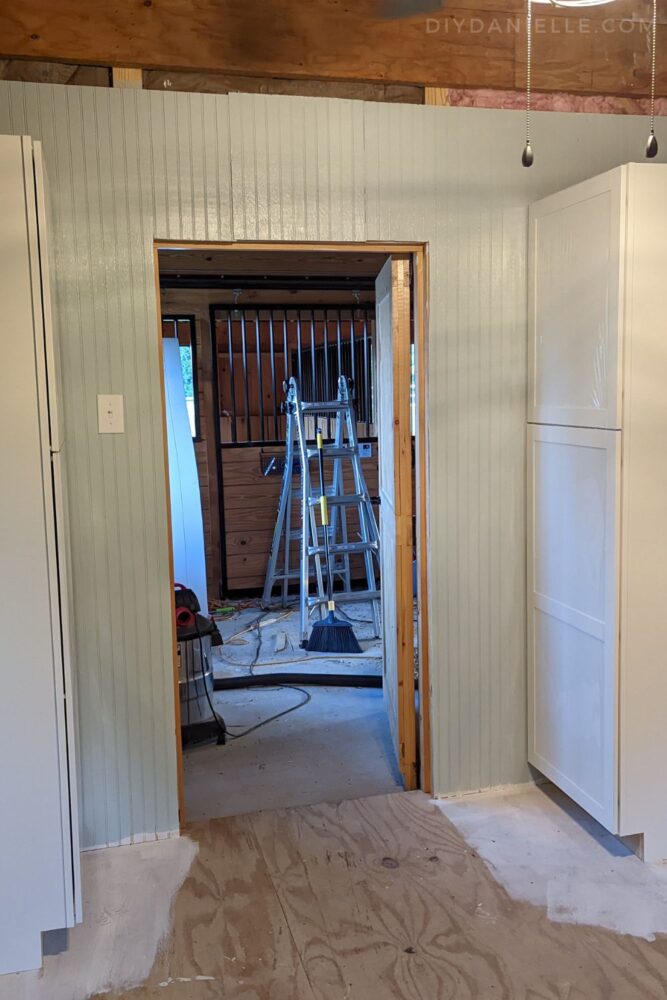
When we renovated my she shed, we used beadboard for the walls. While I liked the beadboard, I decided to use something else for the walls in the tack room. I opted for Plywood Siding Plybead Panel (Nominal: 11/32 in. x 4 ft. x 8 ft. ; Actual: 0.313 in. x 48 in. x 96 in. ) which is a little heavier weight that the cheap panels. It runs $28 a panel right now.
I attached it, primed, and painted.
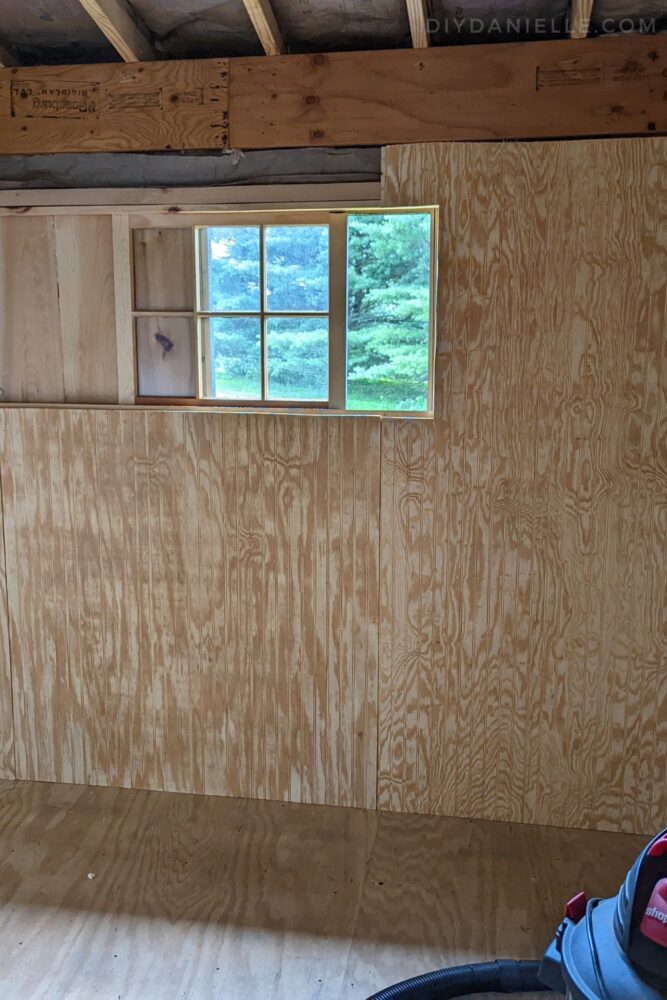
One wall was already covered with plywood so I used cheap white lattice after painting that wall to cover the seams. The lattice covers seams and the screw holes from when the builders attached the plywood sheets. It worked BEAUTIFULLY and I attached it using my Ryobi Airstrike. Possibly my most favorite tool to use and I LOVE how easy it is to attach lattice and baseboard with it.

For the other walls that weren’t finished, I used
Products used:
- White PVC lattice trim: I believe this is the trim I used, but you have to pick it up in the store. It’s with the other trim and sold by the ft.
- Plywood Siding Plybead Panel (Nominal: 11/32 in. x 4 ft. x 8 ft. ; Actual: 0.313 in. x 48 in. x 96 in. )
Flooring: Painted Subfloor
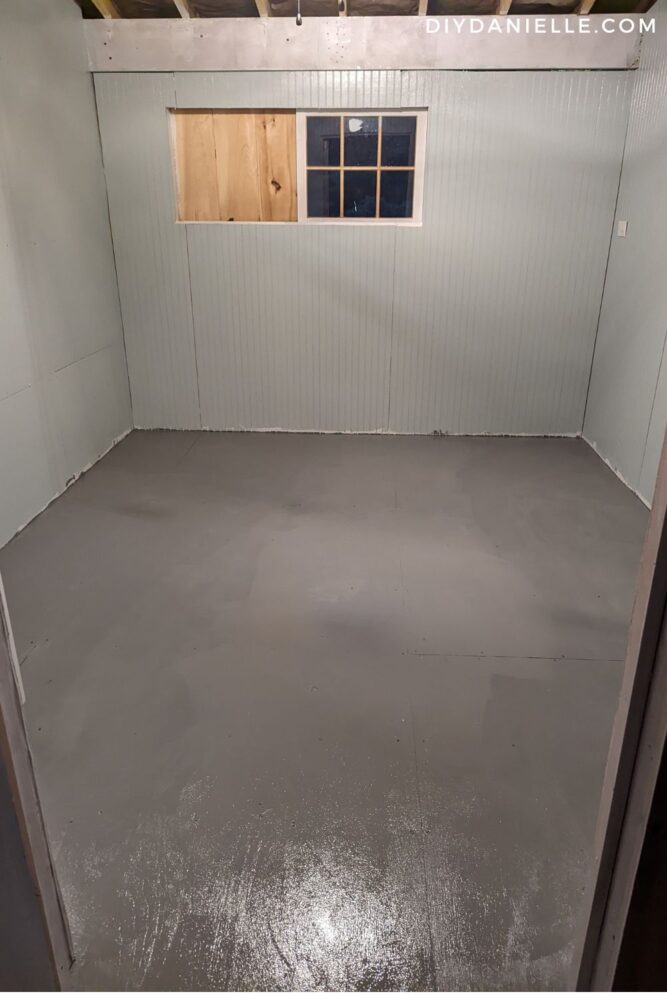
The flooring is just subfloor… I didn’t want to sink tons of money or time into flooring because this is a barn tack room. Inevitably, I’ll draw manure in on my shoes on a regular basis and I’m not spending tons of money putting nice flooring in, just to ruin it. No worries though! I painted the subfloor.
I started by priming it and letting it dry.
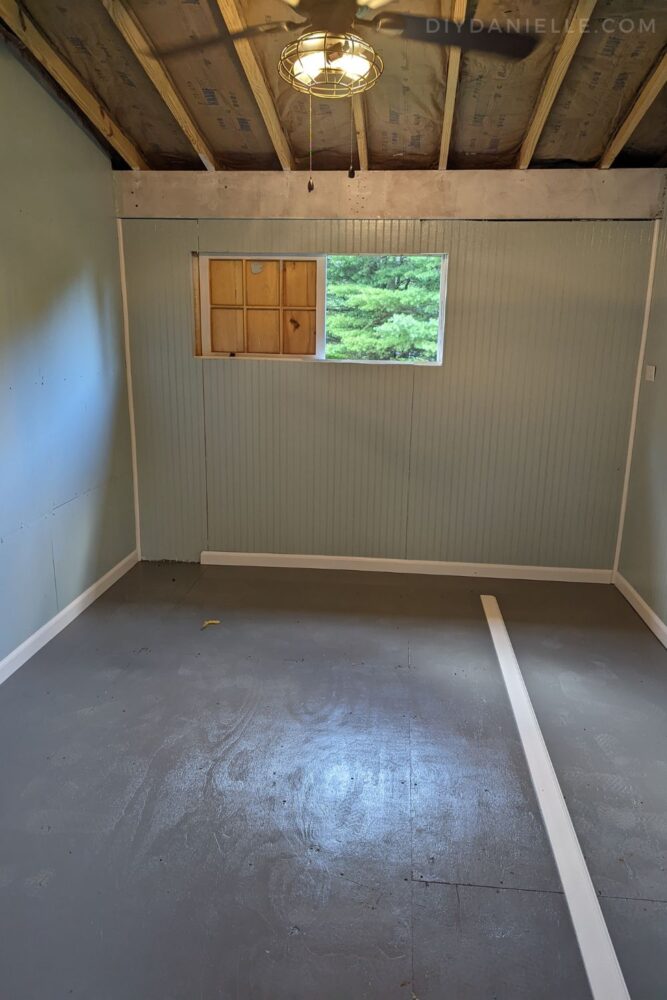
Then I painted the floor dark gray. I think I did two or three coats.
Painting
I won’t get into the details of how to paint here- except to say that I used a LOT of primer. Almost everything was raw wood, except the trim, baseboard, and lattice. I needed to prime first, then paint with my colors of choice. I went with a calming light blue and dark gray for the floor. I used white lattice and baseboard, and also choose white cabinets. I love the colors together, they’re quite lovely.
Note in the picture above, I didn’t get too particular about painting areas like the bottom of the walls because they’d be covered by baseboard. Save time and money, paint what you need to only. I like to prime everything, however.
Products Used:
- Primer: I recommend getting a fairly large container to do this level of project. You are going to be doing a LOT of priming.
- Paint:
- Floor Paint
- Wall Paint
Trim
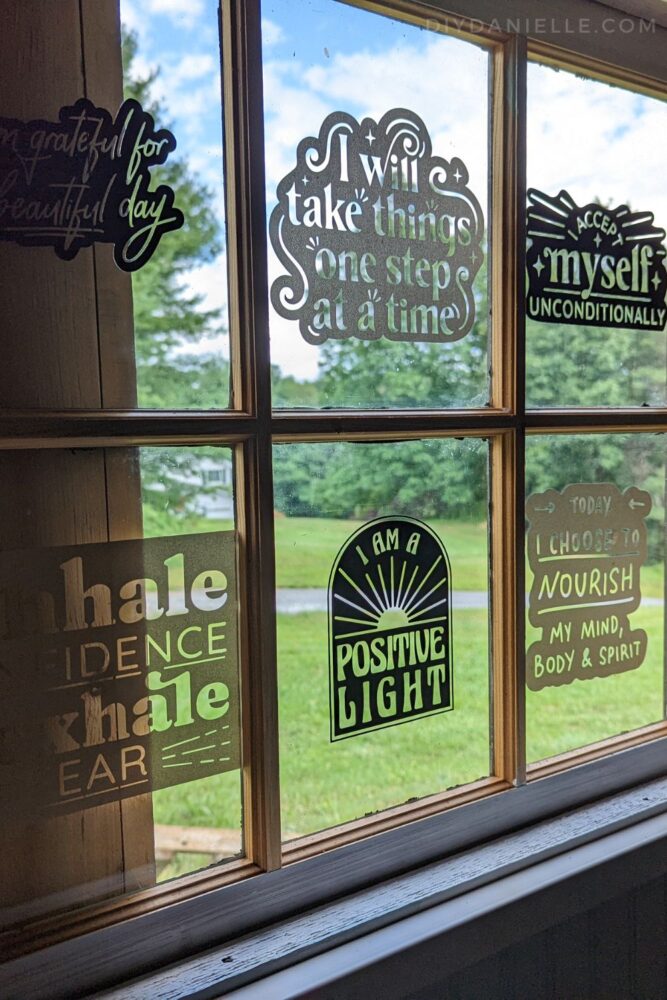
I trimmed the window, added baseboard, and also added white PVC corner trim. It was the easiest way to cover odd edges and areas.
Ceiling
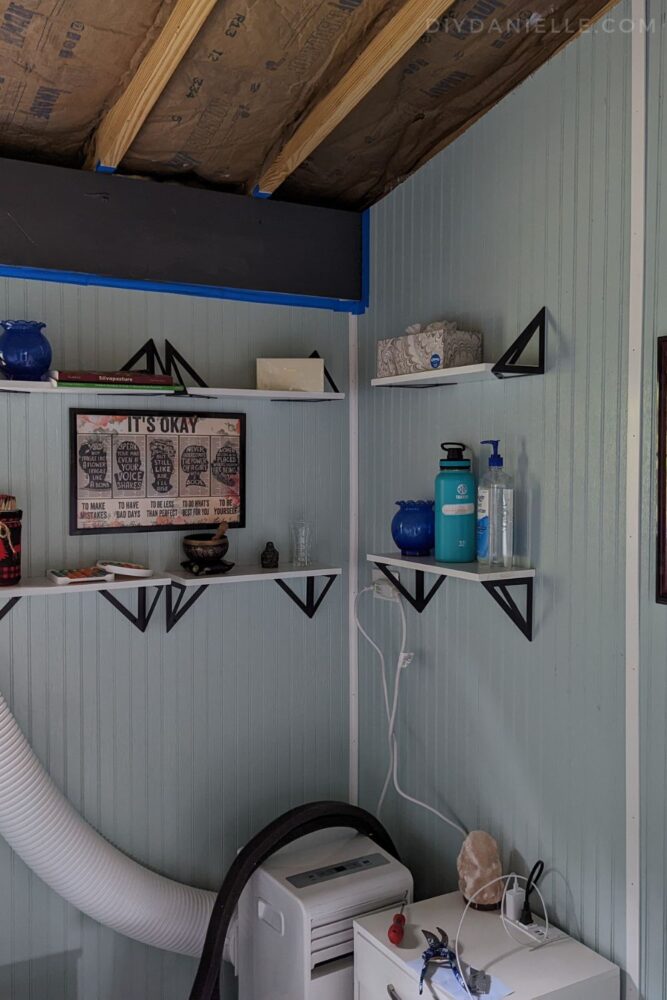
The ceiling is insulated, then I added white plastic trellis over the insulation to make it look a bit more finished.
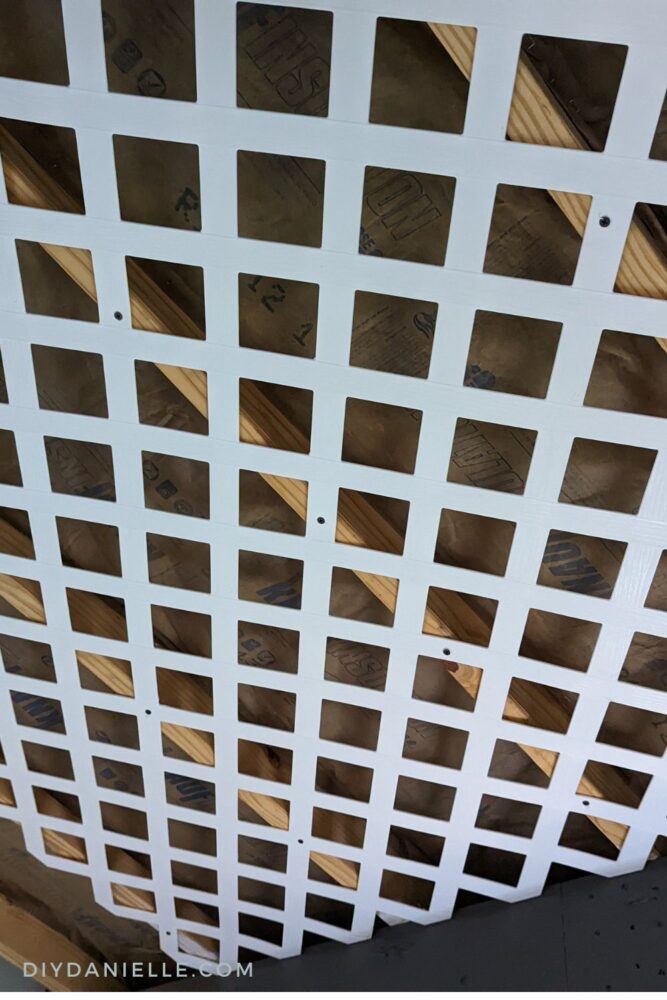
I attached pine boards painted gray over the seams and to give it a more finished look. While I like the look, I had some regrets after. I think it might have been cheaper to hang 1/4″ plywood. But it looked cheaper at the time, and I would need to run the numbers to really get an idea on cost.
The main issue with the trellis vs. plywood is that it leaves areas for spiders to make webs. Dusting through the trellis is a pain. Otherwise, it’s a neat look. The lattice didn’t require painting and it should be easy to clean/dust otherwise.
Products Used:
- 4 ft. x 8 ft. White Garden Vinyl Lattice ($27.98 each- this is where plywood would have been cheaper)
- Pine Boards, Total Cost was $174 so this hurt.
- Primer, Paint: Gray
Heating and Cooling the Tack Room
I was tempted to use a minisplit again, but I didn’t want to spend that much money and the tack room is pretty small. I talk about the minisplit in my blog post about air conditioning and heating my she shed, if you’d like to consider going that route.
My final choices ended up reasonably priced, although not as convenient as the minisplit. The portable air conditioner is a bit of an eyesore during the summer, requires storing during the cooler months, and takes us precious floor space. But it worked well!
I really like the panel wall heater, although we’ll see how well it works come the coldest days of winter. Currently though, it’s keeping the tack room warm enough so we aren’t uncomfortable. I don’t think it could handle a much bigger room than I have though.
Products Used:
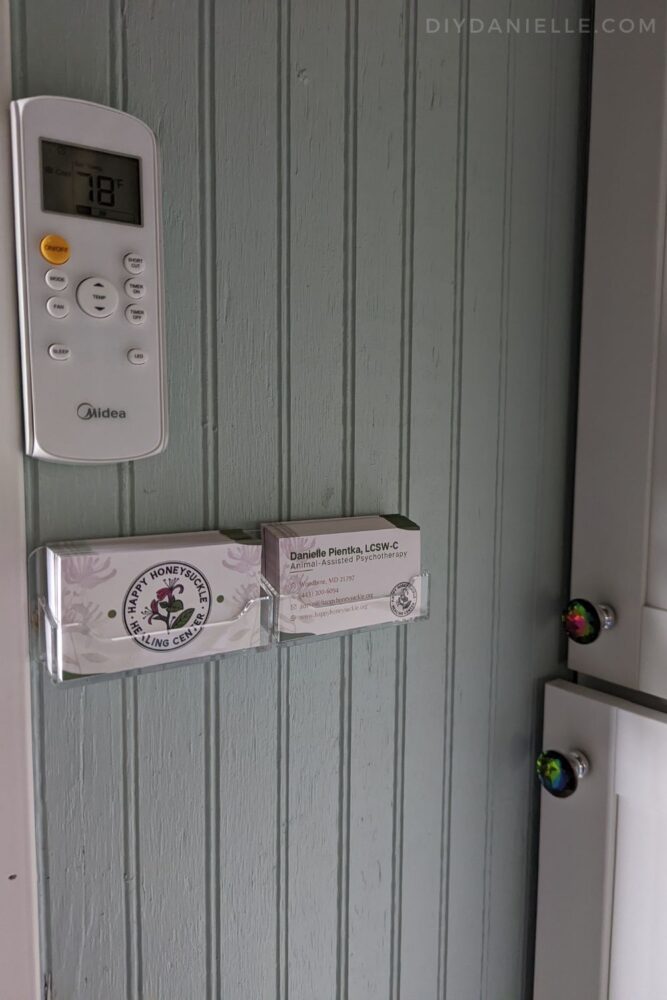
- Midea 6,000 BTU ASHRAE (5,000 BTU SACC) Portable Air Conditioner, Cools up to 150 Sq. Ft., Works as Dehumidifier & Fan, Remote Control & Window Kit Included ($290)
- Envi High-Efficiency Whole Room 120v Plug-In Electric Panel Wall Heater – Gen 2 ($180)
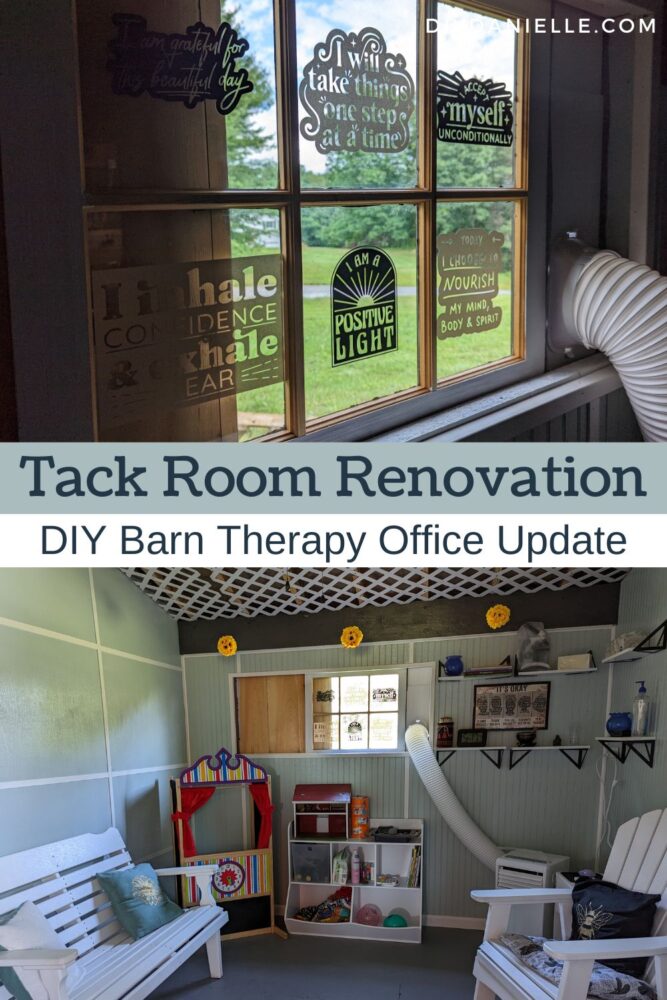
Decor for the Tack Room
Products Used:
- Coat Hooks to hang helmets
- DIY Project: Glue Painting on Canvas: Horse
- Floating Bookshelves
- White geometric shelves
- Mesh File Hanger for Wall
- Clear Sign Holders, but DO NOT use their stickers. Use Command Strips. I had a few fall and shatter using their stickers:
- Clear Business Card Holders
- Garbage Bin
Furniture in the Tack Room
I decided on easy to clean furniture due to concerns about germs and cleanliness; it’s post pandemic, I work with a lot of kids and adolescents, and I plan on having animals in the office. I didn’t want to find stink bugs living in couch cushions. No. Thanks. The barn office is still in a barn and we get crickets, stink bugs, flies, and spiders.
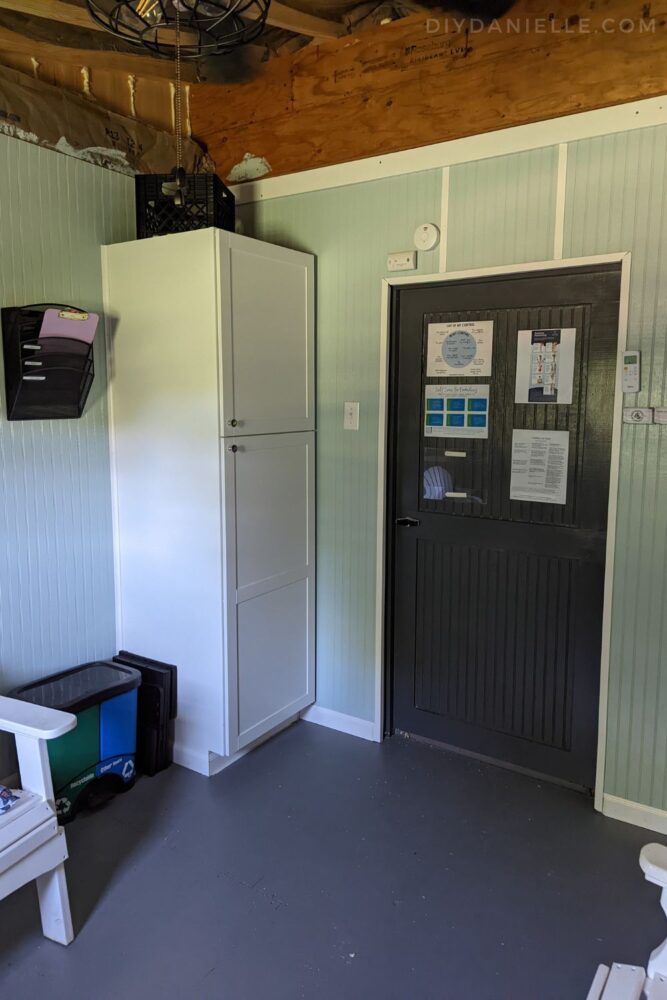
You’ll see some pictures of the office and I’ve made some cushions and pillows to go in the room to make the furniture more comfortable. It works pretty well! I can throw the cushions and pillows in the wash as needed.
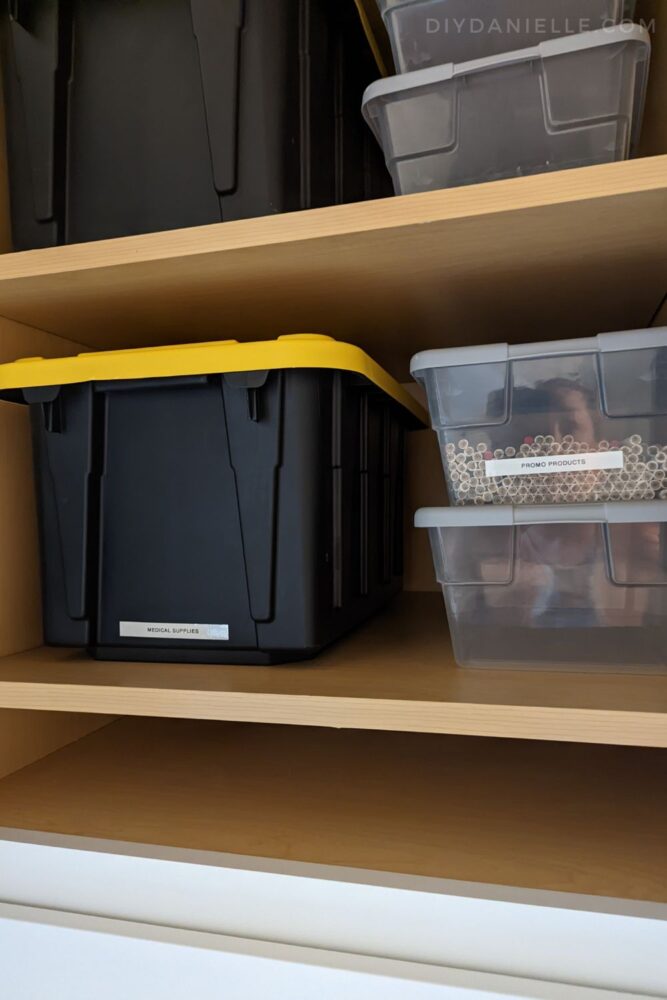
The extra large cabinets are my FAVORITE. I keep lots of clinical items in there, cleaning supplies, animal care items, as well as my horses’ saddles. It’s excellent for hidden storage so my office can function both as a tackroom and a therapy office.
Products Used:
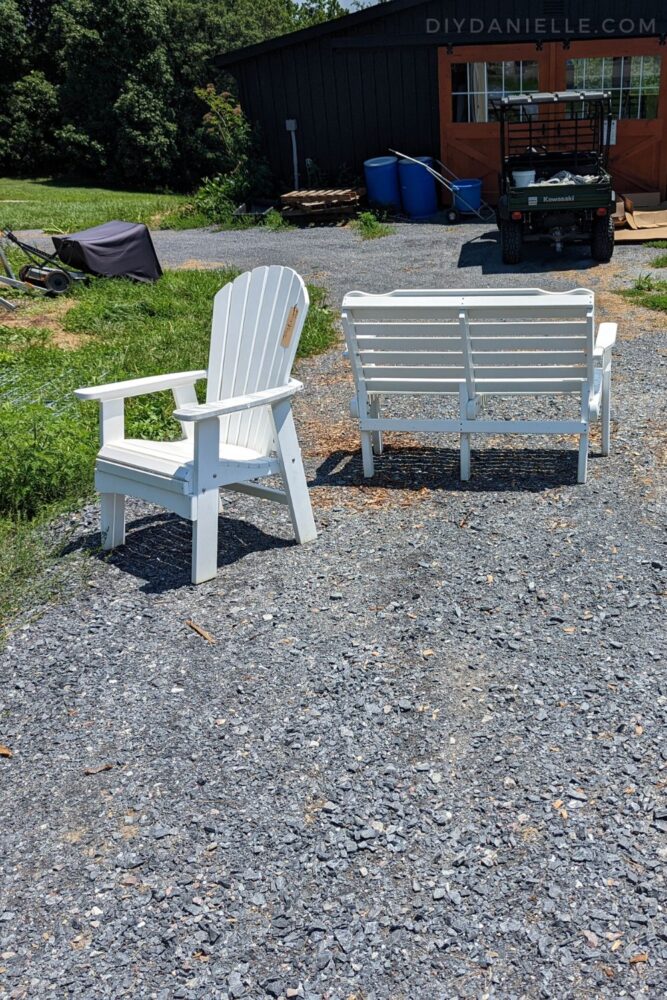
- Polywood Bench: Purchased locally, but it’s a lot like this bench on Amazon
- Polywood Chair: Purchased locally, but like this chair on Amazon
- White Rolling Filing Cabinet
- Rainbow Knobs for my tall Cabinets
- White Toy Organizer Shelf
- (2) Pantry Cabinets: Hampton Bay Shaker Style Kitchen Pantry Cabinets
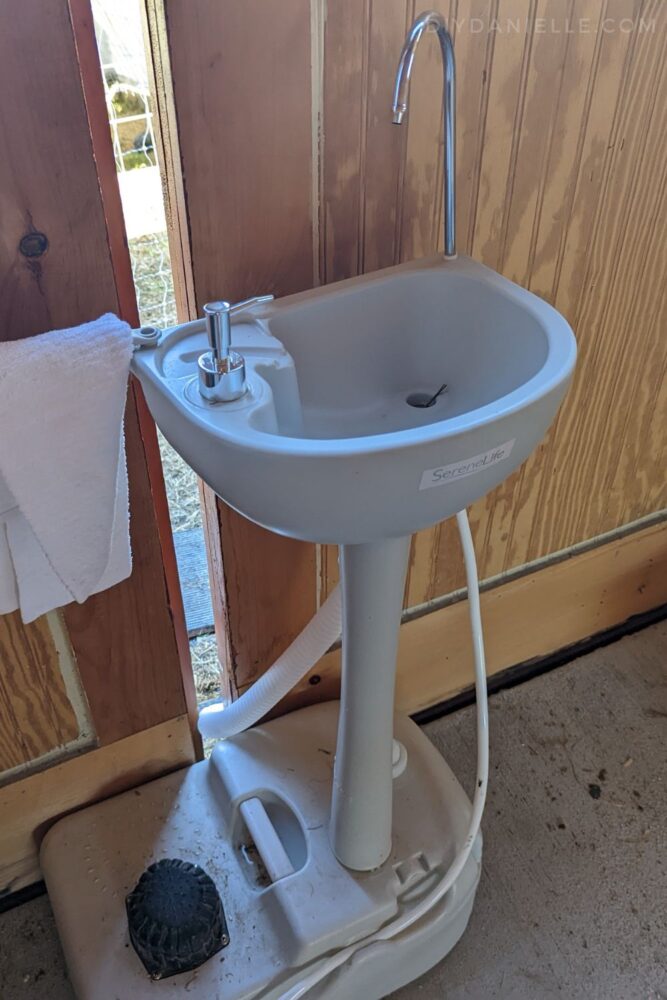
Products outside of the tackroom, but pictured in the final photos:
- Portable sink
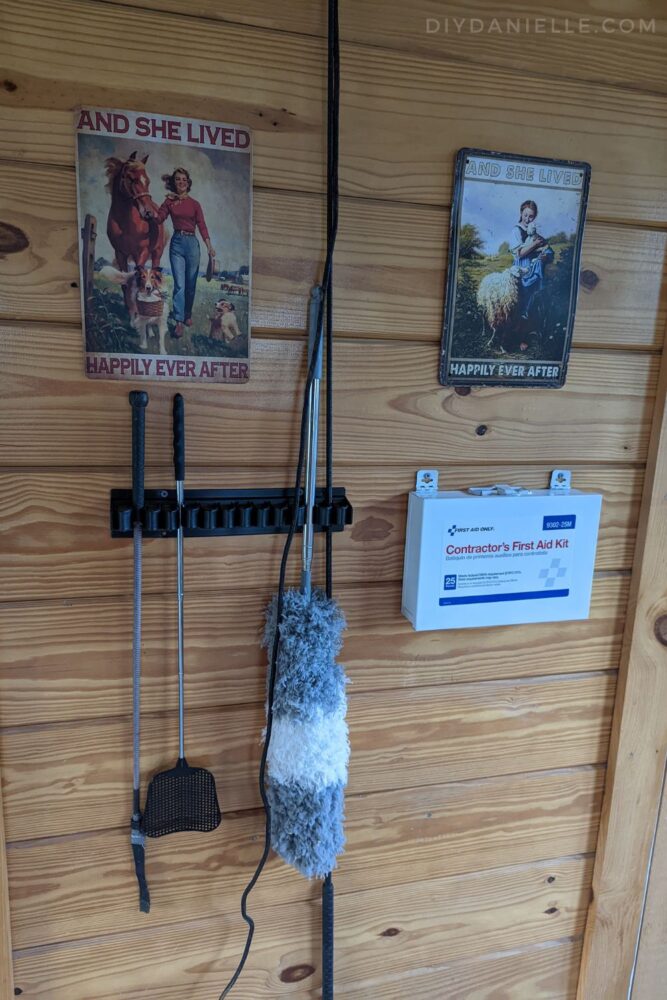
- “And she lived happily ever after signs”
- Whip Holder
- First Aid Kit
- 24 Hour Surveillance Sign (for exterior of house because we have a Nest camera)
- Keep Gates Closed Sign
- Slow Children and Pets at Play Sign (I need something sturdier than these, but alas, these will do for now)
- Equine Facility Dangers Sign
Play Therapy Toys
Most people probably aren’t setting up a play therapy room for a barn… it’s oddly specific, but here’s a list of some of the items that I have in my room.
- Magnetic toys: These and these
- Pop It Fidgets
- Kinetic Sand Zen Calm Set mixed with a few drops of chamomile essential oil
- 4 bags of Pink kinetic sand in a bin with tons of small plastic toys (and mixed with a few drops of clary sage essential oil)
- Uno
- A Little SPOT of Emotion 8 Plush Toys with Feelings Book Box
- The Original Mood Flipbook for Kids; 20 Different Moods/Emotions; Autism; ADHD; Help Kids Identify Feelings and Make Positive Choices; Laminated Pages
- Both regular bubbles and special bacon flavored bubbles for dogs.
- Melissa and Doug Puppet Theatre– I wish this was more popular.
- Li’l Woodzeez Toy House with Furniture 20pc – Honeysuckle Hillside Cottage
- Li’l Woodzeez Miniature Animal Figurine Set – Tippytail Fox Family
Let me explain my dollhouse choice! I’m so excited about the set I got. I work with a diverse group of kids, and it stresses me out trying to buy a bunch of dolls that represent any sort of diversity. I like all of the dolls, it’s just that it’s EXPENSIVE. I really liked the idea of using animal dolls instead because, after all, it’s an animal-assisted therapy practice.
I was tickled pink to even find the set because I’d hopped over to Target with my son and was CASUALLY looking for a play therapy dollhouse. CASUALLY. I saw it was named Honeysuckle Hillside Cottage and decided it was fate because my practice name has honeysuckle in it too. Crazy, right?!
This set really works for me and I love the whole setup. I do wish I’d bought the Li’l Woodzeez Toy School instead of the Farmers Market. The Farmers Market has SO MANY PIECES and it gives me anxiety. Haha. The pieces are easy to loose, too small to really handle easily, and I don’t see anyone having enough patience to truly use them either. I loved that the other parts of the set were so simple- not a ton of pieces to play with. We don’t need five different fruits. We… don’t. It’s play therapy and the sessions are limited to one hour.
I picked up some sensory strips and chair bands to show families some ideas for fidgety kids.
For outdoor work with the larger animals, I have hula hoops, cones, those big blue barrels, and horse jumps.
Tack Room/Office Tour
So rather than slow down this post with even more photos, I’m going to embed a YouTube video tour. This post has gotten rather out of hand. Whoops.
Final Photos
Please share and pin this post! You can also post your project and tag the DIYDanielle team on Instagram @doityourselfdanielle!