Learn how to clean a toaster easily and effectively with these simple steps. Discover the best methods for removing burnt crumbs, and keeping your appliance in top condition.
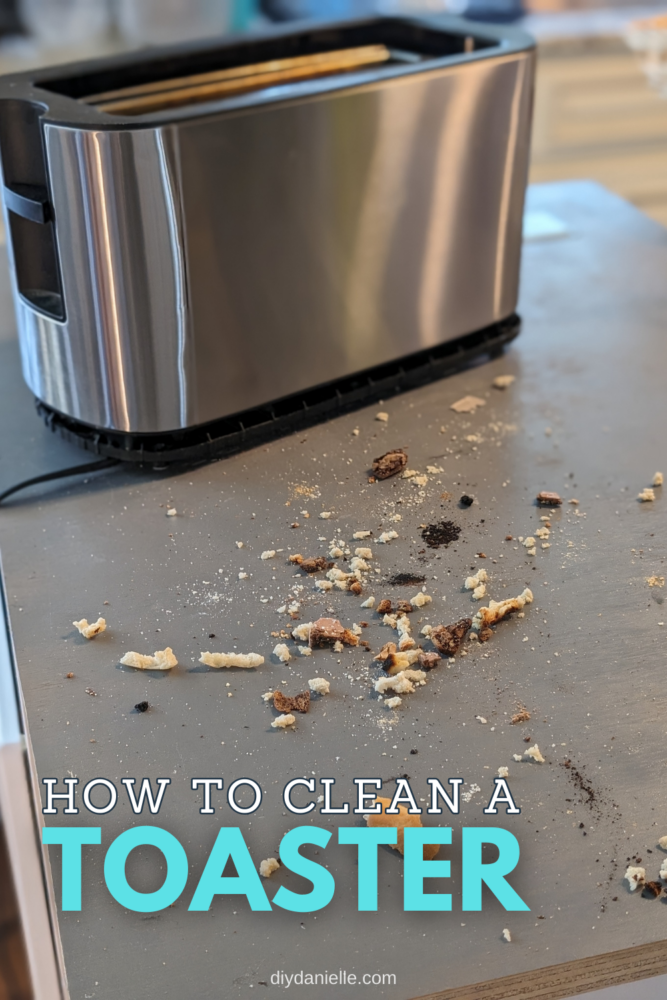
If you’re reading this, your toaster is probably due for a deep clean. Every time you use it, crumbs fall into the toaster, and they don’t just burn off or disappear – you’ve got to get your hands a little dirty and get them out yourself.
Regular maintenance increases the lifespan of your appliances. A thorough cleaning of your toaster every once in a while can prevent early failure and reduce the likelihood you’ll have to buy a new one sooner than you’d like. Not only that, but burnt crumbs trapped in the toaster also pose a risk of catching fire, and they can make your perfectly good toast taste burnt.
This post may contain affiliate links which may earn me commissions should you click through them and take certain actions. As an affiliate for Amazon, Cricut, xTool, Home Depot, and other sites, I earn from qualifying purchases. Please DIY carefully. View my full legal disclosures here.
The majority of my content is generated by me, as are 99% of the photos and videos, but I utilize technology for titles, descriptions, video editing out all of my ums, and occasionally for text overlay on images.
Please read the whole post so you don’t miss any important information!
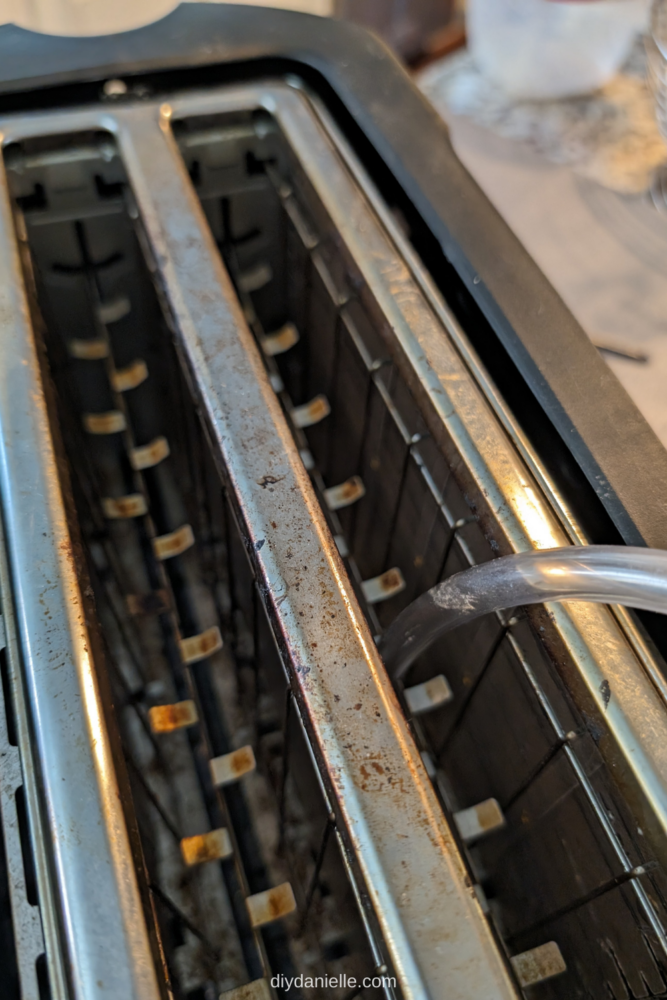
When I went to finish up my DIY Microwave Cart, I realized that I absolutely COULD NOT photograph it with a dirty toaster on it. It was SO gross. My kiddos eat too many foods that fall apart when placed in the toaster. So I gave it a THOROUGH cleaning.
Luckily, you can clean a toaster in less than ten minutes with very little equipment or know-how! All you need is a screwdriver, a vacuum cleaner, and this guide will take care of the rest. You can also follow along with the YouTube tutorial here, or check out some of my other DIY household cleaning hacks on my blog.
Supplies
- Phillips head or star bit screwdriver to fit your toaster’s exterior screws
- Handheld vacuum or vacuum with a hose attachment
- Small brush (optional)
Tutorial
Step 1: Most modern toasters have some kind of removable tray or crumb catcher for easy cleaning. If yours has one, start the cleaning process by pulling out that bottom tray and empty the crumbs straight into the trash. If there are bits stuck to it, give it a quick wipe down with a damp paper towel or wash it in the sink and dry it before returning it to the toaster.
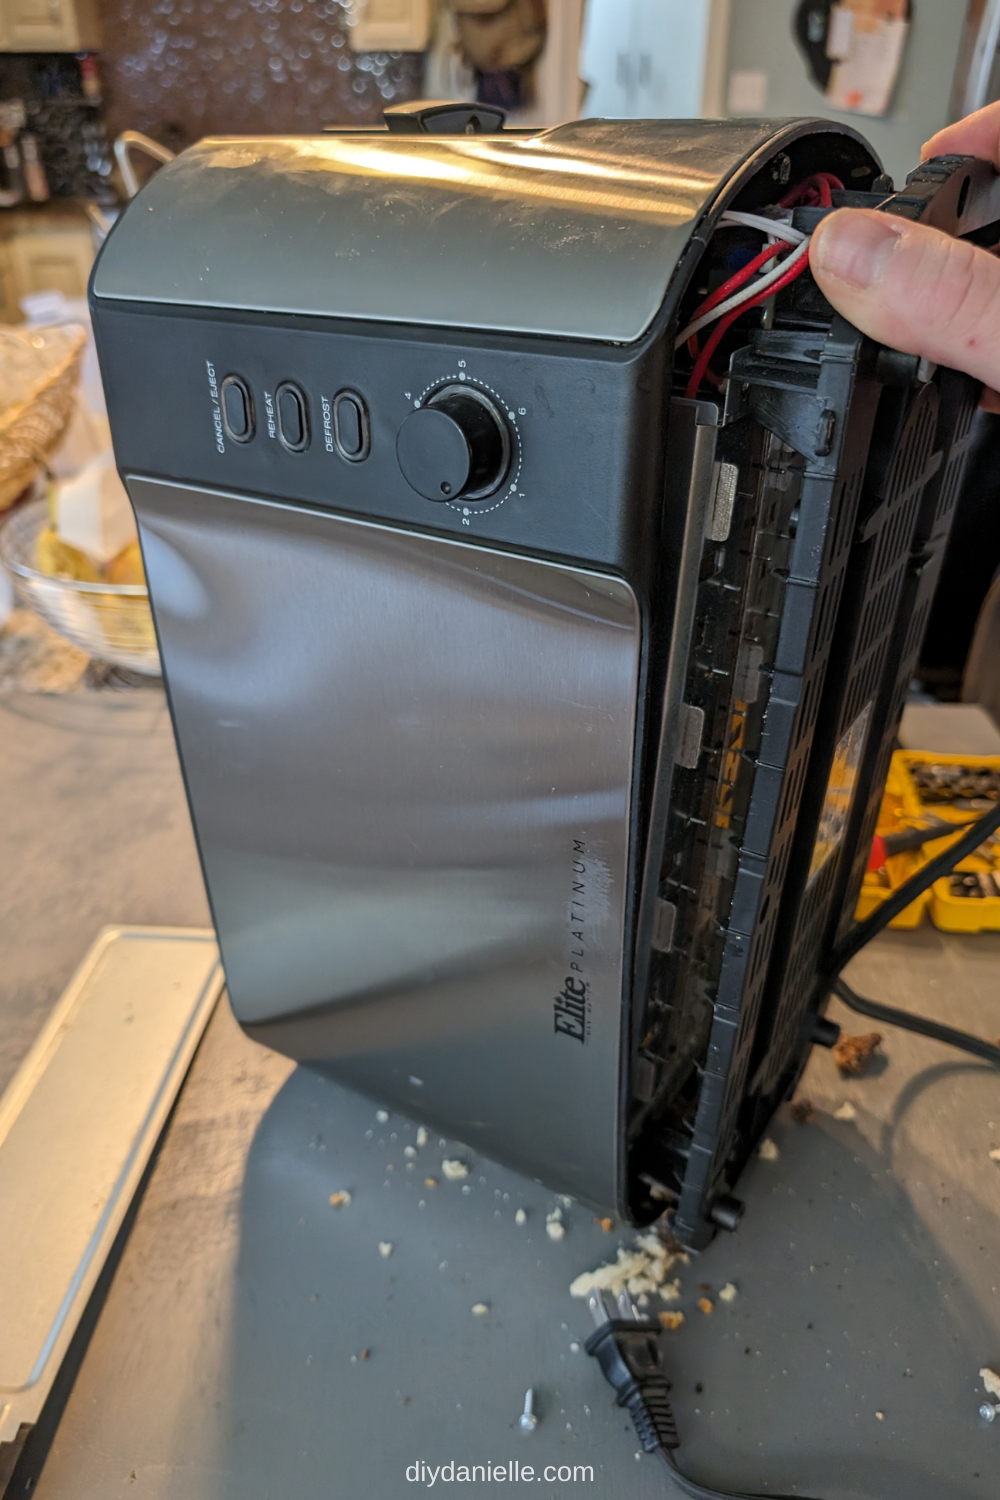
Step 2: Before you move on to the next steps, unplug the toaster! Don’t electrocute yourself trying to clean it. You’ll be partially disassembling the toaster, so make sure it’s not connected to electricity whatsoever or you’ll risk getting shocked.

Step 3: Turn your toaster upside down. You’ll probably find that a lot of crumbs fall out just by flipping it over, but a lot will still be stuck in the inner workings. Once it’s right-side-down, use a small Phillips head or star bit (mine requires a CRV-110 bit) screwdriver to remove the screws (usually located in the four corners and along the sides) on the bottom of the toaster. Set the screws aside in a safe place for reattaching later.
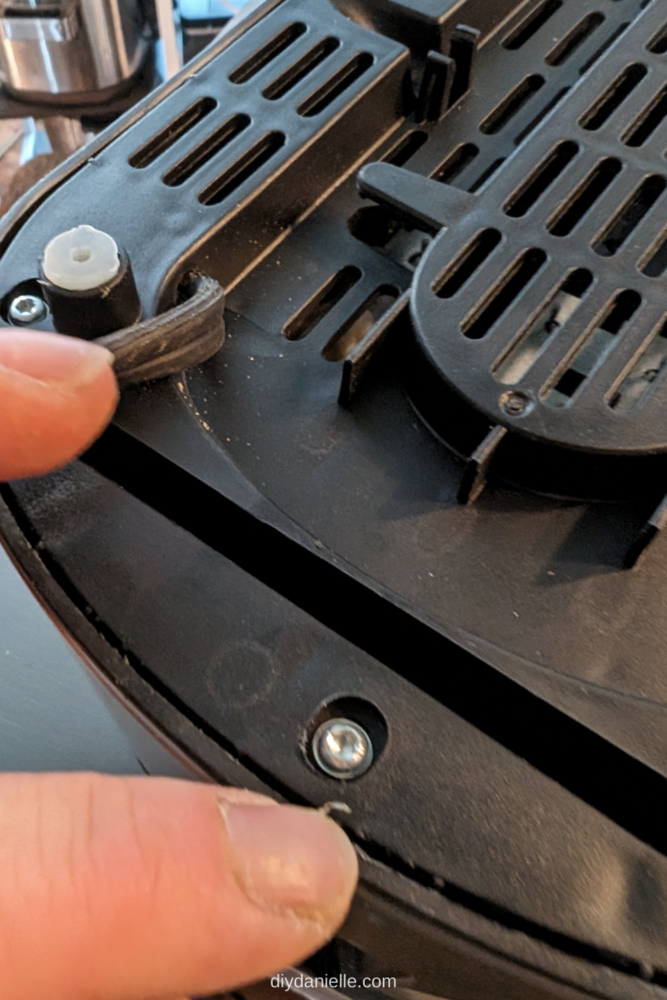
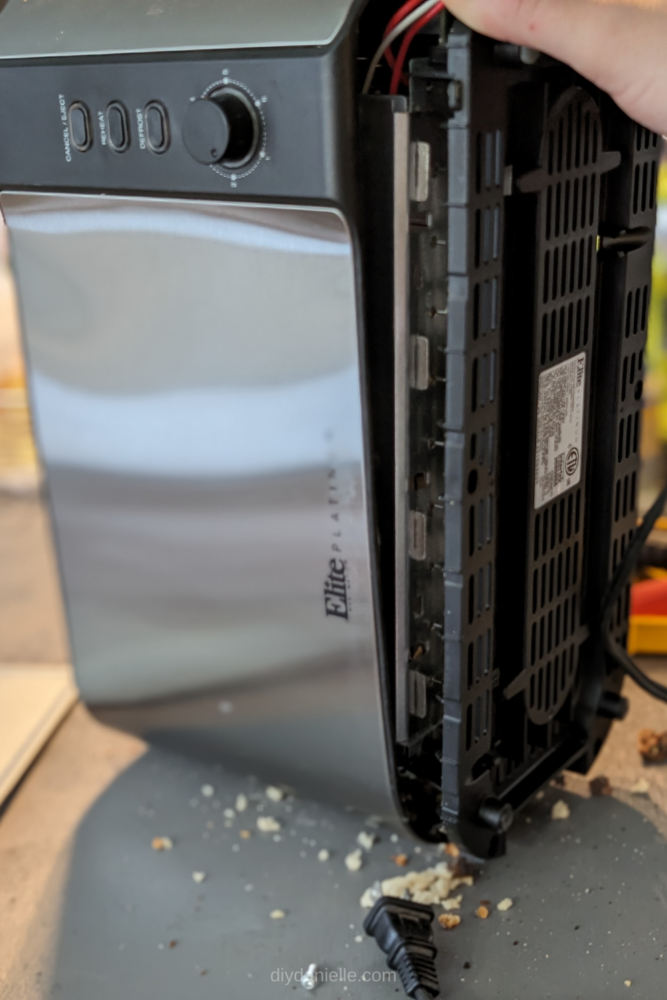
Step 4: Carefully loosen the bottom of the toaster from the shell. Grab the bottom with one hand and the top with another and gently pull them apart, wiggling and shaking it to loosen more crumbs from the inside pieces. You’ll have to be extremely cautious because there are lots of small mechanical parts inside the toaster that can break if treated too roughly. You won’t have to completely separate the inside from the shell – just create a few inches of space to let the crumbs fall out when it’s jostled.

Step 5: Use a handheld vacuum or a hose attachment to vacuum up crumbs from the surface of your worktop. If you don’t have a vacuum handy, a hand broom will work just fine.
Step 6: Flip the toaster over again and use a tube attachment on the vacuum or a small brush to clean inside the slots. A bright light overhead will help you see crumbs lurking in the corners! You’ll want to vacuum again after this step and give your surface a wipe down.
Step 7: Finally, use the screws to reattach the bottom of the toaster to the top. Align the bottom of the toaster with the screw holes and place the screws, giving each one a few turns with your fingers to get them into place before you grab your screwdriver and tighten them until they no longer wiggle. That’s it! Turn your toaster right-side up again, plug it in, and toast away!
Video Tutorial
Please share and pin this post! You can also post your project and tag the DIYDanielle team on Instagram @doityourselfdanielle!