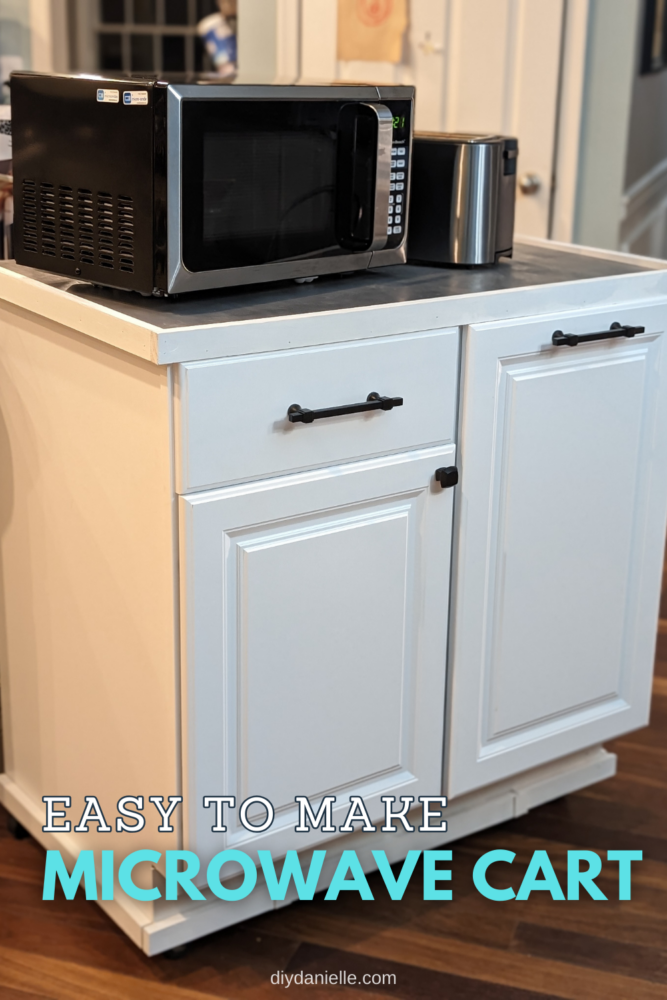
Create your own DIY microwave cart with wheels and extra kitchen storage with this step-by-step guide. Perfect for adding functionality and style to your kitchen space.
If your microwave isn’t mounted, it’s probably taking up counter space that you could use for something else. I needed somewhere out-of-the-way for mine, plus more storage for appliances, so I crafted this DIY microwave cart! You can make this completely from scratch, but I decided it would be easier to use a few premade cabinets as the body of the cart. With a hidden garbage can, drawer, and cabinet for storage, plus an outlet for easy plug-ins, this DIY microwave cart with wheels is what every kitchen needs.
This cart is made using prefabricated cabinets, so you really just need to add the base with wheels and the top. You can use this guide or follow along with the DIY Microwave Cart tutorial video, and be sure to check out some of my other DIY home crafts!
This post may contain affiliate links which may earn me commissions should you click through them and take certain actions. As an affiliate for Amazon, Cricut, xTool, Home Depot, and other sites, I earn from qualifying purchases. Please DIY carefully. View my full legal disclosures here.
The majority of my content is generated by me, as are 99% of the photos and videos, but I utilize technology for titles, descriptions, video editing out all of my ums, and occasionally for text overlay on images.
Please read the whole post so you don’t miss any important information!
It was really important to me to have this project be SIMPLE. I didn’t want to build cabinets from scratch… I have way too many unfinished projects right now. And it was SO easy. Buying the premade cabinets made this a breeze.
Supplies
- Two cabinets measured to fit your space
- Measuring tape
- ¾ inch plywood
- Marker or carpenter’s pencil
- Table saw
- 4 casters
- Screws and washers
- Optional: outlet extension
- Drill with paddle bit and drill bits
- Jigsaw
- Wood glue
- Nail gun
- Sander
- Paint and primer
- Drawer pull template
- Drawer pulls
Tutorial
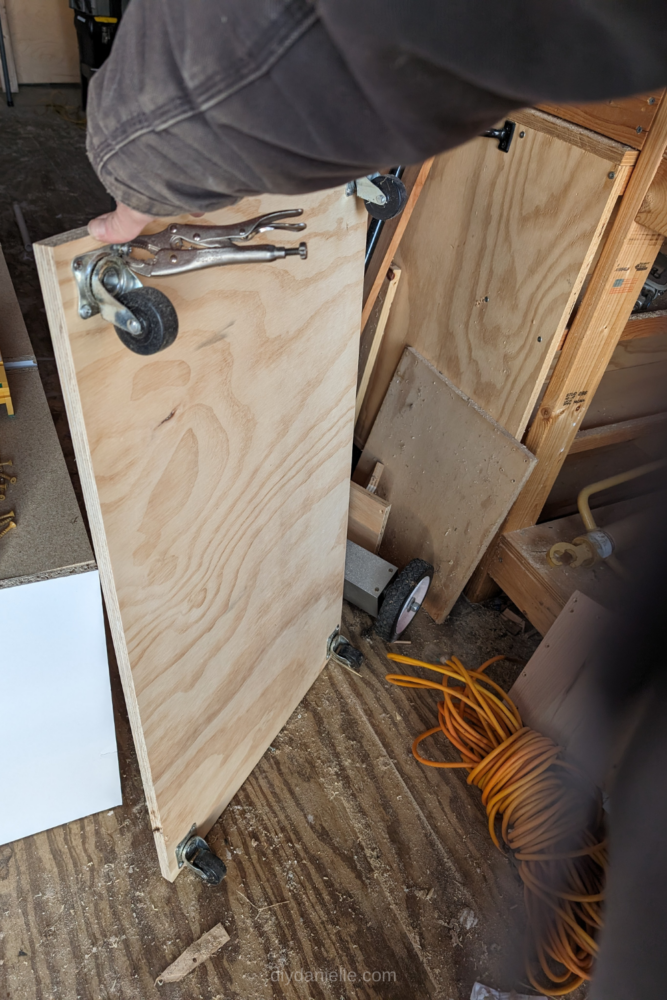
Step 1: Add a base by cutting wood to fit the bottom of the cabinets side-by-side. Measure the width and the depth of the cabinets (together, not individually) and mark it on a large piece of ¾ inch plywood. Cut the plywood using a table saw and check to make sure it fits.
Step 2: Add the casters to the corners of the plywood using screws. You’ll want to make sure the screws are the right length for the plywood and that the heads are slightly bigger than the holes in the caster attachment.
Step 3: Attach the bottom to the cabinets using wood glue, then complete the attachment using screws or a nail gun.
Step 4: Cut the countertop to fit the top of the cart using more ¾ inch plywood. You can leave some overhang if you like that look, or you can make it flush with the cabinets and add trim later.
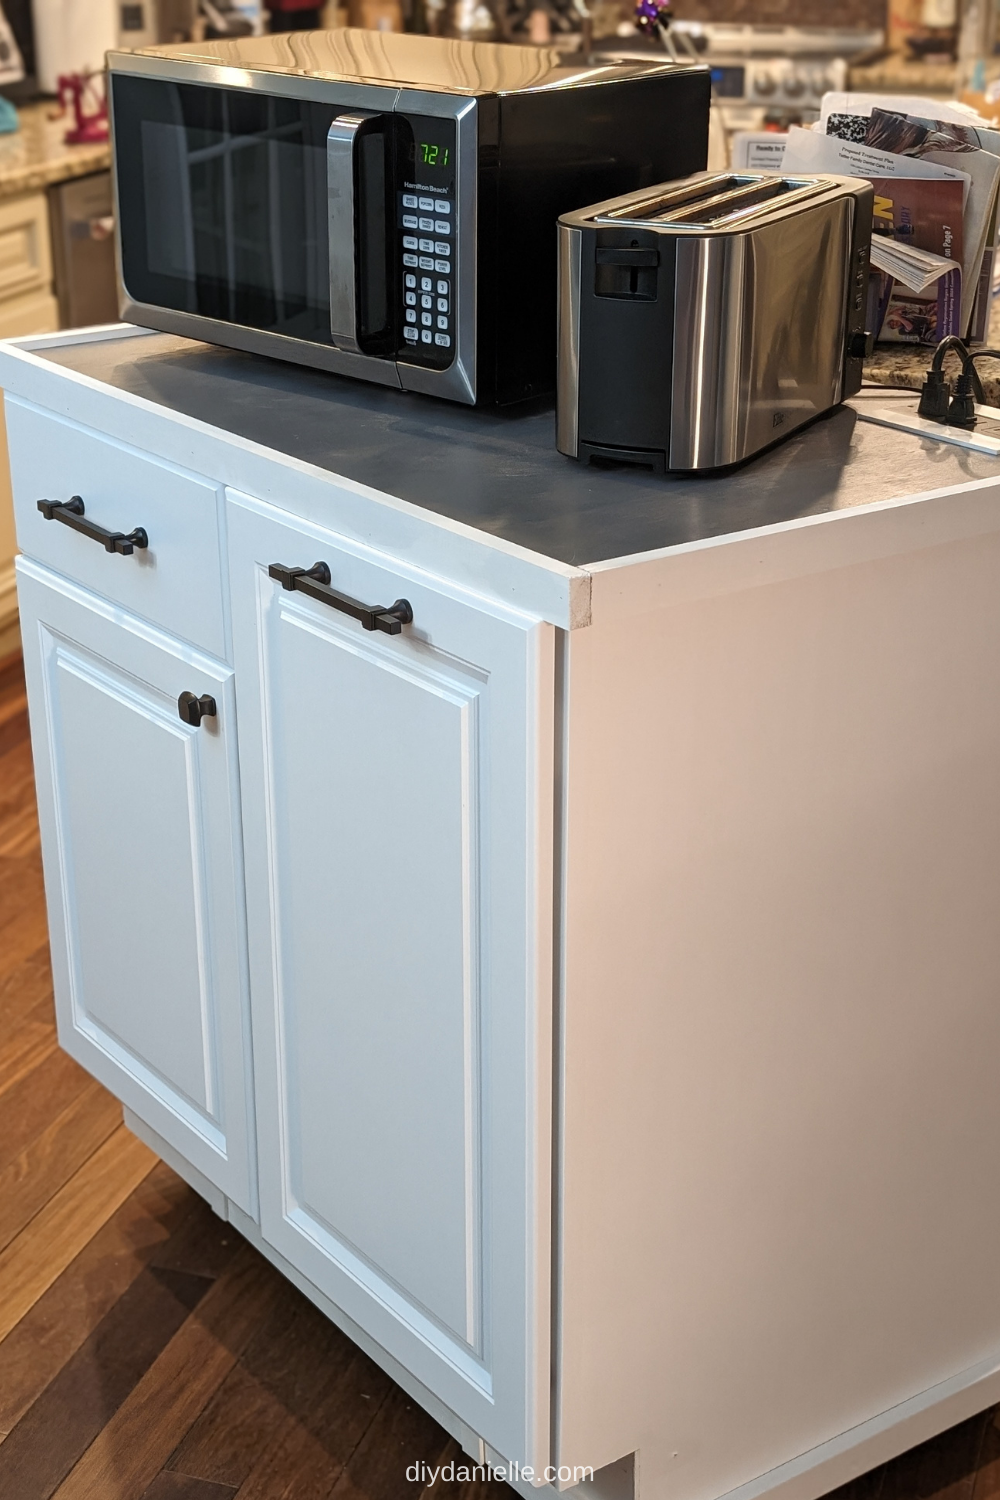
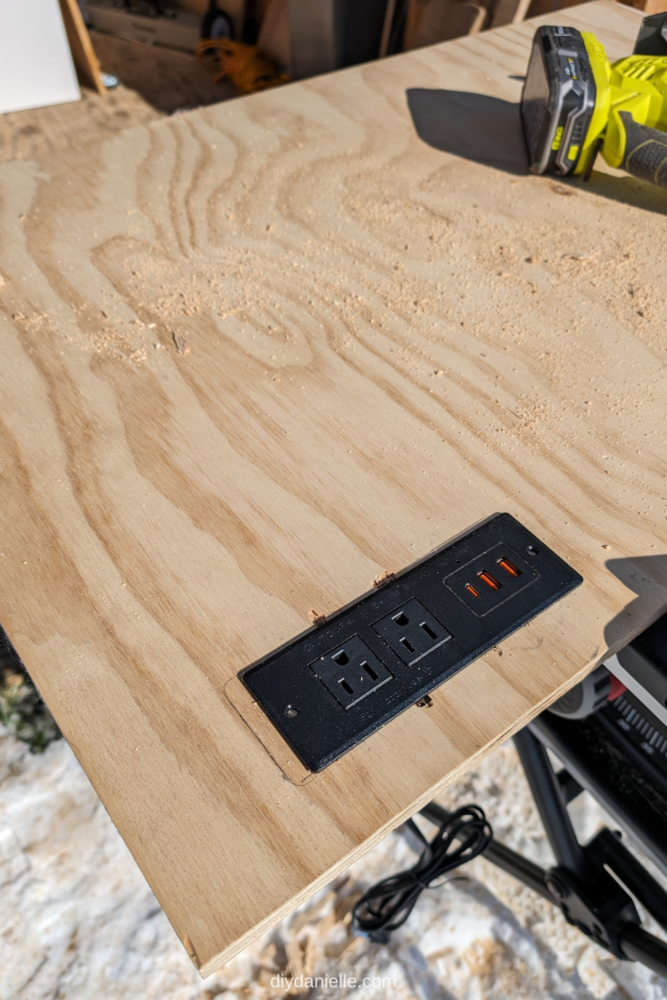
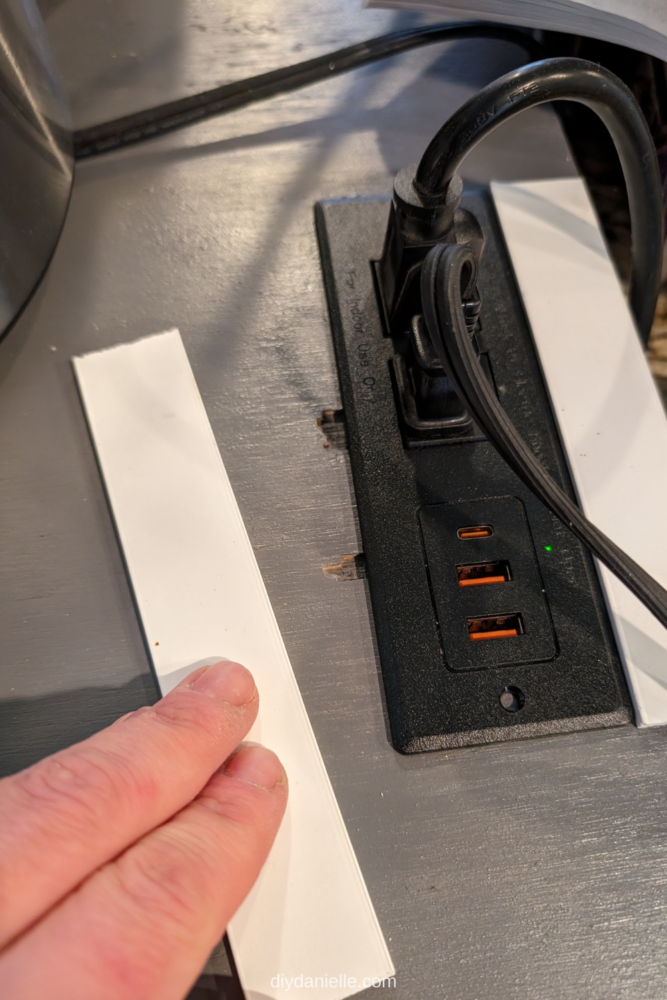
Step 5: If you’re adding an outlet like I did, you’ll want to do that now. Trace the lip and the box of the outlet on the plywood in the spot you want the outlet to go (I did the back corner behind where the microwave will sit, but you could do this on the back or side of the cabinet if you’re worried about the top getting wet).
Use a drill to create a hole and then cut out the box portion using a jigsaw. Once it’s most of the way cut out, feed the cord from the back of the outlet through and line up the outlet box for a more accurate trace. Then finish cutting using the jigsaw.
Don’t attach your outlet yet- you’re just dry fitting it, then you’ll remove to prime and paint the countertop. You can attach it once everything is dry.
Step 5: Sand, prime, and paint the countertop.
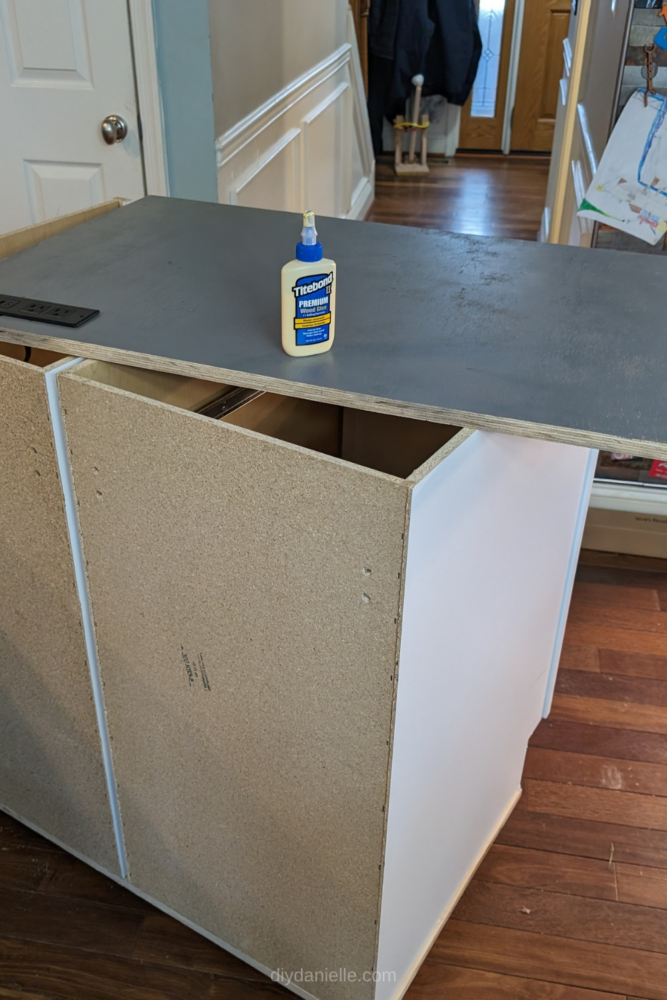
Step 6: Attach the countertop to the top of the cabinets by using wood glue, then go through with your nail gun to make sure it’s secured all the way around.
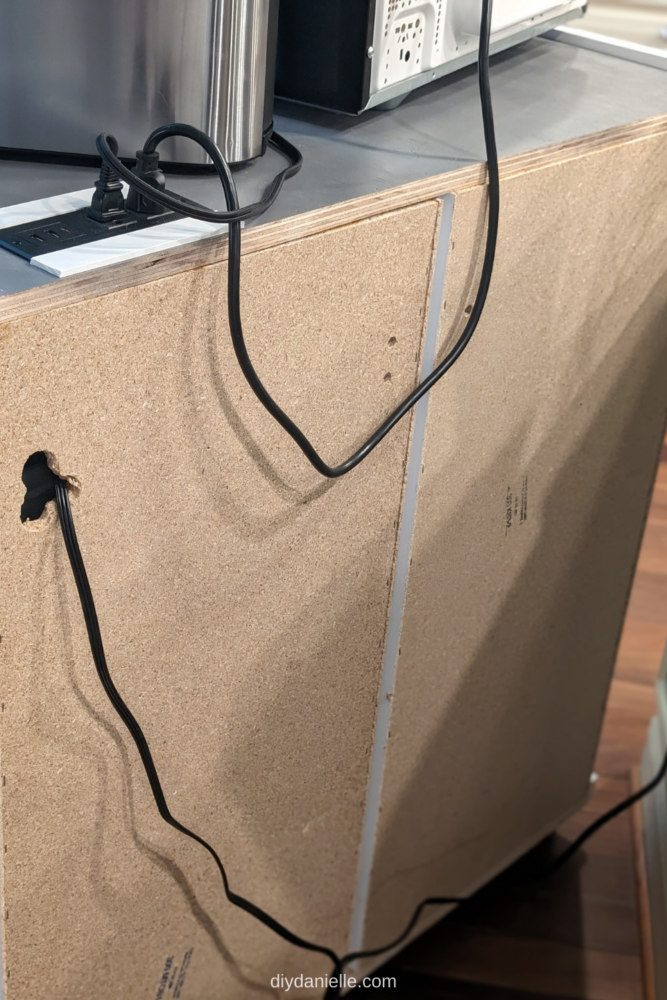
You’ll also need to drill a hole in the back of the cabinet for the cord and plug to fit through to connect with the wall outlet.
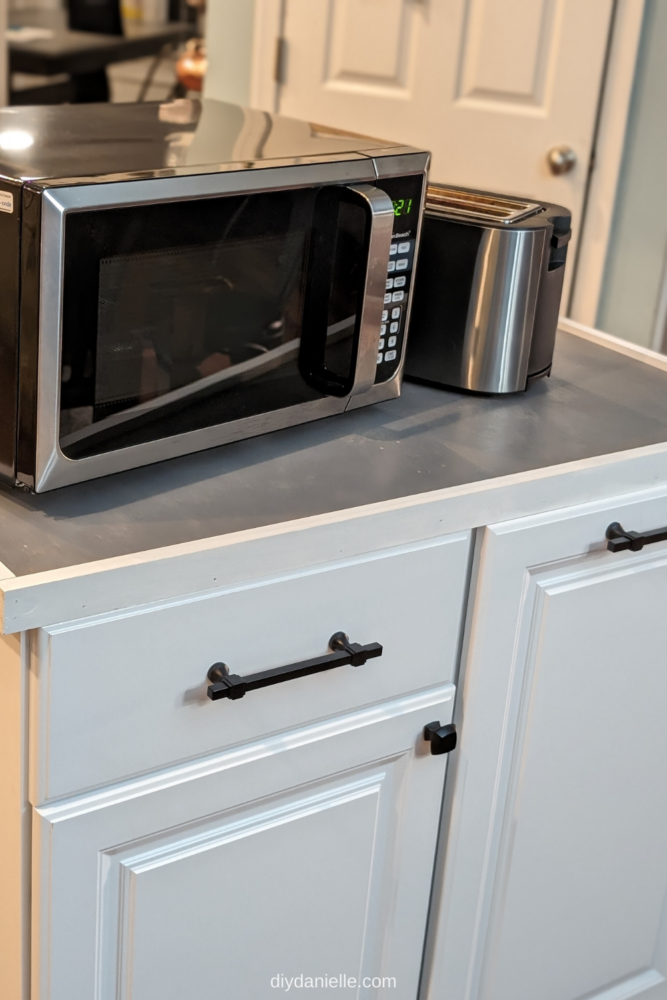
Step 7: Add drawer pulls. I used a template. Measure and mark the halfway point of the drawers, then line up the template with the mark you just made. Mark the appropriate points on the template for the type of drawer pull you’re using, then remove the template and drill through the marks with a standard drill bit. Attach the handles or pulls into place from the back using screws and washers.
Step 8: Add trim around the countertop and base using glue and nails. You can fill the nail holes once you’re done with some wood filler if you want.
I used trim around the outlet where I made a mistake when cutting.
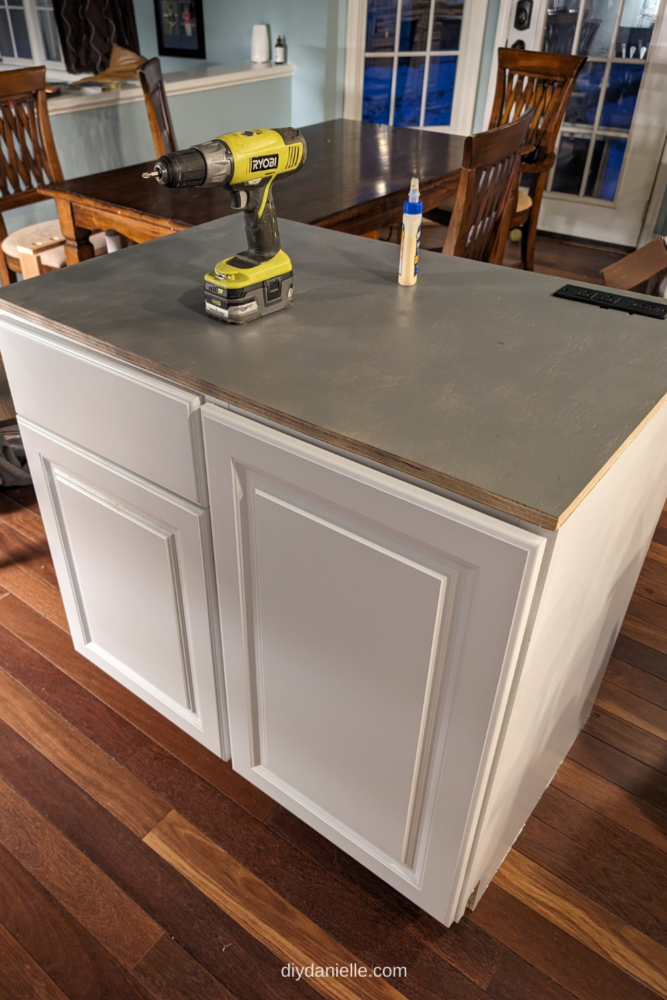
Step 9: Paint the trim to match the cart. You might need to tape off the countertop if you painted it a different color than the body, but I just used a paintbrush and tried to be careful.
Step 10: Replace the garbage can pullout. This is optional, but the pullout that came with my cabinet only had room for one garbage can and I wanted to be able to store two, so I swapped it with a new pullout.
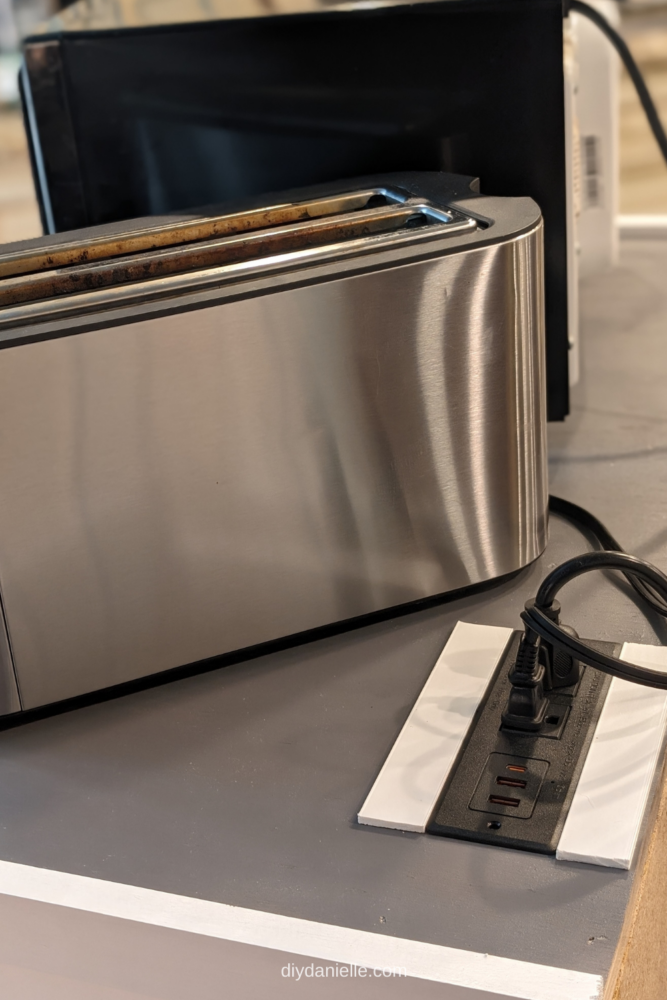
Step 11: Add your microwave and your microwave storage cabinet is ready to roll into place!

Video Tutorial
Please share and pin this post! You can also tag me on Instagram @doityourselfdanielle; I love seeing everything you make!