Crafting a DIY memory box is a wonderful way to preserve cherished memories. Learn how to create a personalized memory box with laser-cut and engraved designs to store your keepsakes.
A DIY memory box is the perfect thing to hold cards, jewelry, and other treasured keepsakes. Add a custom, laser-engaved design to fit your decor and leave it out on your coffee table or hang it on a wall for easy access. This memory box makes a great birthday or Mother’s day gift, and it’s easy to make in an afternoon.
You can make this memory box using a laser cutter only, but the groove cuts are very time consuming. You’ll also want to save the engraving for last, because I had issues with issues with the saw stop thinking that the charred wood was a finger and breaking, so I don’t recommend doing the groove cut with the saw unless you do it first, before adding the lasered design or cutting anything with the laser. Keep reading for complete instructions on this easy, thoughtful DIY memory box, or check out more of my DIY crafts here! You can also follow along with the YouTube tutorial for visual instructions.
This post may contain affiliate links which may earn me commissions should you click through them and take certain actions. As an affiliate for Amazon, Cricut, xTool, Home Depot, and other sites, I earn from qualifying purchases. Please DIY carefully. View my full legal disclosures here.
The majority of my content is generated by me, as are 99% of the photos and videos, but I utilize technology for titles, descriptions, video editing out all of my ums, and occasionally for text overlay on images.
Please read the whole post so you don’t miss any important information!
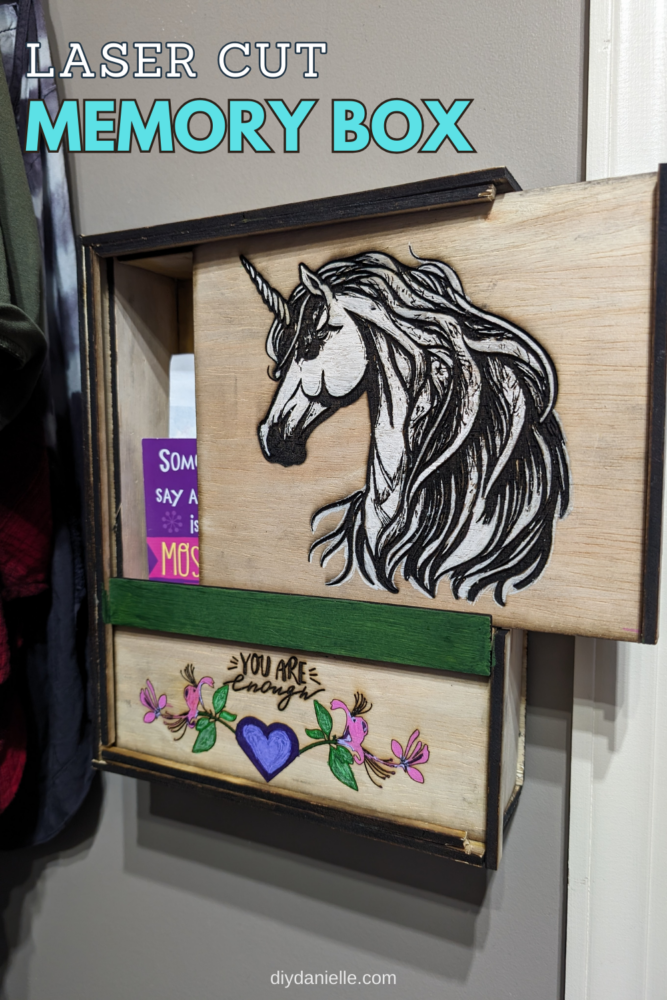
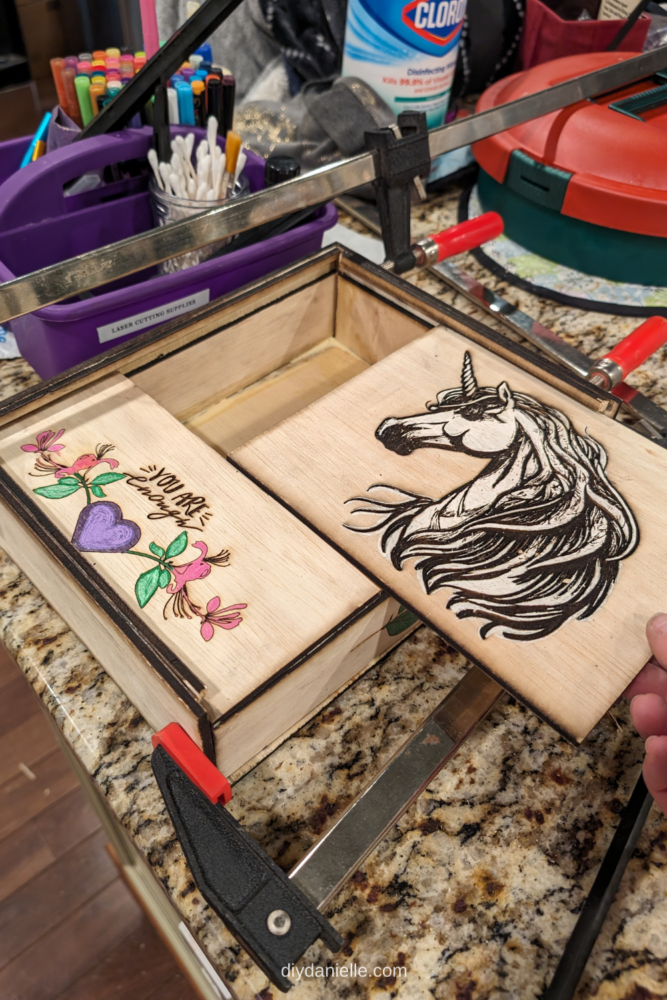
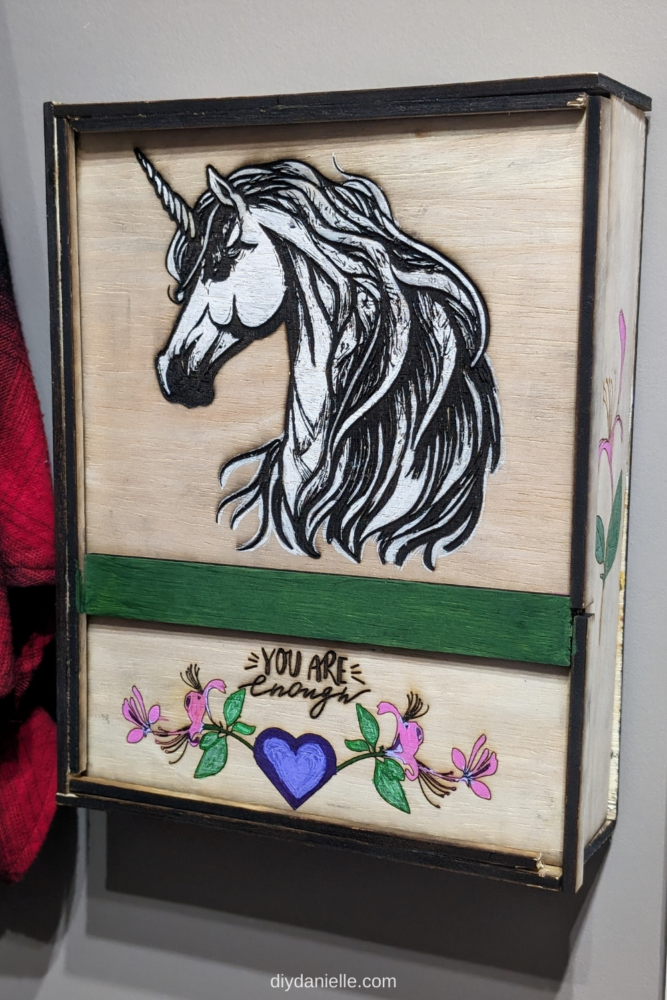
I made the first one (with the unicorn) for myself, and ended up making one for each of my kids. These are really fun to make, particularly if you only have the laser cutter do the engraving/scoring.
Supplies
- Measuring tape (with all of the markings!) https://amzn.to/3GTWNhc
- Pencil or marker
- SAWSTOP 10-Inch Jobsite Saw Pro with Mobile Cart Assembly https://amzn.to/3PjqVqa
- SawStop 8″ Premium Dado Set https://amzn.to/3VhSQui
- xTool M1 Laser Cutter http://shrsl.com/3v9vq
- Honeycomb Riser http://shrsl.com/3yxwg
- Air Assist http://shrsl.com/3yxv6
- 1/2 in. x 4 ft. x 8 ft. PureBond Birch Plywood https://homedepot.sjv.io/jr0EX6:
- Alternative if you want to avoid raw plywood edges: 1x4x8 Kiln Dried Whitewood Common Board https://homedepot.sjv.io/n1mdY9
- If you use the 1x4x8 for the sides and top, you’ll want 1/4″ plywood for the back and front pieces. You can either use wood sold for laser cutting, or use a 1/4″ plywood that is free from formaldehyde like Purebond.
- 1/4″ 4×8 Purebond Plywood https://homedepot.sjv.io/7m20NQ
- Wood Glue https://homedepot.sjv.io/5b4JQo
- Ryobi Airstrike https://homedepot.sjv.io/qn7Zbj
- NICETY 72 Colors Acrylic Paint Pens/Markers, Extra Fine https://amzn.to/4a1X9hw
- ModPodge
- Mod Podge: Gloss https://amzn.to/43fij9C
- Mod Podge: Matte https://amzn.to/3uZFoRf
- Paint Brushes: Paint https://amzn.to/4adlJfA
- Hanging hardware:
- 100 Heavy Duty Single Hole D Ring / Triangle Strap Hanger w/ Screws https://amzn.to/3Phn9xc
- Command Strips https://homedepot.sjv.io/rnZNmv
- 1″ Heavy Duty Self Stick Felt Furniture Pads https://amzn.to/3wPaTO9
Measurements:
You want the sides and top pieces to be 3″ deep or larger.
- Front (laser engraved after): 9 3/8″ w x 10 5/8″ tall
- Back (laser engraved after): 9 5/8″ w x 11 tall
- Left Side 1: 3″ x 11.25″
- Right Side: 2 3/8″ x 11.25″
- Top and Bottom: 3″ x 8.75″
Currently a 1x4x8 is $9. You’re using 32.125″ per box for the tops and sides. You can get 2 boxes out of (1) 8′ 1×4, but it’s NEARLY 3 boxes… I’d be tempted to tweak my measurements to try to get three boxes for one 1×4. If we assume we can only get 2 boxes, however, we’re looking at $4.50 per memory box in 1x4x8’s.
If we could tweak the measurements or mix and max 8′ cuts for multiple boxes to get on average 3 boxes per piece, you’d be looking at $3/box
1/4″ 4×8 Purebond Plywood is currently $44 for a 4×8 sheet. If I’m doing my math correctly, you could cut (2) 96″ lengths that are 11″ wide and (2) that are 9 3/8″. The 11″ widths can be cut into 10 cuts of 9 5/8″ for a total of 20 backs…. and the 9 3/8″ can be cut into 9 cuts.. for a total of 18 fronts. I believe you could probably use scraps to do a couple of half fronts so you could potentially cut up to 20 boxes worth of fronts and backs from one 4×8 sheet of plywood.
This would potentially cost you $2.20 per box in 1/4″ plywood.
Excluding the smaller costs like paint brushes, paint, etc., it’s roughly $7 per box to make these.
Now… if you see this and DON’T MAKE IT YOURSELF, don’t expect your friend/mom/neighbor/etc to make you one of these for $7. Everyone’s time is worth something. Their machines take a lot of wear and tear from projects. Supply use for products like the paint markers are hard to calculate how much is used per box, but the markers are $40 for the set. You aren’t entitled to anyone’s free labor or their materials or their machines.
I can’t imagine making these in anything less than 2-3 hours per box, and with only the front engraved/painted, I wouldn’t sell them for less than $50/box.
And a lot of crafting expenses cannot be anticipated or predicted: for example, I tried cutting a piece of laser cut wood with my SawStop. The Saw Stop table saw has a brake that activates to save your life/fingers if you get too close to the blade. This KILLS the blade and the brake, requiring the brake (and often the blade) to be replaced. The technology works off the fact that our bodies have an electric charge. Apparently laser cut materials leave an electric charge too in the charring. So this project cost me an additional $125 or so.
This calculation is more for those who are interested in understanding the costs to make these for others, for sale, etc.
Tutorial
Step 1: Cut the front and back pieces of your memory box.
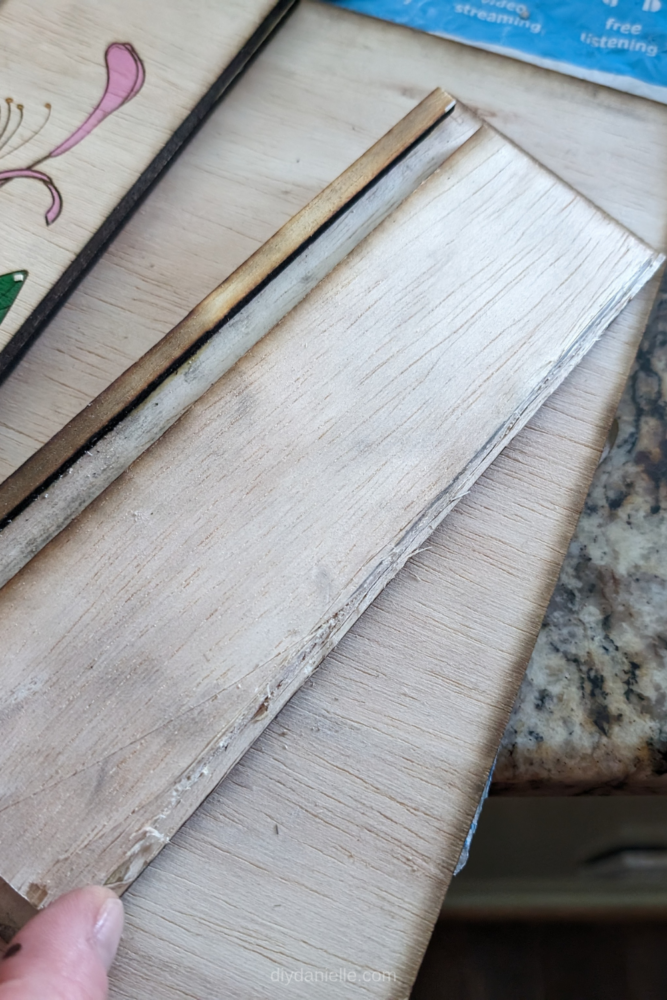
Step 2: Along the long side of your 1×4 (or 3″ cut of 1/2″ plywood), make a groove cut with the table saw. Set the blade height to hit about halfway through the wood.
Once cut, use one of the front/back panels to check the groove cut to make sure it’s wide enough to allow the panel to slide into place. If it’s too narrow like mine was, make a second groove cut right up against the first one to widen the groove. The panel should fit in the groove and slide back and forth through it easily to allow the box to open and close.
A SawStop 8″ Premium Dado Set is the safest and easiest way to make these groove cuts so you only need to make one cut.
Two Alternative Ways to Make a “Groove Cut” Using a Laser Cutter
Option 1: I did the ‘groove cuts’ below by cutting slightly smaller inner pieces on my laser cutter and then gluing the pieces in place.
Option 2: I’ve also laser cut the groove cut by REPEATEDLY engraving it.
Both options are more time consuming than necessary- if you have a table saw, use it to avoid this. It will be so much faster.
Step 3: Cut the top, bottom, and sides of the box from the 1×4 (or plywood) using the table saw or your miter saw.
Step 4: Trim your right side cut to be the correct width… this one needs to be less wide so the door to your memory box can slide over it. DO NOT cut the side with the groove cut!
Step 3: Add groove cuts to any side pieces that don’t have it yet. Make sure the groove cut lines up with the cut made on the previous pieces when assembled so the front panel can slide into place easily.
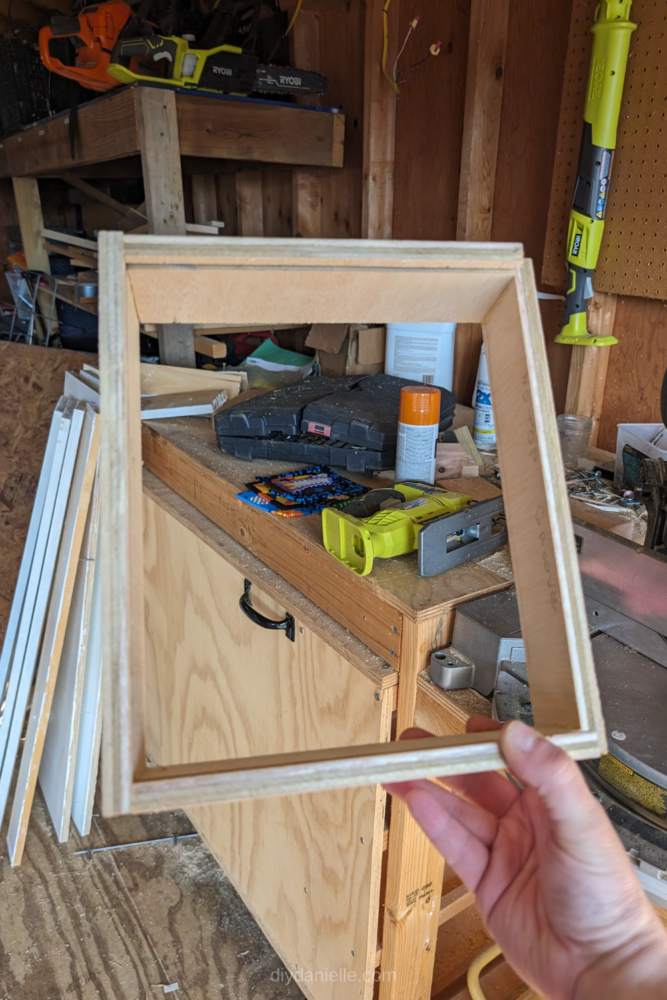
Step 4: Use wood glue and a nail gun to assemble the sides of the memory box, groove cut side in. Make sure all of the groove cuts align.
Step 5: Sand, prime and paint the wood.
You can paint the back and front panels if you want them to be painted before you laser them. I like doing this because I don’t really enjoy the raw wood look in most circumstances… I really love color and paint.
Make sure everything is completely dry before moving on.
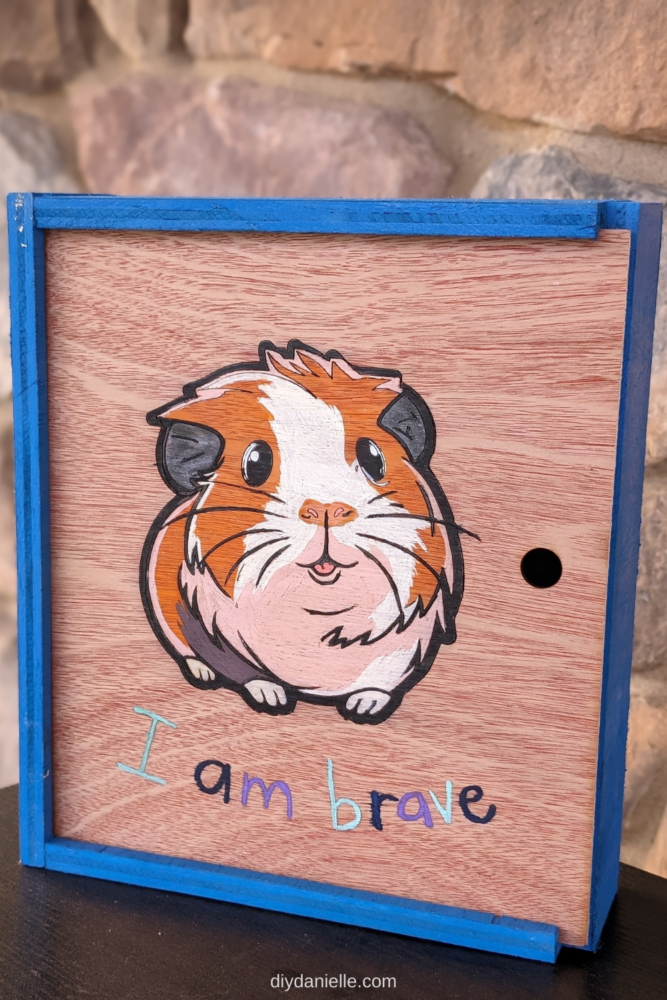
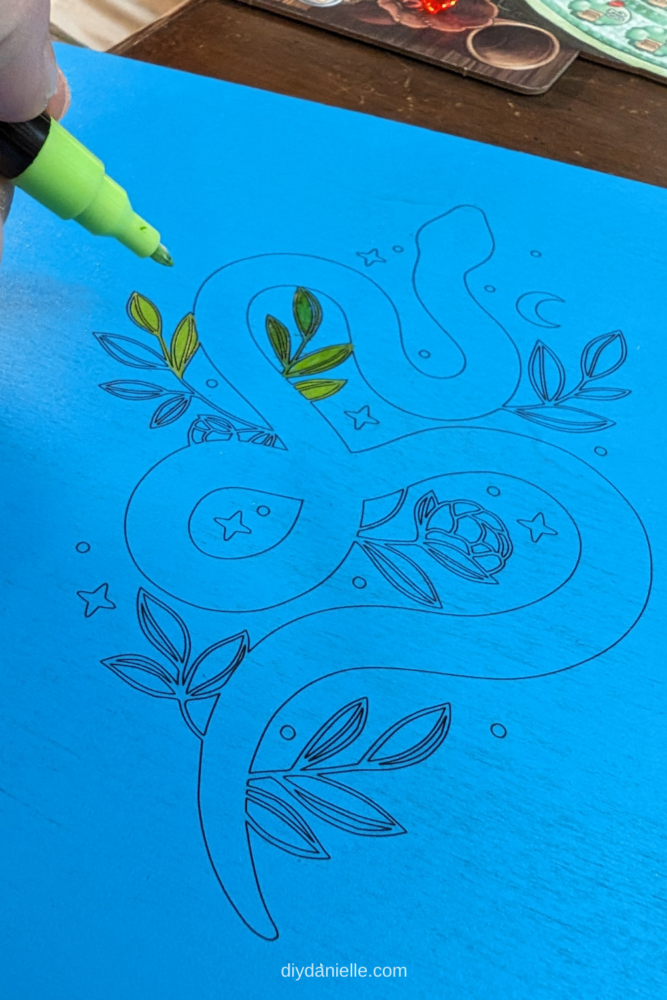
Step 6: Use a laser cutter to etch a design of your choice on the front and back panels of the memory box.
Designs with larger negative space work well to trace (and use “score” vs engrave) because you can color in the sections later.
Make sure to adjust your laser cutter to work with the specific type and thickness of the wood that you’re using, and remember to size the design small enough that it won’t be covered by trim later on.
I like to add a round hole to the right side of the front lid so I can use my finger to slide the lid open and closed.
Step 7: Once the laser cutter is done, you can use paint markers to color in the designs!
Step 8: Use Mod Podge or spray polyurethane to seal your painted design once it’s completely dry. This step is optional, but it will help protect your work in the long run.
I found that painting on Mod Podge sort of messed with my paint so make sure to let your paint dry thoroughly or use a spray.
Step 9: Center your back panel (design-side in) on the frame you built earlier. Use wood glue and nails to fix it to the frame. I recommend using clamps to hold it together if you don’t want to use a nail gun.
If you have two pieces to your front, glue the bottom piece in place. Make sure your top piece fits, “dry fitting” it and then sliding it out once you’ve confirmed everything is correct (so no extra glue ends up causing you issues).
Let dry.
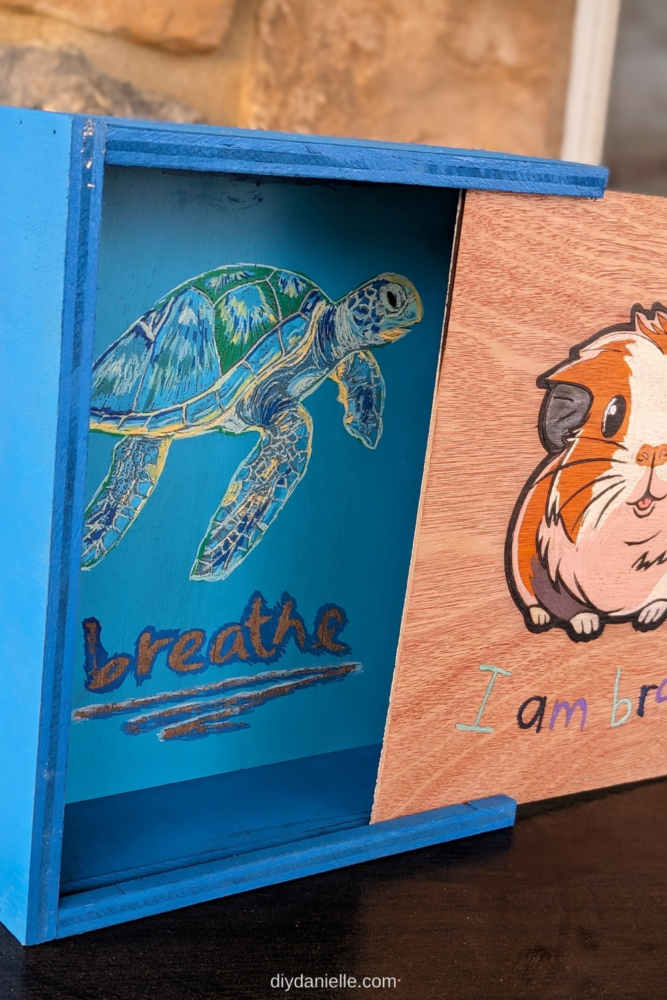
Step 10: Slide the front panel into place.
Step 11: Add hanging hardware to the back of the memory box if you plan on hanging it. You’ll want to make sure the hardware is rated for a good amount of weight if you’re planning to add heavy keepsakes to the box.
This box was mounted using Command Strips.
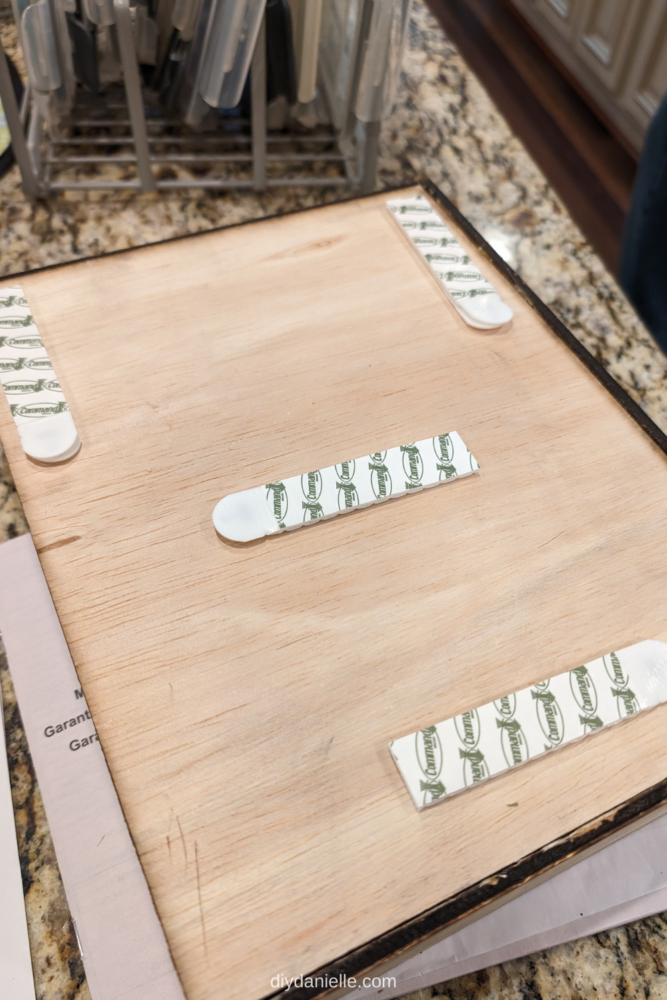
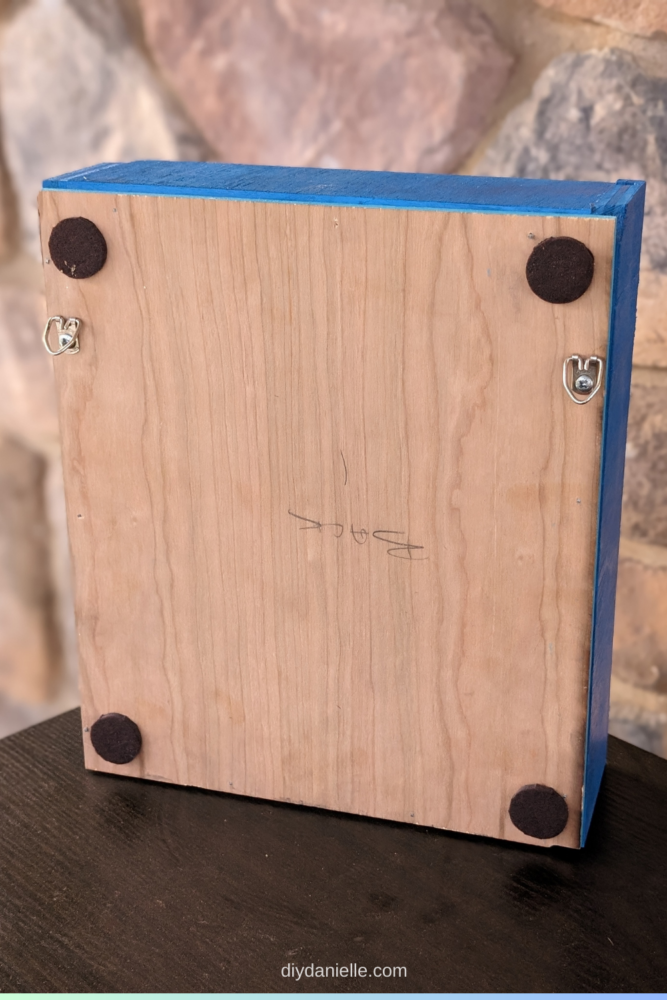
You can also add felt pads to the back corners and edges of the DIY memory box to protect the walls while it hangs.
This box has felt pads and D rings.
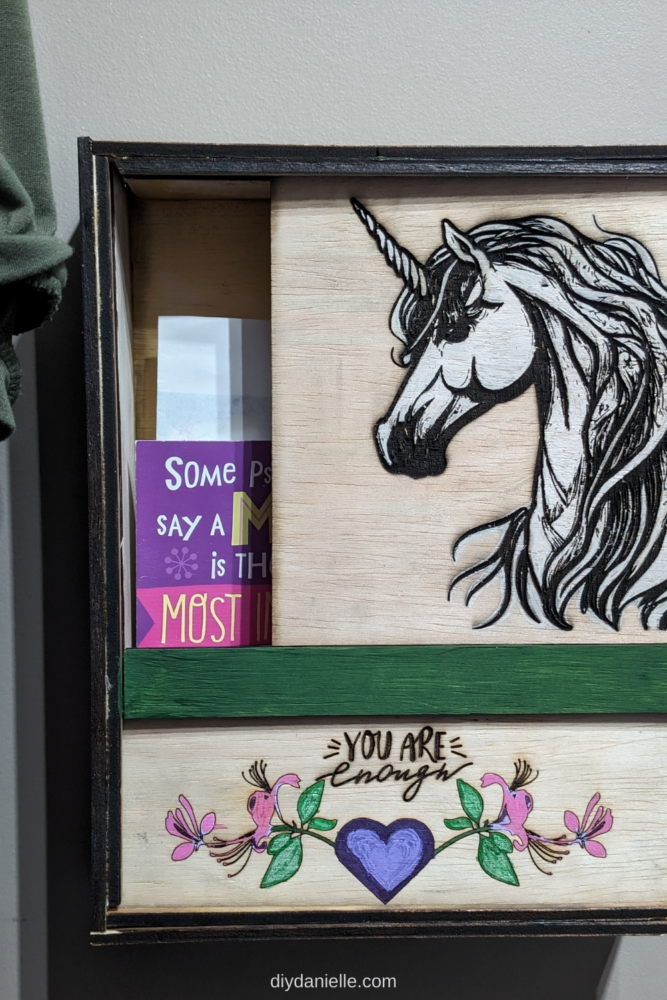
Step 12: If you’re making a box with a bottom lip, glue the trim into place now.
Step 13: Add treasured keepsakes to your laser-engraved memory box and admire your handiwork!
Video Tutorial
Please share and pin this post! You can also tag me on Instagram @doityourselfdanielle; I love seeing everything you make!