Review of the xTool M1 Laser Cutter, 10 watt version. This laser cutter is perfect for customizing wood, acrylic and other materials.
When xTools contacted me about working with them to show some fun projects that you can do with a laser cutter, I was SO excited! I’ve been eyeballing laser cutters for a while, and they look like so much fun. xTools sent me the 10 Watt versions of M1 Laser Cutter to try out, along with some supplies.
New to laser cutting and not quite sure what it is? Read my post: What is Laser Cutting? It covers what it is, why you might be interested in getting one of these machines for crafting, and some times of items you can cut with the machines.
This post may contain affiliate links which may earn me commissions should you click through them and take certain actions. As an affiliate for Amazon, Cricut, xTool, Home Depot, and other sites, I earn from qualifying purchases. Please DIY carefully. View my full legal disclosures here.
The majority of my content is generated by me, as are 99% of the photos and videos, but I utilize technology for titles, descriptions, video editing out all of my ums, and occasionally for text overlay on images.
Please read the whole post so you don’t miss any important information!
Many thanks to x1 for sponsoring this blog post and providing the materials for the projects!
This review will cover my initial impressions, some laser cutter projects that I completed with the M1, and some pros and cons to the machine. I am a crafter- not a techy. If you’re looking for a technical review, this isn’t it. Let’s get started!
Initial Impressions of the M1 Laser Cutter
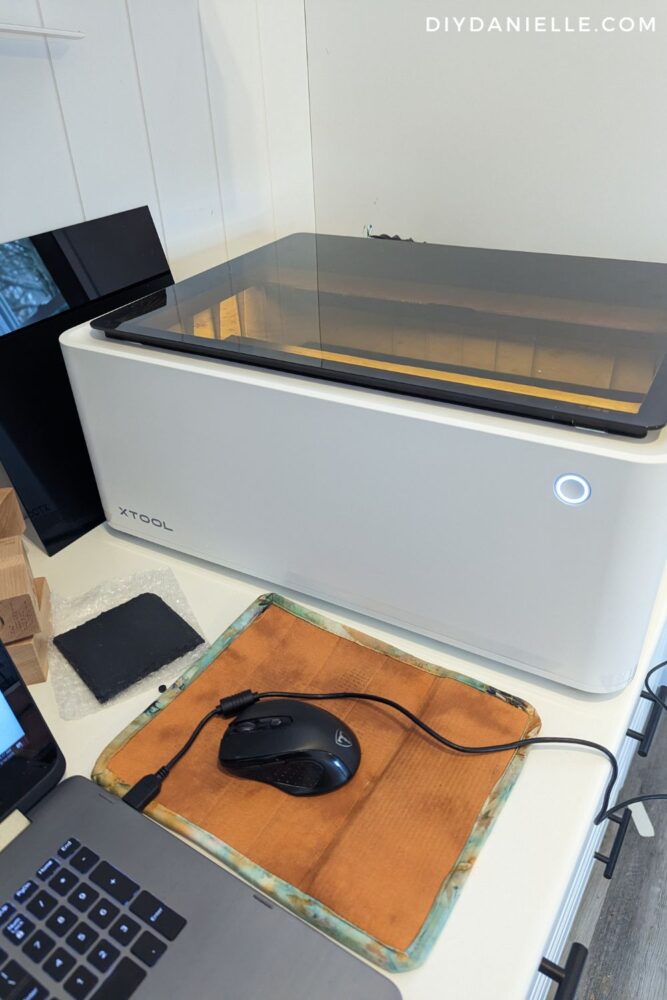
I was really worried that I’d open the boxes with the laser cutter, get overwhelmed, and put it away for a week or two until I was feeling brave again. Instead, my husband and I unpackaged it, set it up in ten minutes (including organizing the supplies in a dedicated drawer of my she shed), and we were cutting almost immediately.
The hardest part of the project was installing the software on my computer. I got a weird warning about missing a driver that seemed to resolve itself the moment I plugged the machine directly into my computer via the USB cord. My understanding is that this is fixable so we can use the Bluetooth connection, but I haven’t been inconvenienced enough by the USB cord to bother.
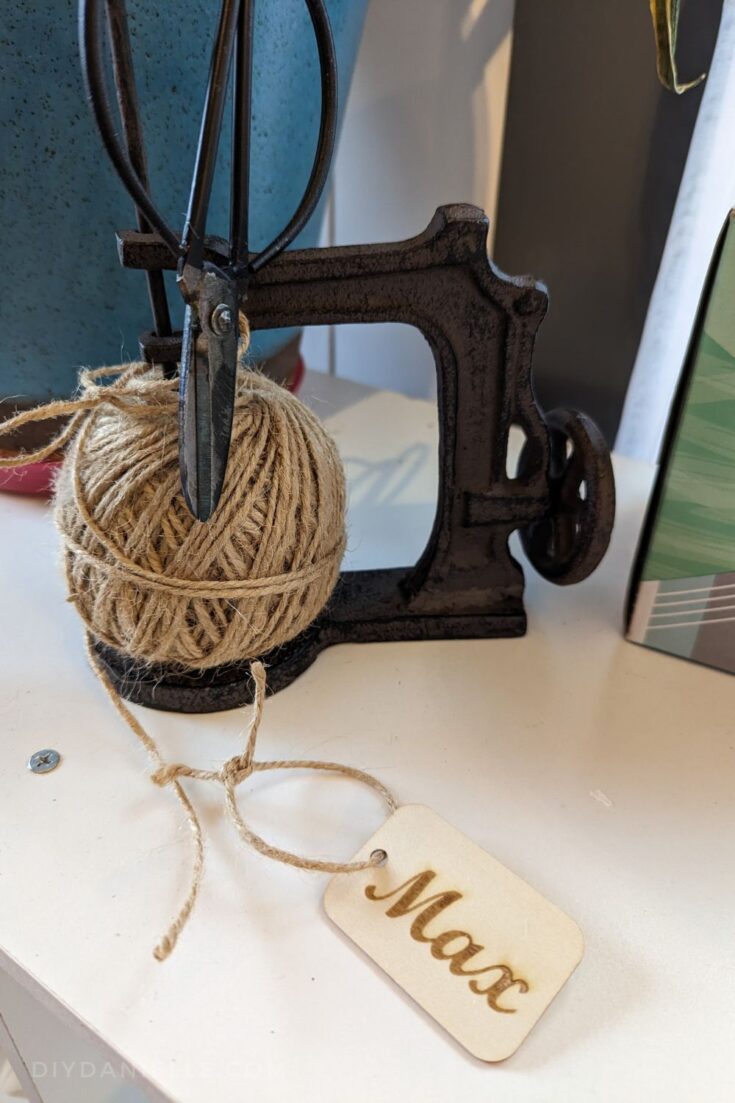
My 11 year old son had played around with the software in advance so he took over my computer and made about 15 wooden gift tags, and an engraved metal tag for his backpack within the first thirty minutes. I had to kick him off the machine before he used up all of my supplies. Mama wants a turn.
This is one of the tags that one of my sons engraved.
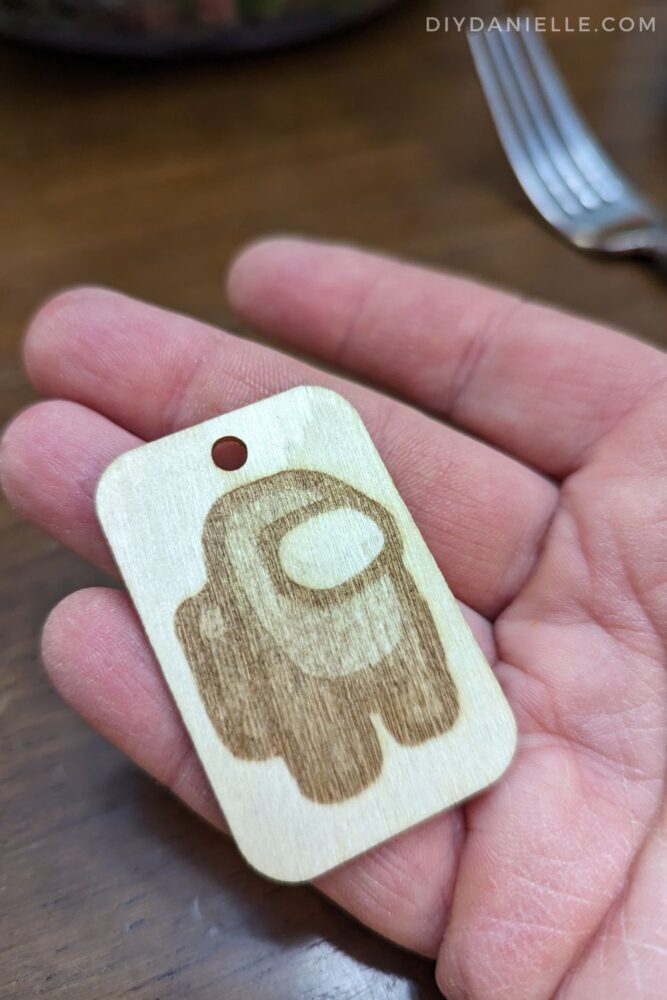
So far, most projects have been simple to do. I haven’t had much material waste.
Anatomy of the xTools M1: What’s Included?
What’s included in your xTools M1 Laser Cutter will depend on which product you buy, of course. I received the xTool M1: The Ultimate Gift-making Laser & Blade Cutting Machine and the Laser Materials Explore Kit (111 Pieces). Between the two products, I got a LOT of materials to work with and try out. I really like the idea of using some of the materials to upcycle products around my home too.
Personally, I like getting bundles of products to try when I buy a new machine because when the fancy strikes me, I want to make what I want to make… not wait for a craft store trip or an internet purchase to arrive. Is that why I need an entire she shed to hold my craft supplies? Probably. Yes.
The xTool M1 10W Deluxe RA 2 Pro Package includes*:
- xTool M1 Machine 10 Watt
- Basic Materials Package #1
- Light Grip Cutting Mat
- Strong Grip Cutting Mat
- (5) 45 degree replacement blades
- Exhaust Pipe Kit #1
- (10) Triangular Prism
- Premium Materials Package #1
- Rotary Attachment 2 Pro
- (4) Raisers: These allow you to cut bigger items by raising up the machine.
*This is subject to change seeing I don’t own this company. Just read the description.
Now that I’ve given the machine a try, I’m realizing that I may not use all of the supplies that were included, and I wish I’d picked up some of the items that I’ll use more frequently.
I wish I’d gotten the Smoke Purifier to help reduce the smell of the engraving process. We vent our machine out the window, but the purifier would be better.
Plywood and acrylic have been my favorite materials to use so far, and I wish I’d gotten more of both. I have so many ideas for them, but I’m hoarding my last pieces for “something special.” I need to just order more.
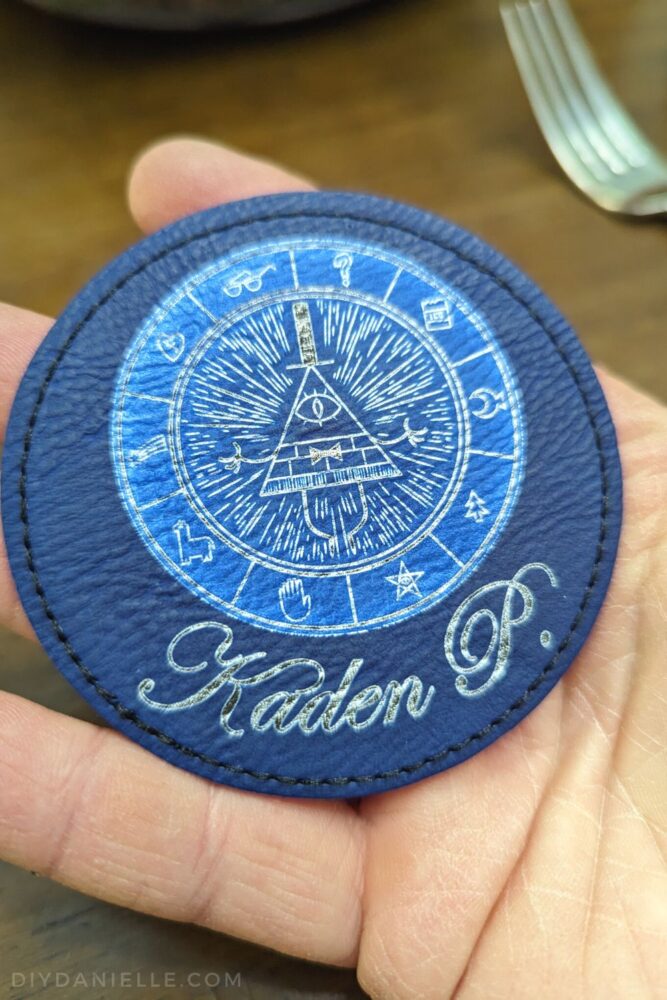
The leather engraves beautifully, but I need ideas for it… let me know in the comments if you have any project ideas I should try. This is a patch that my son engraved with the guy from Gravity Falls on it.
xTool Laser Cutting Software
Just to give you an overview of my experience using graphic design software, I have used the software for Cricut and Silhouette cutting machines, as well as some Adobe software, and Canva. I don’t like being overwhelmed, but I also don’t like feeling limited in what I can do.
So far I’m happy with the xTool Creative Space, the software for the laser cutter. Everything seemed relatively easy to learn over time, and if you use the xTool materials, it’s a matter of choosing the correct materials from a pull down menu to get the cut settings correct.
If you’re trying to engrave other items though, it’s helpful to join a community with other xTool users to help navigate the correct settings and speed.
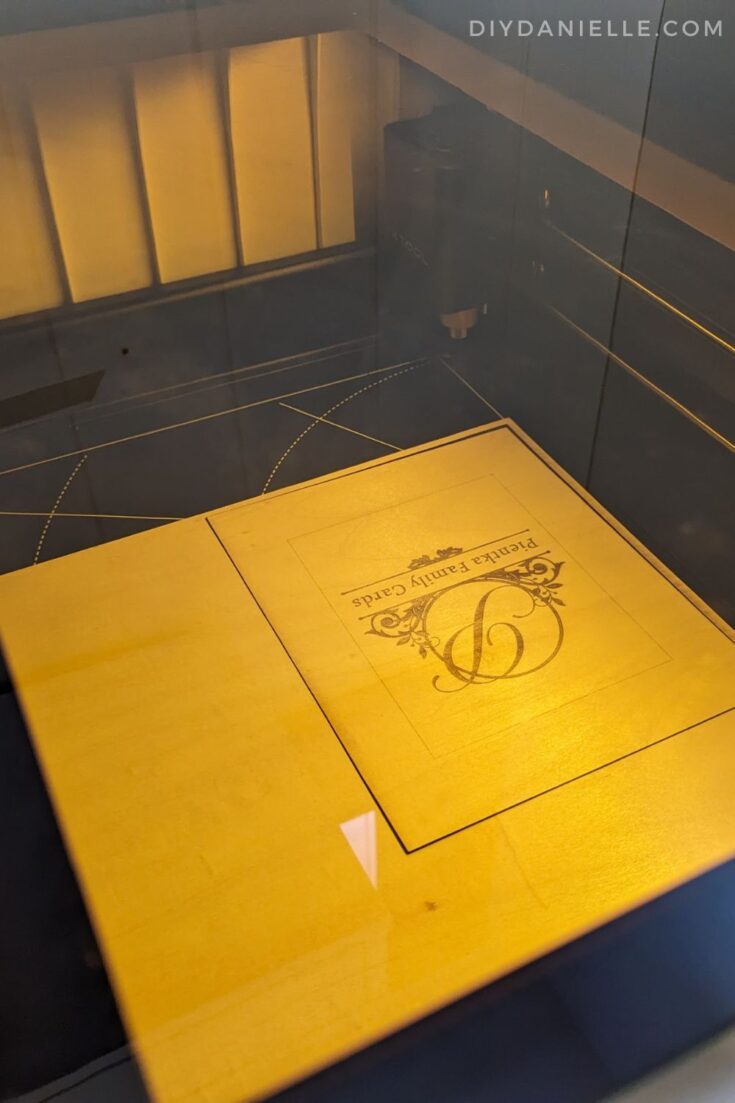
You can place the item that you plan to laser cut into the box, and the machine will “see” the item. It pops up on the screen.
Using Canva to Design Something to Engrave
Canva is a design software that is web-based and you can use it to make custom designs to engrave on your laser cutter.. Canva costs $120/year or thereabouts to use and it’s MUCH cheaper and easier to use than Adobe Suite which runs $53/month (that’s over $600 a year!). The only downfall is that currently you can’t export in DXF which is what you need to do for cutting a design.
It DOES work for engraving, however, and I like using the Canva fonts and images for projects.
Making your own designs to engrave is simple. Choose the size for your project (I like to make square items), then arrange your text and images how you’d like them to show up.
Export your file as a transparent design (.svg). Otherwise you’ll need to edit the image once you import it, then use the magic eraser tool to move the background and the white space between letters and closed parts of the image.
Accessories
There are a number of accessories that you may way to consider.
Smoke Purifier: Quiet, 3-layer filtration for all of the smells that cutting/engraving will produce. You need to use SOMETHING: if you don’t use this, you’ll need to work in a well ventilated space and use the exhaust hose to push the everything out a cracked window.
M1 Air Assist: This add on helps blow away smoke and debris from your project while it’s being cut and engraved. This helps reduce burn marks, helps produce a cleaner cut, and can reduce how often you need to clean the lens.
xTool Fire Safety Set: Auto Fire Detection, Fire Extinguishing: This is supposed to extinguish any possible fires that occur without human intervention. I like the idea of this because there IS a fire risk to using these machines.
Safety Goggles: Lasers can hurt your eyes. Use safety goggles.
xTool RA2 Pro for M1: This tool allows you to work with round objects, such as wine bottles, baseballs, tumblers, and more. As the machine engraves, the RA2 rotates the item as needed. You can see us our first to use the rotary option here. We experimented on an old tumbler and it came out super cute!
@doityourselfdanielle Engraving a tumbler quickly to try out the rotary tool with the xTool M1. #xtool #xtoolm1 @xtoolofficial #laserengraving #lasercut #lasercuttingmachine ♬ Sunshine – WIRA
xTool M1 Riser Base with Honeycomb Panel: I’m not sure how useful this is, but it looks like it helps raise up your laser cutter as an alternative to the risers. I get the impression that this helps increase airflow under the product you’re engraving too. I would imagine that this would be a simpler item to use instead of switching back and forth to remove/add risers.
Materials
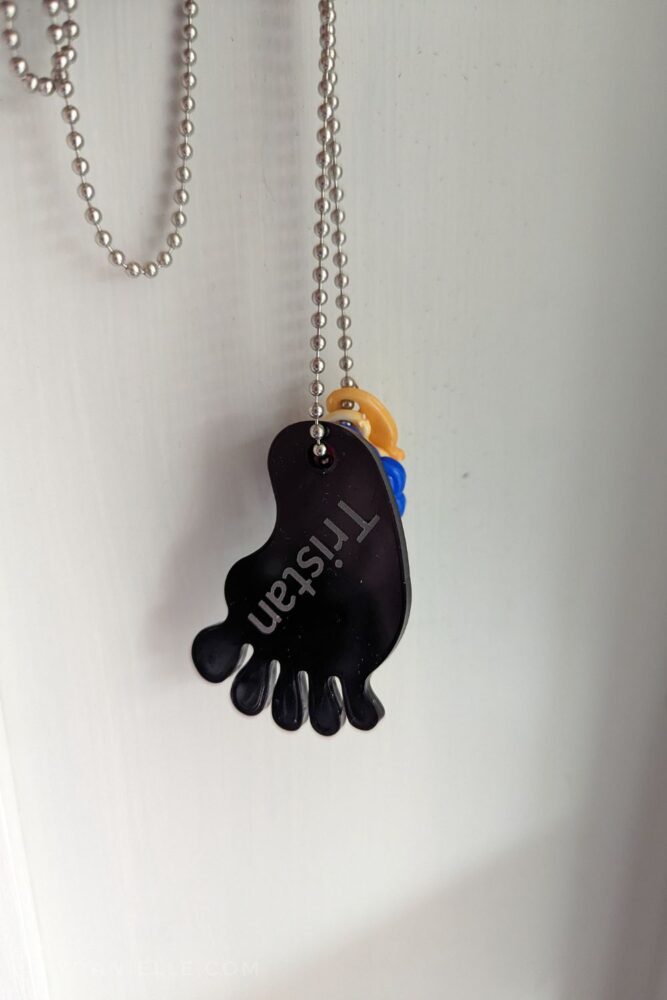
Acrylic: I used black acrylic to make tiny necklace charms for testing an idea for a school fundraiser. This worked SO well that I plan to make about 100+ of them (based on orders) to help fundraise for our school’s Walking Wednesday program (a program that helps encourage kids to be active).
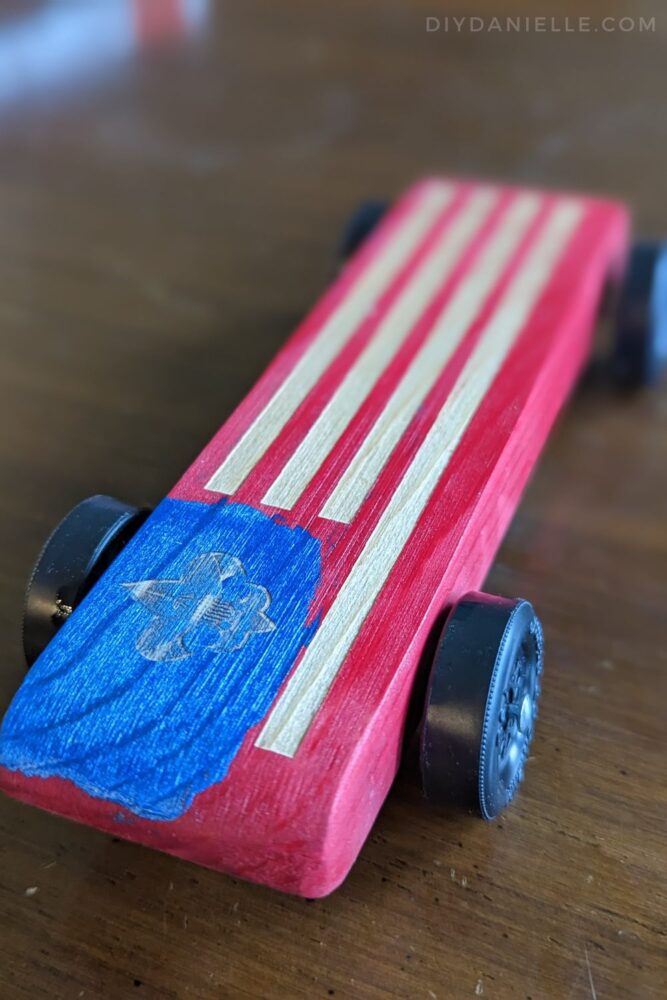
Wood: Wood engraves really well with this. We have used the project panels, as well as used the machine to engrave my son’s Pinewood Derby car. We are hoping to try some Columbia Forest/Purebond Wood panels from Home Depot, but they are bigger than the work space of the M1. We will need to cut them down to size. I am curious to see how the finished projects with these turn out.
I did some quick research and many people mentioned that normal plywood has a lot of fillers. You NEED to avoid those fillers and use a product such as Purebond which is formaldehyde-free. I had difficulty gathering if the fillers were a health risk during cutting, a fire risk, or if they simply didn’t cut as well. I have worked with those other types of plywood, however, and they’re just lower quality wood. You’re more likely to get splinters and need to spend a lot of time sanding your finished project.
Using a high quality product saves a lot of time, even if it costs slightly more.
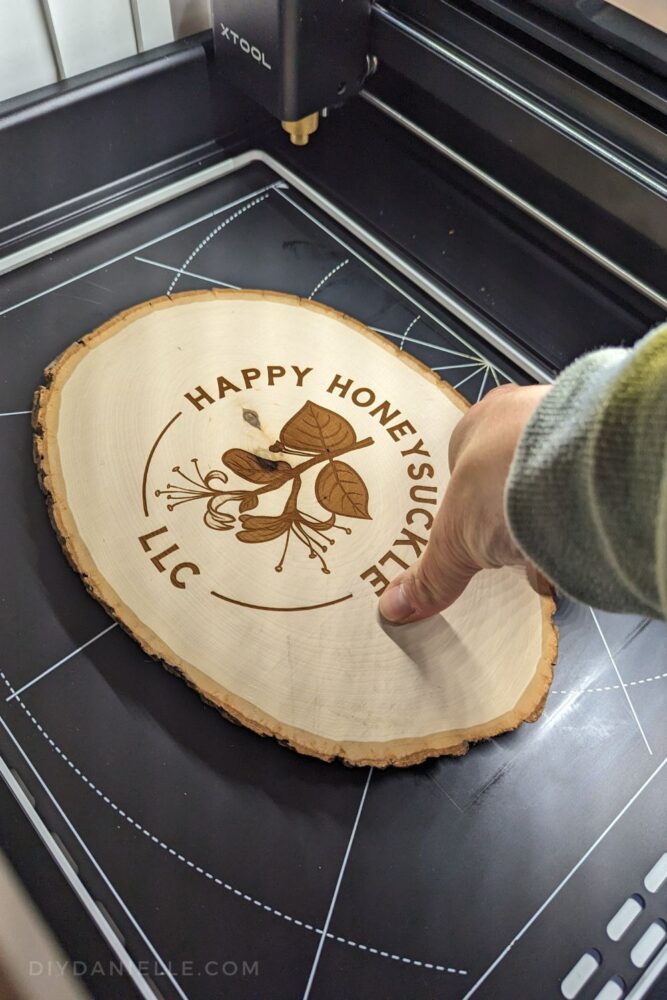
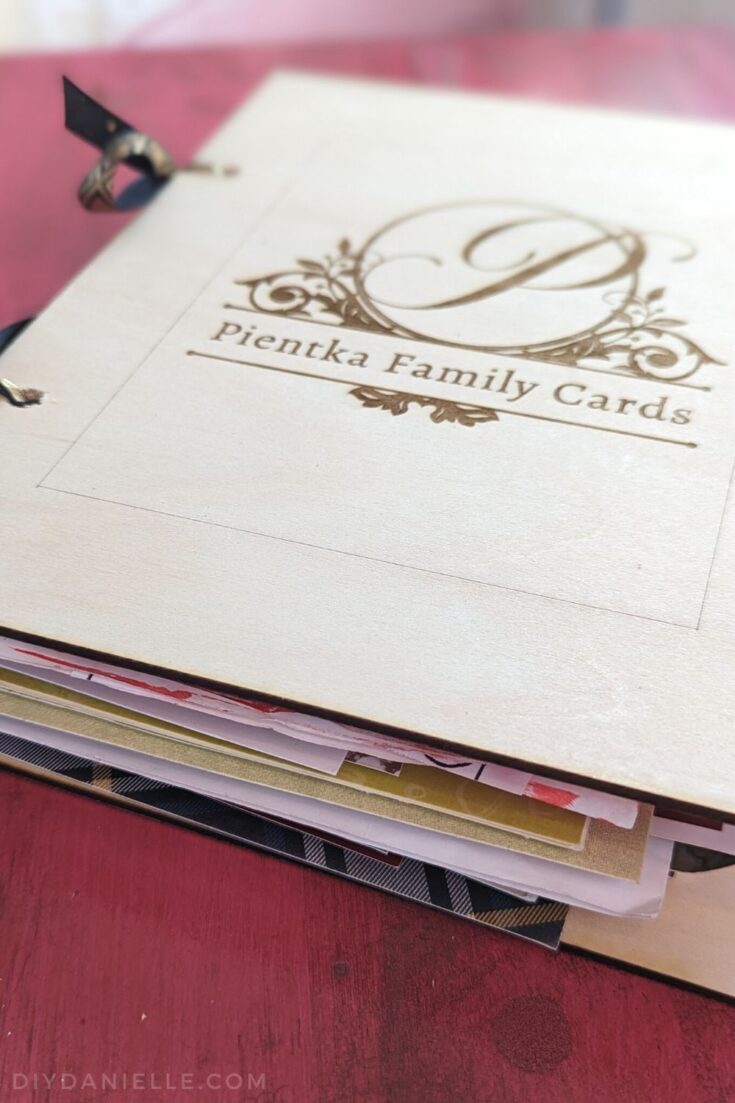
I really like using the engraving machine on these wood slabs that you can find at the craft store- this was my first try, and I wish I’d erased the colored in leaves and flowers. If I had left those blank, I could have used my coloring pencils or paints to color in my logo colors.
Vinyl: I want to try cutting vinyl with this because I’m curious how it works compared to my Cricut machine. I like the idea of not needing to use a mat.
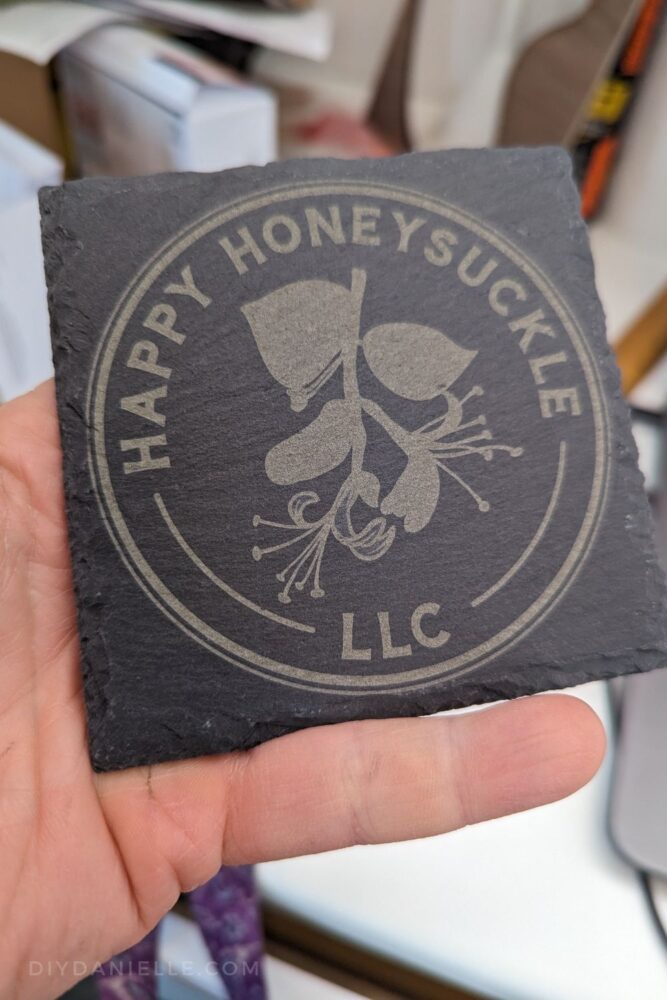
Slate Coasters: The stone coasters are really cute and easy to engrave.
Jewelry: You can purchase lots of jewelry blanks for this as well. If you have a Fitbit, you can also engrave your watch band. Some people make jewelry with the acrylic and wood panels. The Jewelry Inspiration kit gives you some wood, acrylic, cuff links, leather, and pendants to try.
Black Scratch Paper: I have seen a few AMAZING laser engraved works made with black scratch paper (the paper you used as a kid and scratched off a design with something sharp).
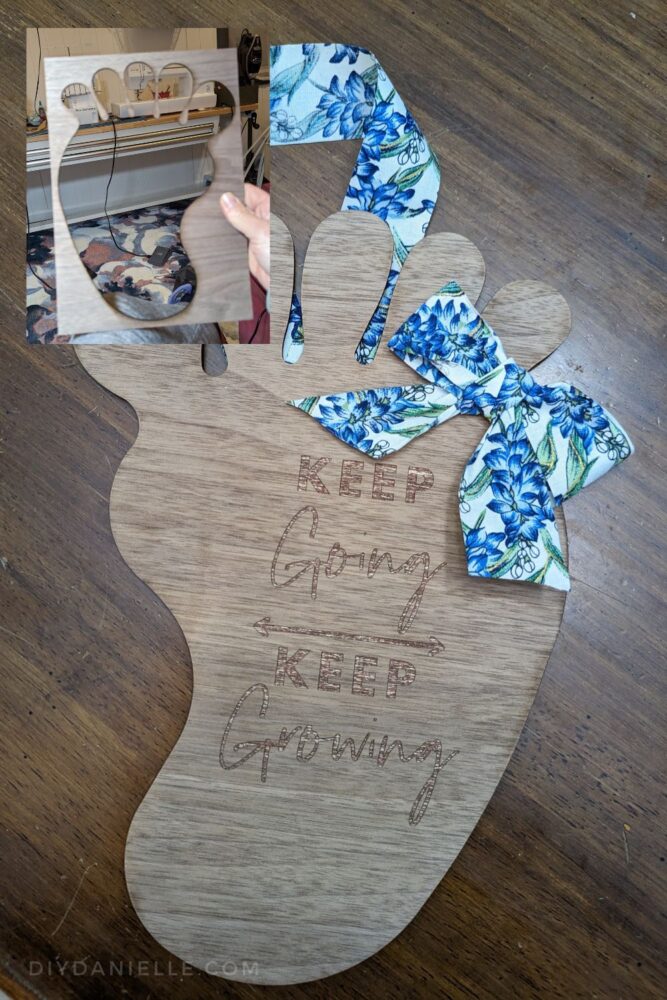
In the left top corner, I have another image of the wood left from the cut. This will make an excellent stencil!
Video Review of the M1 Laser Cutter
Laser Cutter Projects
Laser Cutter Projects
Laser cutter projects that you can make with your xTools M1 Laser Cutter.
What is Laser Cutting?
Learn more about laser cutting and how these machines work. This is a beginner's guide.
How to Make Gift Tags with a Laser Cutter
Make simple gift tags with the M1 laser cutter to add to your homemade reusable gift bags.
Please share and pin this post! You can also post your project and tag the DIYDanielle team on Instagram @doityourselfdanielle!