Want to keep photo cards organized? Make a DIY card keeper to store all of the important greeting cards and photos cards that you receive!
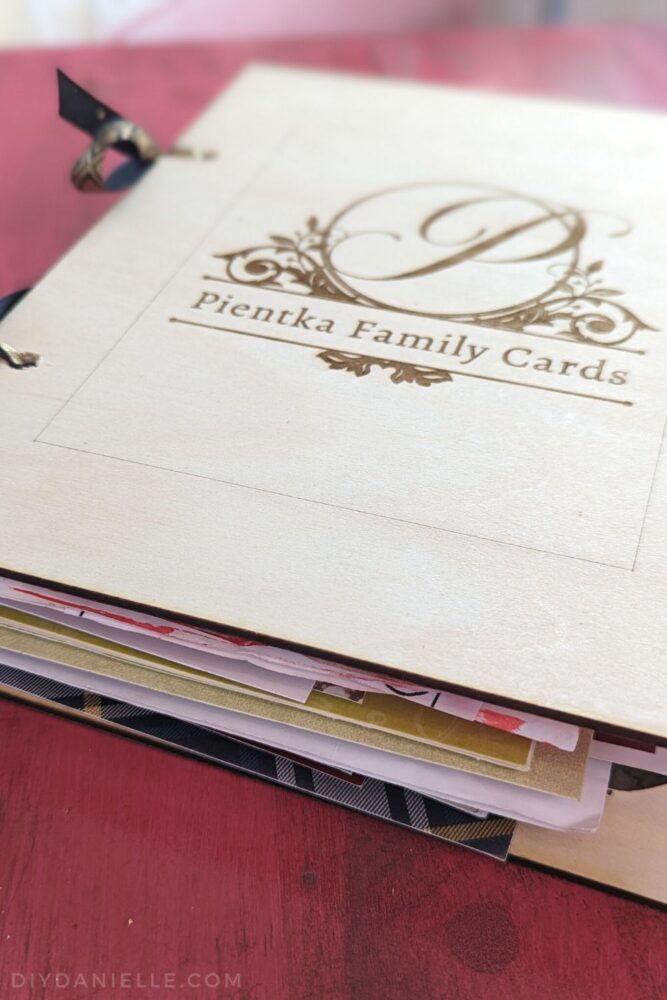
Every year, I save any photo cards that we receive. Occasionally I’ll save greeting cards too, but I really love photos of family and friends. I have some binder rings that I use for it, but I wanted to make something a little more attractive than what I had. My laser cutter was the PERFECT solution to my problem. With it, I could create a front and back with wood to create an album for all of the cards.
This post may contain affiliate links which may earn me commissions should you click through them and take certain actions. As an affiliate for Amazon, Cricut, xTool, Home Depot, and other sites, I earn from qualifying purchases. Please DIY carefully. View my full legal disclosures here.
The majority of my content is generated by me, as are 99% of the photos and videos, but I utilize technology for titles, descriptions, video editing out all of my ums, and occasionally for text overlay on images.
Please read the whole post so you don’t miss any important information!
DIY Card Keeper
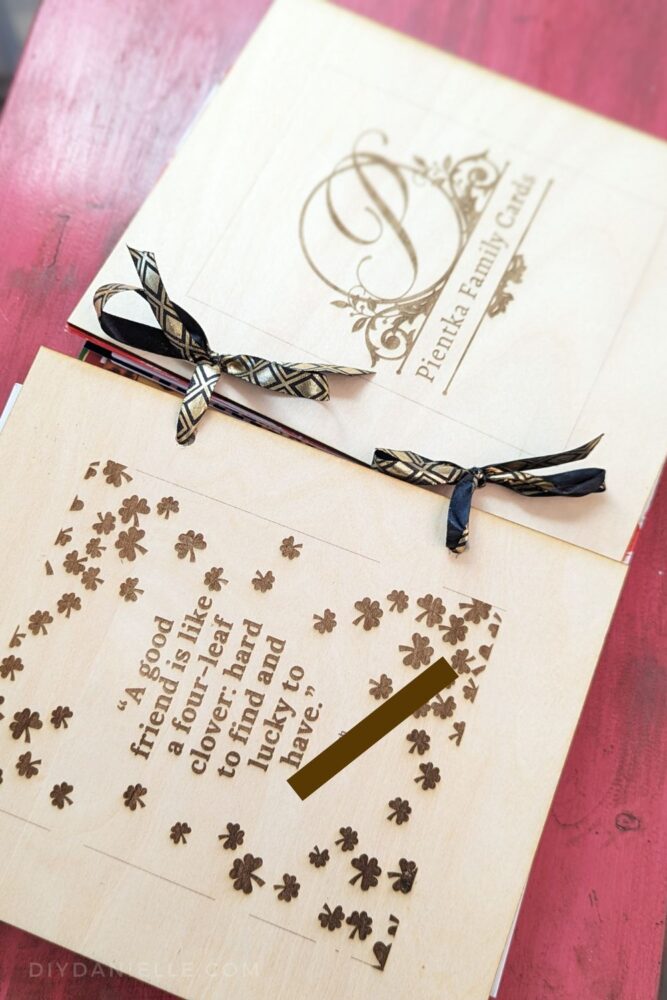
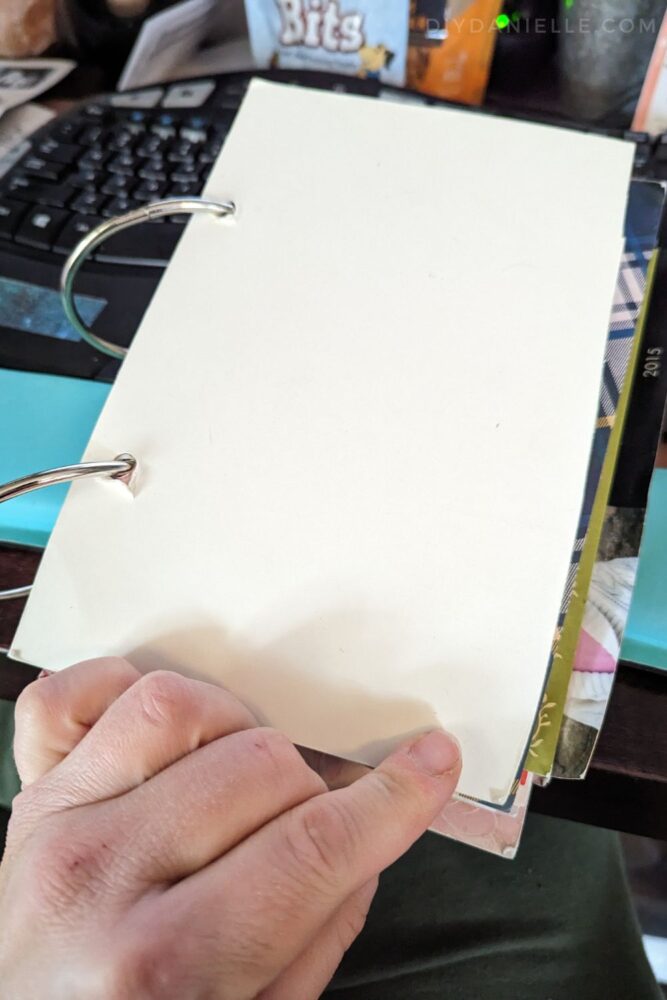
A card keeper is a way to keep all of your cards. Some people use a card box, or photo albums, but I wanted something on binder rings with a pretty cover. Here’s the “before” of my card keeper… it’s pretty ugly, but it did the trick in terms of keeping everything together.
Supplies
- xTool M1: The Ultimate Gift-making Laser & Blade Cutting Machine
- Laser Materials Explore Kit (111 Pieces)
Tutorial
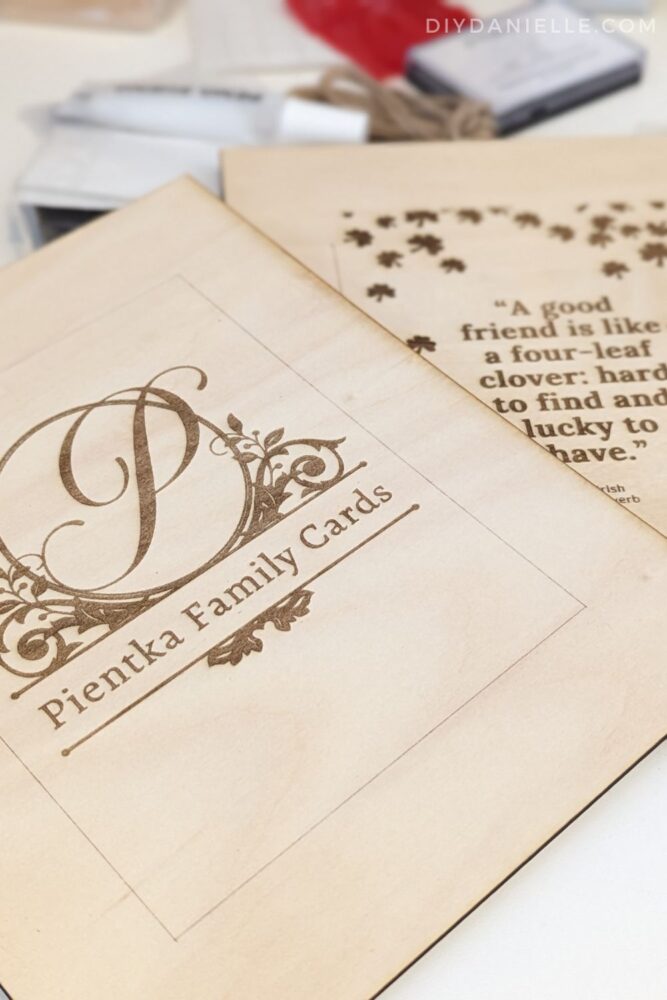
Step 1: Decide on the size of your cover. While most of the cards were around a 5×7, I wanted to make my cover slightly bigger because I find extra hanging over the edge pretty unsightly. 8.5″ tall x 7″ wide seemed like a good size so that’s what I decided on.
Step 2: If you want to use this Canva template, update the name (or the letter P- there’s other variations for other letters), and download the file as an SVG. It will be two separate files, one for the front and one for the back. Upload the back to the design software for the M1.
Step 3: The back is the trickiest piece to cut. Start by resizing it to fit your 8.5×7 cover, if that’s the size you want to use. The size didn’t transfer in the software. I had to remove some of the clovers that were overlapping and clean up the image a bit.
Step 4: Once you’re ready to cut, place your piece of balsawood into the M1 laser cutter. Close the lid. Refresh the software so it sees the wood, then move your design around to fit it.
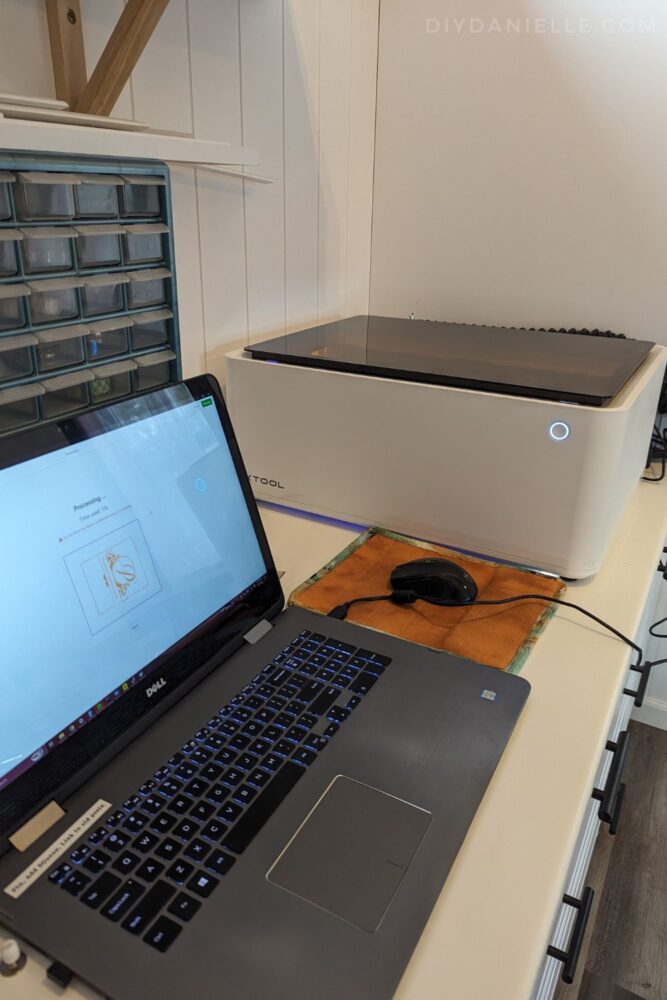
Once it’s where you want, select the whole design (Ctrl A), and click ENGRAVE. This should turn EVERYTHING a weird orange (you’ll see what I mean in the video). That is because the outer rectangle is being engraved too… but we’re going to fix that.
Now deselect everything, then click ONLY the exterior rectangle. This should currently be set to engrave- switch that to CUT. This changes the rectangle color.
Step 5: Select the material on the right menu. Click PROCESS. Click FRAMING, touch the button on the machine, and watch the machine to make sure the design is where you want it. Click done, then Start Process. NOTE THE PROCESS TIME. This is how long your machine will take to engrave the whole design. You should supervise your machine during this time- AND make sure your machine is vented so you don’t have the smell overwhelm the room.
Hit the button on your machine to begin.
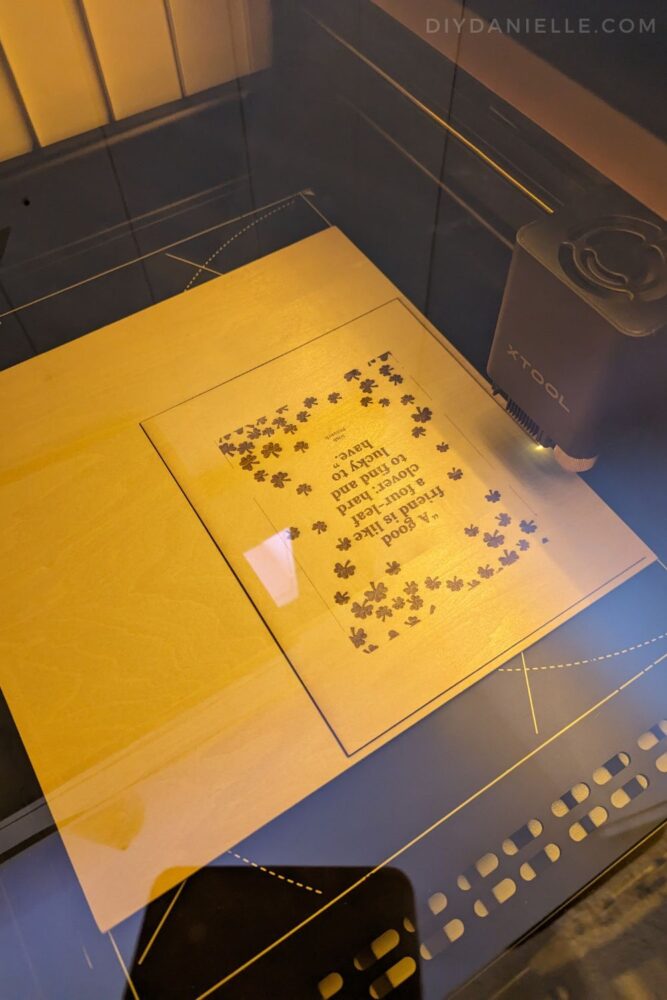
Step 6: Remove the back once the machine is finished. Now you can upload the front design. You’ll repeat the same process. The only thing to note is that the swirls in my design somehow added little boxes around the left and right side- delete those so they won’t cut. It was a weird thing to transfer over. Cut your front design.
Step 7: I used a drill bit to add holes for my ribbon/binder clips. In hindsight, using the laser cutter to do the circle cut outs would have been neater, but I was stressed about getting the spacing wrong where I had the holes in my photo cards already.
Step 8: I added ribbon to hold the whole binder together with the cards inside!
Don’t have a laser cutter yet? You might want to read: What is Laser Cutting?
Video Tutorial
Please share and pin this post! You can also post your project and tag the DIYDanielle team on Instagram @doityourselfdanielle!