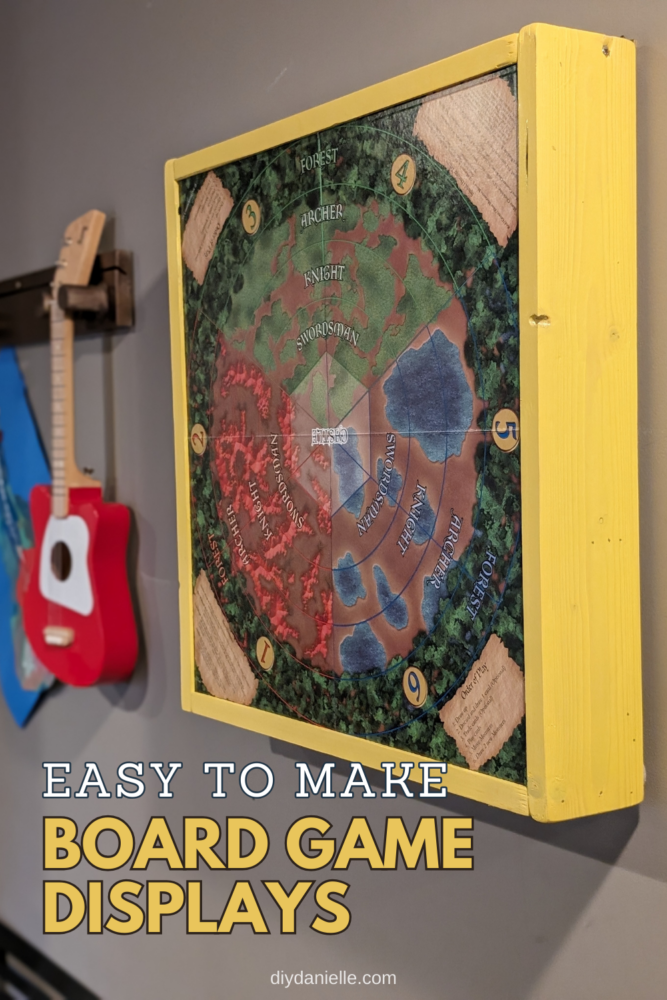
Create a stylish and functional DIY board game display to showcase and store your favorite games with this easy tutorial. Display your board games proudly in your home with this framed board game display project.
Turn your favorite board game into a work of art with this DIY board game display! This framed board game hangs on the wall for easy accessibility, with hidden storage to tuck the game box, pieces, and cards behind the board. It’s easy to make in an afternoon with a few common tools – read on for the full instructional below or follow along with the video tutorial. Check out some of my other DIY crafts here!
This post may contain affiliate links which may earn me commissions should you click through them and take certain actions. As an affiliate for Amazon, Cricut, xTool, Home Depot, and other sites, I earn from qualifying purchases. Please DIY carefully. View my full legal disclosures here.
The majority of my content is generated by me, as are 99% of the photos and videos, but I utilize technology for titles, descriptions, video editing out all of my ums, and occasionally for text overlay on images.
Please read the whole post so you don’t miss any important information!
Supplies
- Board game of your choice
- Measuring tape with all of the markings https://amzn.to/3GTWNhc
- 8 or 10 foot, 1x4x8 Kiln Dried Whitewood Common Board https://homedepot.sjv.io/n1mdY9
- Pencil
- SAWSTOP 10-Inch Jobsite Saw Pro with Mobile Cart Assembly https://amzn.to/3PjqVqa
- 100 Heavy Duty Single Hole D Ring / Triangle Strap Hanger w/ Screws https://amzn.to/3Phn9xc (or other hanging hardware of your choice)
- Wood Glue https://homedepot.sjv.io/5b4JQo
- Ryobi Airstrike https://homedepot.sjv.io/qn7Zbj
- Screws
- Primer, Spray Paint https://homedepot.sjv.io/kjn4mn
- Rustoleum 2x Spray Paint https://homedepot.sjv.io/Ean04Q
Tutorial
Step 1: Using a table saw with a lowered blade, make a groove cut into (but not all the way through!) the 1×4 board. I made my groove cut about ¼ inch from the other edge of the board. This 1/4″ from the edge measurement allowed enough room for the board game to be placed behind the game board inside the frame.
A SawStop 8″ Premium Dado Set is the safest and easiest way to make these groove cuts.
You want your groove cut to be 1/8th-1/4 inch wide- ideally you’ll want to make it a little wider to make sure your board doesn’t snag and wear when sliding it in and out of the frame. Mine was 1/8th” and I felt it was a bit tight.
Step 2: Measure your game board. The actual size of a 1×4 is 0.75″ x 3.50″. When you measure your game board, you will need to subtract the width of the 1×4… so essentially 0.75″ x 2.
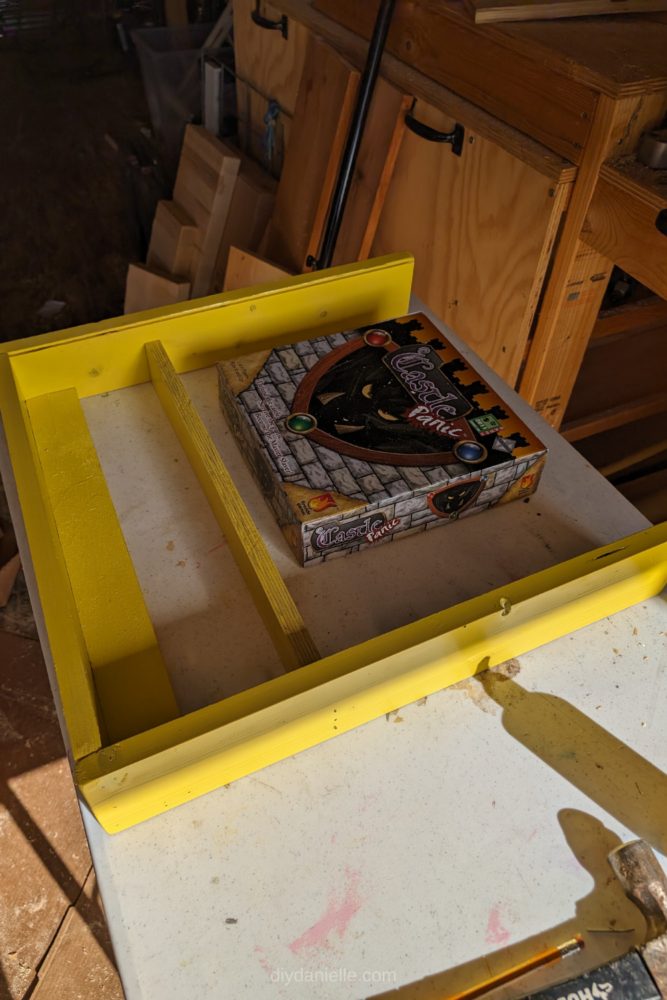
For Castle Panic, my sides were 21″ long and my top and bottom were 19.25″ long. My two pieces for the back area were 19.25″ as well. The top back shelf needed to be the depth of the area from the back of the sides to the groove cuts. The bottom cut is whatever height you want it to be!
Step 3: Cut the wood into pieces to fit the length and width of the actual game board, leaving enough room for the board to slide into the grooves you cut at the beginning of the project.
DRY FIT everything: this means you just pop the wood around the game board to ensure everything is the correct fit.
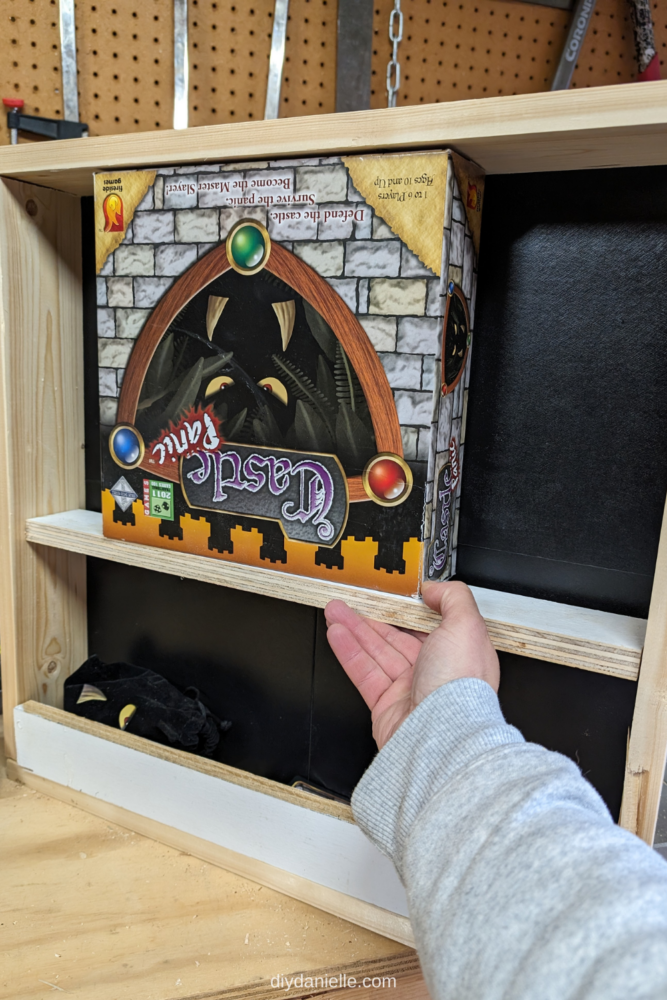
If your board game box is smaller than the frame, like mine, use an additional piece of wood to create a ledge for it to sit on inside the frame. The box should add support for the piece of wood that will become the top of the frame, but we’ll be adding a few screws later so don’t worry if it’s not exact.
Step 4: If you plan to paint or decorate the boards for the frame, do it now. It’s easier to sand, prime, and paint before you start assembling the frame. Wait for everything to dry prior to assembly so you don’t get paint on the game!
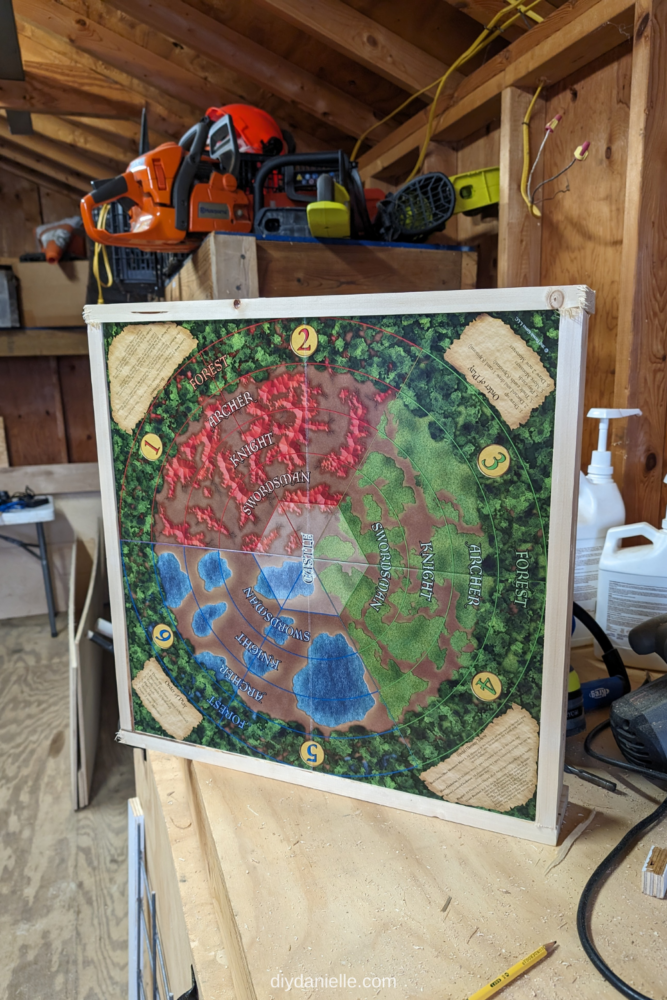
Step 5: Assemble the pieces into a square or rectangular frame, making sure the grooves are lined up to create one continuous groove for the board to slide into around the inside of the frame. Use wood glue to attach the sides and bottom and a nail gun to secure the corners together for good measure. Remember, leave the top unattached so it can be easily removed when you want to grab the game board!
Step 6: Create a ledge for the game pieces or cards to sit by securing another plank to the back of the bottom of the frame. Wait for the glue to dry before moving onto the next step.
Step 7: Add your hanging hardware to the back of the frame. I added D-rings to the top of the back of the frame to hang on two hooks or screws on the wall, but you can use whatever kind of mounting hardware works best for you.
Step 8: Make sure everything is completely dry before fitting your game board into the frame. Add the top, fitting the grooves over the edge of the game board to secure it to the frame. At this stage, you can optionally add screws to the back two corners of the top to increase stability.
Step 9: Add felt pads to the back corners of the frame to protect your wall and table top.

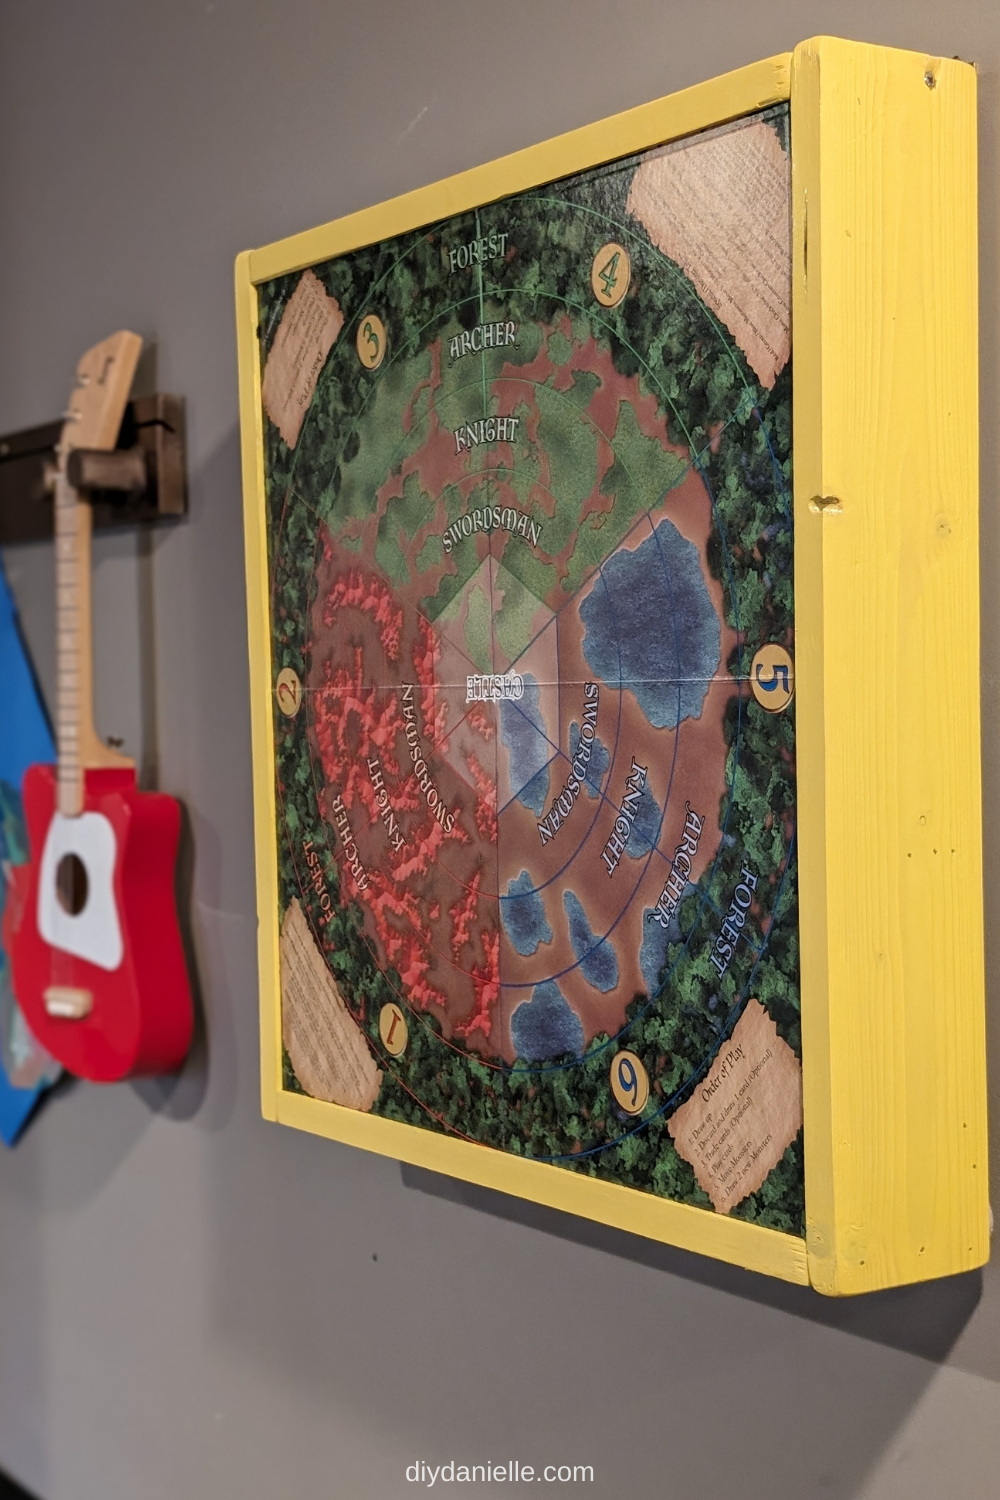
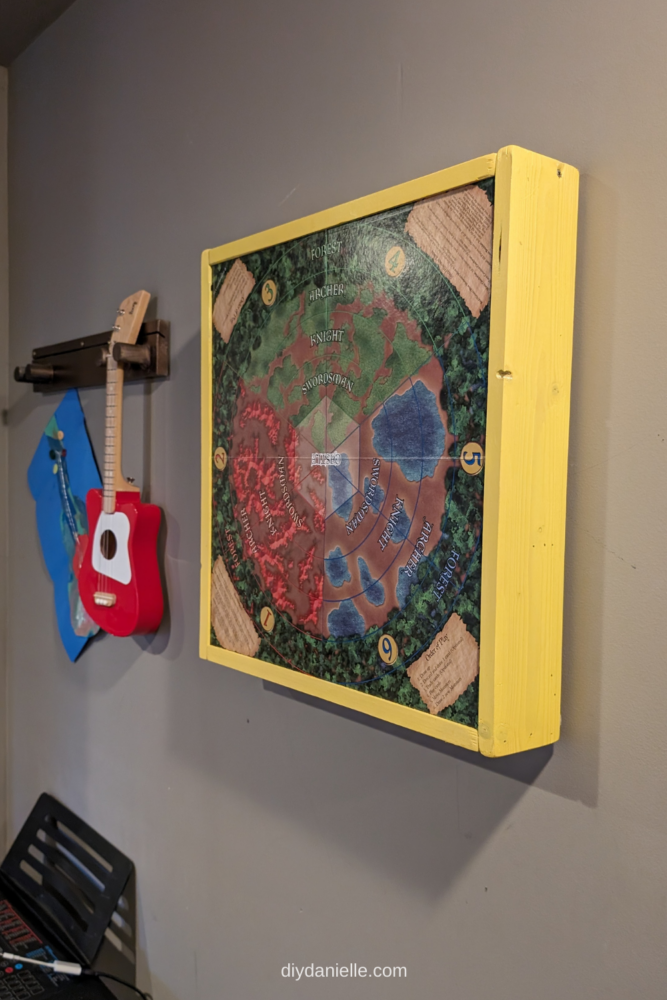
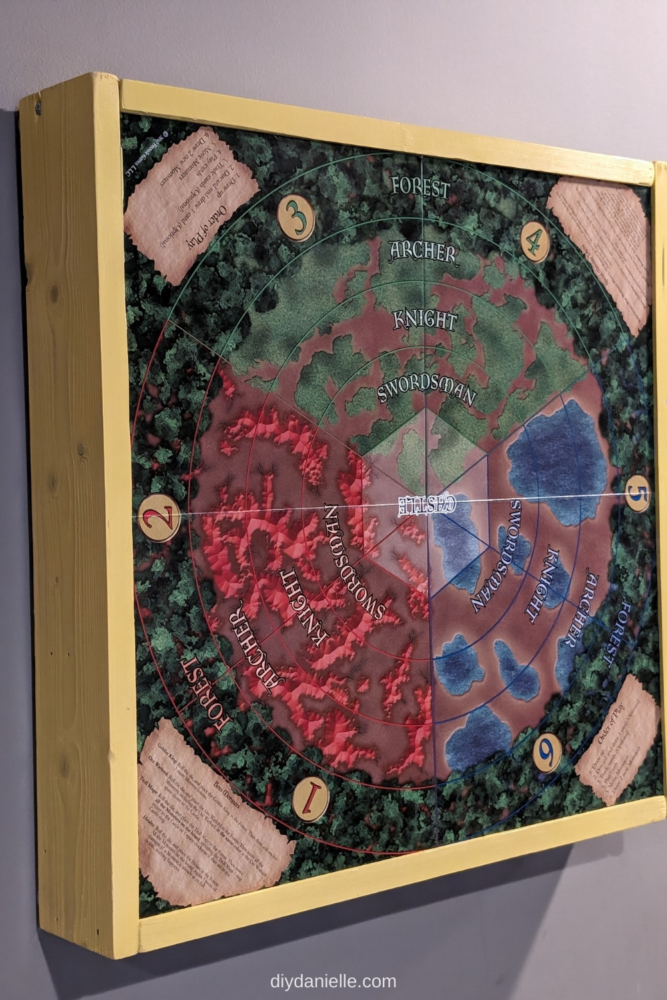
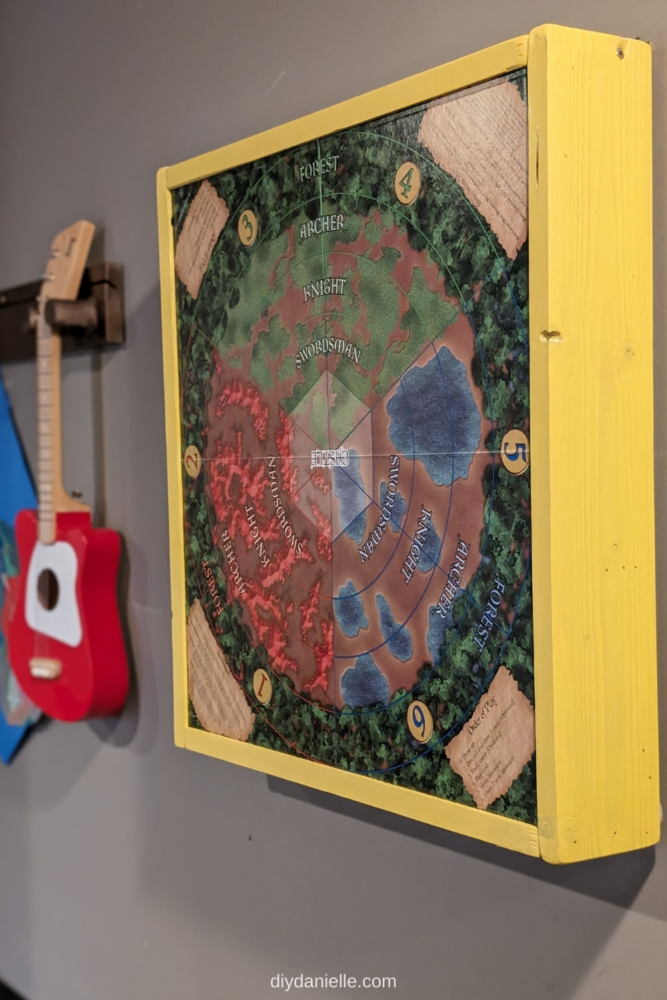
Step 10: Install it on your wall! When you want to play the game, just grab the frame off the wall, remove the box and pieces from the back, and set the framed board game display on a flat surface to play. You don’t have to remove the board, and the supporting frame creates an elevated surface to play on!
Video Tutorial
Please share and pin this post! You can also post your project and tag the DIYDanielle team on Instagram @doityourselfdanielle!