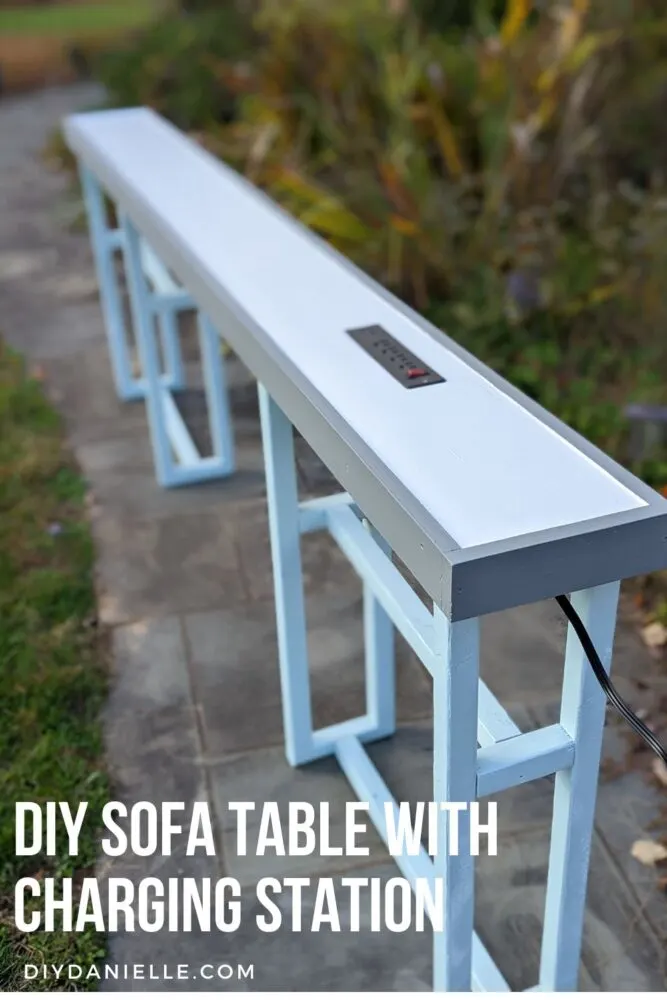
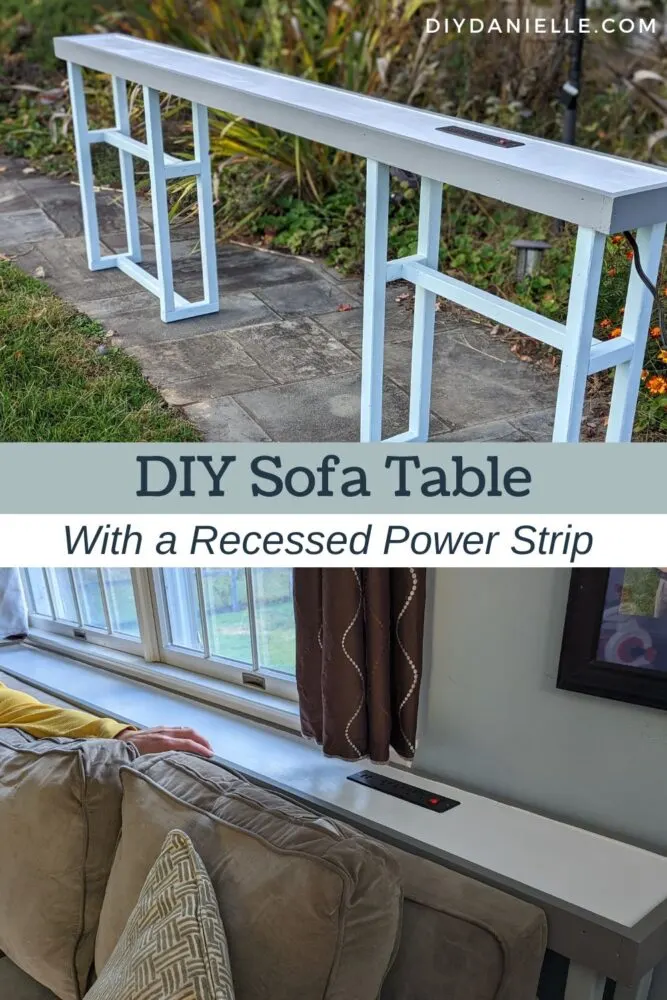
How to make a DIY sofa table. These thin, long console tables are placed behind a couch for extra storage or to place an easy to reach outlet.
I wanted to make a thin table for behind my couch so I’d have a place to put a glass of water, my phone, or the remotes. The kids like to stuff the remotes between the sofa cushions and we’re always fishing in there to find them. This console table was an easy build that allowed me to add an easily accessible outlet too for charging devices.
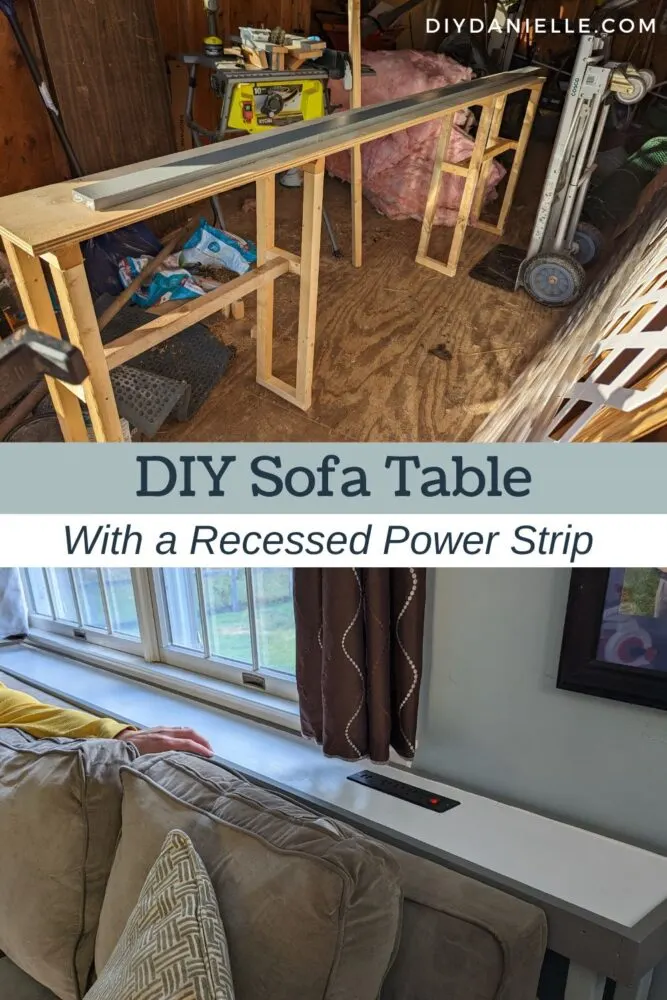
It also cost me almost nothing to make- I used a bunch of scraps. The only thing that I purchased was the power strip.
This post may contain affiliate links which may earn me commissions should you click through them and take certain actions. As an affiliate for Amazon, Cricut, xTool, Home Depot, and other sites, I earn from qualifying purchases. Please DIY carefully. View my full legal disclosures here.
Please read the whole post so you don’t miss any important information!
DIY Sofa Table for Behind the Couch
Supplies:
- 2x2s: https://homedepot.sjv.io/mgQdBZ
- 1x4s: https://homedepot.sjv.io/n1mdY9
- 3/4″ Purebond Plywood, Birch https://homedepot.sjv.io/10eem: ripped to 7.75″ wide x 8′ long
- Recessed Power Strip Outlet
- Trim Head Screws
- Drill: https://homedepot.sjv.io/a1EdkQ
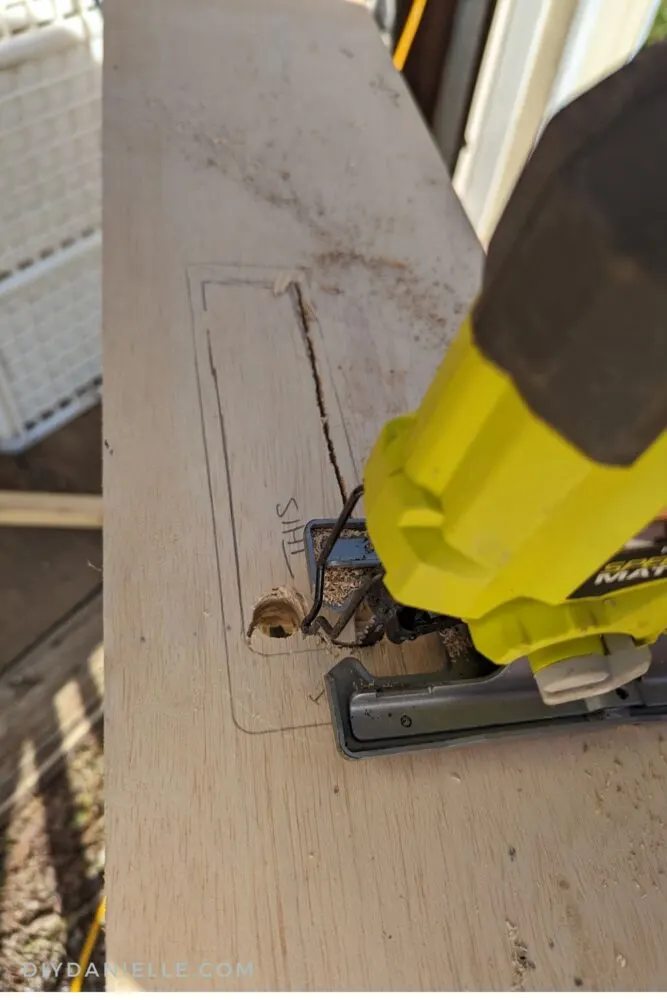
- Jig Saw: https://homedepot.sjv.io/doqDEW
- Sander: I’m linking a battery powered sander instead of what I used because I prefer not to work with cords. If you need to buy one, battery > corded in my opinion… I hate working around cords. https://homedepot.sjv.io/qnPd3O
- Wood glue: https://homedepot.sjv.io/5b4JQo
Video Tutorial
Step by Step Tutorial
This isn’t the full woodworking plan as I haven’t put that together yet. As I mention at the end of this post, if you’re interested in the full plan, let me know. I usually prioritize plans based on how much interest I get.
This tutorial should give you a basic guideline to how to build your own table. You can, as a result, adjust the size to your own preferences.
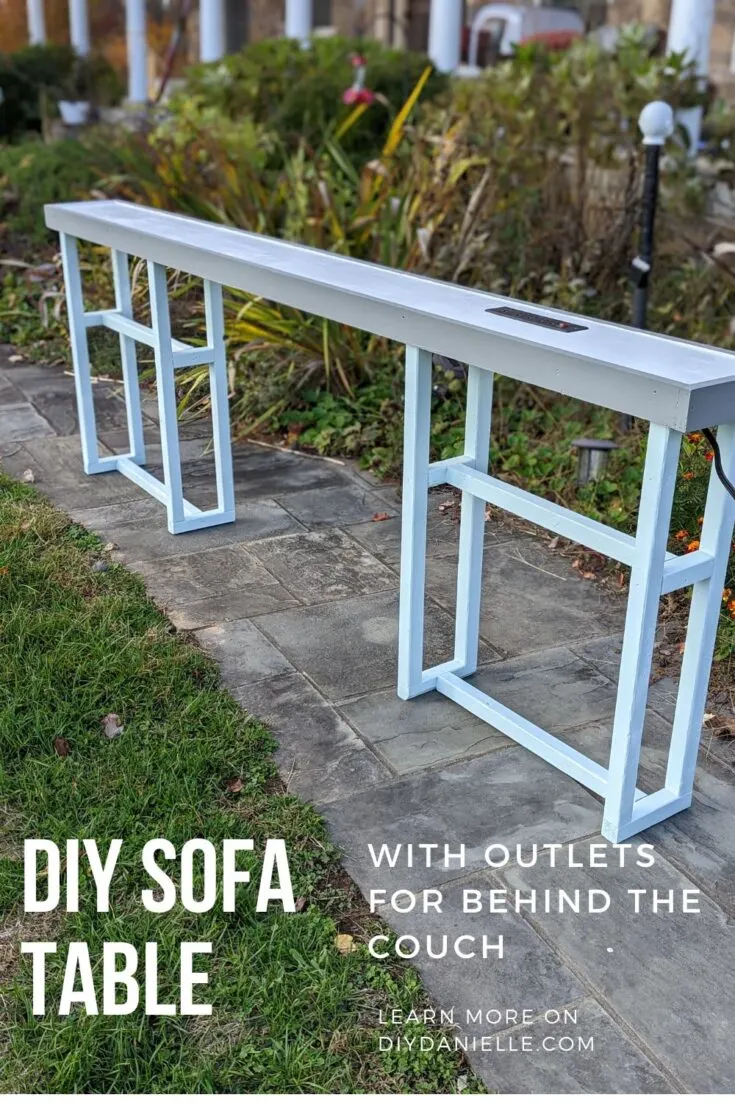
DIY Sofa Table
How to make an easy sofa table for behind your couch. This is a great way to add additional storage space and a charging area for devices.
Instructions
Want the Woodworking Plans?
Would you like to see woodworking plans for this? Let me know in the comments! I prioritize making woodworking plans based on how much interest I have!
You might like my post: How to Install an Outlet in a Nightstand Drawer
Please share and pin this post! If you make this project, share it in our Stuff Mama Makes Facebook Group. We have regular giveaways for gift cards to craft stores. You can also tag me on Instagram @doityourselfdanielle; I love seeing everything you make!

Lisa
Monday 26th of February 2024
I would like the plans. Thank you