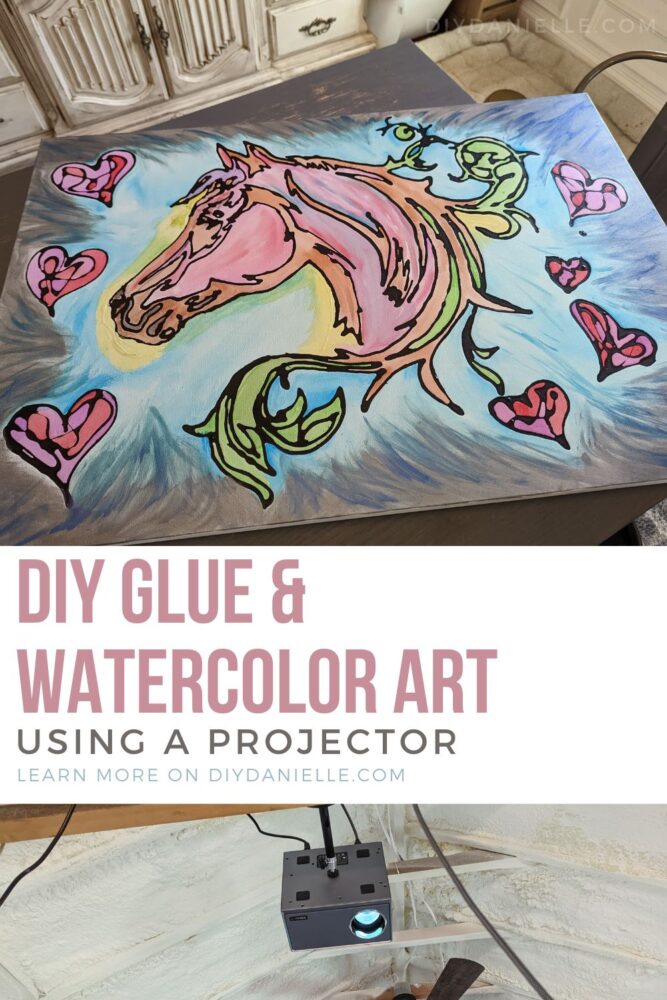
How to make some easy wall art using glue, acrylic paint, and water colors! This glue painting on canvas came out BEAUTIFUL!
I needed some wall art for my barn office that I just finished, and I saw a great idea for using glue mixed with black acrylic paint- PLUS I HAD ALL OF THE SUPPLIES! Woohoo! I LOVE how it ended up coming out. I was able to finish this up pretty quickly and it is gorgeous. I
This post may contain affiliate links which may earn me commissions should you click through them and take certain actions. As an affiliate for Amazon, Cricut, xTool, Home Depot, and other sites, I earn from qualifying purchases. Please DIY carefully. View my full legal disclosures here.
The majority of my content is generated by me, as are 99% of the photos and videos, but I utilize technology for titles, descriptions, video editing out all of my ums, and occasionally for text overlay on images.
Please read the whole post so you don’t miss any important information!
DIY Glue Painting on Canvas with Watercolors
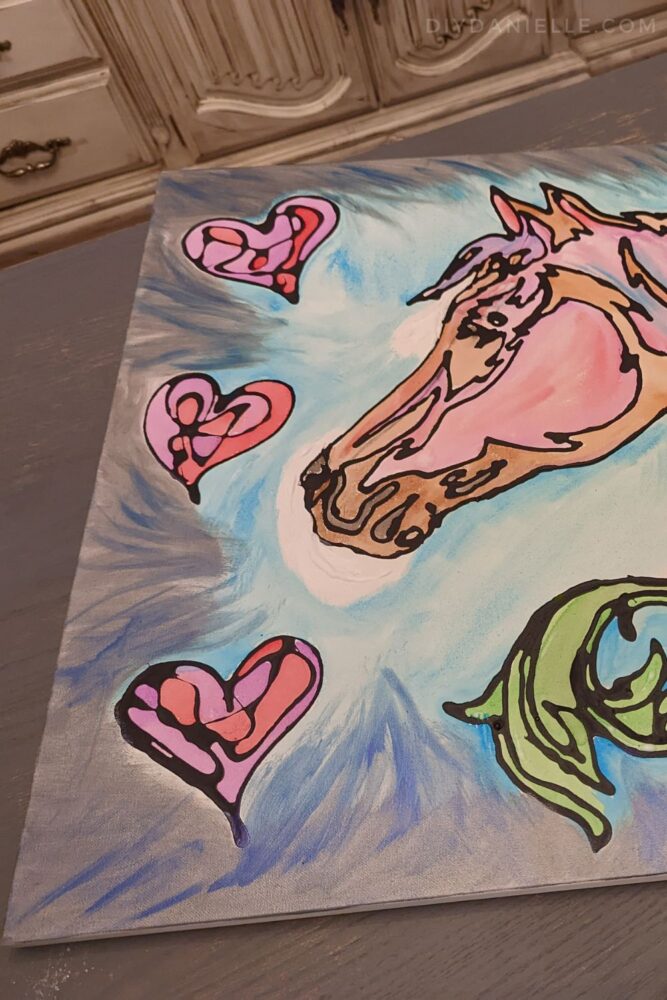
Most of these glue art projects seem to be more abstract, but I wanted to add animal pictures to my walls, seeing I have an animal-assisted therapy practice. I don’t have a lot of art skills so I used a projector to give me the lines to trace. It was super simple and came out great.
Supplies:
- Projector that has a zoom feature
- Projector ceiling mount
- Canva Horse Head design
- Large canvas
- Cheap art glue in a bottle
- Black acrylic paint
- Watercolors (I used the kids kind)
- Paint brushes and water
- I used other paint around the outside of the canvas.
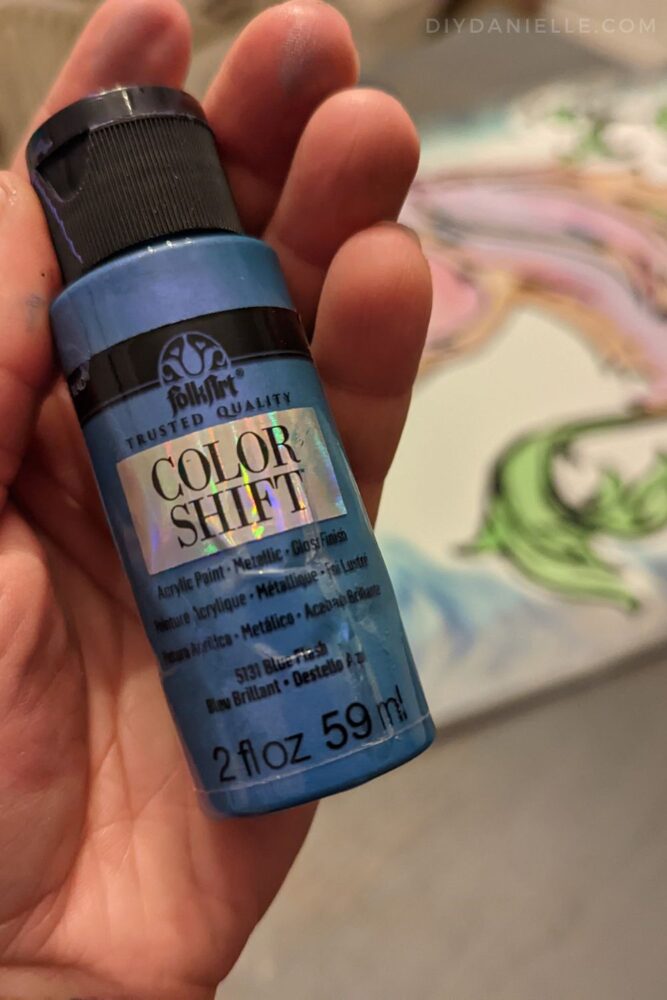
- Color Shift: Blue Flash | Brushed Metal …I’m only seeing these sold as sets with other similar colors. Honestly, I love them, they’re worth having if you paint a lot.
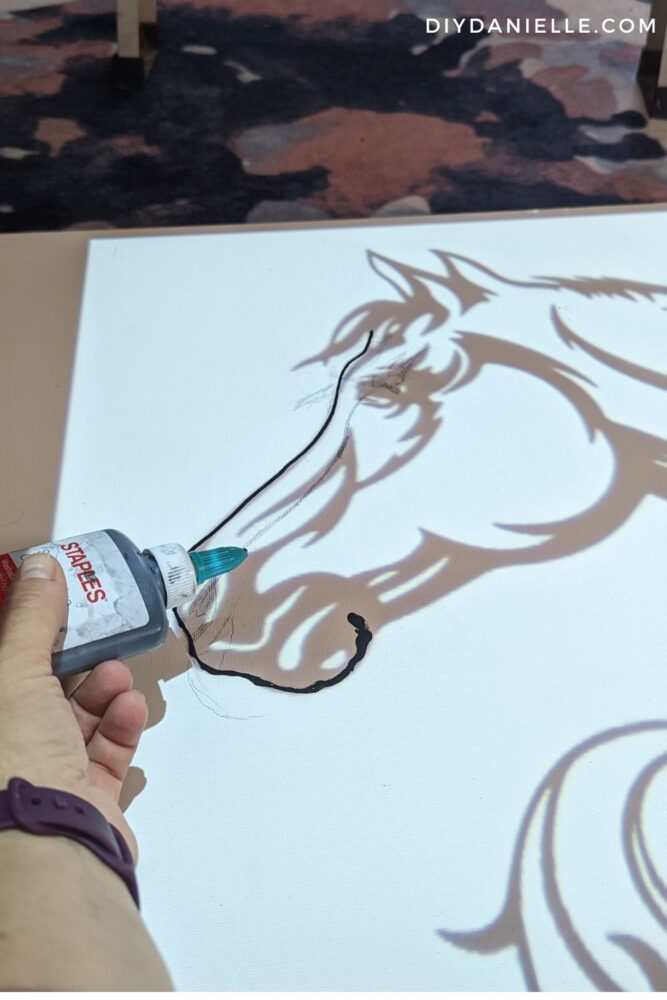
Step 1: Mix black acrylic paint into your glue bottle. Mix thoroughly. I just added black acrylic paint and mixed it in with the glue until I felt it was a good dark black. It didn’t take a lot.
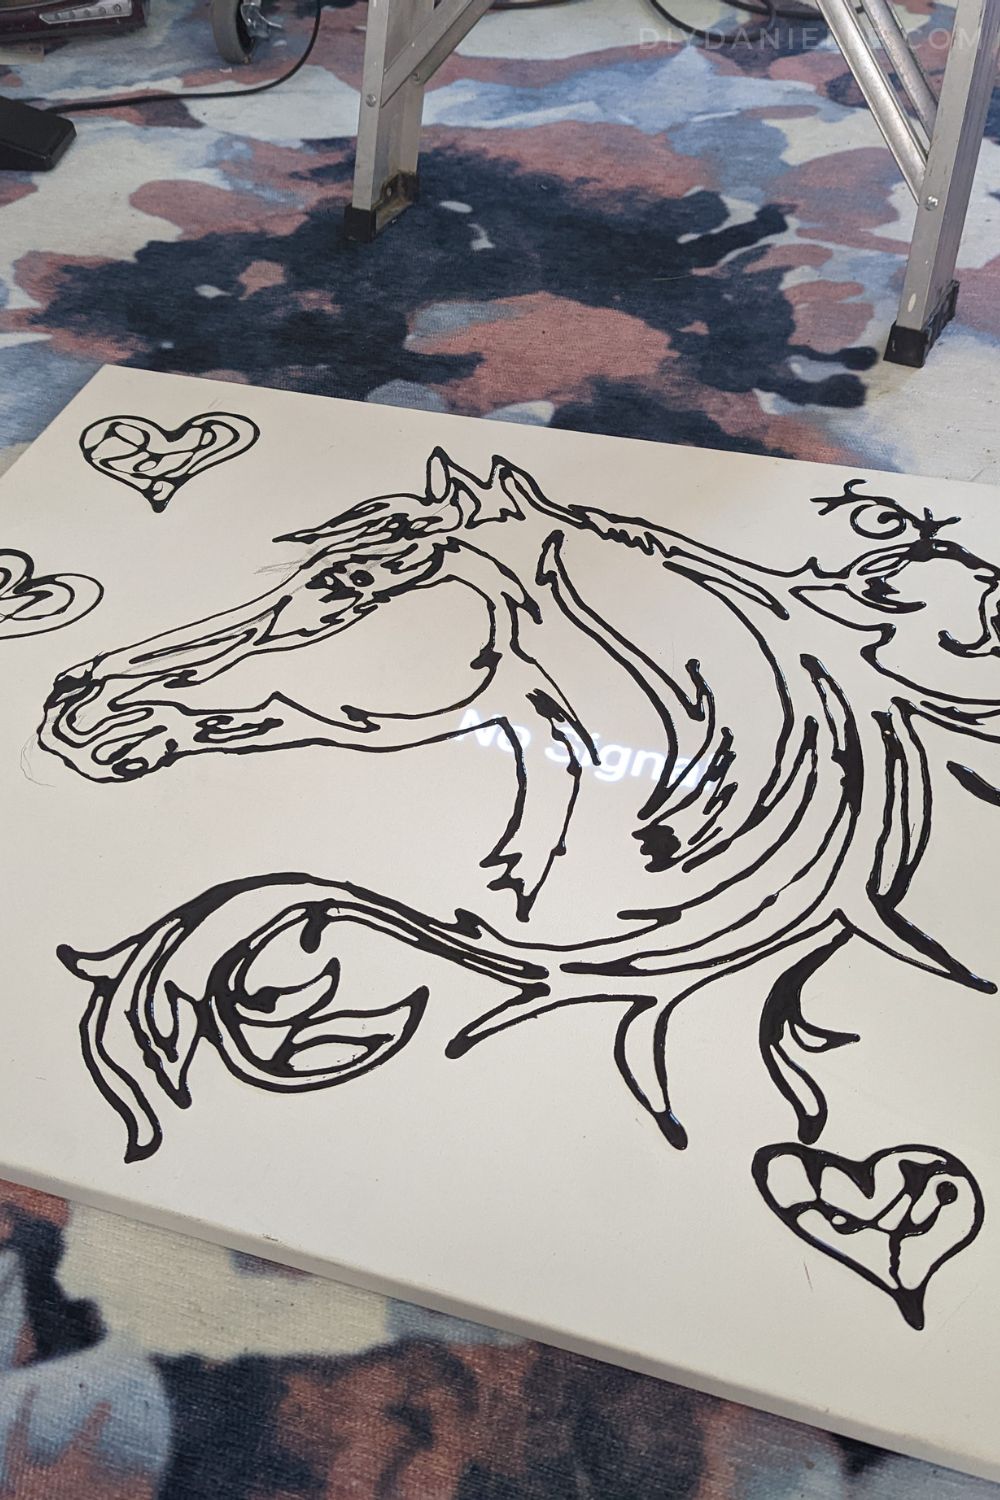
Step 2: Draw your design with the black glue. I am not a great artist, but I CAN trace. I was able to use a projector to project the Canva horse head onto the canvas, then traced the outlet using the black glue.
Note: DO NOT USE PENCIL to outline first. I attempted it with pencil first and unfortunately it still shows up through the paint and glue. I’m frustrated, but it’s not super obvious so I’m ignoring it. I guess I could have tried to erase it first, but alas. I thought the paints would cover it. They did not.
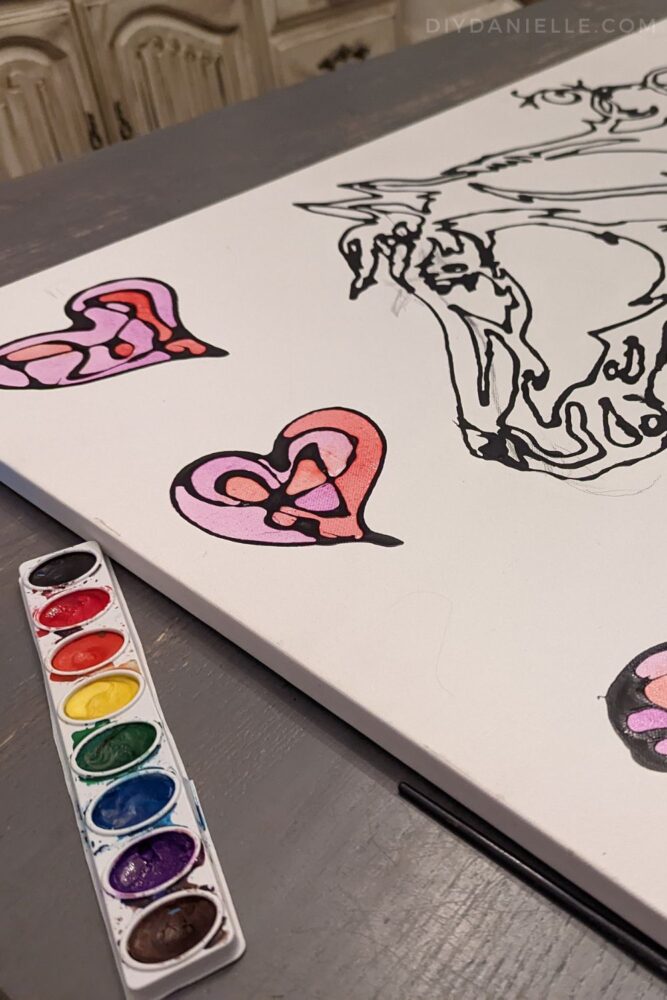
I added extra “zones” to the original design, and I also hand “drew” hearts as well. I made sure there were lots of different zones separated by the black glue lines so I could use different colors once I got to painting.
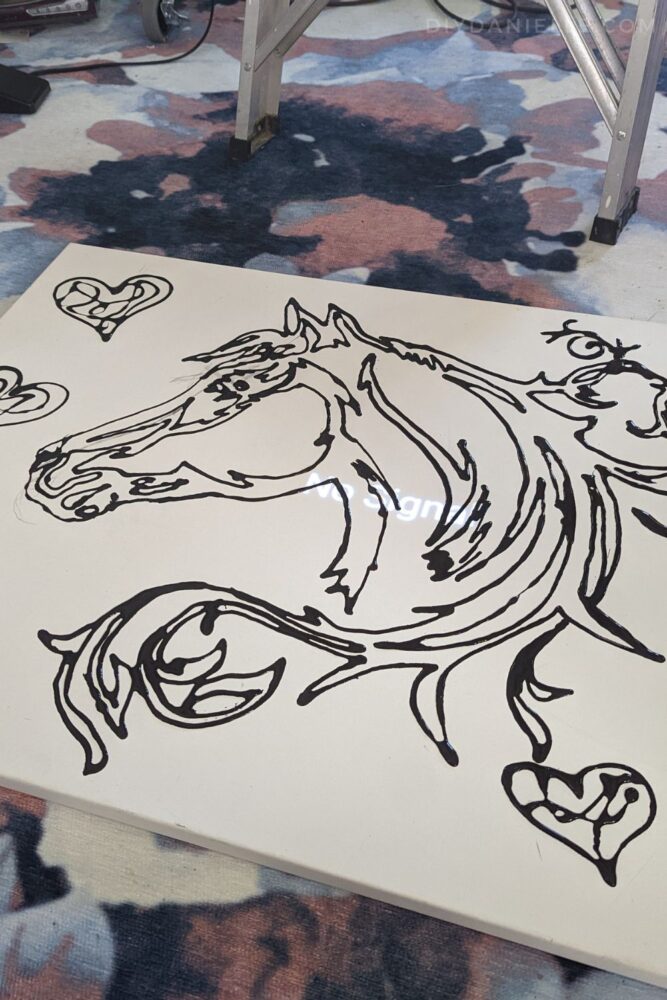
Step 3: Let the glue dry. I left it for a few days because it’s a LOT of glue and quite lumpy.
Step 4: Use water colors to paint between the different zones. I used a lot of different colors.
I started with red (which looks pink) and purple….
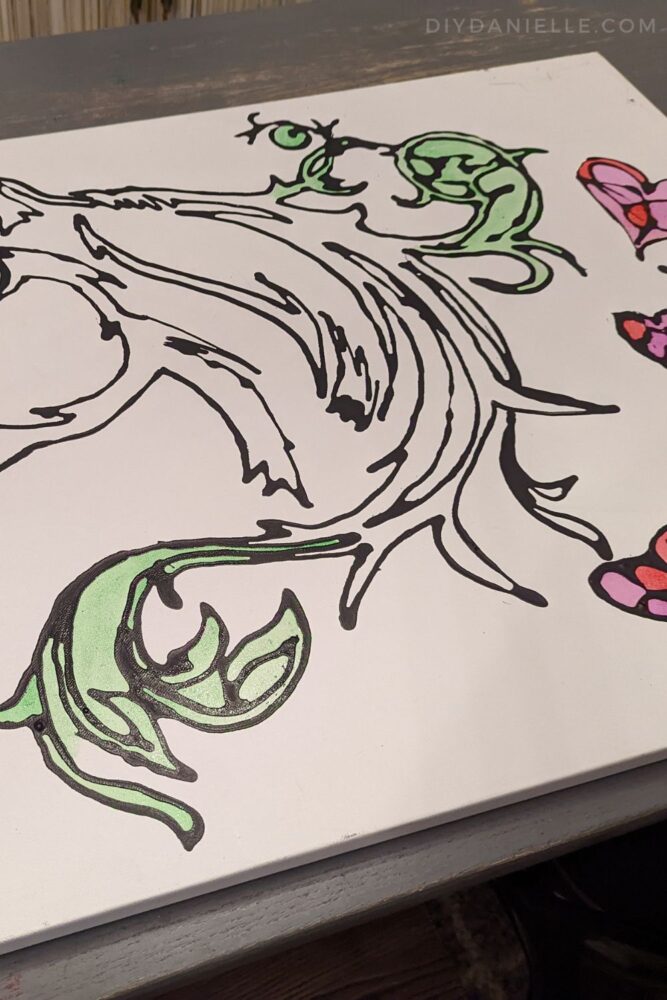
Then I worked in the green.
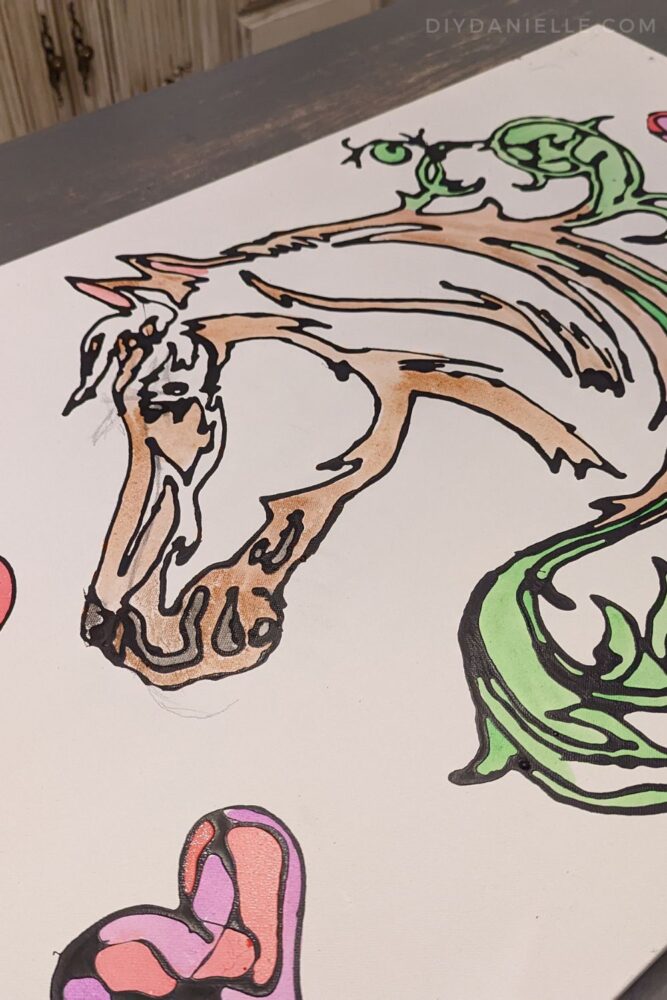
Starting to add in brown… I tried to blend from the green to the brown.
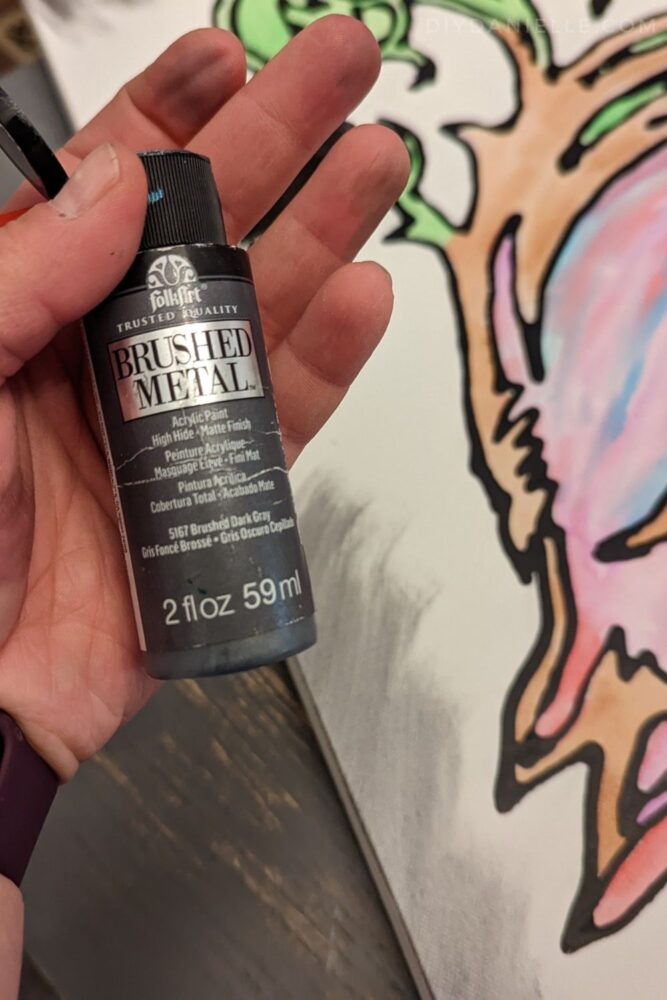
Step 5: I wanted something darker along the edges of the canvas so I used a couple of different paints that I had laying around to cover the outside front edges.
Colorshift, Brushed Metal along the edges…
Colorshift, Blue Flash inside the Brushed Metal.
Once those were added, I filled in a few more areas with blue and yellow watercolors.
Inside the Brushed Metal: Color Shift Blue Flash.
Here I’ve started adding blue watercolors inside the two acrylic paints, between the horse head/hearts.
Again- love love love how this came out. I want to make five more, but I ran out of glue!
Please share and pin this post! You can also post your project and tag the DIYDanielle team on Instagram @doityourselfdanielle!