

You’re probably looking for an economical way to finish the walls of your shed. Should you use drywall? Or are there alternatives to drywall that will save you money and be easier to DIY?
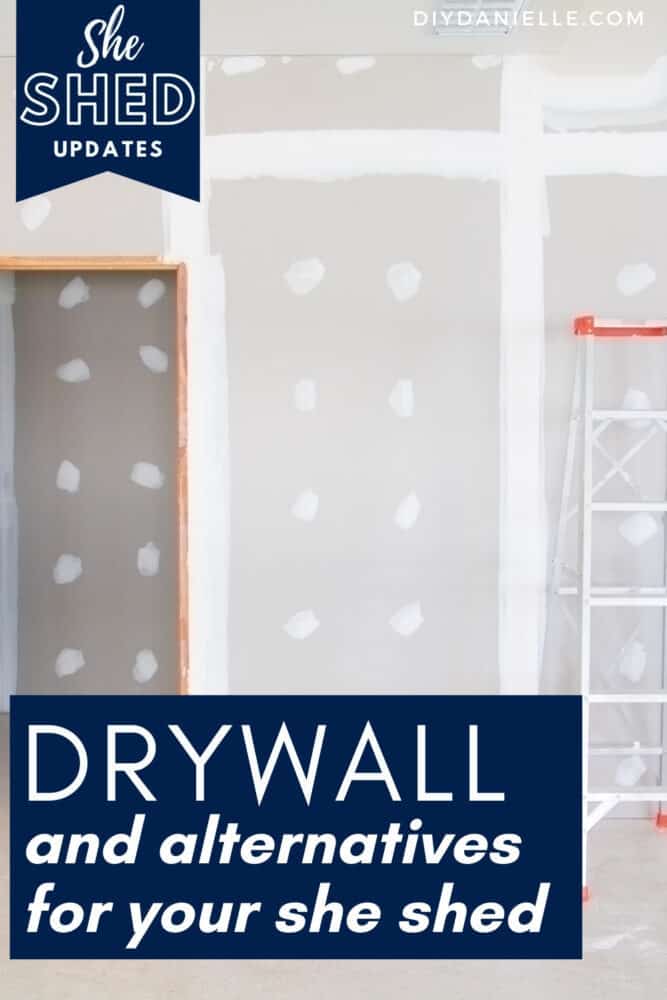
When finishing the interior of a she shed, most people are looking for an economical way to do it. If you are a DIY’er, you can save a lot of money. Usually you can calculate the price of a project and double it to guestimate the cost if you hire the work out. But some work, like hanging drywall, can be difficult for the DIY’er. It’s heavy and generally a 2 person job. It’s also time consuming and hard to get right.
As I’ve been working to update my shed into a legitimate office space and she shed, I’ve been researching my options. I wanted to pass on some of that information to you.
This post may contain affiliate links which may earn me commissions should you click through them and take certain actions. As an affiliate for Amazon, Cricut, xTool, Home Depot, and other sites, I earn from qualifying purchases. Please DIY carefully. View my full legal disclosures here.
The majority of my content is generated by me, as are 99% of the photos and videos, but I utilize technology for titles, descriptions, video editing out all of my ums, and occasionally for text overlay on images.
Please read the whole post so you don’t miss any important information!
Options for Interior Walls of a She Shed: Including Alternatives to Drywall
I’m going to discuss each option and calculate the cost of each option based on my shed which is 10×20′. I’m calculating ONLY the cost for the walls (8′ tall) because calculating the roof gets a bit tricky. Also, keep in mind that I’m calculating this in May 2021 and prices are extremely high right now due to shortages during COVID/supply and demand. I’m also basing this off the price brand new at Home Depot… you can probably shop around and find options at Restore or used, but you may find it difficult to find ENOUGH of a product for an entire shed.
Prices will be the DIY price… not the price installed. With 4×8 panels, we’re looking at needing 21 panels total.
Considerations for Each Option
- Keep in mind that IF you want your building to be TO CODE (important if you ever plan to sell), then you may need to opt for drywall and go the inspections route, etc.
- Ease of installation/DIY’ing the project
- Cost
- Safety
- Longevity
- Can you hang something on it?
- Fire risk
Table of contents
Skip the Walls
I do not recommend this option, but I have seen many people opt to skip drywalling or having any type of “wall” to their shed’s interior; they also skip the insulation. In a normal shed, this make sense. You have ventilation and the expectation is that the shed won’t need to last forever.
However, once you put a lot of time and money into updating a shed to use as a living space, using some type of insulation and walls is a necessity. Some types of insulation won’t be as harsh to touch so you can possibly skip the drywall or drywall alternative. I’ll talk about that in my post about shed insulation options.
This option is best for someone who isn’t planning to store anything valuable inside their shed. You’ll want to make sure you have plenty of ventilation and maybe some fans running too.
Cost: $0
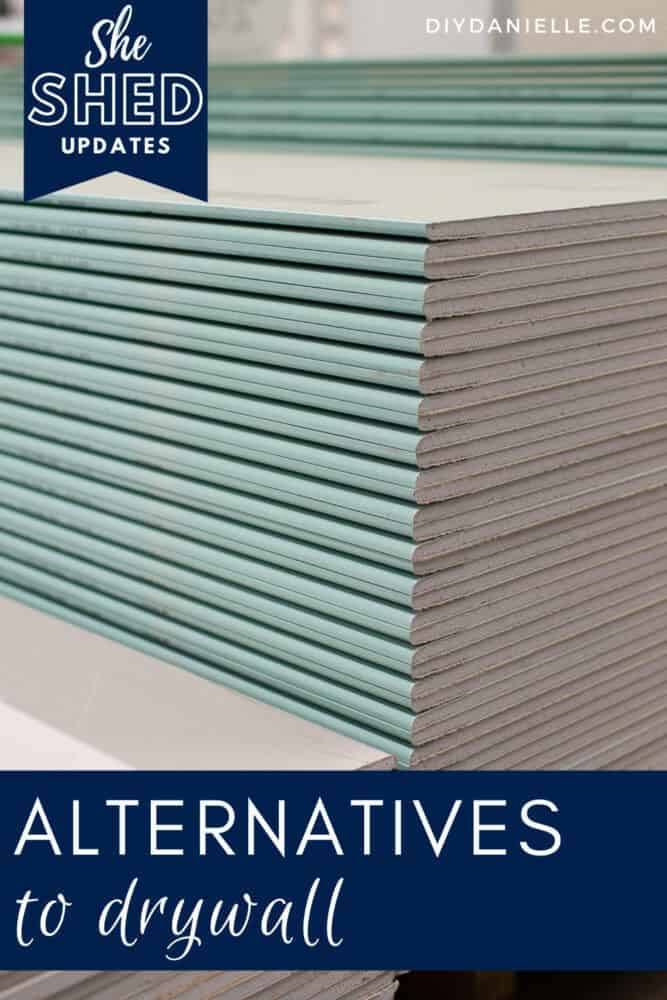
Drywall
Drywalling is really the best option. It’s just time consuming and heavy to install. I’m not confident about installing the drywall for the ceiling due to the weight, but my husband and I could probably do the walls together. Drywall is made to withstand fire better than a wood product and it’s thick enough to provide stability for hanging pictures and shelves. With primer and paint, it’s also going to be relatively resistant to water damage, although not completely (if your shed floods, you’ll be in a load of trouble).
Drywall panels are 4×8 and run $12.30-$15.72 right now. You’re also looking at buying drywall tape for the seams at $20 for a 100′ roll. You might need 1-2 rolls of that. Drywall mud is $15 for a 4.5 gallon container. You’ll also want drywall screws at $7 or thereabouts.
After drywalling, you need to prime and paint the walls. Personally, we may hire out insulation and drywall; we were quoted around $5000. The expense is likely less due to the cost of the materials and more because it’s time consuming to install. With dry times, the contractor may need to come back after a day or two, making it difficult for them to schedule other jobs in between.
Cost: $400
Bead Board / Paneling
Many people opt for bead board or paneling for their walls. It’s cheaper to buy than plywood and easier to install than drywall; you can just attach them to the studs using nails or screws. You could probably lift and install them yourself as they’re fairly lightweight. The downfall is that it won’t be as easy to hang pictures and other decor on the walls; you would need to hit a stud which means that any heavy art work or shelves that you hang need to hit at least two studs. My studs are 16″ apart so anything I wanted to put up would need to be 32″ wide, or small enough to hang on one nail.
It’s a wood product over insulation though; this might increase the fire risk and it would not be to code; I’m not sure how much more prone to fire it is though, it’s not as if drywall can’t burn. It is thin so it may not provide a very sturdy wall, and it is likely prone to moisture damage.
Technically, it should be installed over drywall (which means you wouldn’t need to use tape or mud on the drywall- which would save time but double the cost). That said- if you can DIY the drywall with panels over it vs. hiring the job out, you can potentially save quite a bit of money and time. Not needing to use mud or tape saves a lot of time.
The 4×8 bead board panels are selling for around $20 right now.
Cost: $420 ($820 over drywall)
Upcycled Pallets
This is potentially a nice looking option, but what is the value of your time? Taking apart pallets can be time consuming and you need to make sure you use pallets that are safe for indoor use. NOT all pallets are safe- and it’s questionable if any are truly safe.
I imagine most/all pallets are pressure treated and we don’t really use pressure treated wood indoors. There are a lot of chemicals on them.
Pallets can also harbor mold and bacteria- not exactly something you would want to introduce to the interior of your shed. Read more about Are Pallets Safe for Woodworking? I’m very careful about my indoor air quality of my home and living spaces as I’m asthmatic.
And again, you’re looking at using wood so there’s a fire risk.
Cost: $0
Fabric/Drop Cloths
Fabric might be a feasible option if you don’t have the money to add drywall. I would probably not want to use this with traditional insulation, as it can be itchy, so you might be trading off costs here. Fabric can be expensive and not particularly durable, but you could hang drop cloths for a low price.
The downfall of fabric is that it might be a fire risk. That said, some fabric has a fire retardant chemical on it, provided it hasn’t been washed too many times. You can also buy special spray to make your fabric fire retardant.
This 9×12′ Everbilt heavy duty drop cloth is $31.30. I’m not clear on if it has a fire retardant spray, but I could easily spray the cloths with the fabric fire retardant. I’d need 6 drop cloths for the walls total.
I imagine the process for this would involve spraying the cloths with the fire retardant, letting them dry outside, then stapling them to the walls. I would suggest pulling them tight so you don’t have wrinkles in them. Drop cloths can be dyed in advance as well, although you’ll want to dye them before adding your fire retardant.
The perk of cloth, particularly for the ceiling, is that it would probably be a lovely option if I do video and audio recordings in the room. Along with the low price point and ease of installation, this is really an appealing option.
Cost: $200
Plywood (Optional: 1x2s for the sections the panels touch)
Plywood is touchy. I like the idea and a thicker panel will provide plenty of support. I saw someone who added plywood walls, then placed 1x2s over the seams, rather than using wood filler; it looked quite nice.
Honestly I’m not sure how fire safe plywood is; my preferred brand, Purebond Plywood, doesn’t mention if it has any fire retardant properties. Currently a 3/4″ plywood panel costs $62 so I’m not sure if this is the most economical option. That doesn’t include the cost of the screws, wood filler, or 1x3s to cover the seams.
It would, however, be easy to install for the walls (it’s heavy to lift so it might be a bad choice for ceilings) and easy to hang things from.
Cost: $1302
Pegboard
Pegboard is light weight, cheap, and could potentially be installed directly to the studs. It would make it convenient for storing craft supplies and other items. I imagine that the pegboard could be a fire hazard. The pegboard panels come in packs of (4) 24×48″ panels for $108.69.
There ARE some metal pegboard options. The metal pegboard is a COSTLY option though and I can’t say how well it will install on studs. A 32×92″ metal pegboard runs $231 though so I’m not even going to bother with that math. It’s way out of my price range.
Again, not a viable option for the ceiling.
Cost: $TOO MUCH TO MATH
Tin/Metal Roofing
Metal roofing shouldn’t be a fire hazard, it’s lightweight, and it should be easy to screw into the studs. They’re sold in 96×36″ panels and during normal roof installation, the pieces overlap. The metal is SHARP and hard to cut so you wouldn’t want the edges exposed, particularly if you need to cut the panels. At $36.77 a panel though, they’re not ridiculously expensive. It’s sort of a neat look and the panels come in a few different colors; I’m digging the gray.
The downfall is that sound will echo with the metal. This makes it a no go for my shed, seeing as I plan to record video and audio in the room.
I’m calculating that I would need 21 panels for this, but I think the panels would look better if you overlapped them, rather than having them side by side. If you did it that way, you’d need additional panels.
Cost: $773
Laminate Flooring
Someone mentioned using laminate flooring for their walls. I haven’t tried it and I’m not sure the best way to install it. That said, I ran the math. $1-2/sq ft seems to be a lower price point for laminate flooring. I calculated that my total square footages for my walls is 480 sq ft. It does appear to be reasonably fire safe though and there are a lot of attractive options.
Cost: $480-1000+
Vinyl Siding
In a DIY group I’m part of someone did their interior shed siding with vinyl siding, but they had found their siding at a Restore so it was VERY affordable. It would be easy to wipe down when dirty. I imagine it wouldn’t echo as much as metal. Honestly though? I’ve been working on installing siding on the shed where we’re framing the old garage door. I can’t see this being particularly stable attached purely to studs. On siding, they’re attached to OSB/wood panels.
I’m intrigued by the idea and the price though! The siding I found new costs $164/carton for 200 sq ft of coverage so you’d need 2.4 boxes. Let’s pretend we could buy just 2.4 boxes.
Cost: $394
Please share and pin this post! You can also post your project and tag the DIYDanielle team on Instagram @doityourselfdanielle!
Web Story: Alternatives to Drywall, Cost Effective Options to Finish Your Walls