This easy DIY twin bed is quick to build and perfect if you need a quick platform bed. Customize it by changing the leg height and colors.
Our lovely au pair was leaving us in December, but wanted to stay in the area for six months under a travel visa. This meant that she needed to rent a room though, and getting a bed was low priority for her. She was sleeping on the floor in her sleeping bag, but I was worried about her. I decided to build her a bed.
I used the Ana White Fillman Platform Twin Bed plan for this project. I adjusted the plan slightly by making the legs longer. I was hoping this would give her space to squeeze some storage boxes under her bed for clothing because she has a very small bedroom.
This is a very simple woodworking plan and pretty easy to make. I love that it didn’t use an excessive amount of wood and that it didn’t have any complicated build instructions- I wanted to get this finished fast so it’d be ready for her right away. I’ve seen some fun plans for storage beds, but she really just needed something simple as she’ll only need it for 6 months.
The best part was that I was able to use some scrap wood for the bed and it wasn’t as expensive to build as a result.
Easy DIY Twin Bed
Make sure to hop over to the Ana White plan for all of the measurements and cuts, but I’ll show you how I assembled this plan.
I used:
- 2x4s, including for the legs… I made my legs longer than the plan suggested so she could put bins under the bed.
- 2x2s
- 1x3s
- 2 1/2″ screws
- And I BELIEVE I used 1x4s for the slats of the bed
Ana White used pocket screws and while I love pocket screws, it’s simply a lot faster and easier to use normal screws. This bed won’t win any beauty contests, but we were going for function.
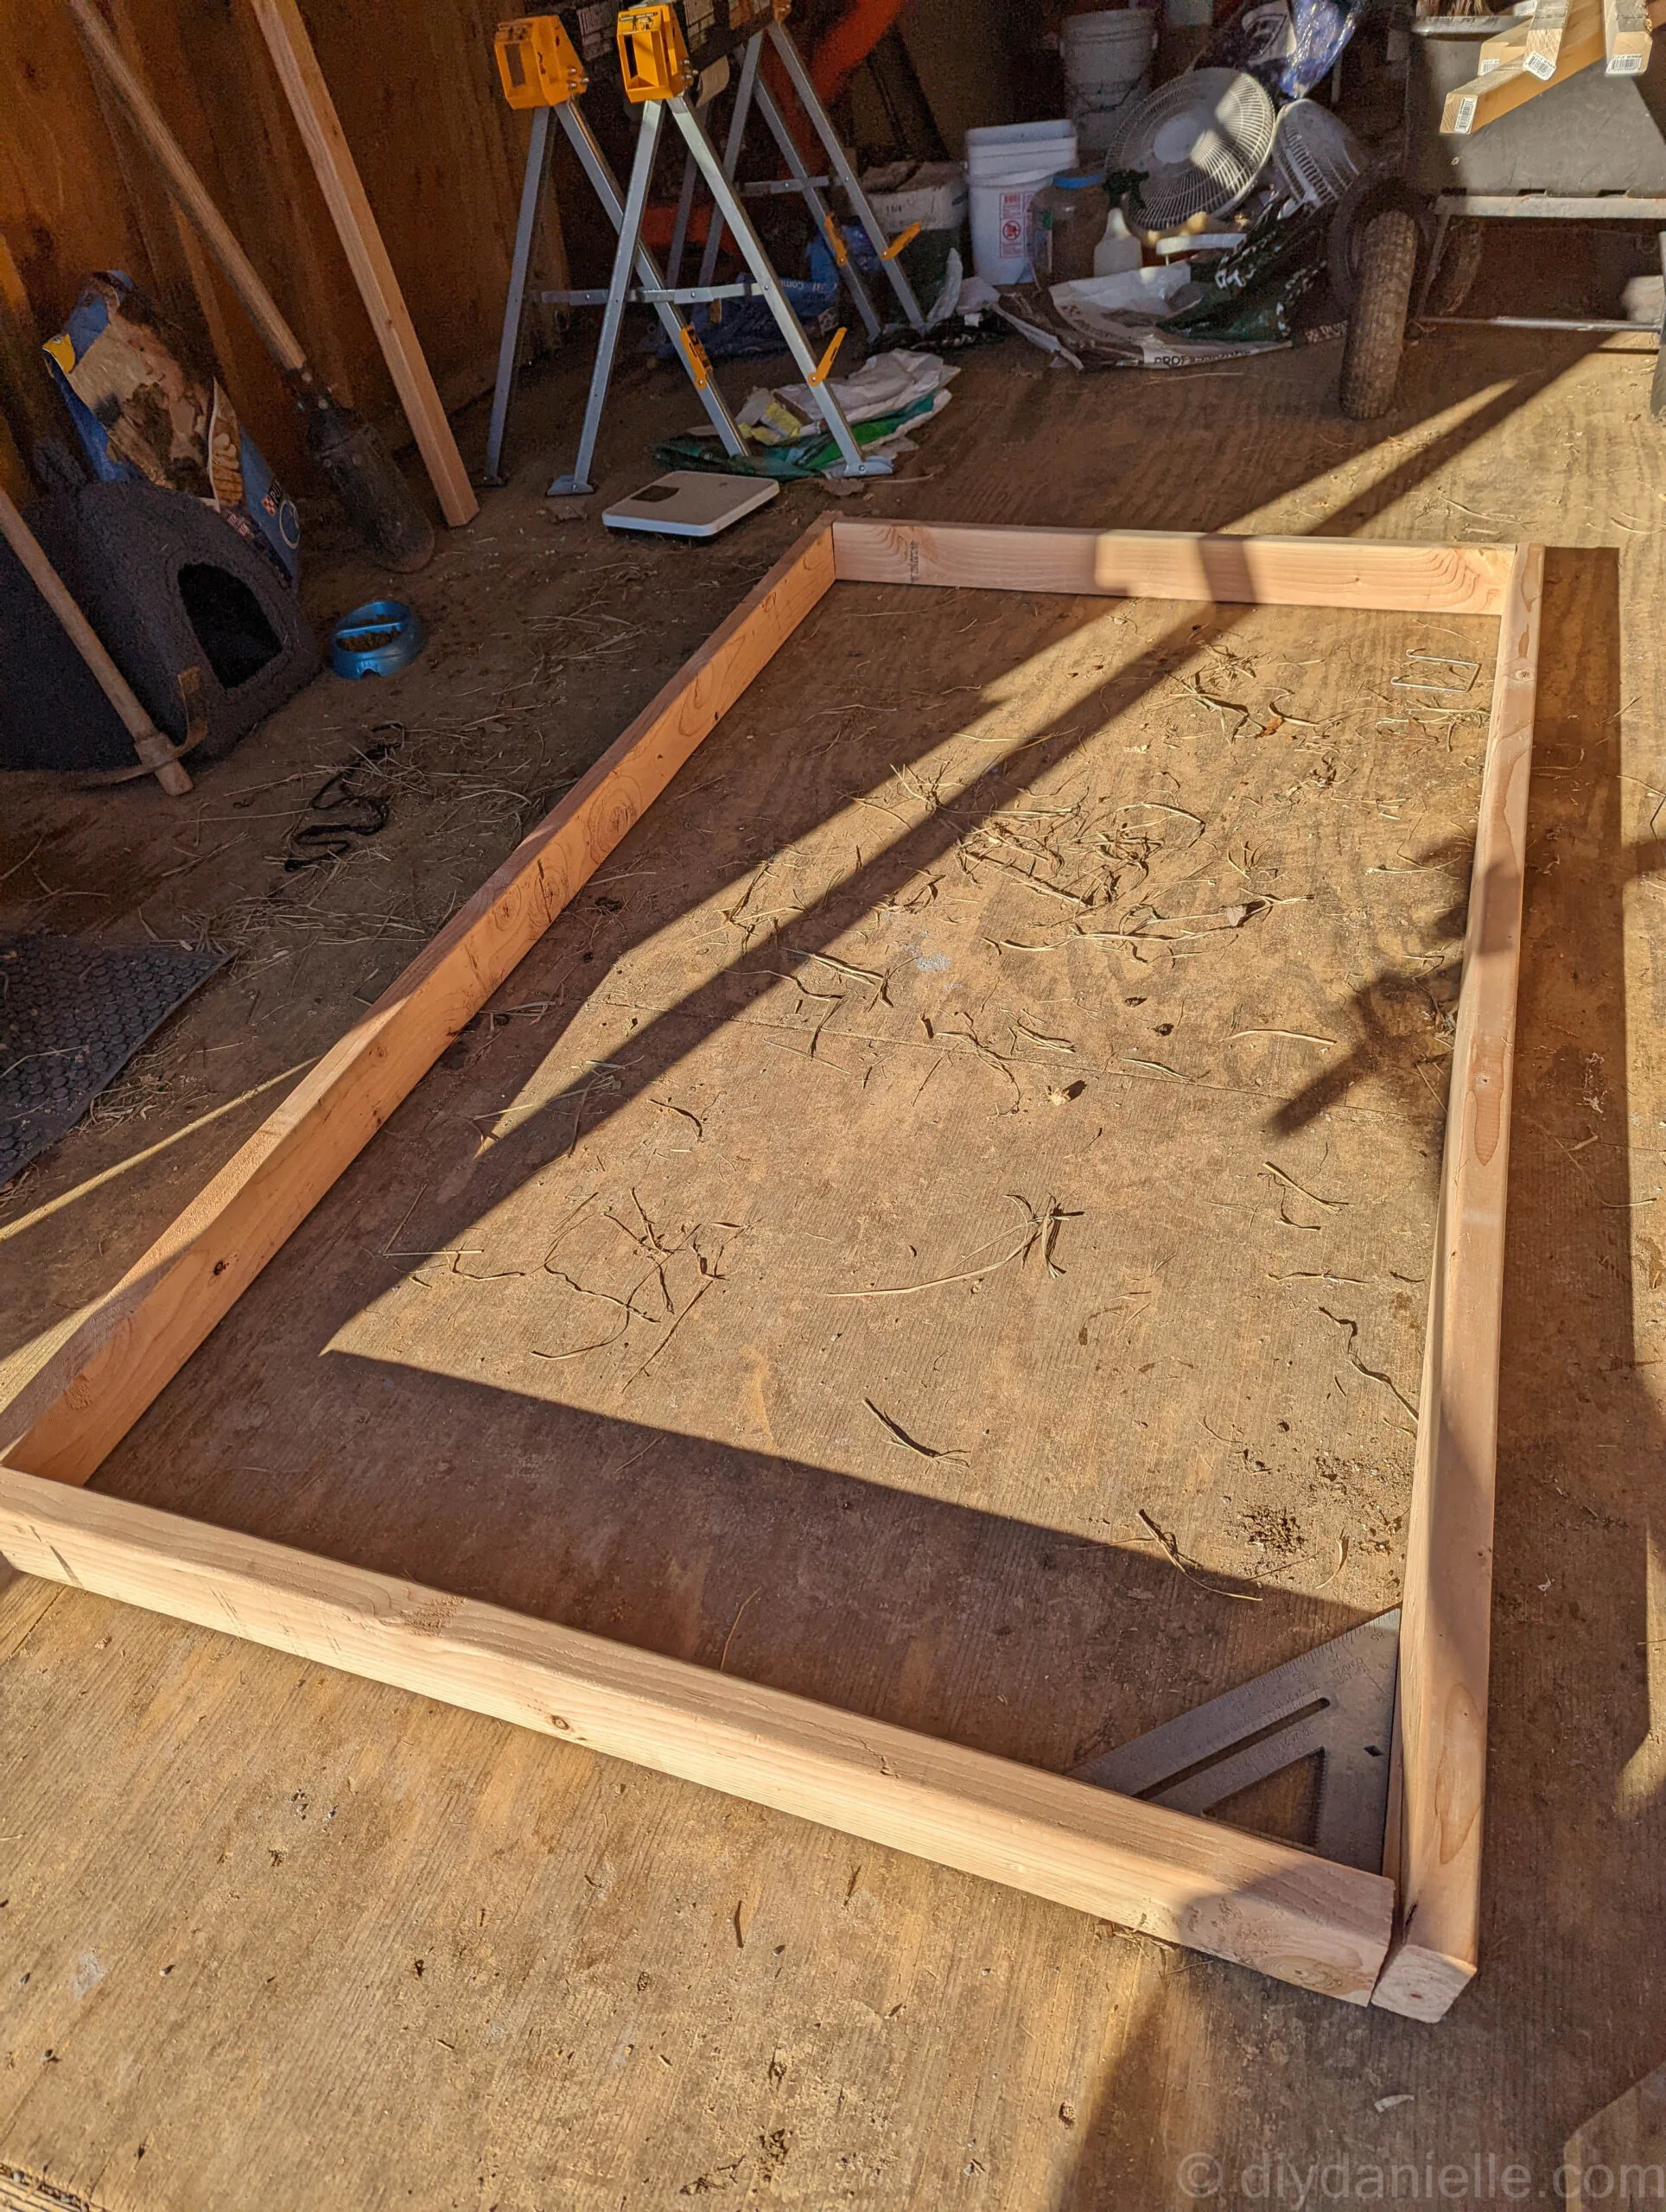
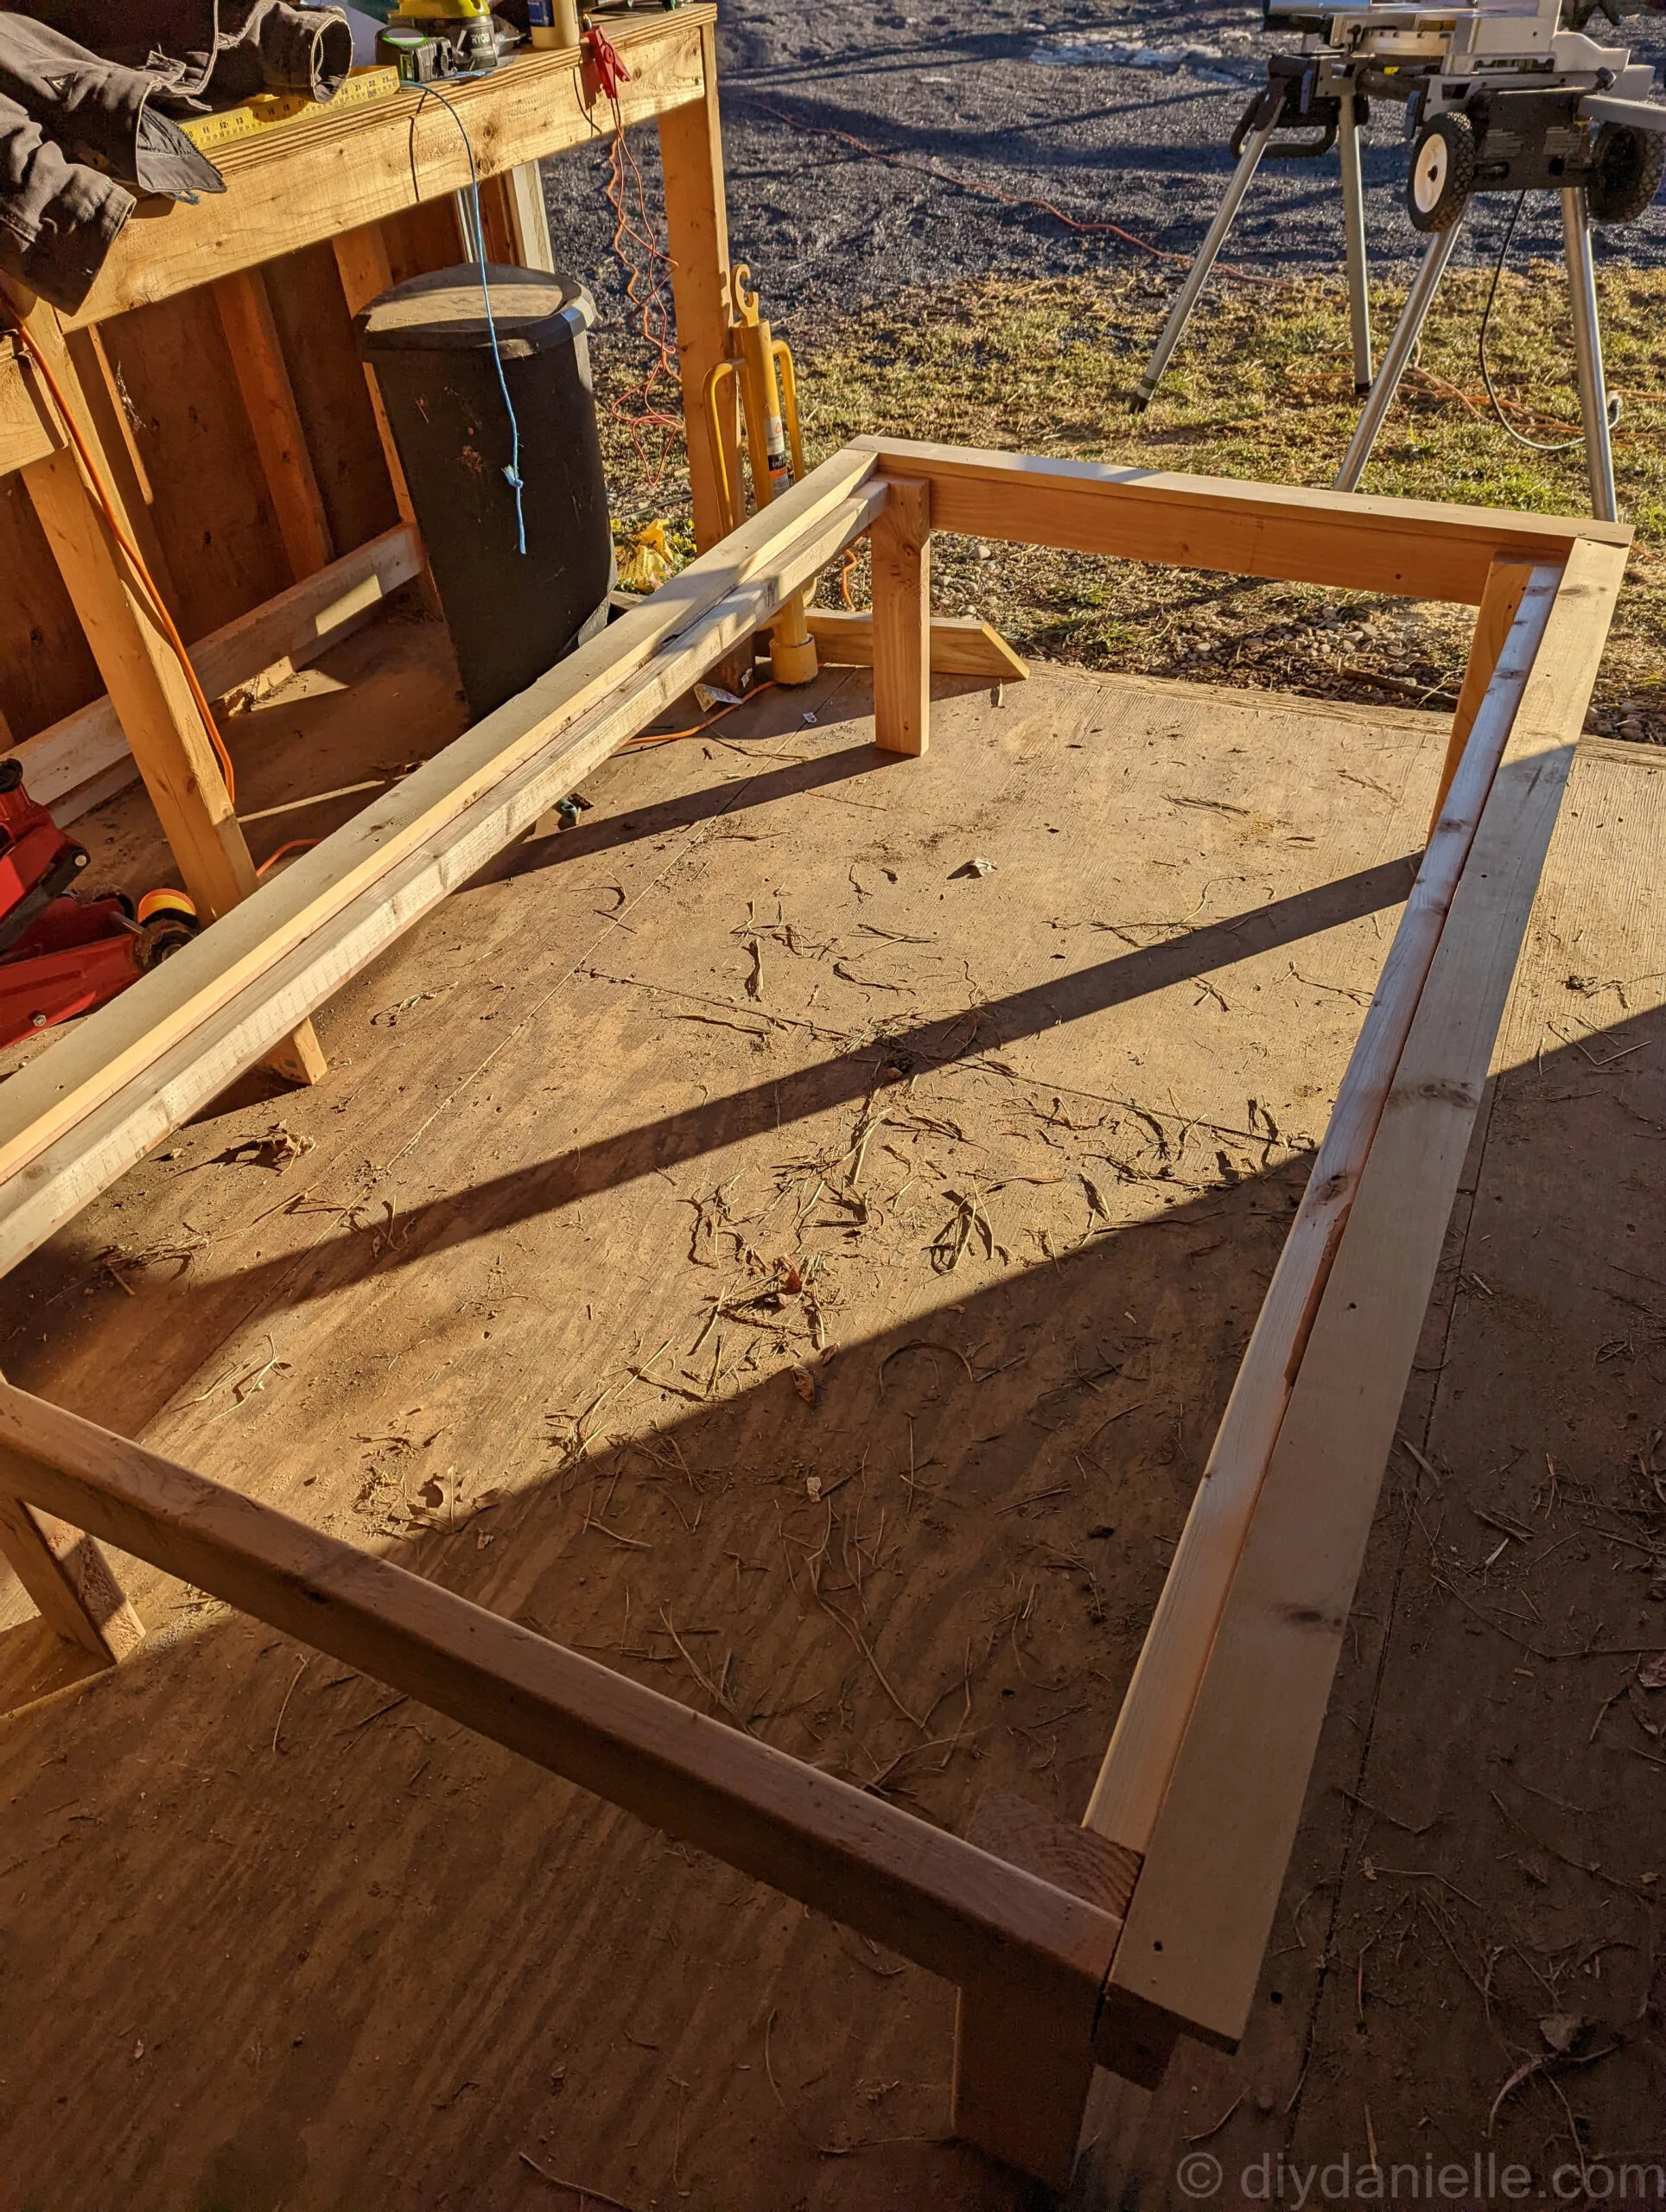
Assembling the main frame of the bed from 2x4s. Make sure you build it on a spot that’s level and check to make sure your corners are square.
The legs shouldn’t be even with the top of the 2x4s.. you don’t want the mattress to slide right off. Use a small cut of wood to give yourself a 1/2″ gap.
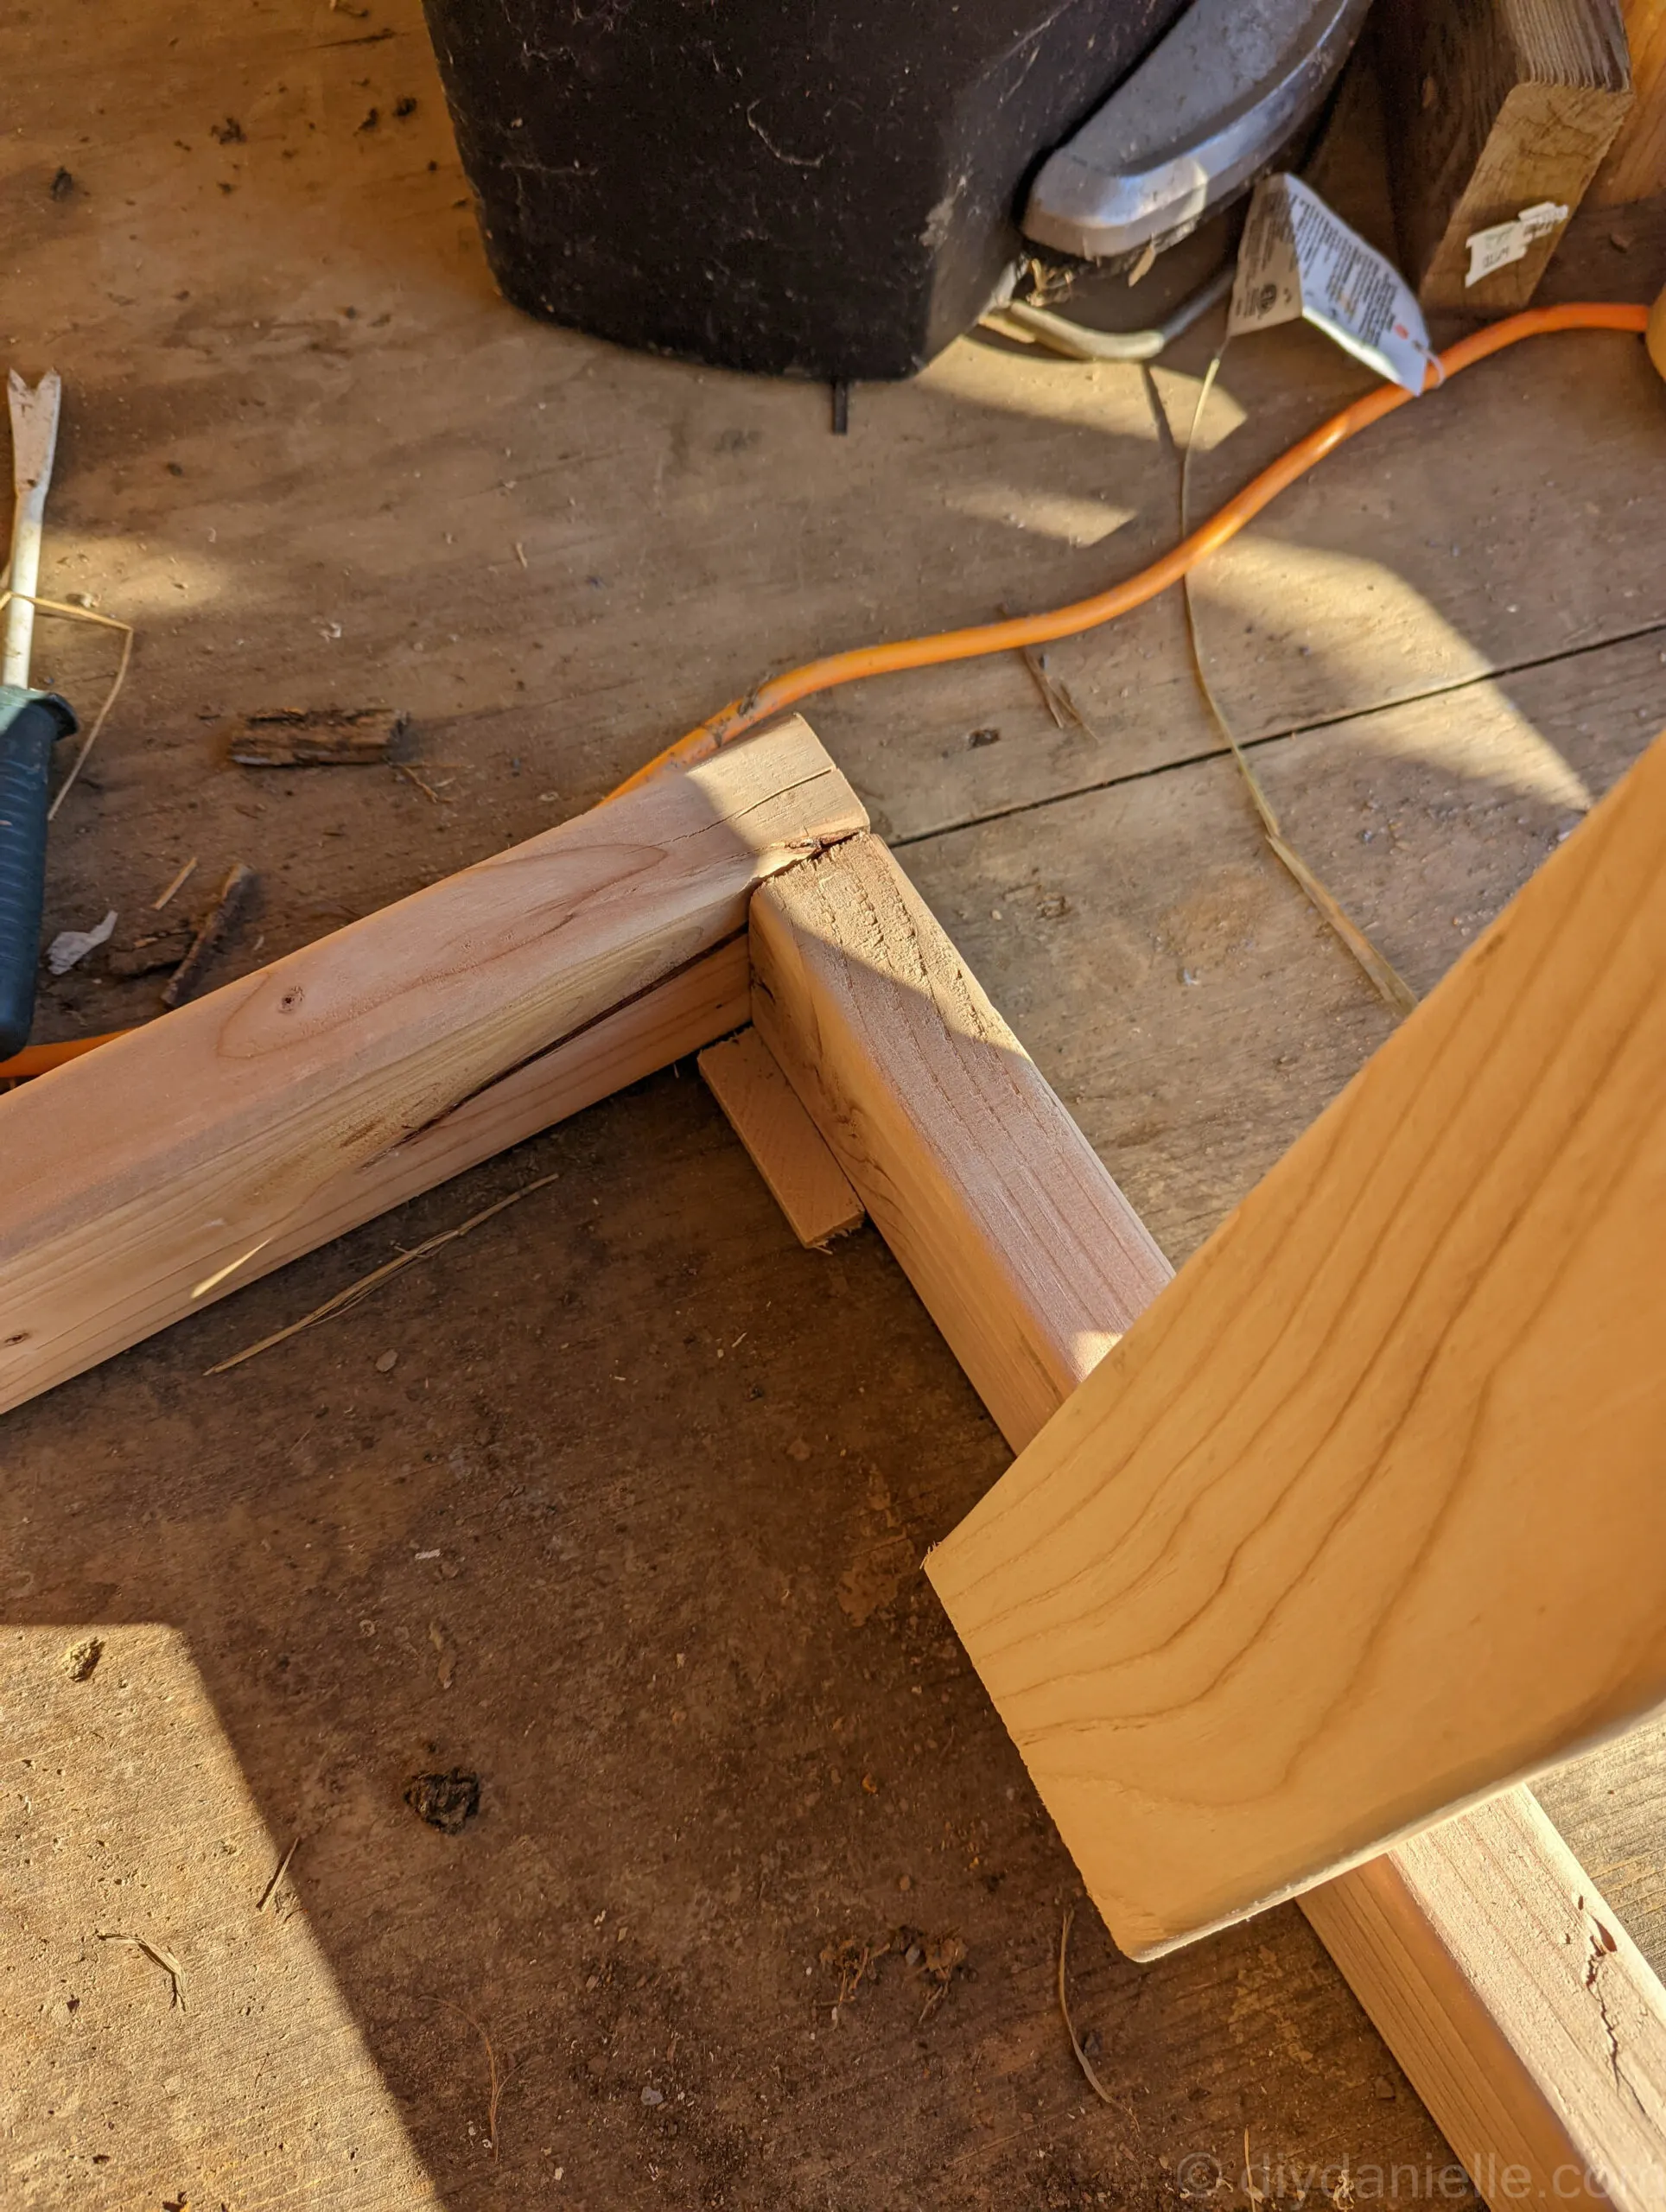
Here’s a photo with one leg attached wrong… haha. Don’t forget to put them all in the same direction.
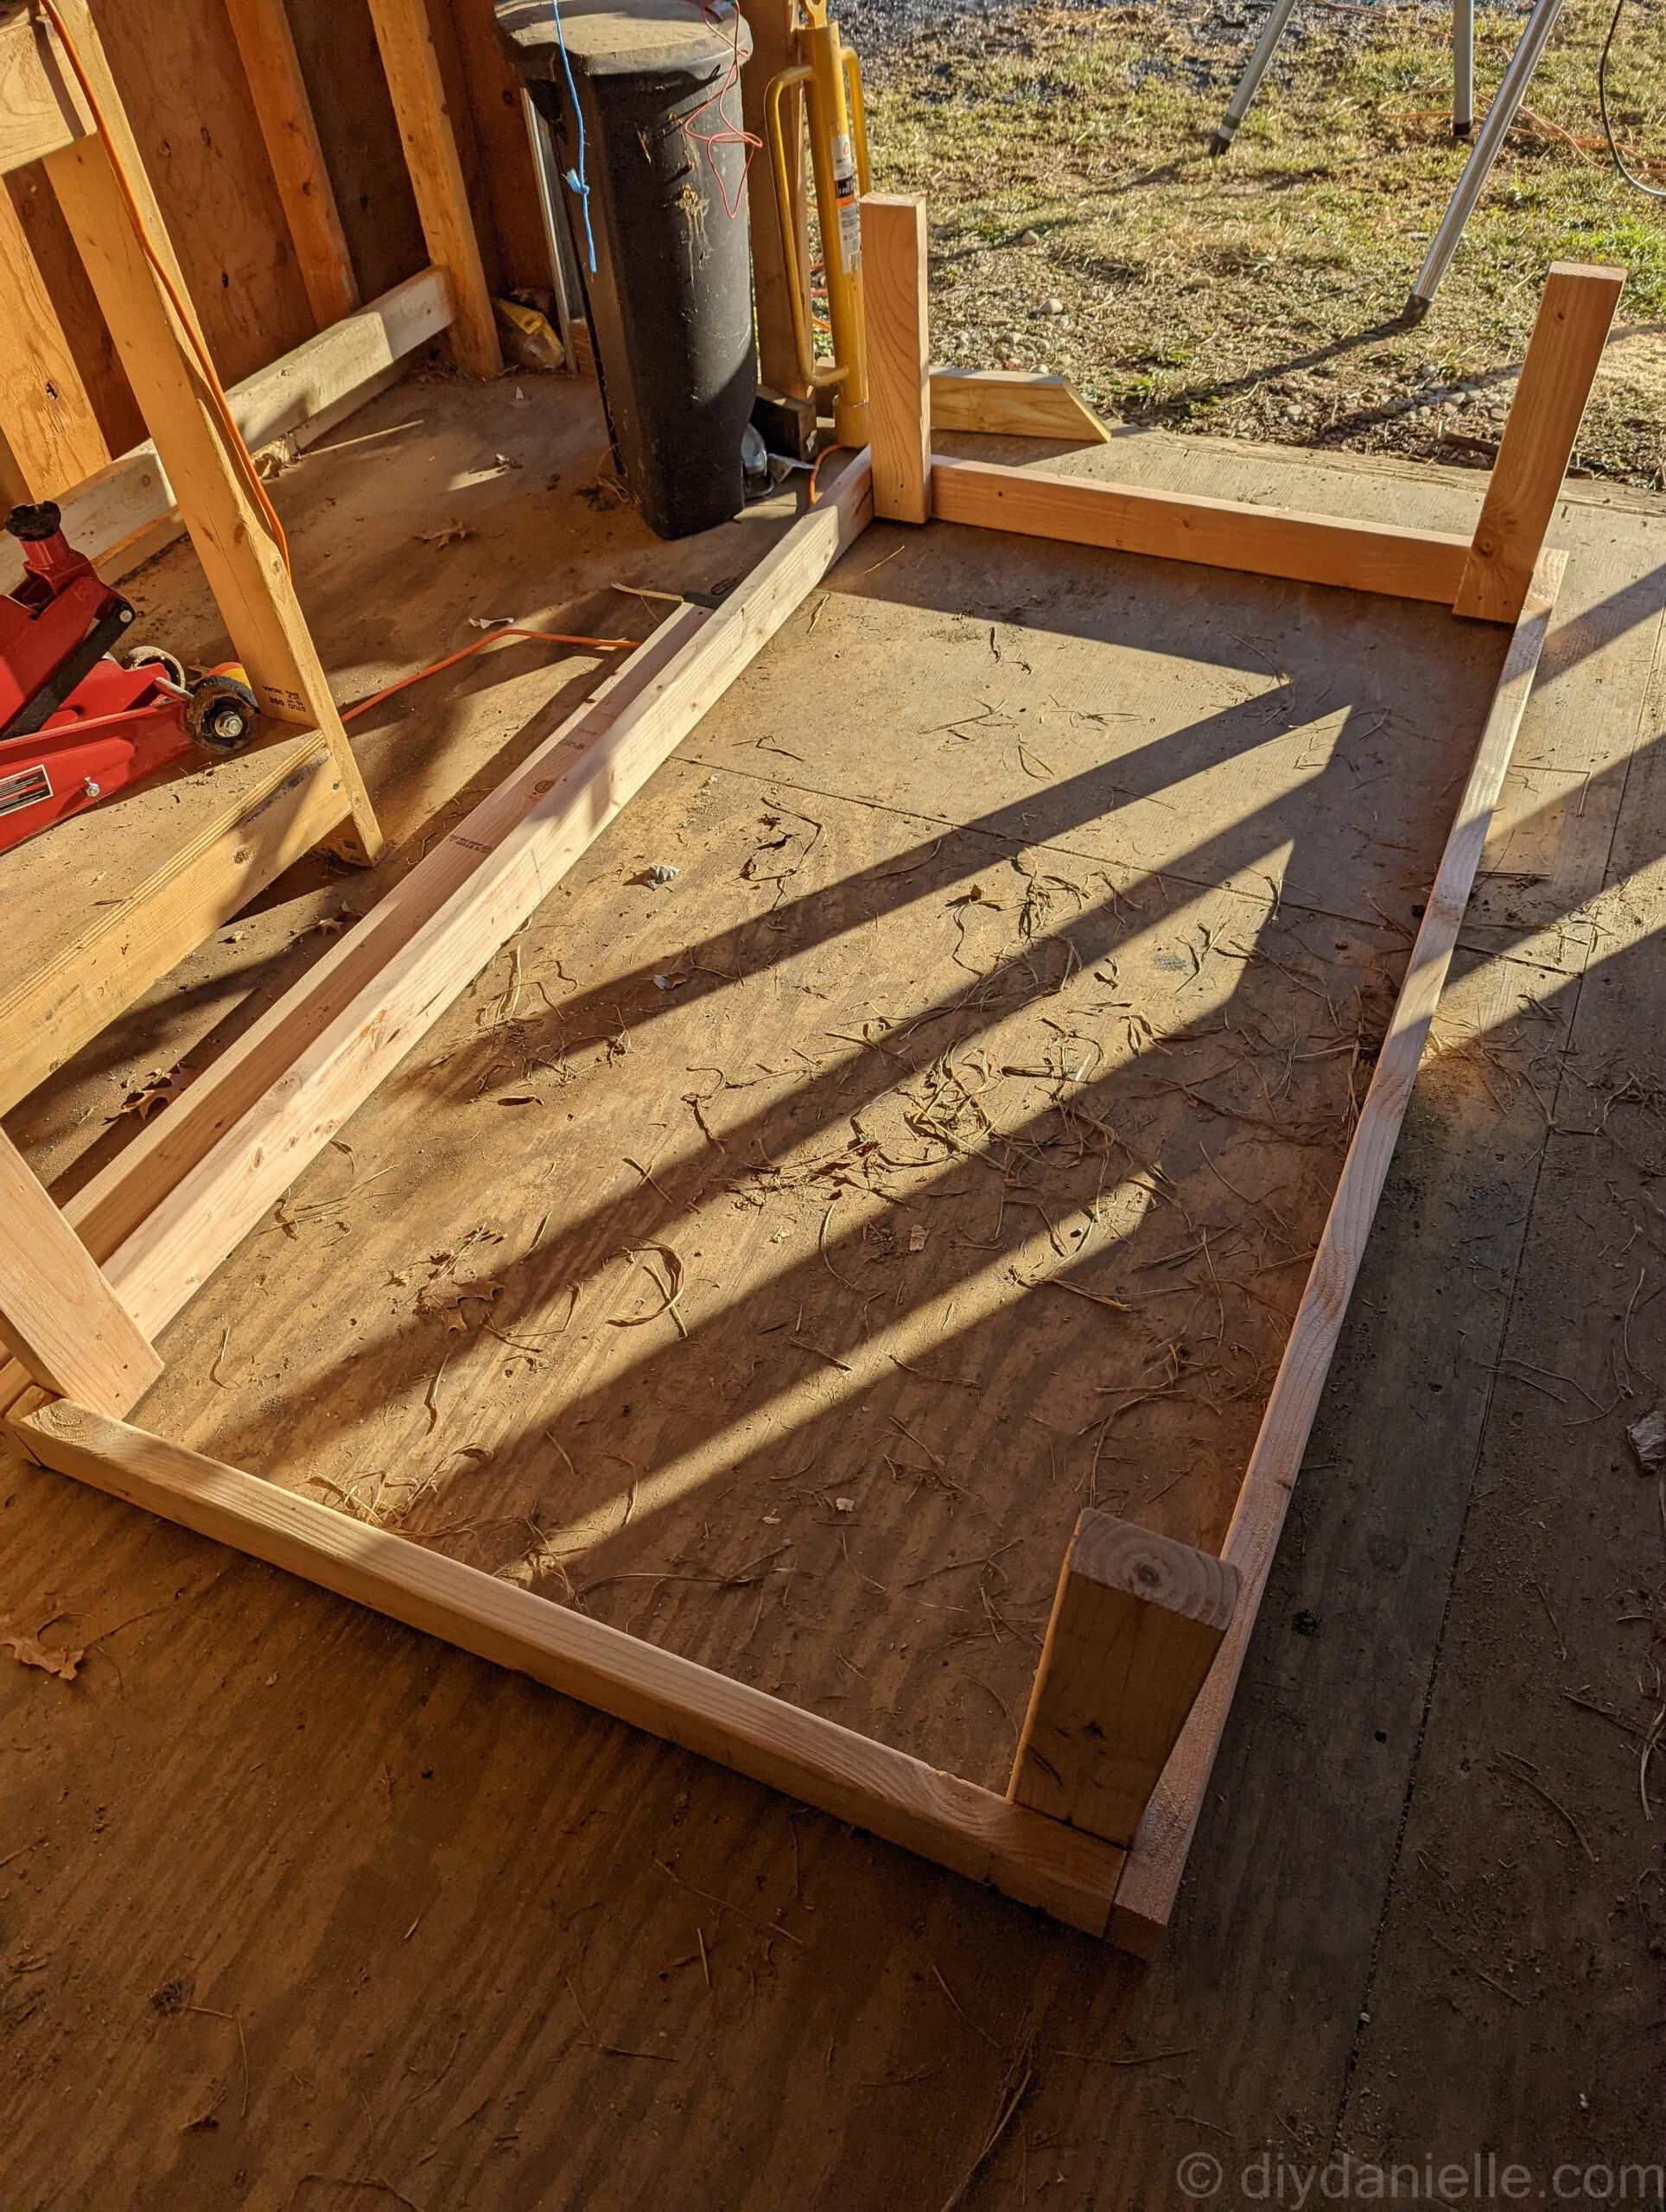
The 2x2s support the slats of the beds. Then you have three pieces that form the lip of the bed, over the 2x4s. One short end doesn’t have this— I assume this is where you’d put the headboard, but we didn’t need or want one of those (because this needs to be light and easy to move/donate/sell when she goes home).
At this point, you simply need to attach your slats. You can get away with more or less, depending on the mattress, but I went with as much support as possible as there’s no box spring with these platform beds. I was using scraps so it worked out well… I might have been more thrifty if I’d had to buy the wood for the slats.
Remember to cut all of your slats, then space them out evenly.
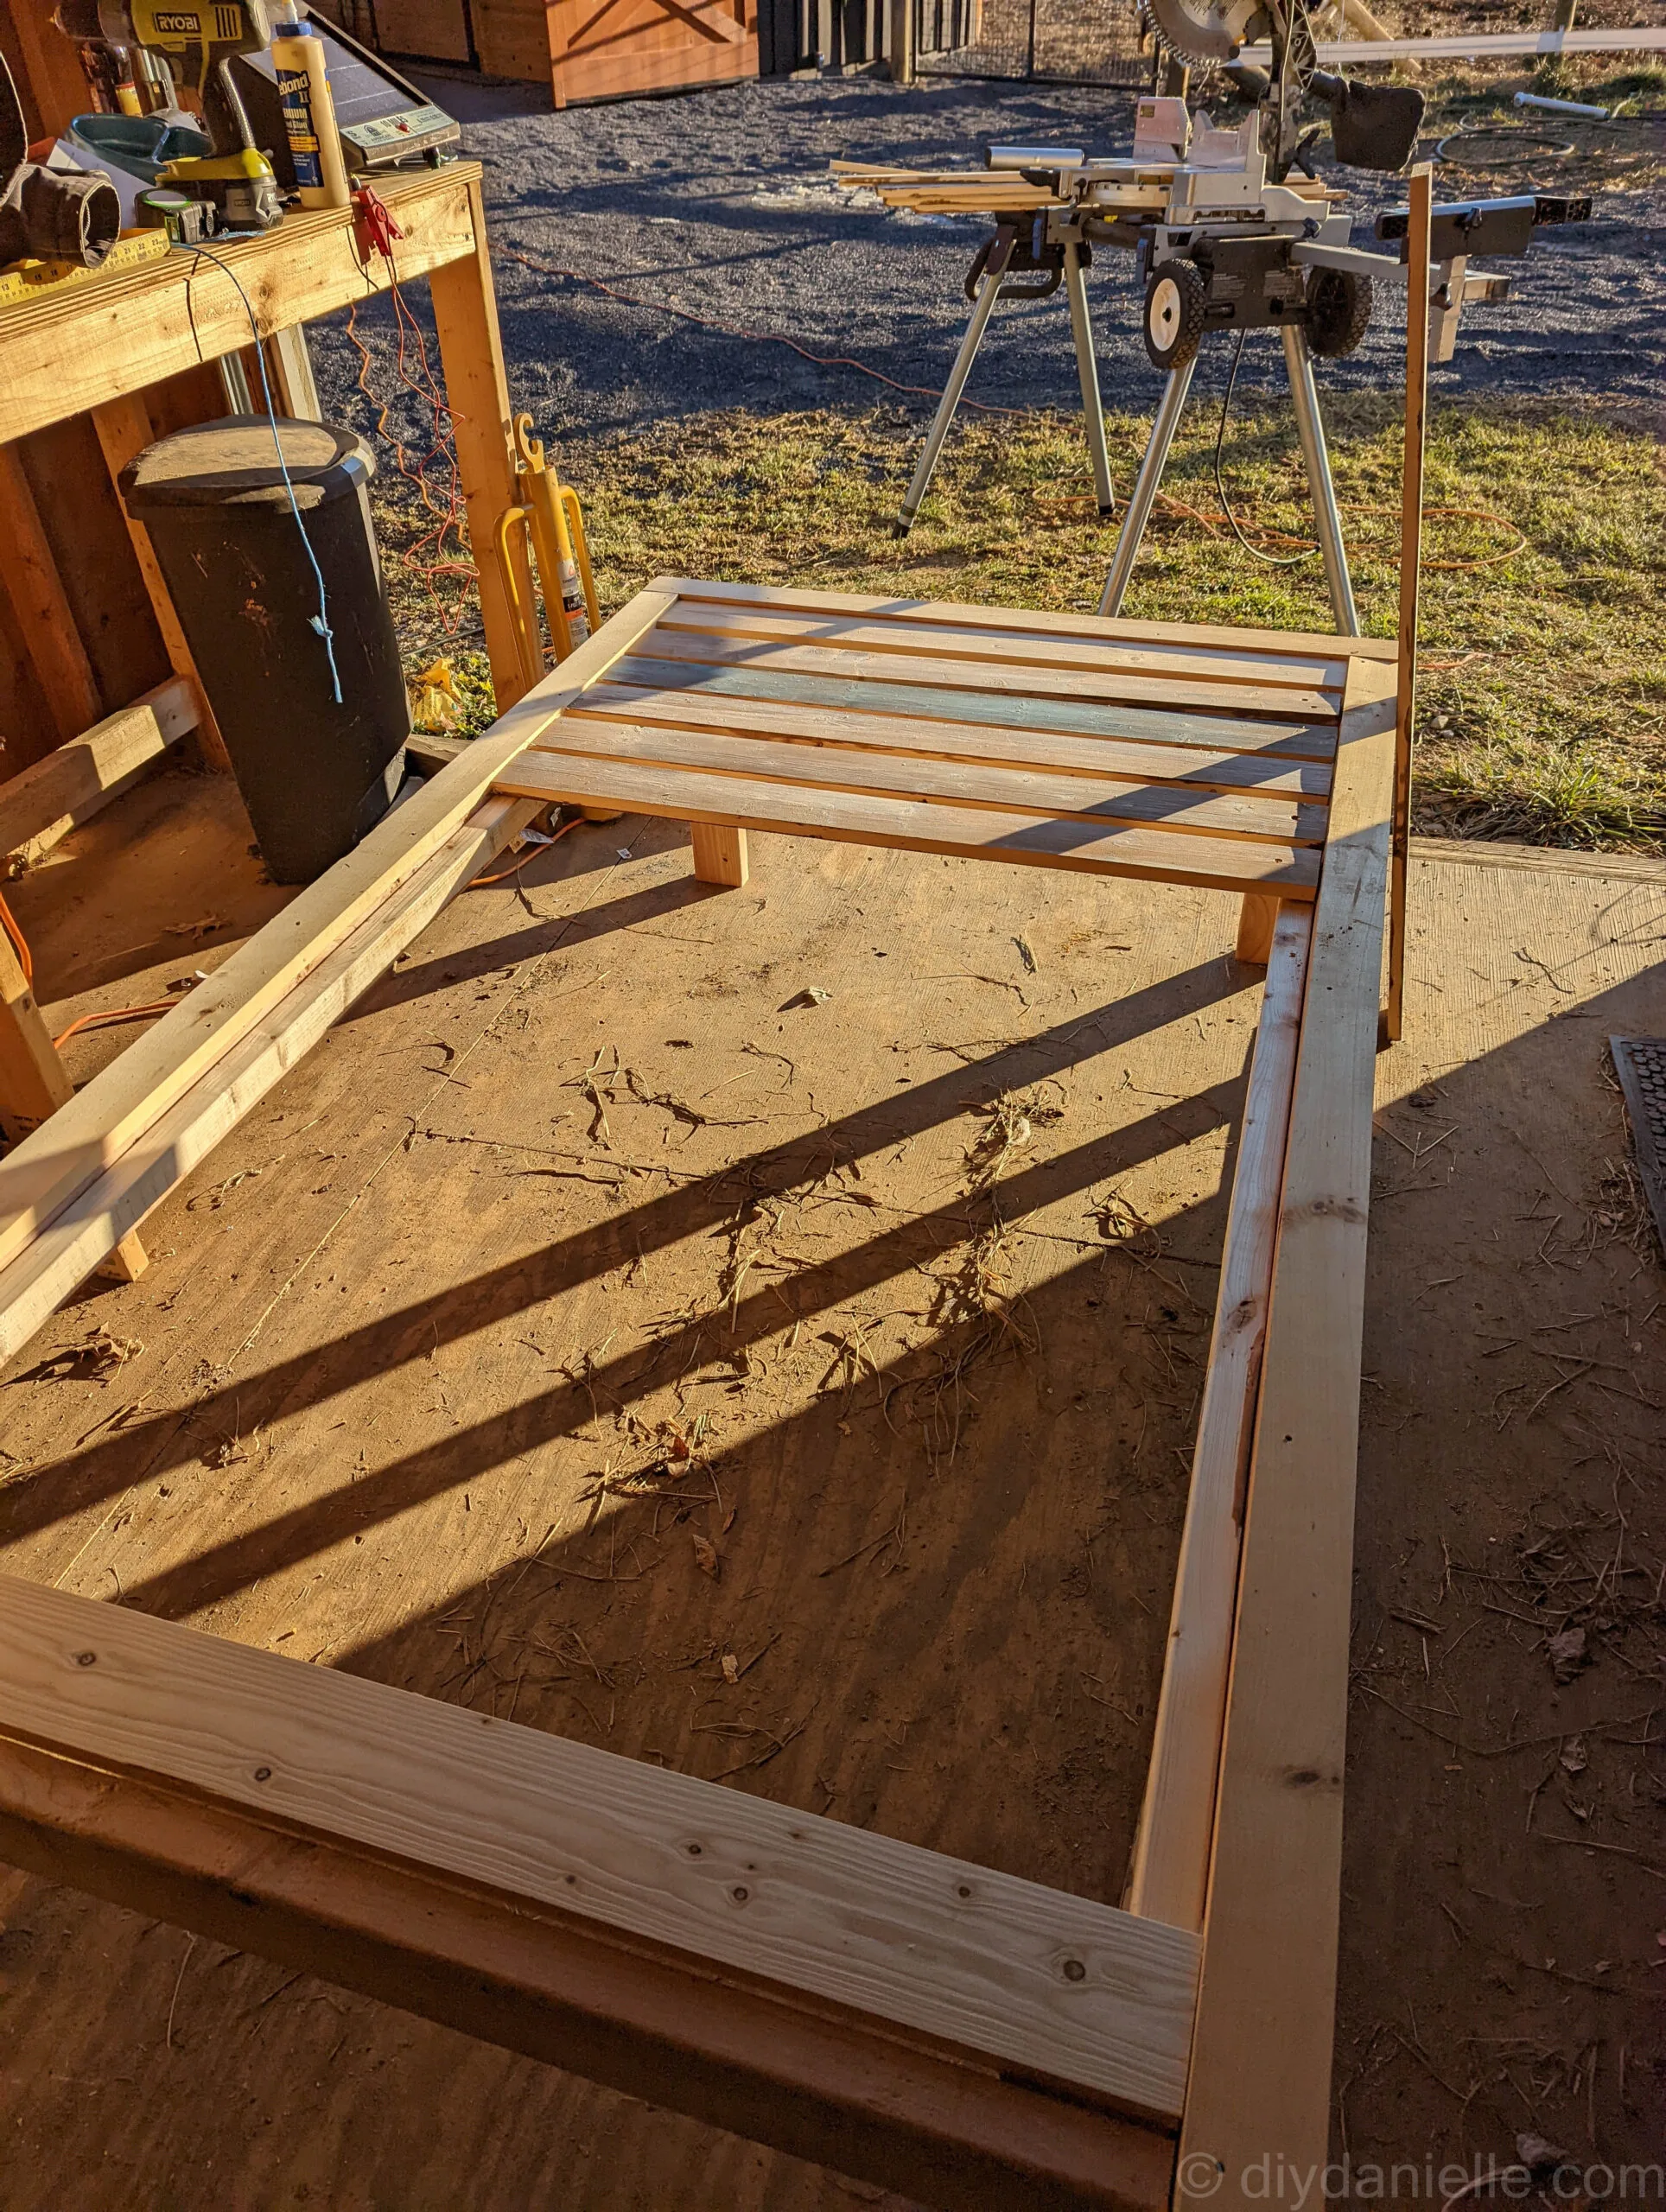
Here’s the bed with all of the slats on it.
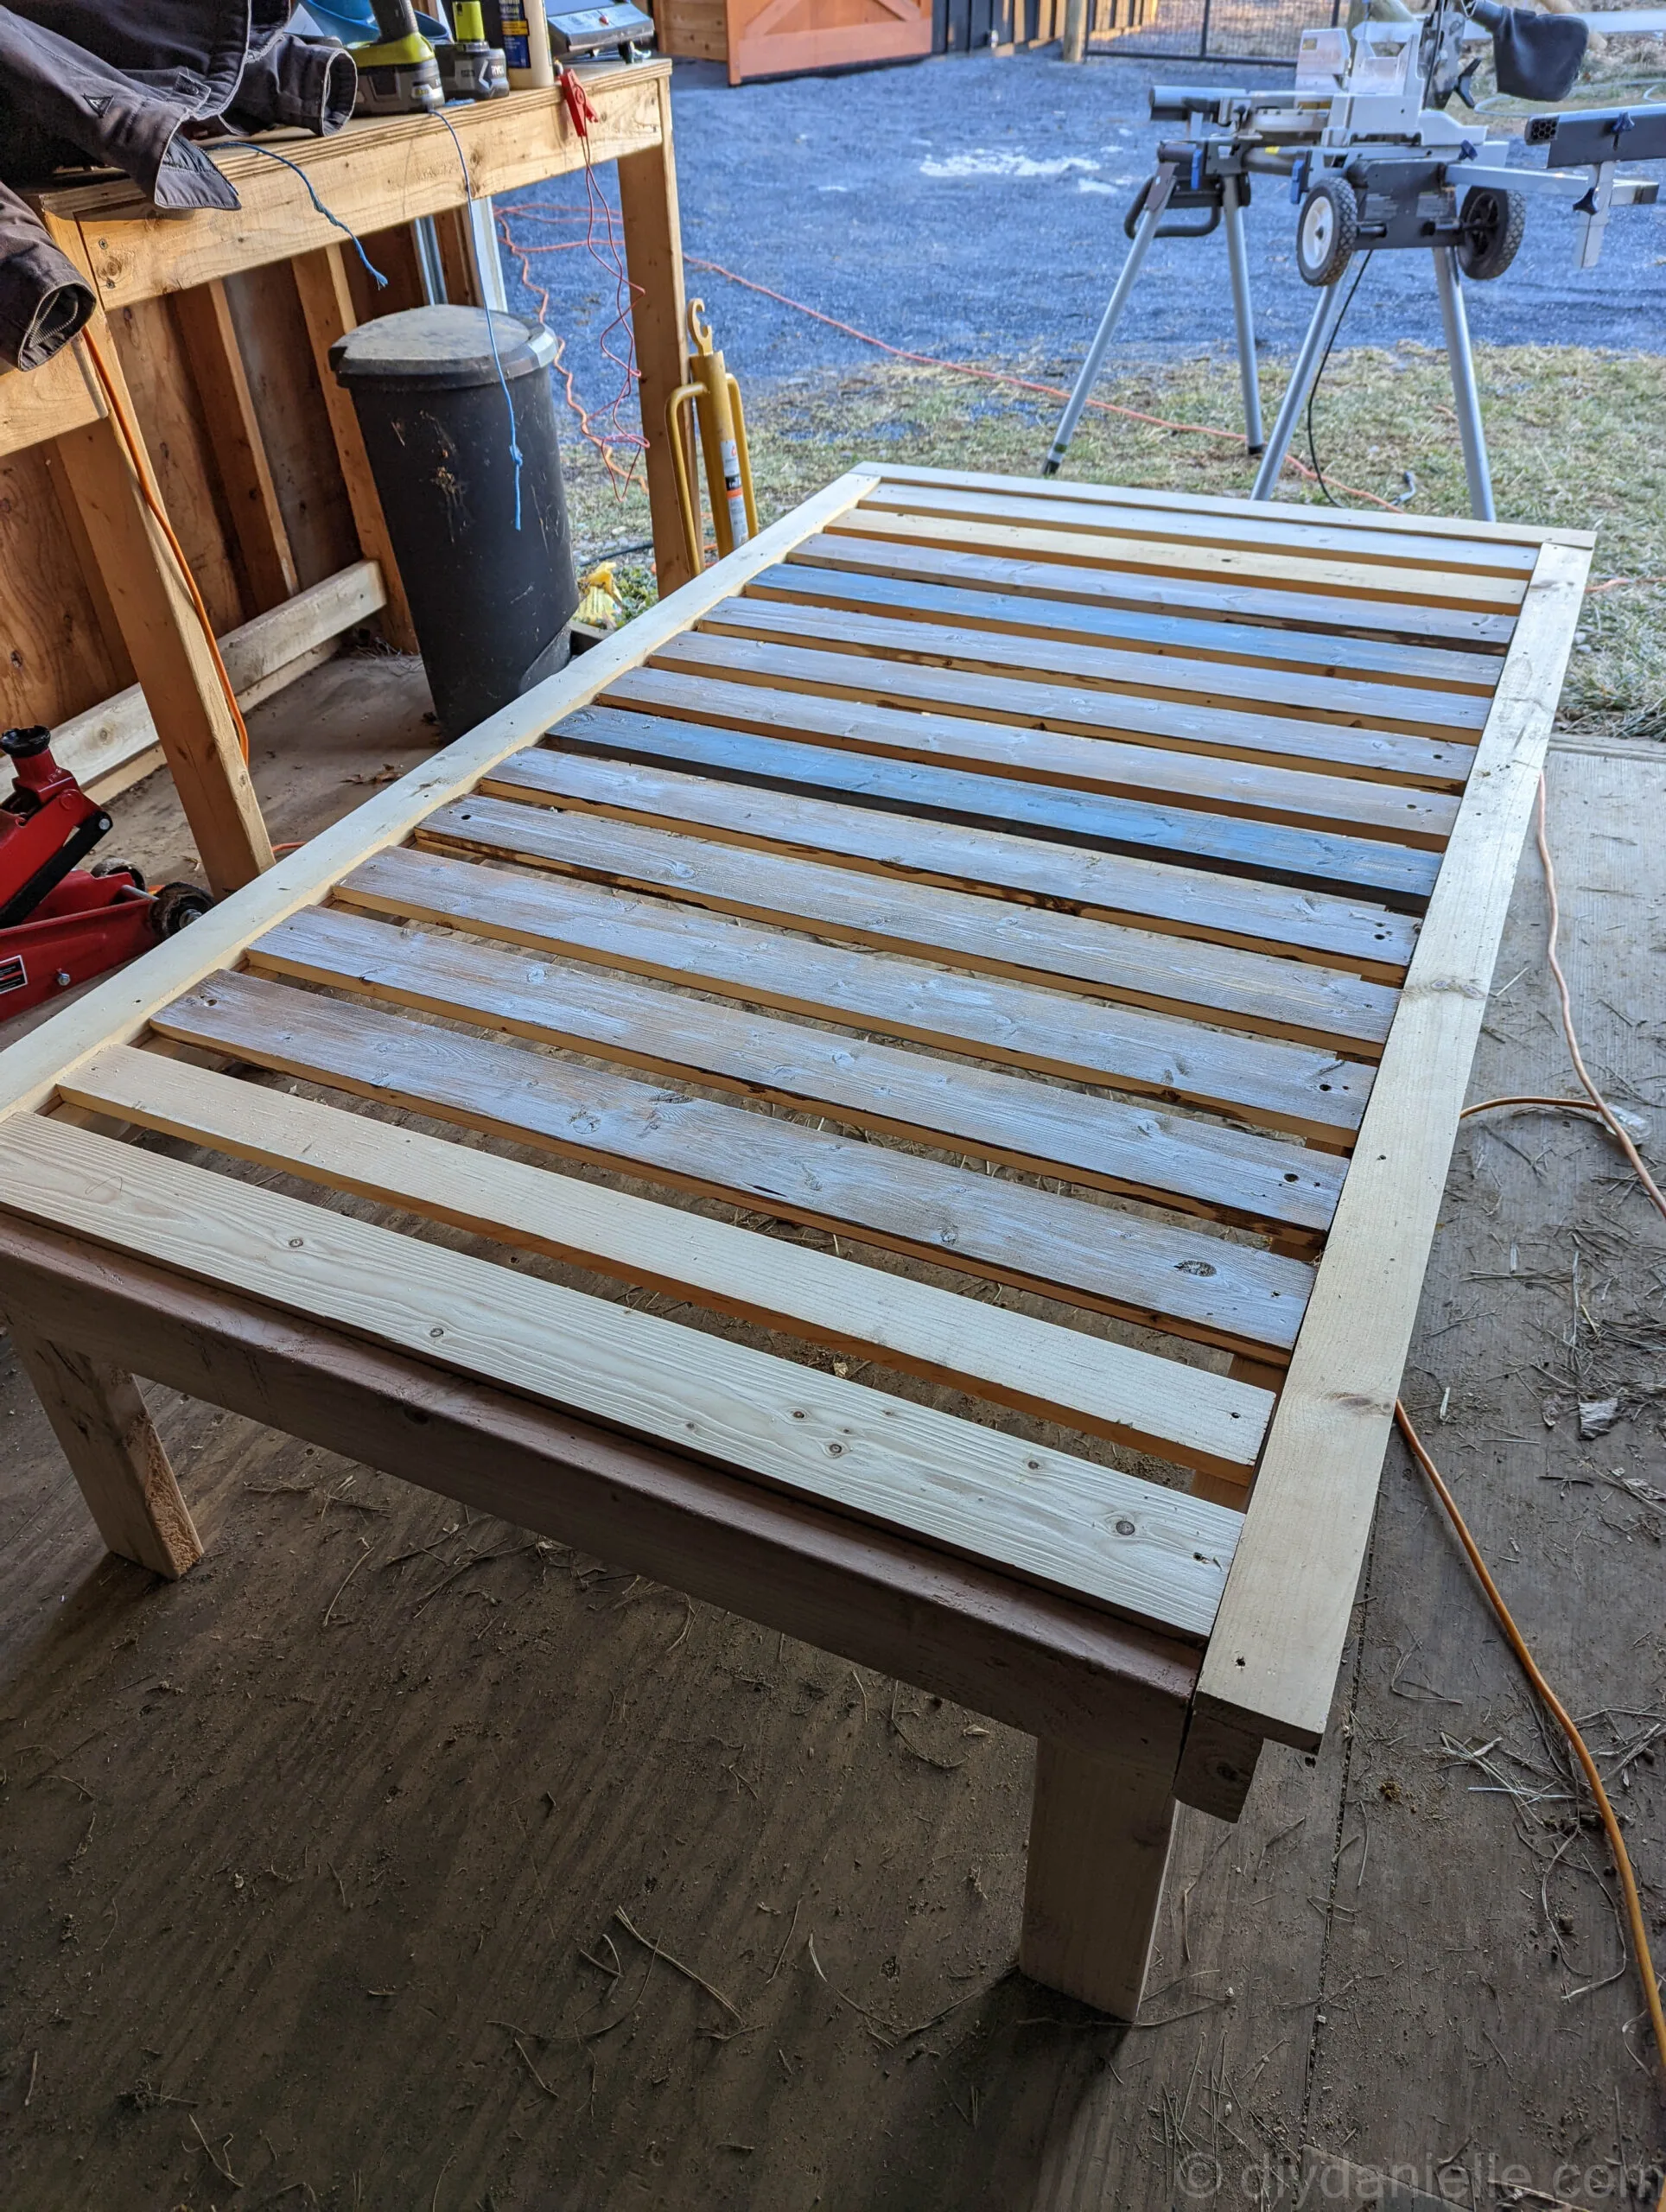
Make sure to sand your furniture so they won’t get splinters!
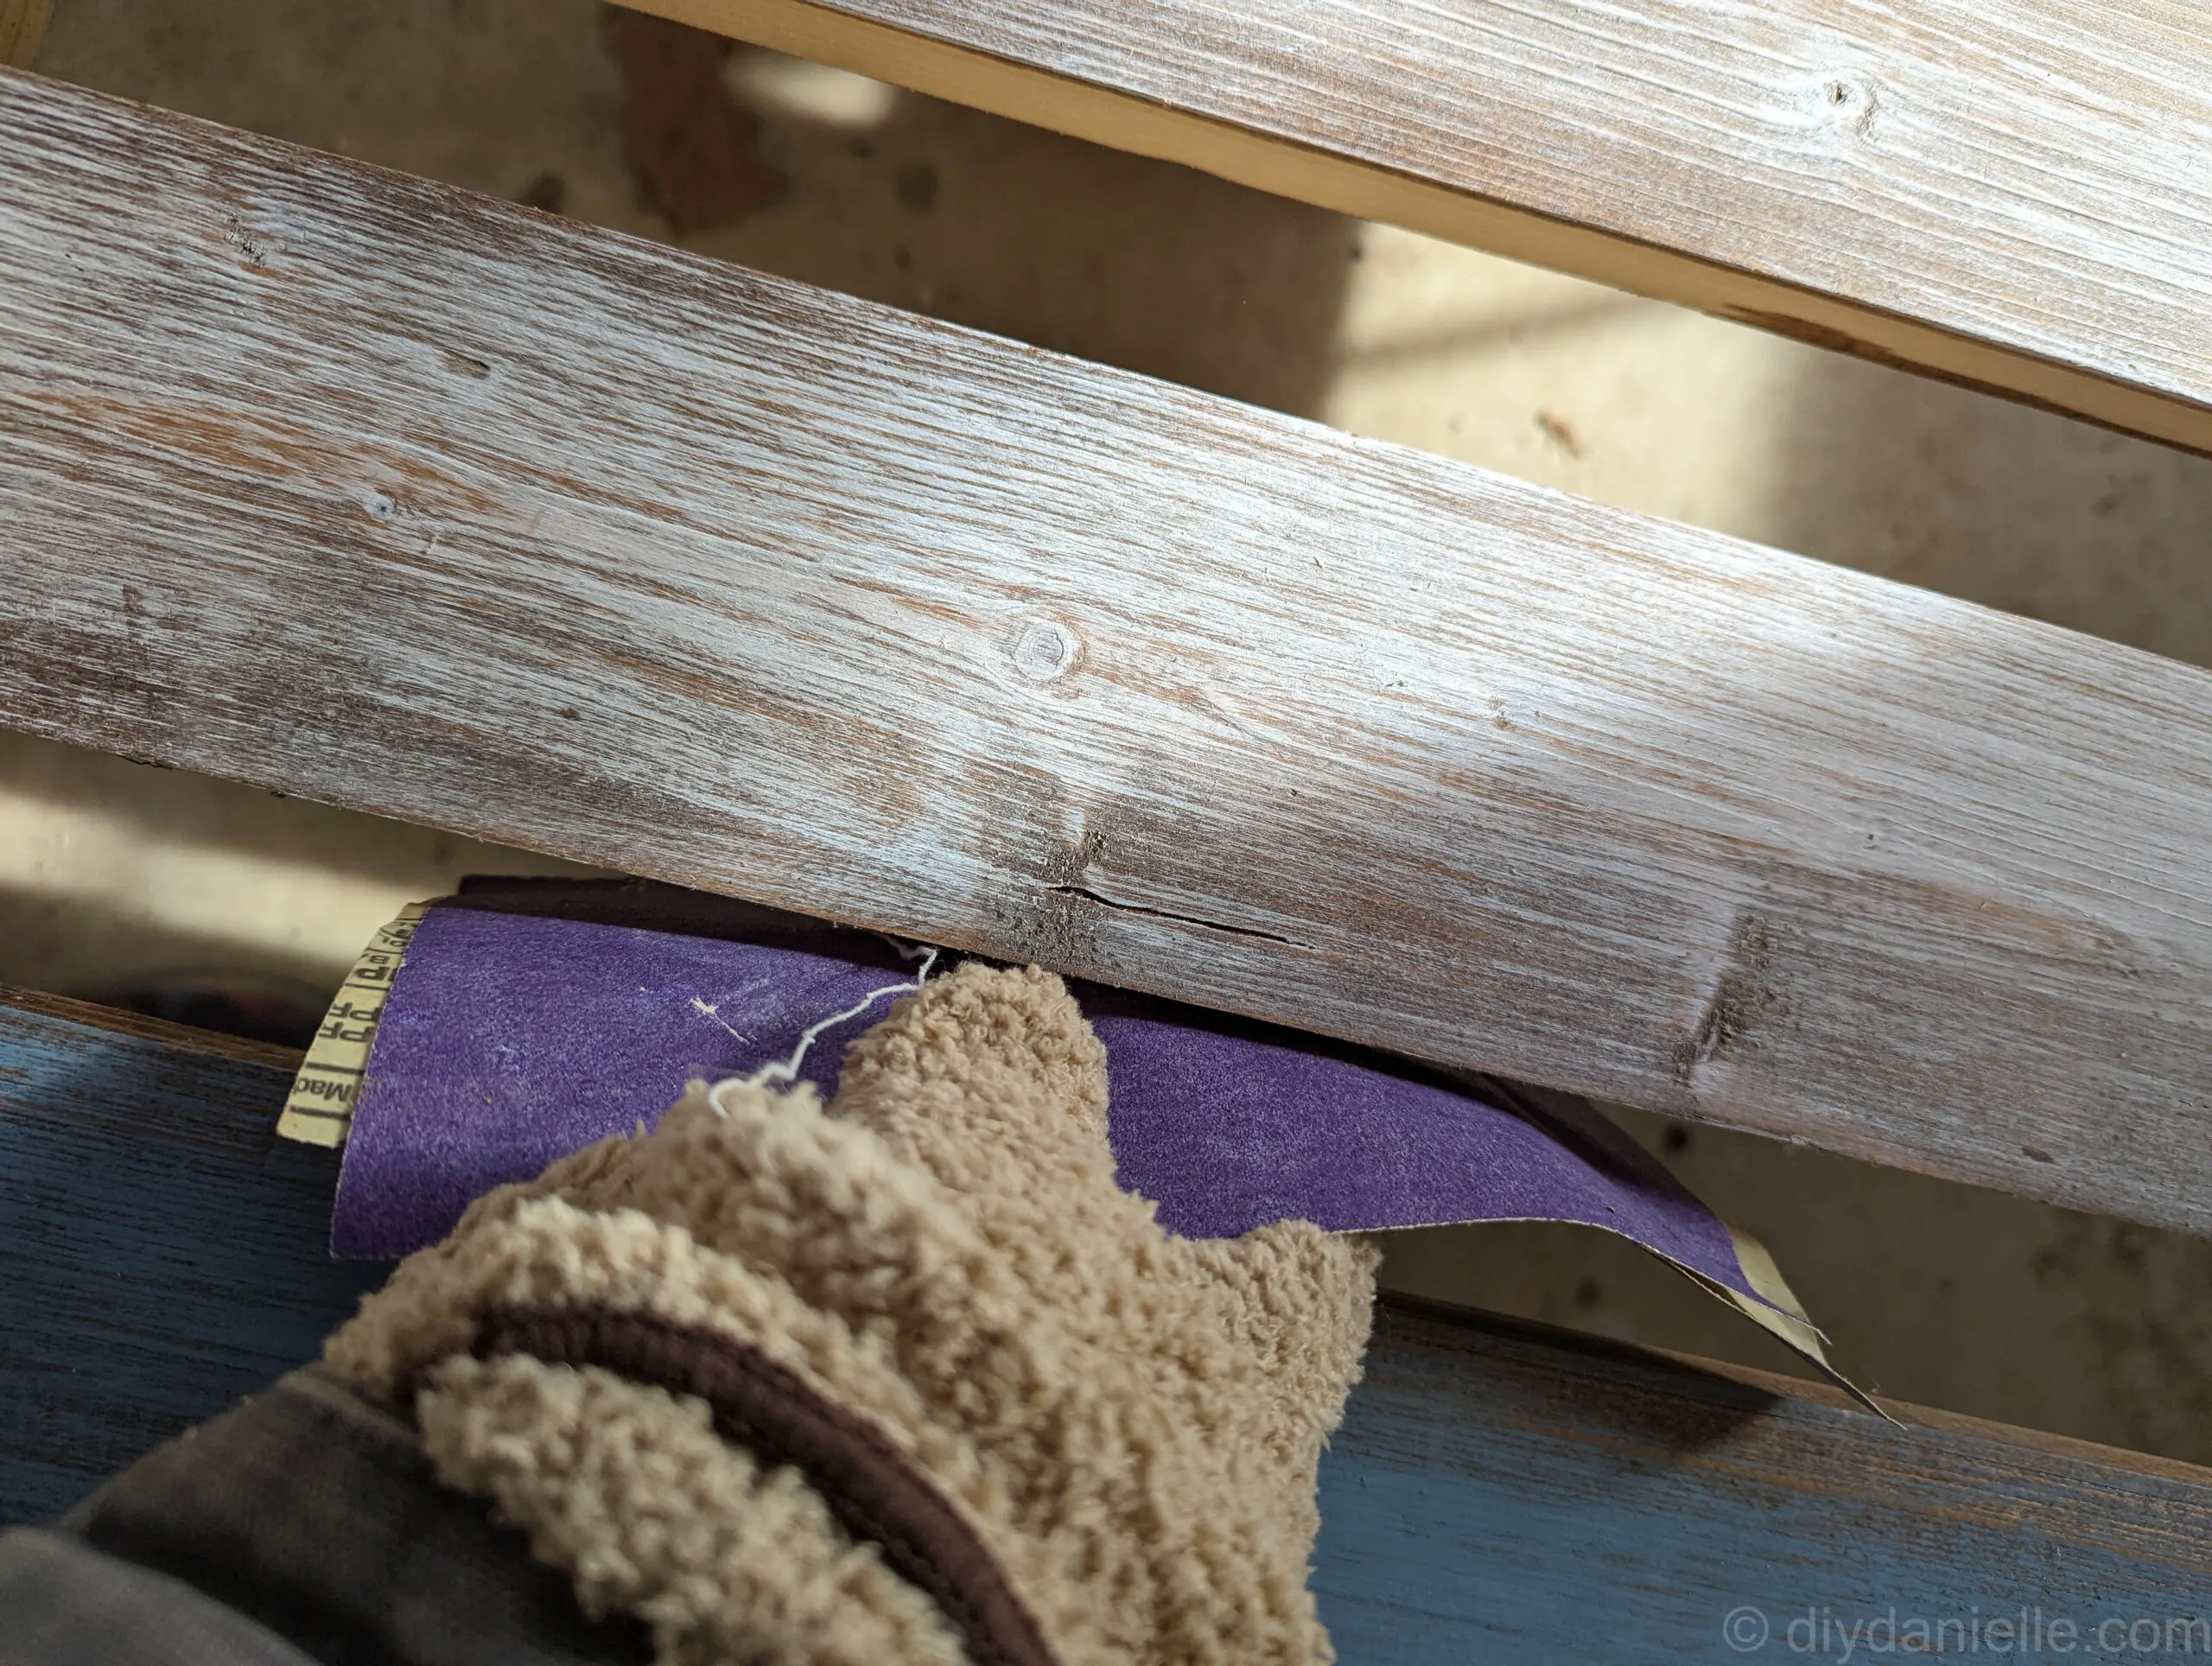
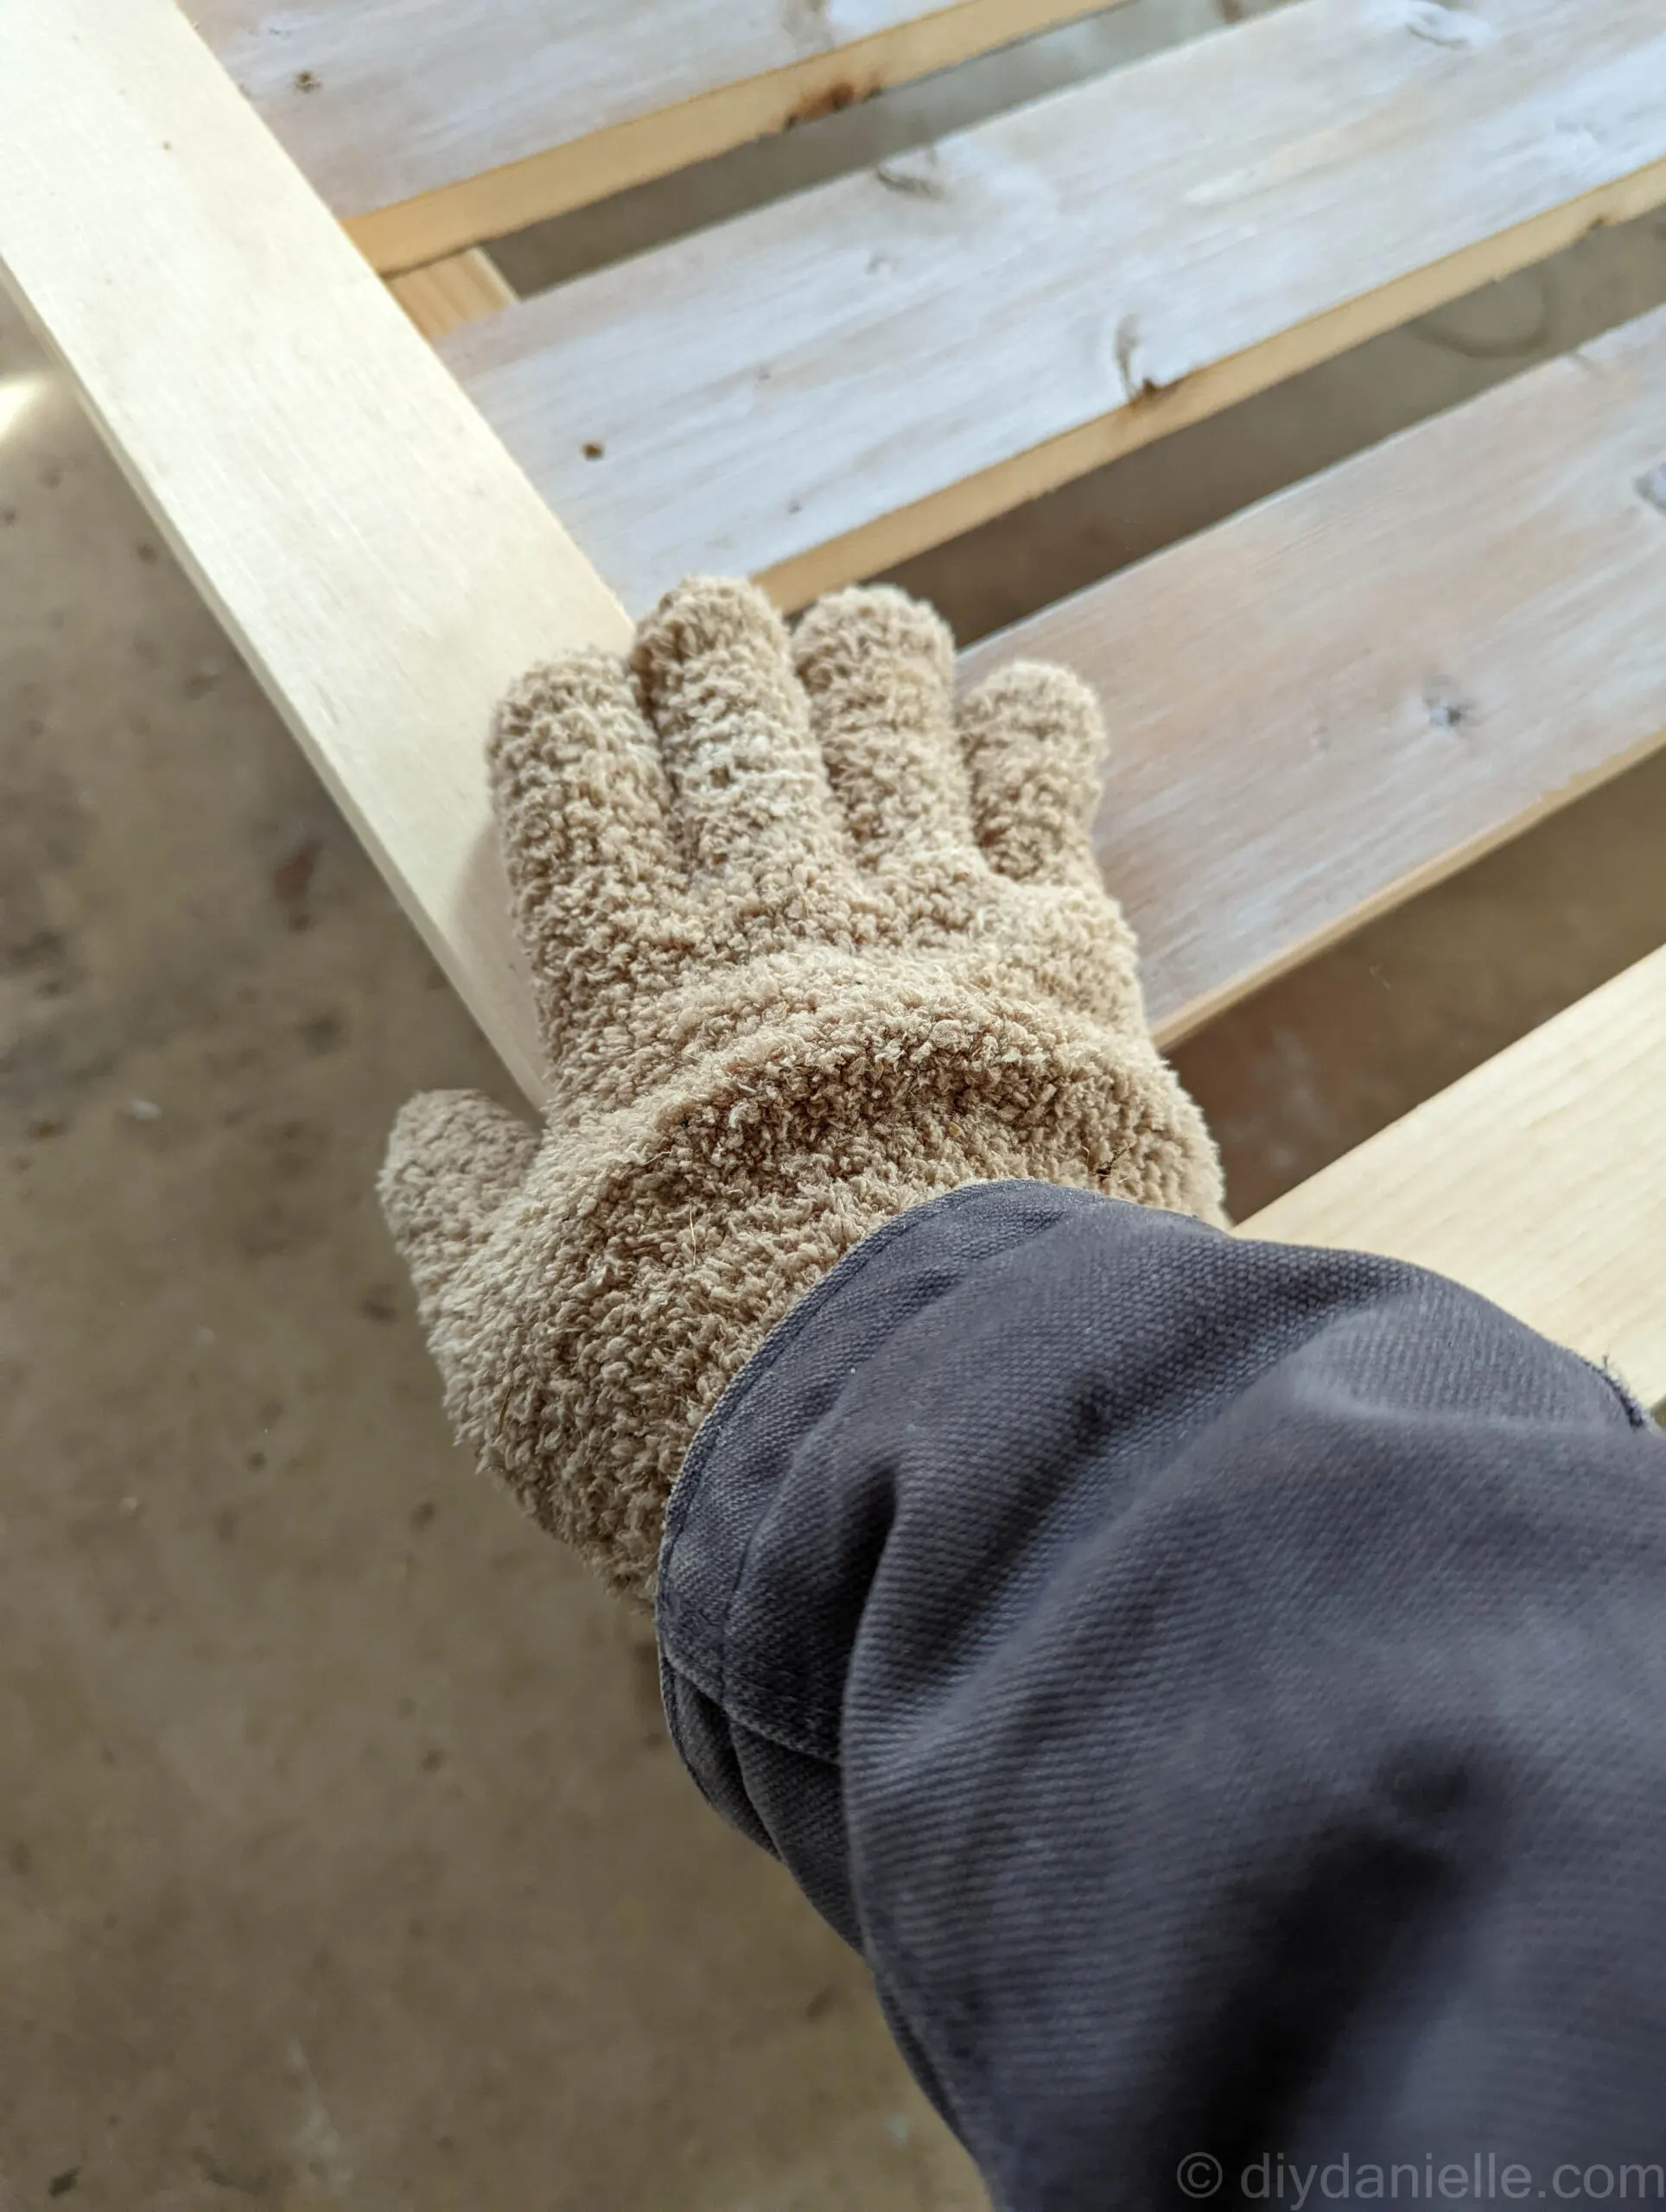
I use dusting gloves to brush off dust after sanding.
I primed the bed, let it dry, then used leftover paint from other projects to paint it blue and bronze. This took a couple layers of paint.
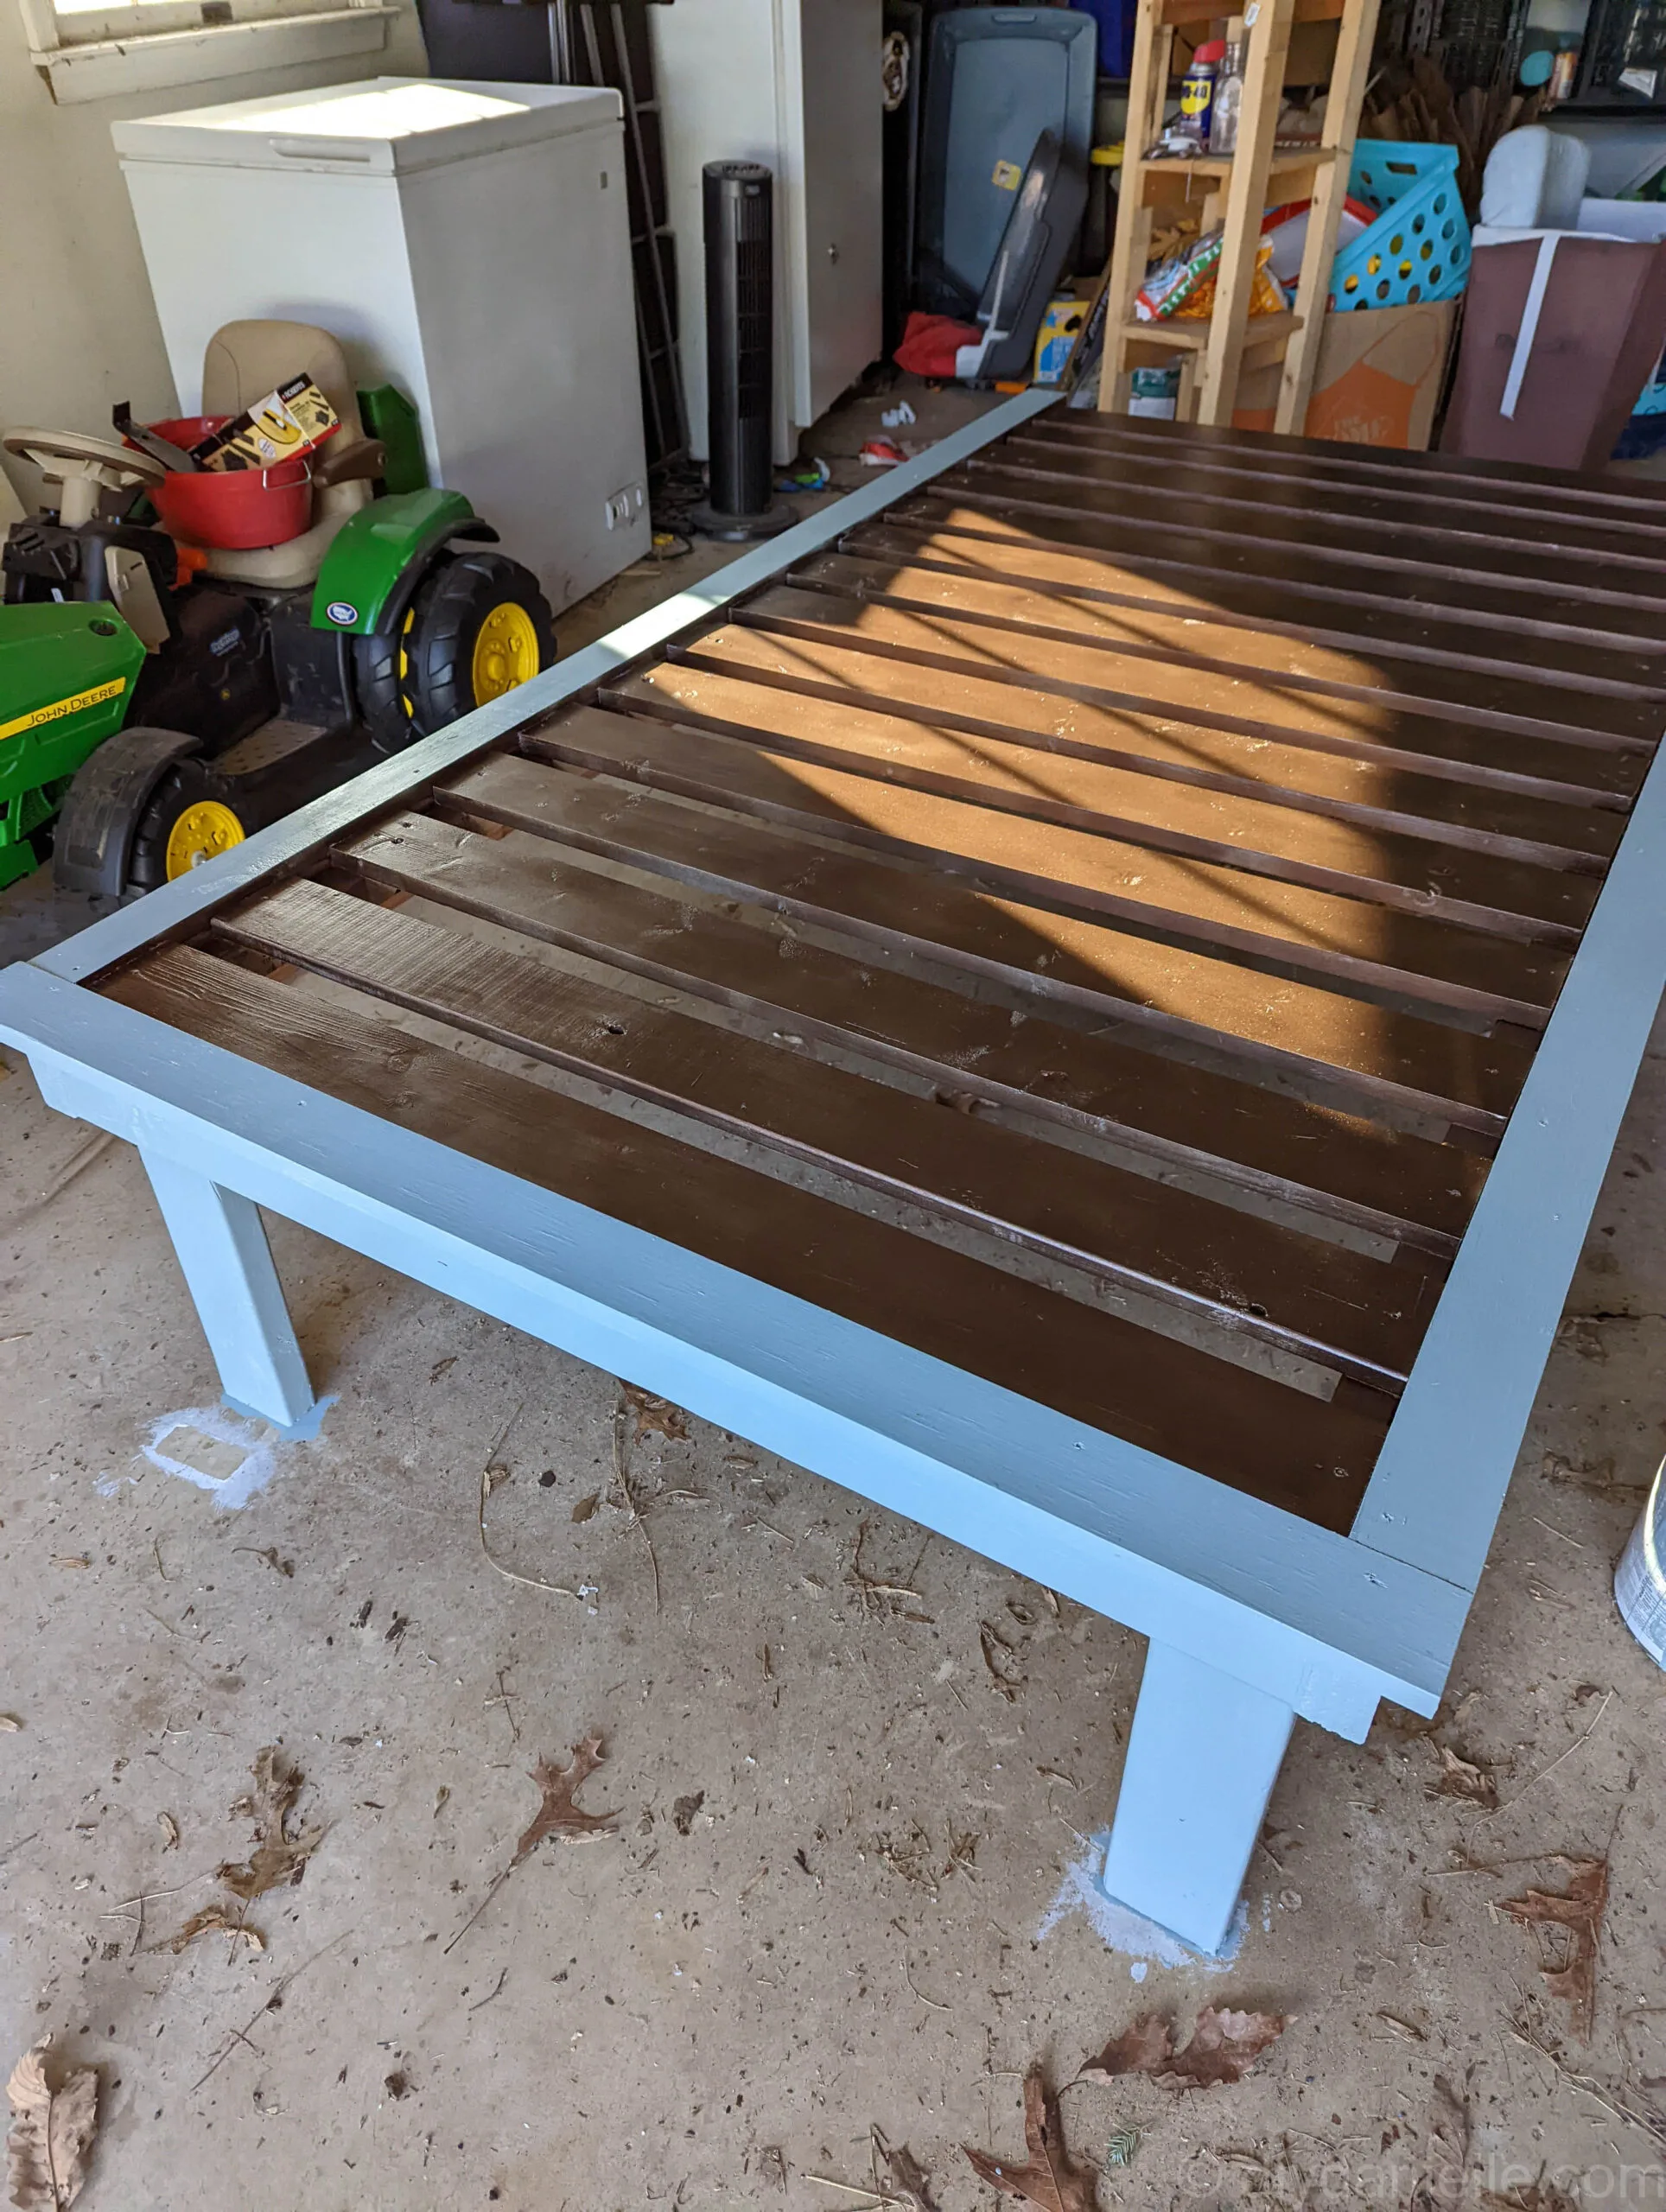
And that’s all there is to it! I don’t think I have a final picture of the bed with the mattress on it- whoops. But it’s working for her and that’s all that mattered.
Also- it fits in the back of a minivan with all of the seats out/down. Thanks so much for checking out my project! Happy building.
You might like my post: How to Install an Outlet in a Nightstand Drawer
Please share and pin this post! If you make this project, share it in our Stuff Mama Makes Facebook Group. We have regular giveaways for gift cards to craft stores. You can also tag me on Instagram @doityourselfdanielle; I love seeing everything you make!
Google Web Story: How to Make a DIY Twin Bed

