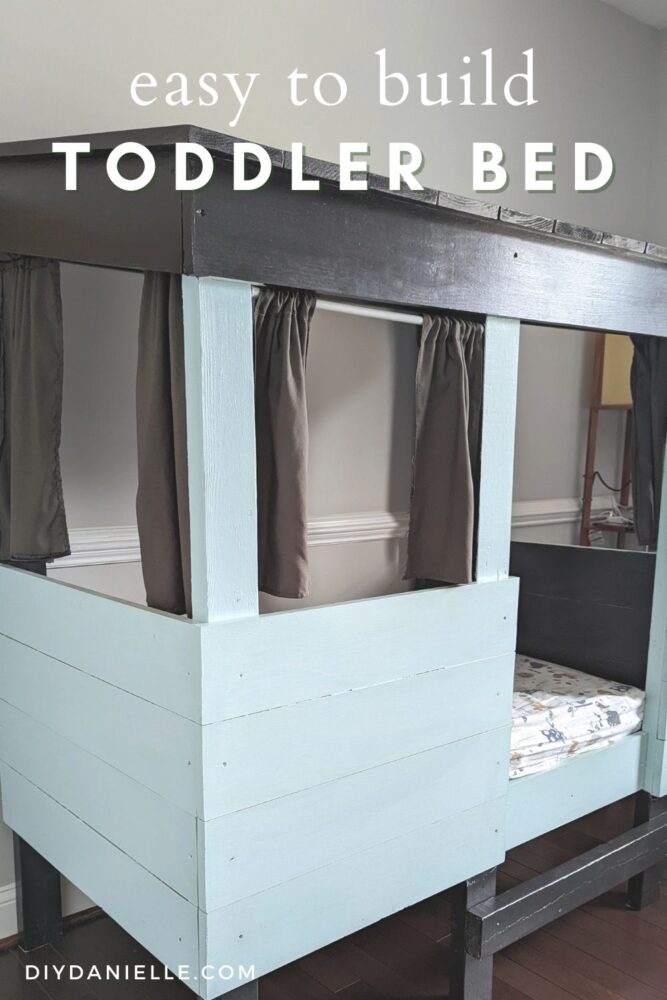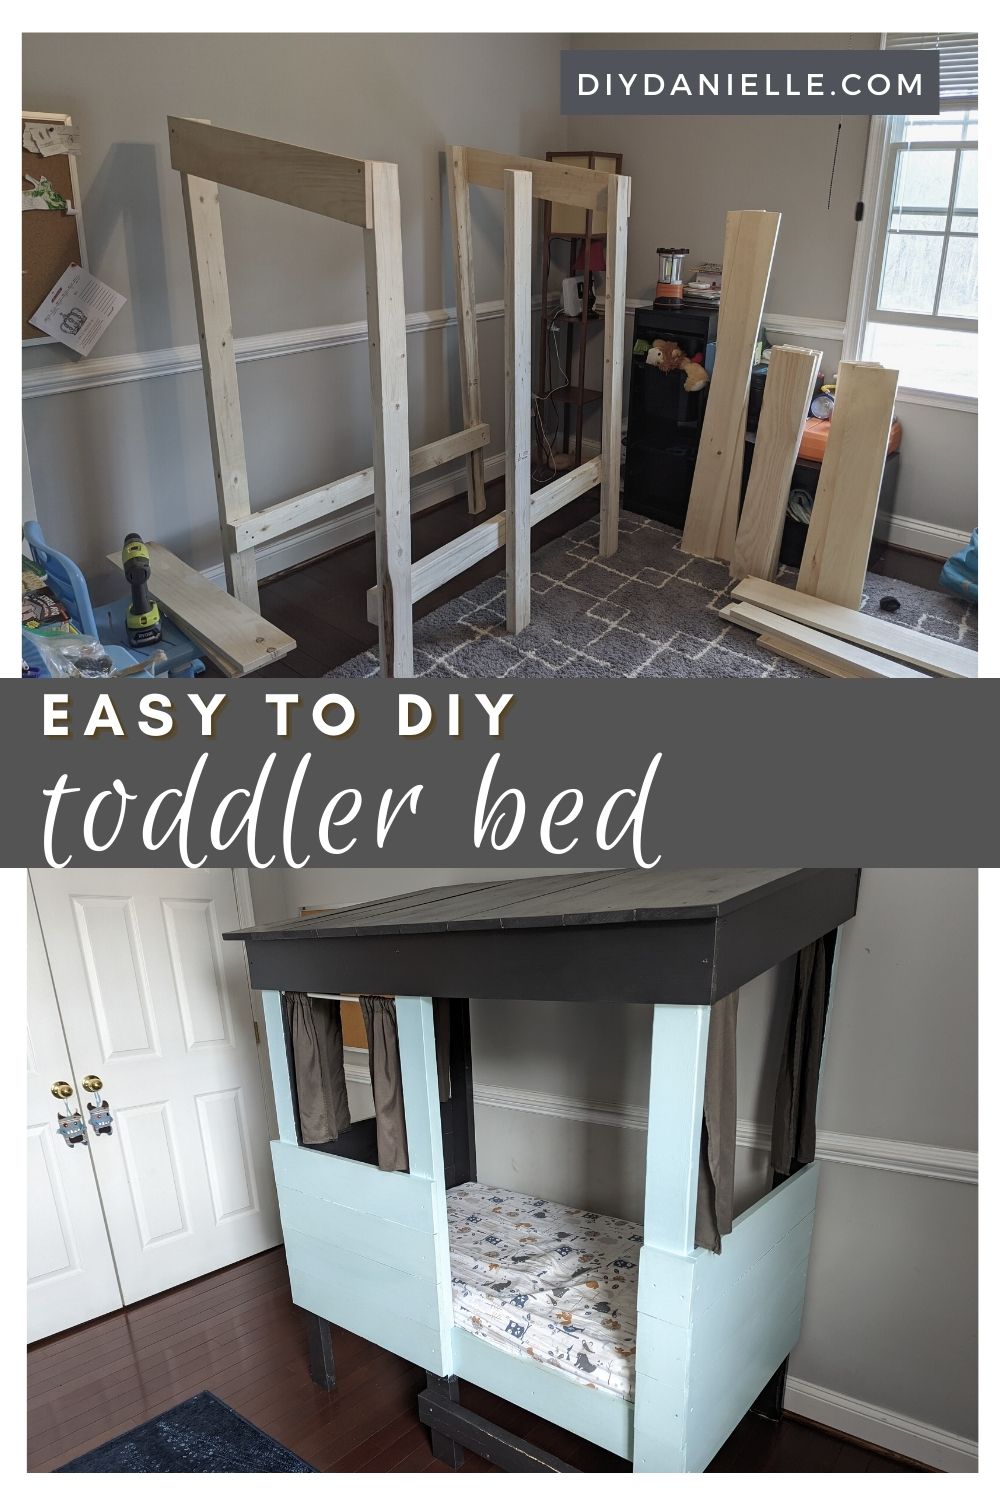
This toddler bed is easy to build, has many options to customize it, and has a railing that can keep your child from falling out.
Prior to the beginning of the pandemic, I started getting into woodworking. While my husband used to do the bulk of the woodworking projects on my blog, I wanted to take over more as I have more time. I also have so many build ideas that it’s simply unfair to expect someone else to build them all for me. I started by renovating our closet and our laundry room. Then I decided to build my toddler, 2 years old at the time, a toddler bed. This project was super easy and I found ways to customize it over the years that made it even more fun!
Review: Toddler Treehouse Bed Plan by Ana White
I used the Toddler Treehouse Bed Plan by Ana White for this project. I LOVE the plans by Ana White as they’re free and generally pretty easy to follow. I found that it’s really helpful to learn a new hobby by practicing using woodworking plans that someone else developed (or sewing patterns, etc.). It’s nice to be walked through the process initially, then later on you can start making adjustments to plans until you’re finally able to create something from scratch.
I like the following features of this build:
- Easy to build
- Enclosed so your child can’t fall out as easily
- Attractive
- Lots of options for customization
- In a shared room, the walls of the bed create a sense of privacy
- You can pull the bed away from the wall to change the bedding more easily.
The following are features that could be problematic:
- It WILL NOT FIT through a standard size doorway. You’ll need to build this in the bedroom.
- One side must be up against the wall if you build it as is.
- It’s large and moderately heavy.
- As it’s a toddler sized bed, you have to prepare for them to outgrow in within 2 years or so.
- I wonder if it might be a tipping risk if your child climbed the front? I suggest baby proofing with furniture wall anchors to prevent this risk.
- Disassembling this is pretty rough. The way it’s built, you can’t really disassemble in easy sections.
When I had to pull this apart, I was wishing I had built the twin version instead so we could have gotten more use out of the build. My kiddo is pretty excited to sleep in his big boy bed now though, an old IKEA Kura loft bed that his big brother handed down. Can you tell I was rocking the 2 yrs post pandemic energy and not the 1 month into the pandemic energy? It’s not a coincidence that I’m 2 years late posting about this project.
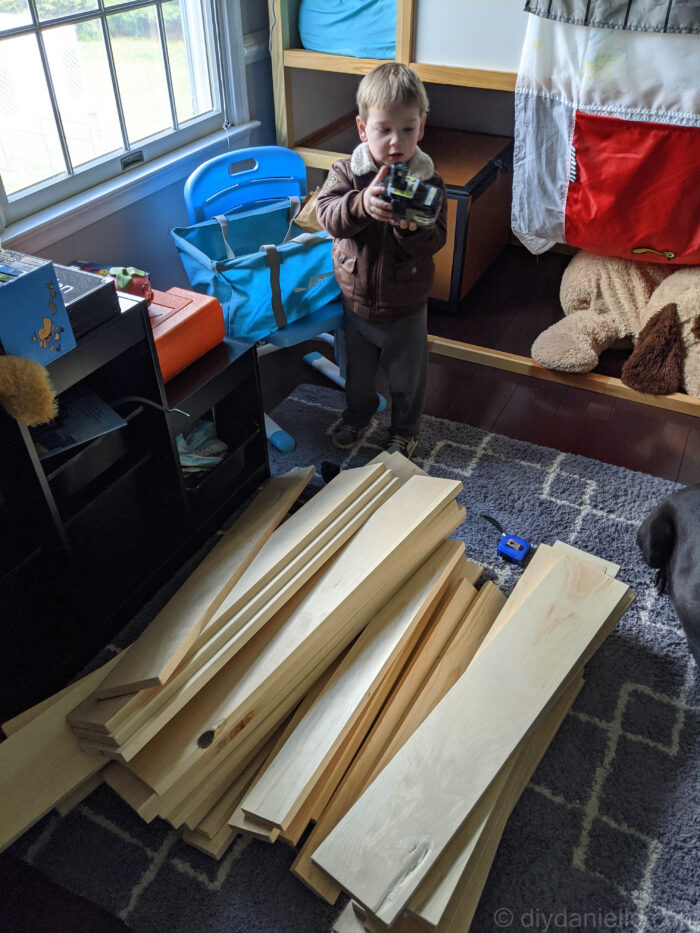
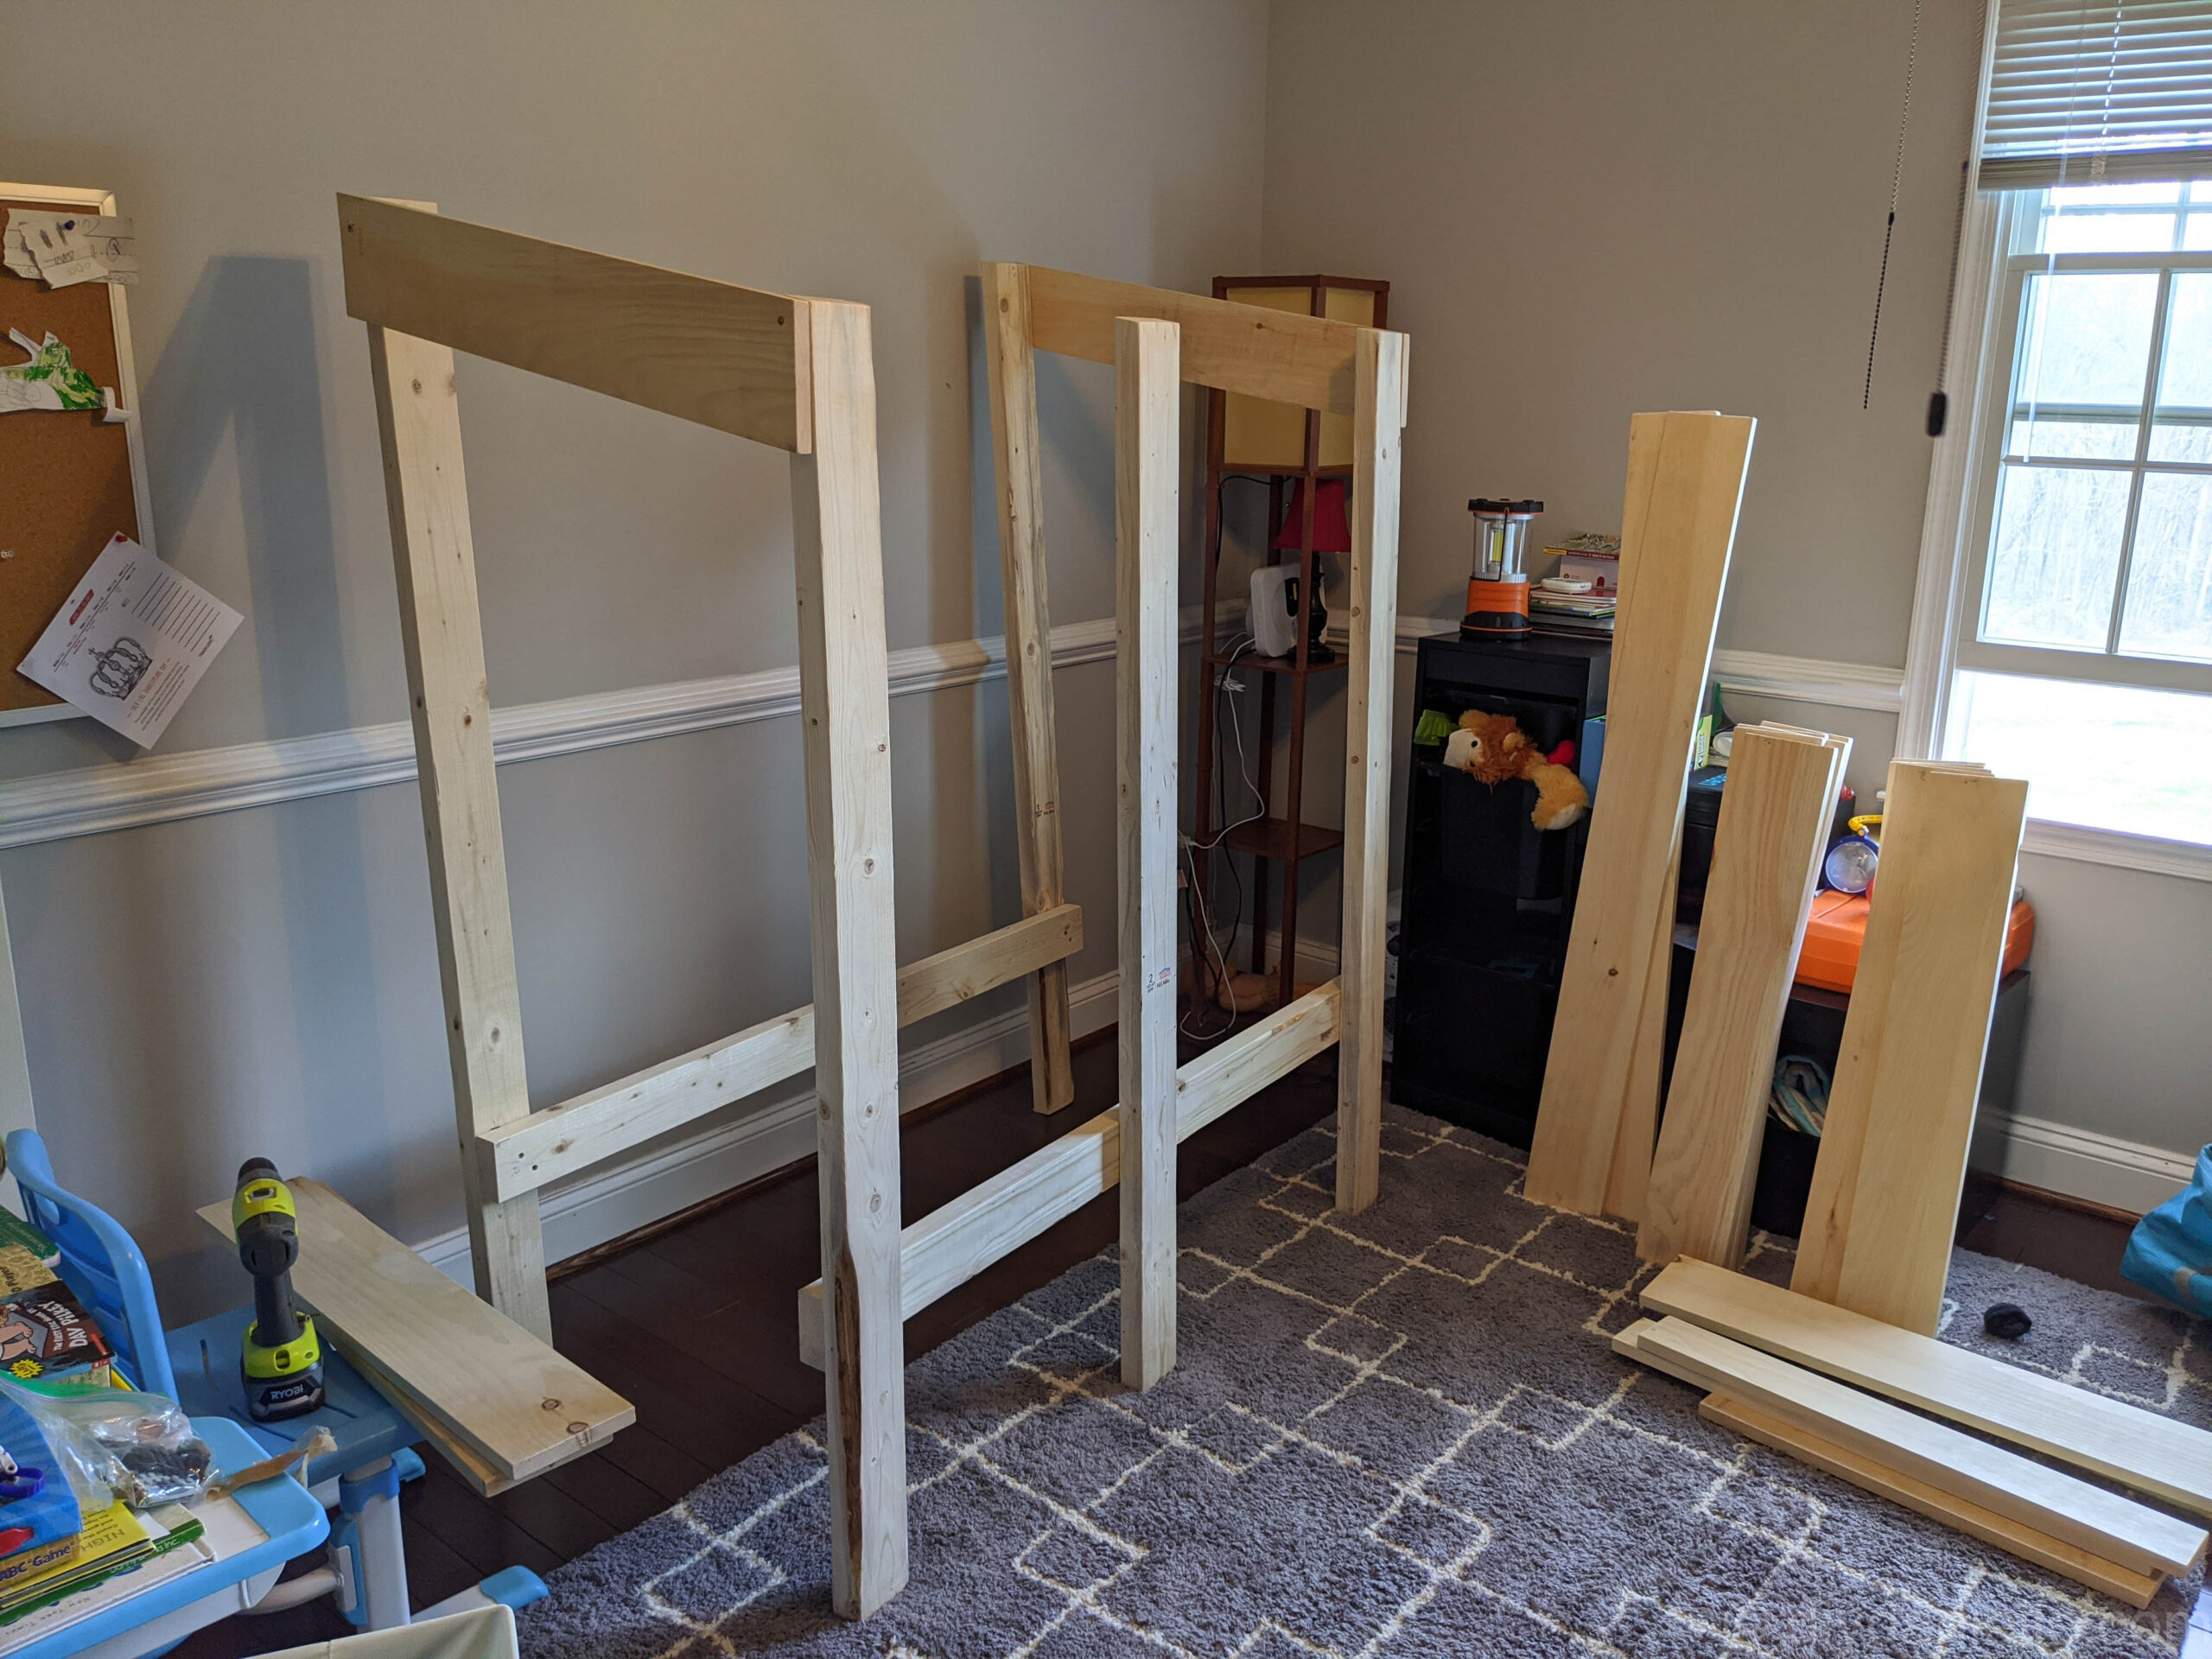
Build Progress Photos
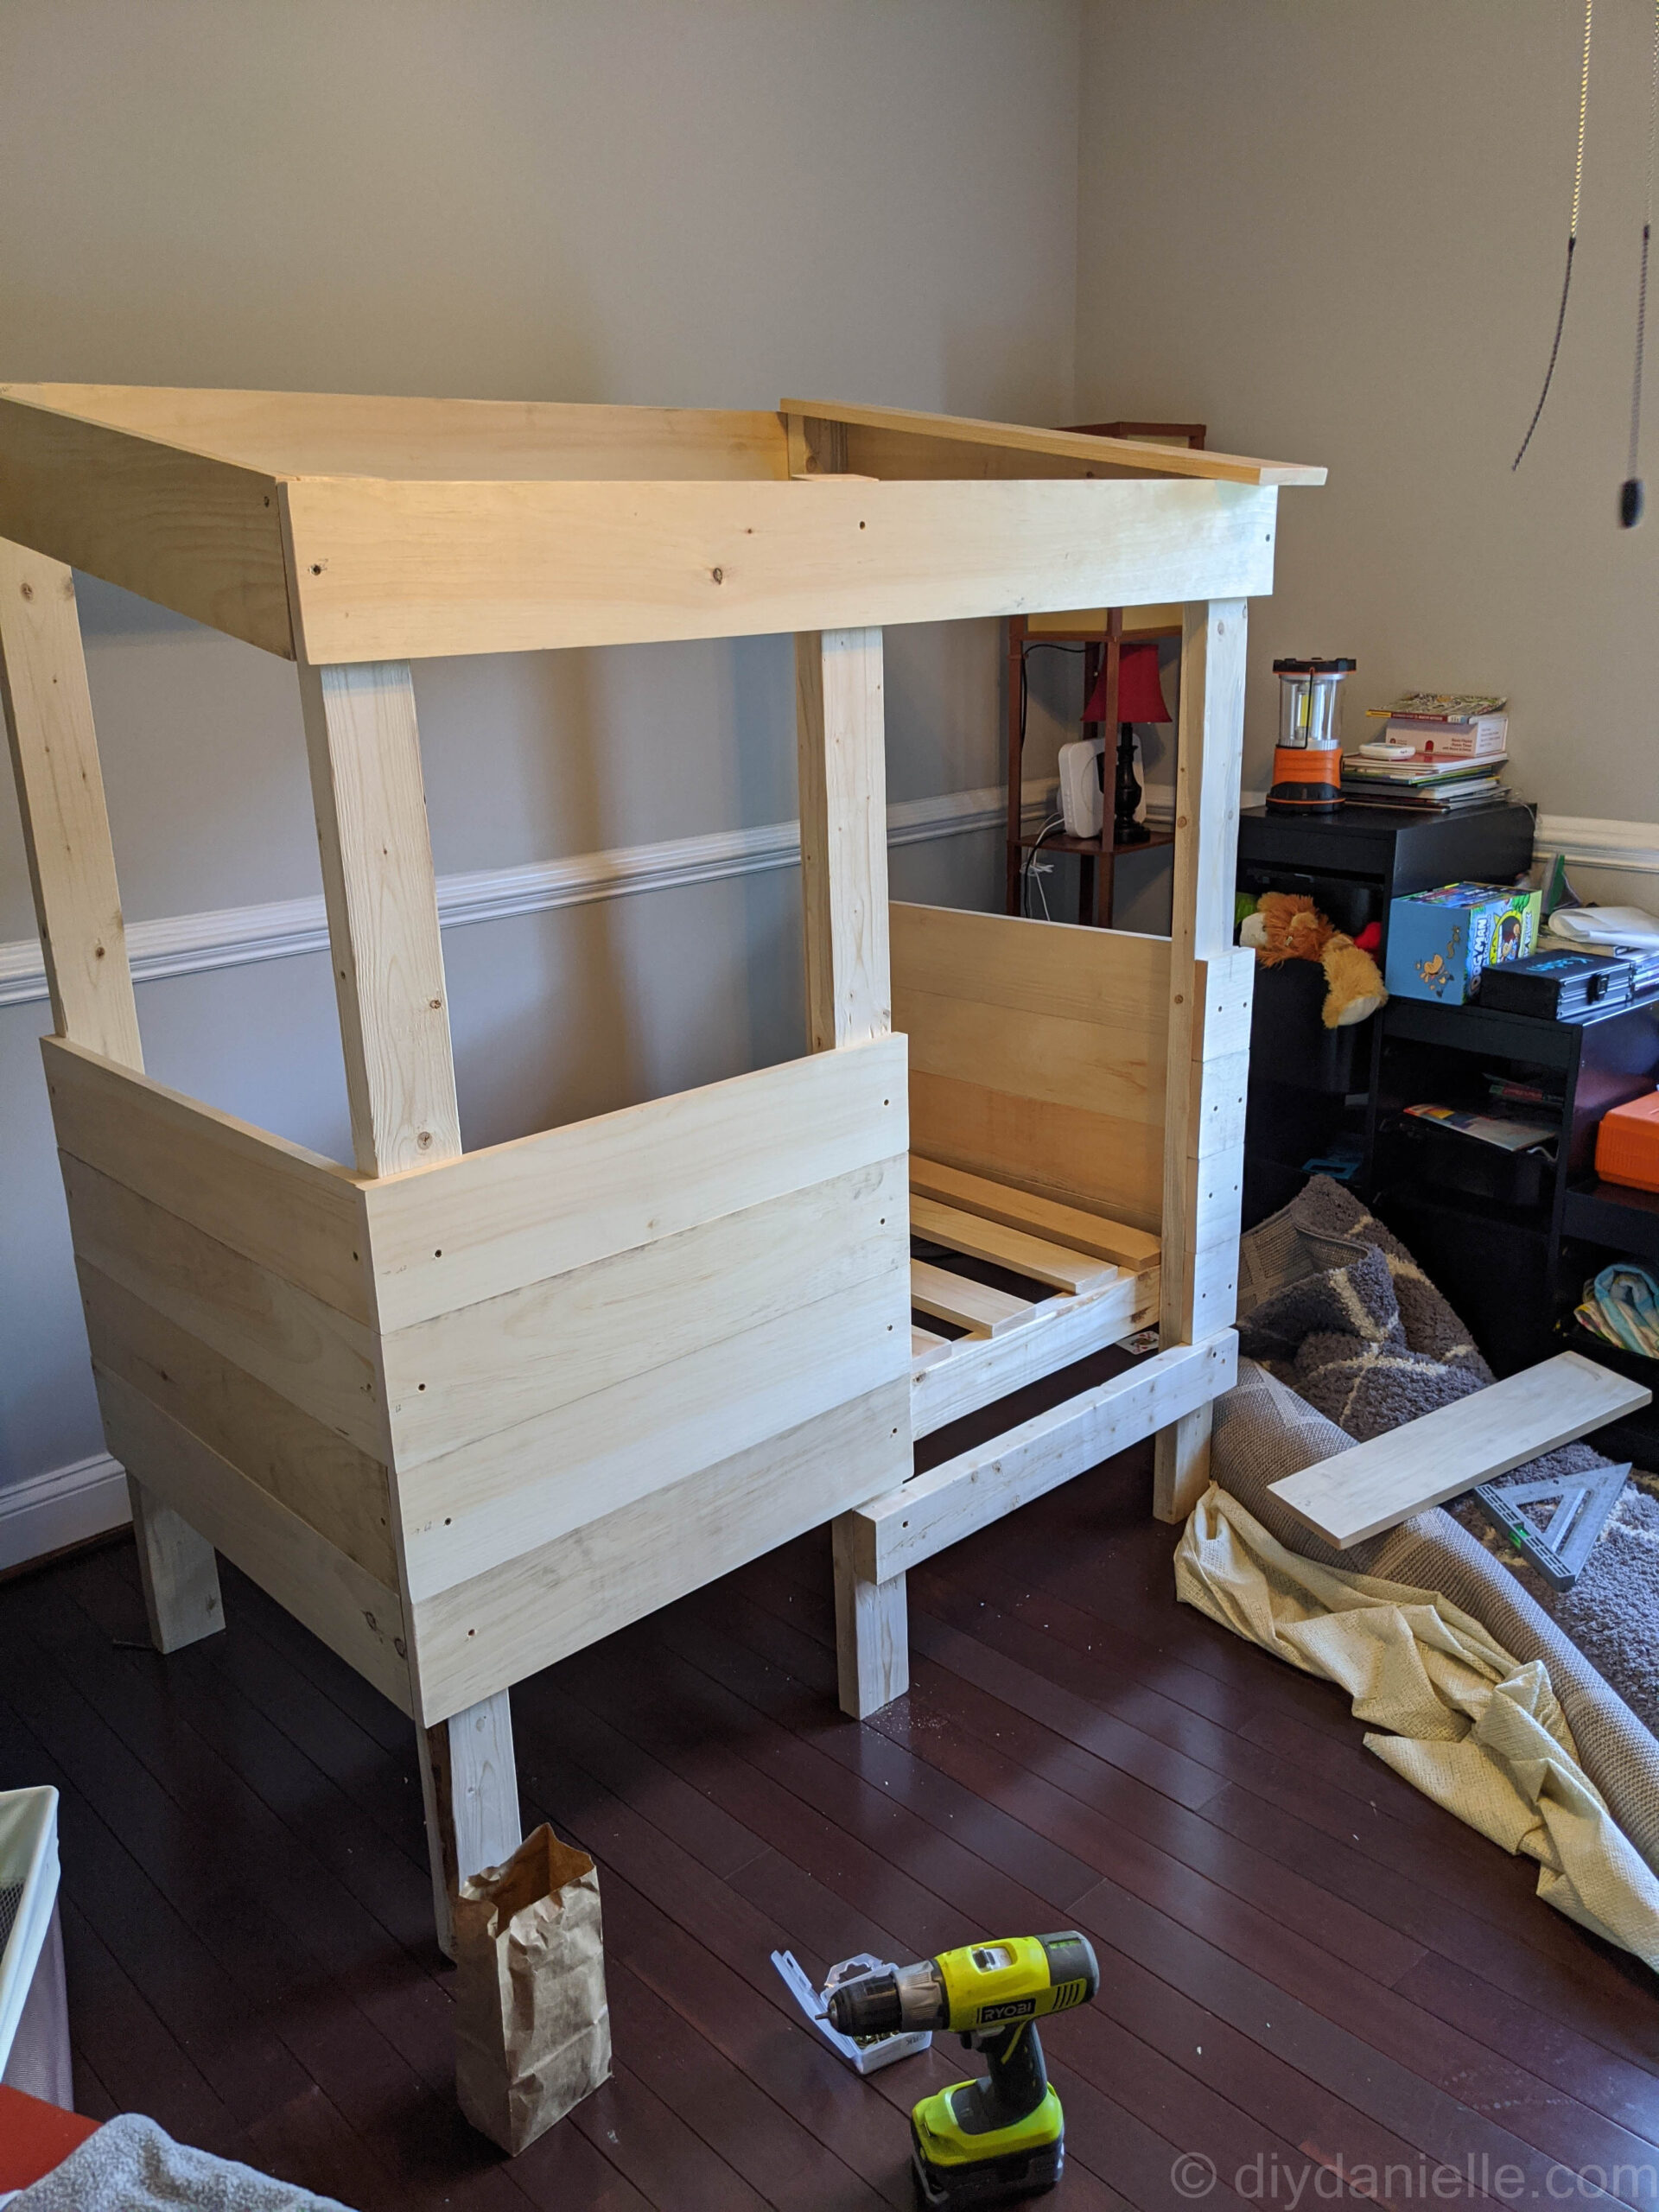
To begin this build, I built the two long sides first. I was able to build these in the garage and move them into the room.

I cut the rest of my wood and hauled it up to the room so I could assemble the bed. Make sure to sand any rough edges as best you can BEFORE you bring them upstairs as sanding inside isn’t that much fun.
The bed came together pretty fast. Sometimes I think that buying a bed from IKEA and building a bed are about the same amount of work in terms of building them… you save a TON of time painting though when you buy a bed instead of building one.
Once built, I primed and then painted each section.

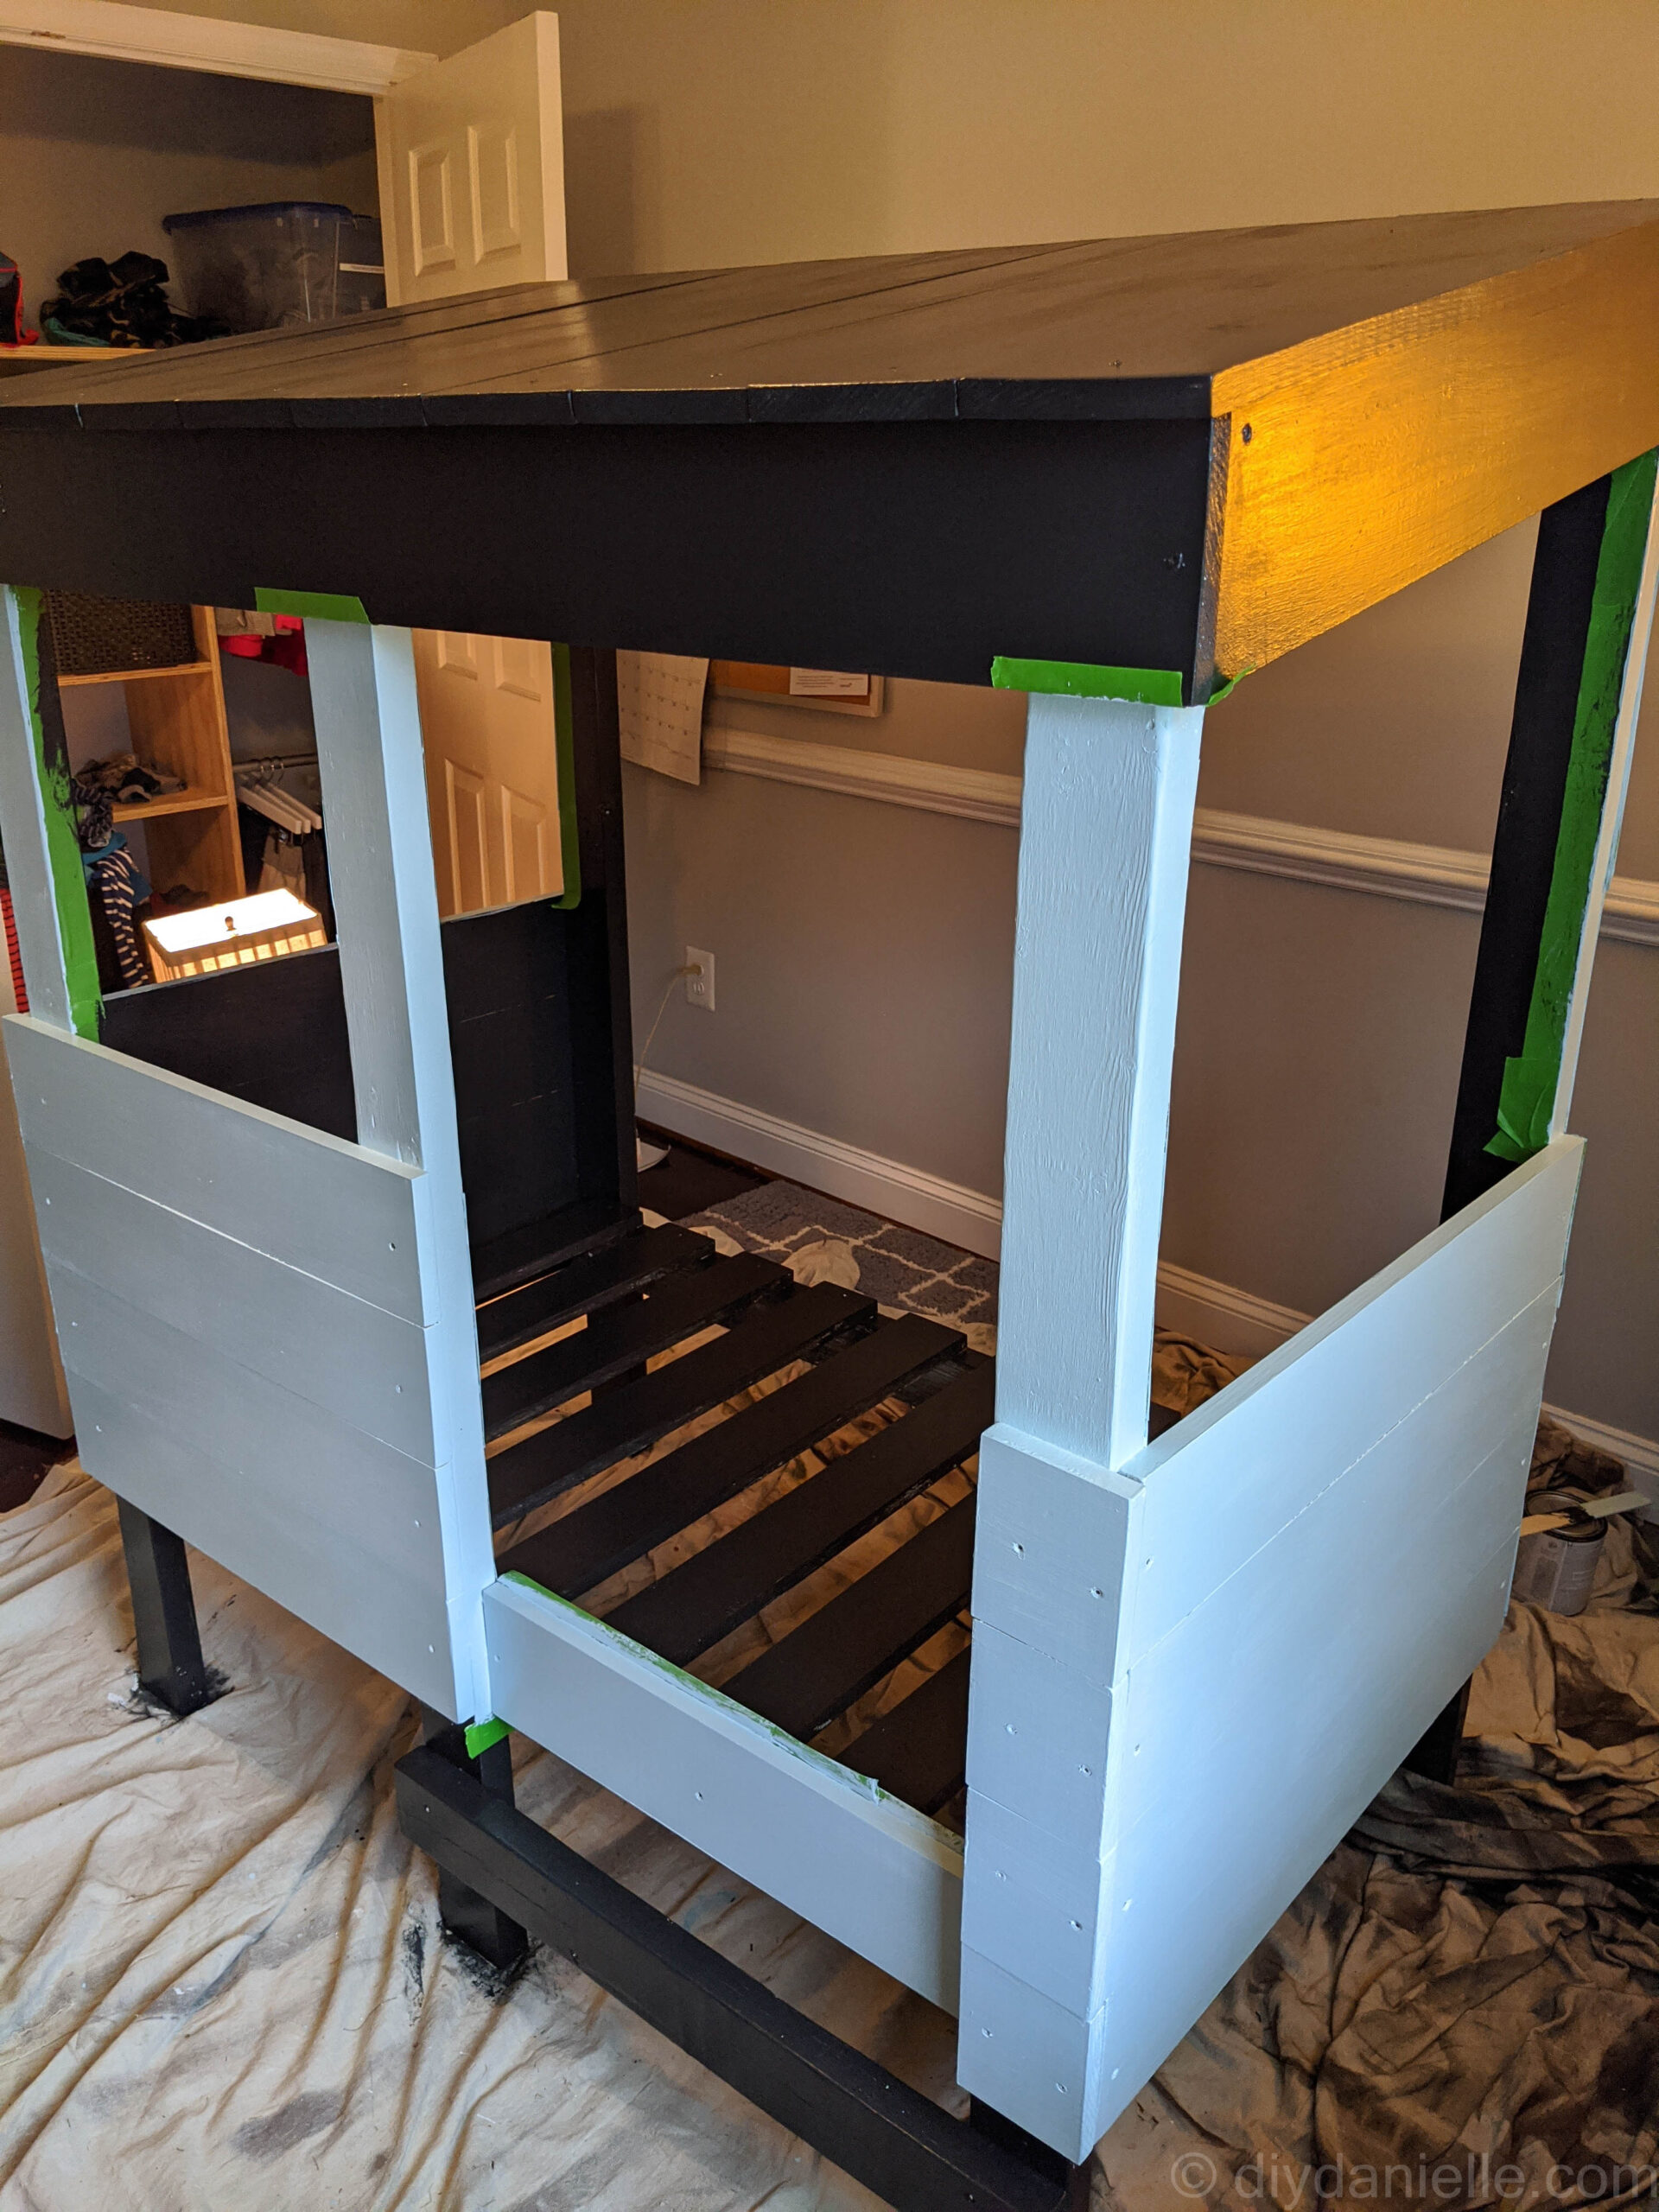
Then I just let it all dry. I use no voc paint, but I still think the fumes are pretty strong after painting so I let the room and bed air out for a few days before the kiddo slept on this.
Customization Ideas
When I first built this, I had BIG PLANS. I didn’t get to them all because the pandemic hit me hard once my optimism those few months wore off.
Here’s some of the ideas I was considering:
- Lights around the inside top of the bed.
- Window boxes to place pretend garden ideas or books
- Roll out storage boxes for under the bed
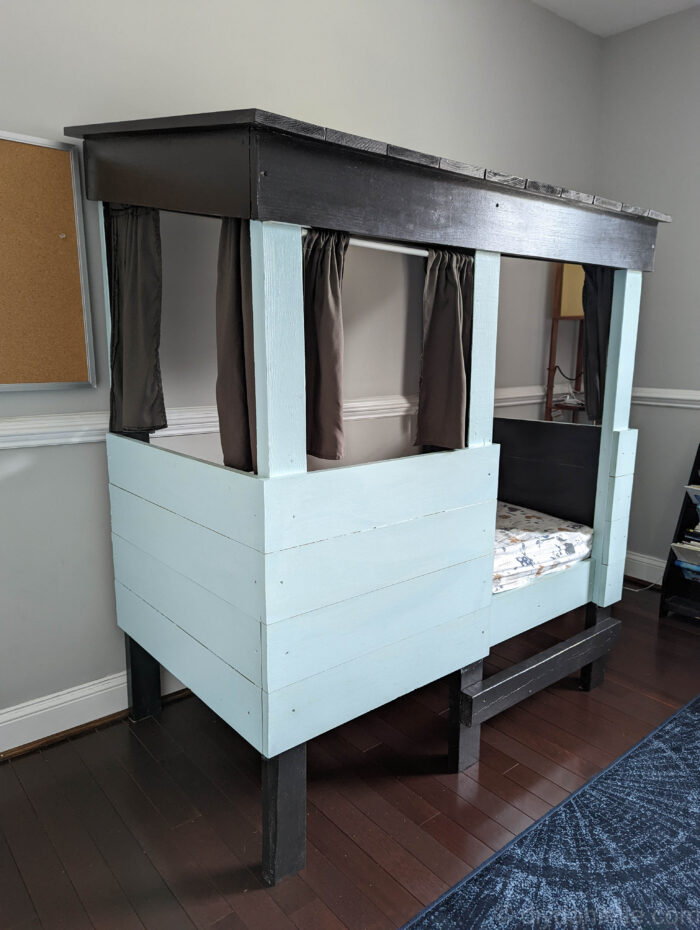
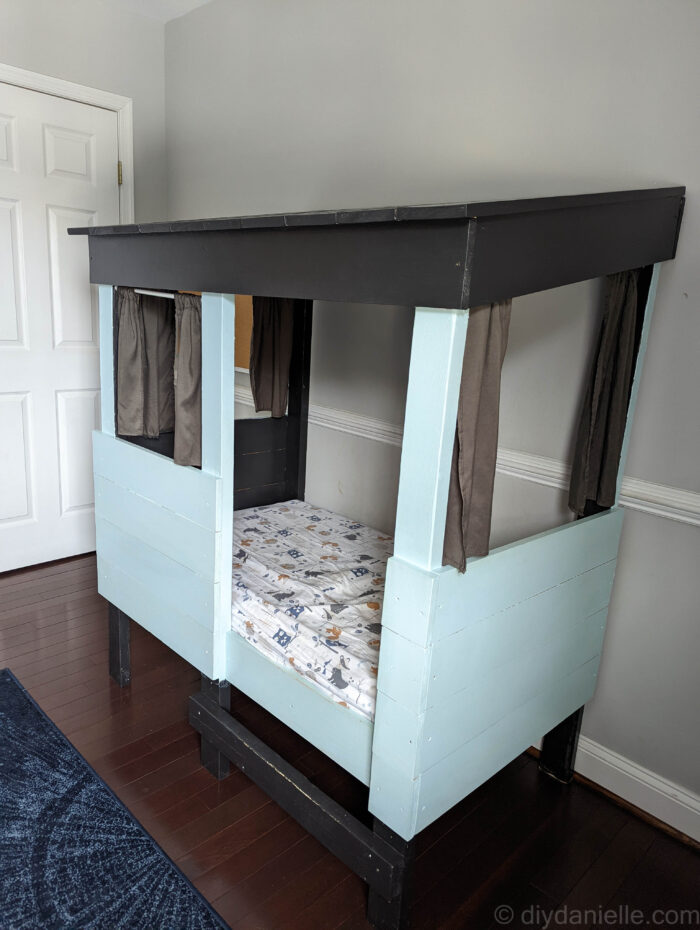
- Homemade curtains for the windows
- Faux green roof for the top (I really love some of the felt gardens I’ve seen on Pinterest)
If you opt to add anything, just make sure it won’t imbalance the bed and make it prone to tipping over if the kids try to climb on it.
The only add-on that I actually finished was the curtains. I wish I’d bought better fabric for them.
I BELIEVE that the window openings are 18.75″ on the front, and the side windows are around 30″ or so. I wrote down the specifics somewhere, but have since lost that information. I purchased these 18-28″ pressure mounted rods in white and these 28-43″ rods in white. Then I made custom curtains for the bed. The rods for the sides are tricky because the area at the top isn’t rectangular. I just pushed the rods up as high as possible and tried to keep them level. There were times that I wish I’d purchased mounted rods because the kiddo pulled the pressure mounted rods down too many times.
Disassembling the Bed for Storage or Sale
The bad part about this build design is that you can’t fit it through a standard size doorway. This means you need to almost completely disassemble the pieces to move it to another house/room. I tried to make this as easy as possible so I could sell or donate it easily after. I didn’t want all of my hard work going to waste.
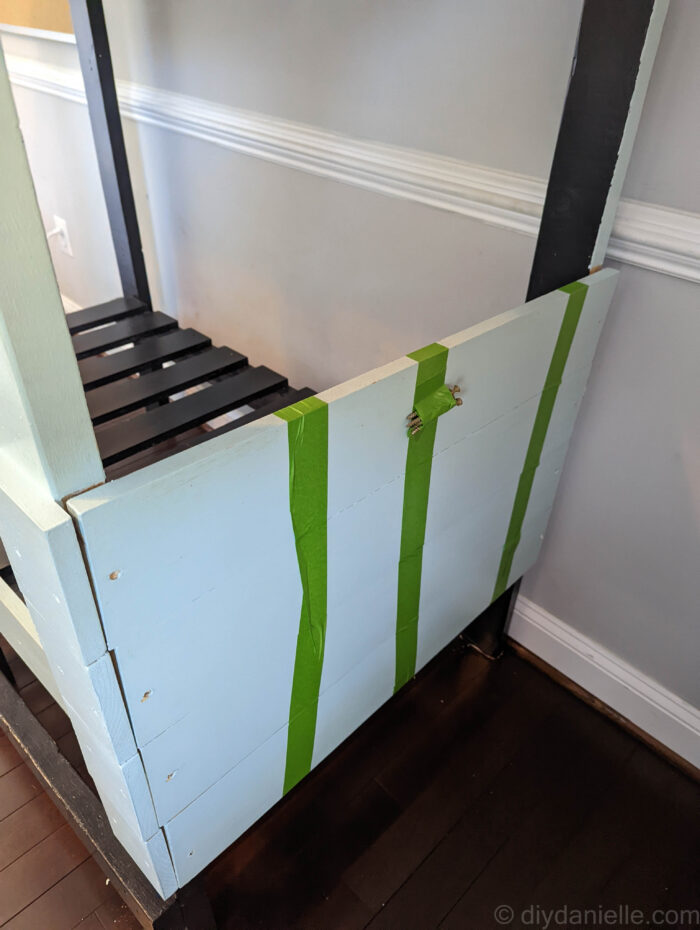
I painted everything once the bed was assembled so you can see unpainted spots when I took it all apart. That’s the main reason I decided to keep all of the pieces together as carefully as possible.
I knew I needed to remove the walls for the two short sides so I used painter’s tape to hold them together, unscrewed them all, then taped the screws to the side. I wrote on the tape which side it belonged to.
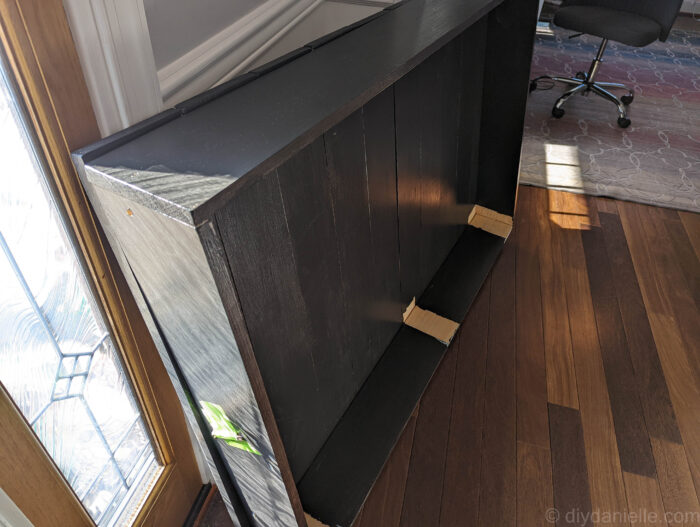
Fortunately, I was able to remove the top all at once.
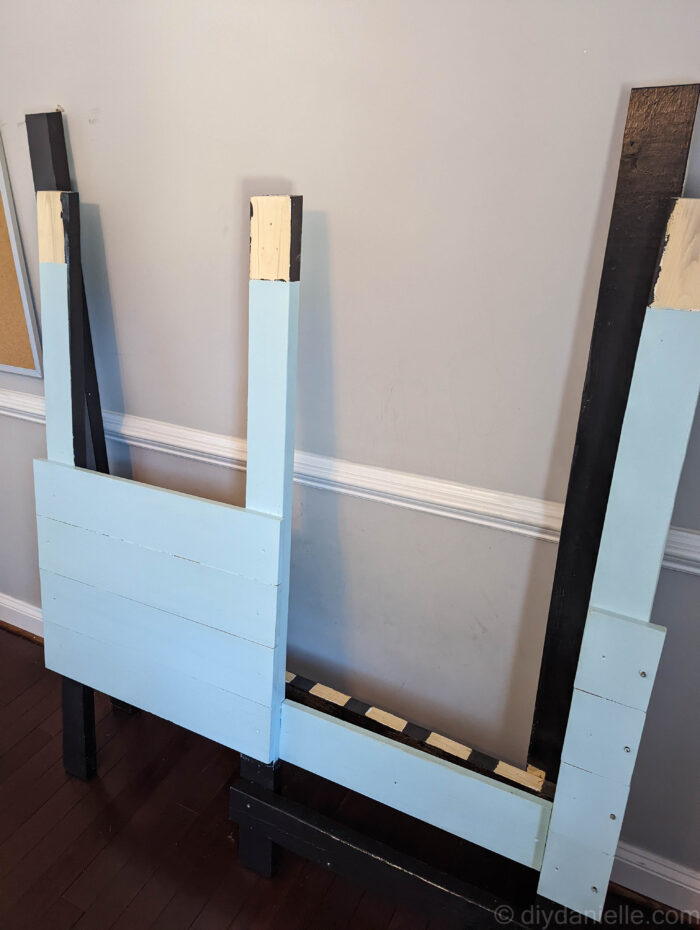
The only thing left was to remove the slats for the mattress. I numbered them. While I could have gotten away with skipping this, I knew that they’d need to be put back together in the same position in order to hide the unpainted spots.
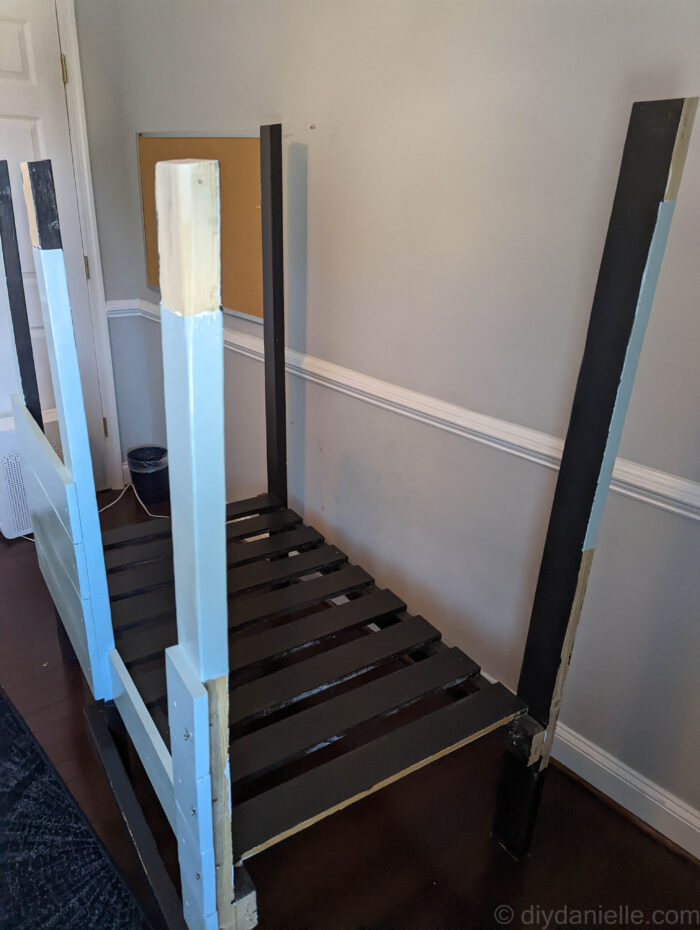
Once the slats were out, I was able to move the back and front pieces.
Please share and pin this post! You can also post your project and tag the DIYDanielle team on Instagram @doityourselfdanielle!