
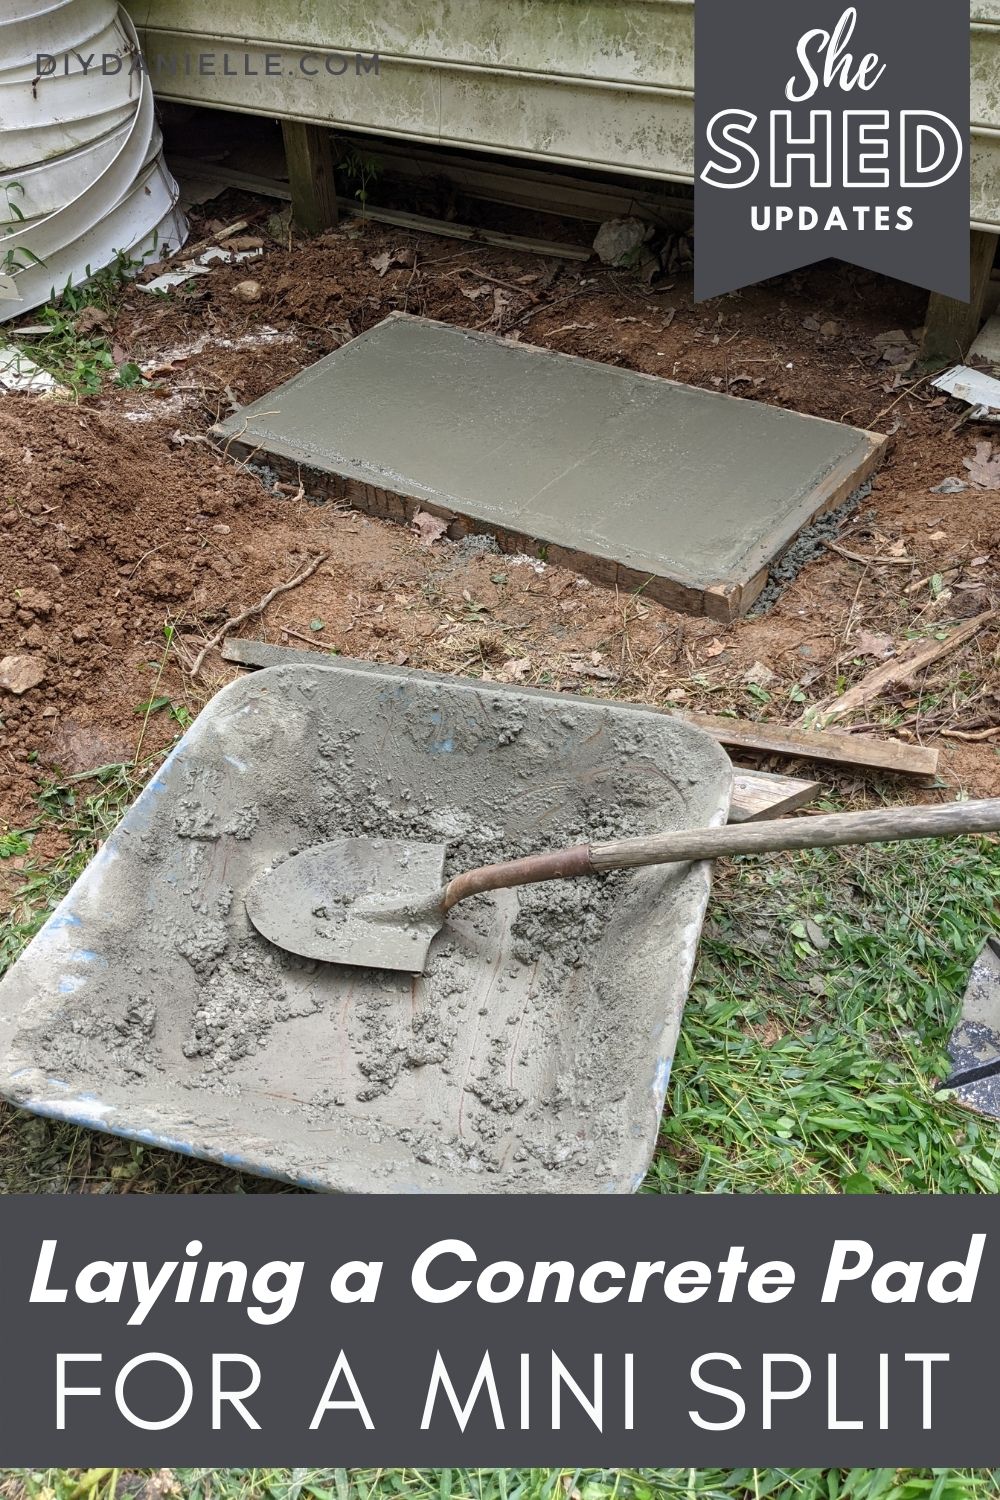
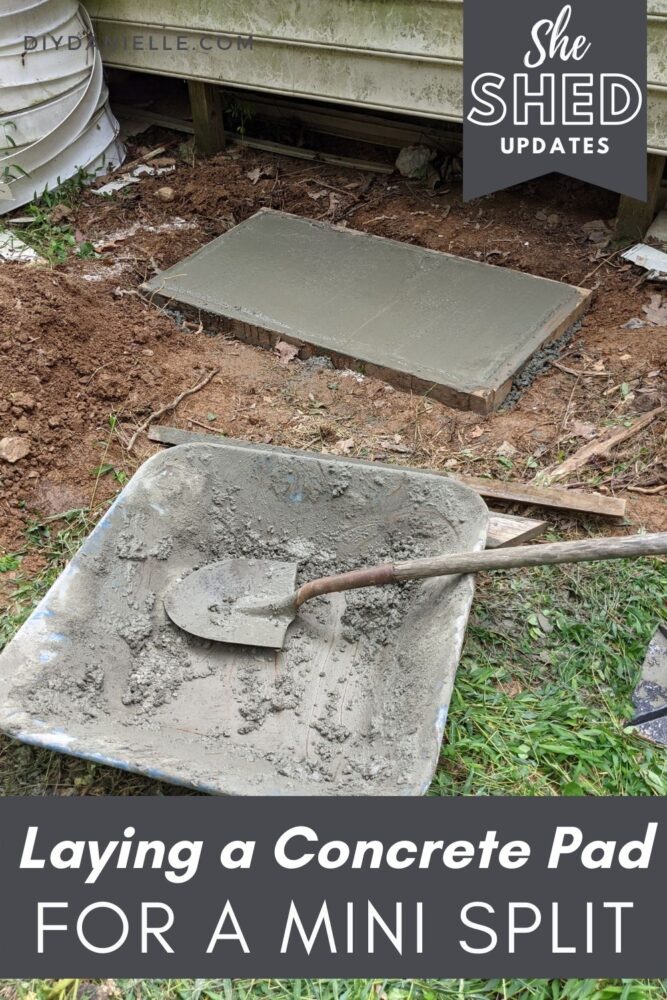
How to pour a small concrete slab. If you’re running a mini split heating/ac unit to a space in your home, you will need a concrete pad. Here’s how to make one.
We needed to heat and air condition the she shed we’re renovating, and one of the first things we needed to do before installing a mini split was to create a concrete base for it. The concrete slab raises the exterior unit (the compressor) off the ground, ensures the unit is level, and helps prevent it from vibrating. Here’s how we poured a small concrete slab by hand.
This post may contain affiliate links which may earn me commissions should you click through them and take certain actions. As an affiliate for Amazon, Cricut, xTool, Home Depot, and other sites, I earn from qualifying purchases. Please DIY carefully. View my full legal disclosures here.
The majority of my content is generated by me, as are 99% of the photos and videos, but I utilize technology for titles, descriptions, video editing out all of my ums, and occasionally for text overlay on images.
Please read the whole post so you don’t miss any important information!
How to Pour a Small Concrete Slab
This is a fairly simple job, but it does require you to pay attention to detail. Our concrete pad size is 52″ x 27.5.” My husband did most of the work on this project as I was really sick during this part of the renovation project.
Please excuse how dirty the siding is… I keep meaning to wash it off, but it’s the back of the shed and it’s out of sight and out of mind most of the time. It will probably end up being a Spring project, once I get the opportunity to paint the siding.
Supplies
- Shovel
- Level
- Tamper Tool
- 2x4s: (2) 24.5″, (2) 52″ 2×4
- Rebar, 24″ x 3 $9.81
- Rebar, 4′ x 2 $9.74
- Empty mixing pan (we already had one)
- 5000 Plus High Strength Concrete Mix x 5 $32.40
- 2 Bags of Sand (we had some kids play sand that we used)
- Optional: Inverted Marking Spray
Our total cost: $52
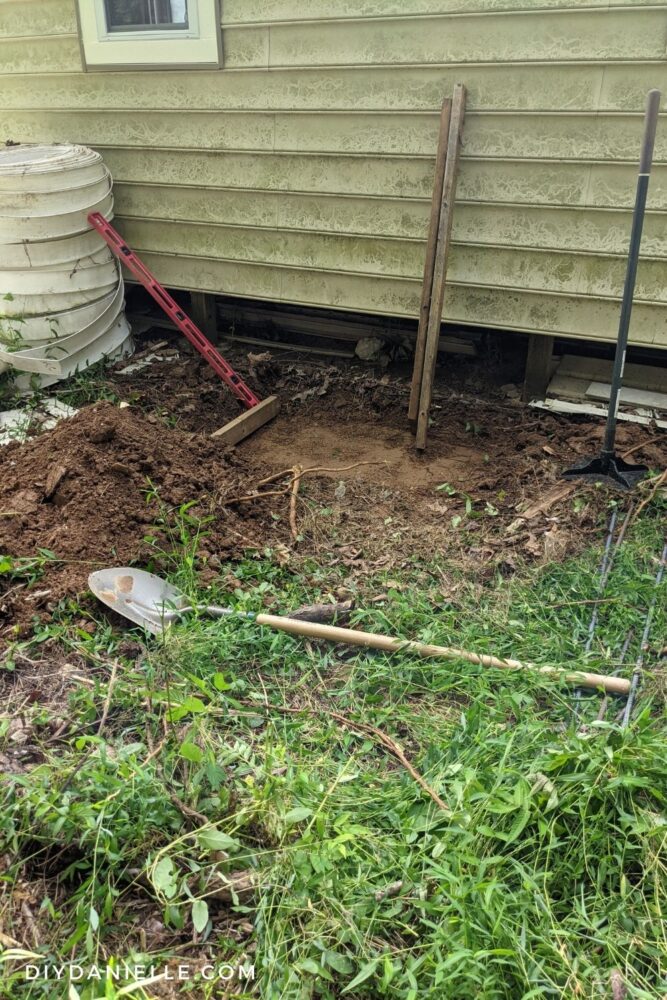
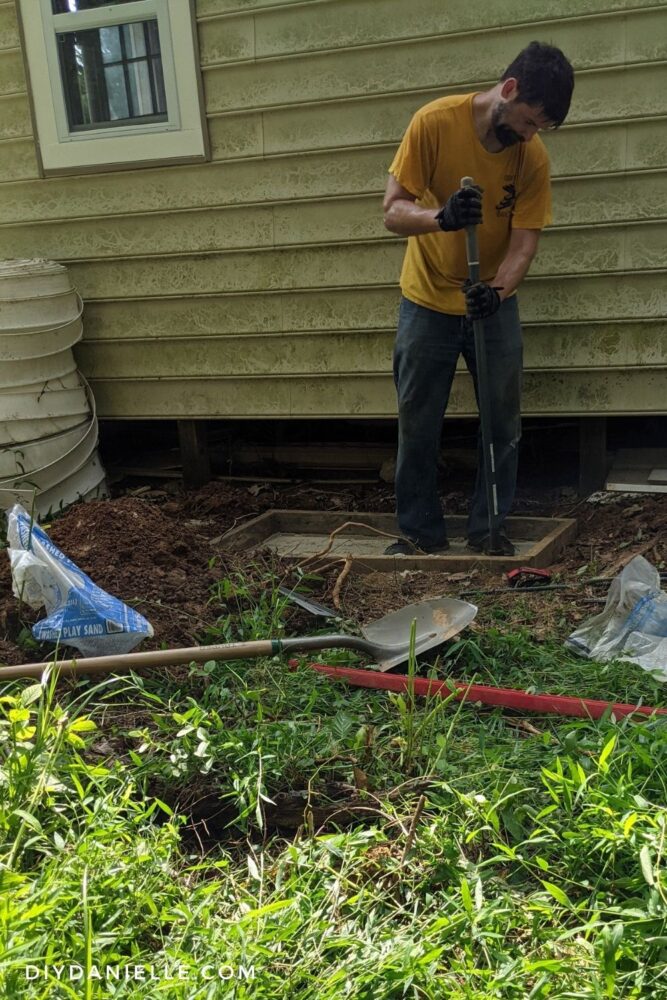
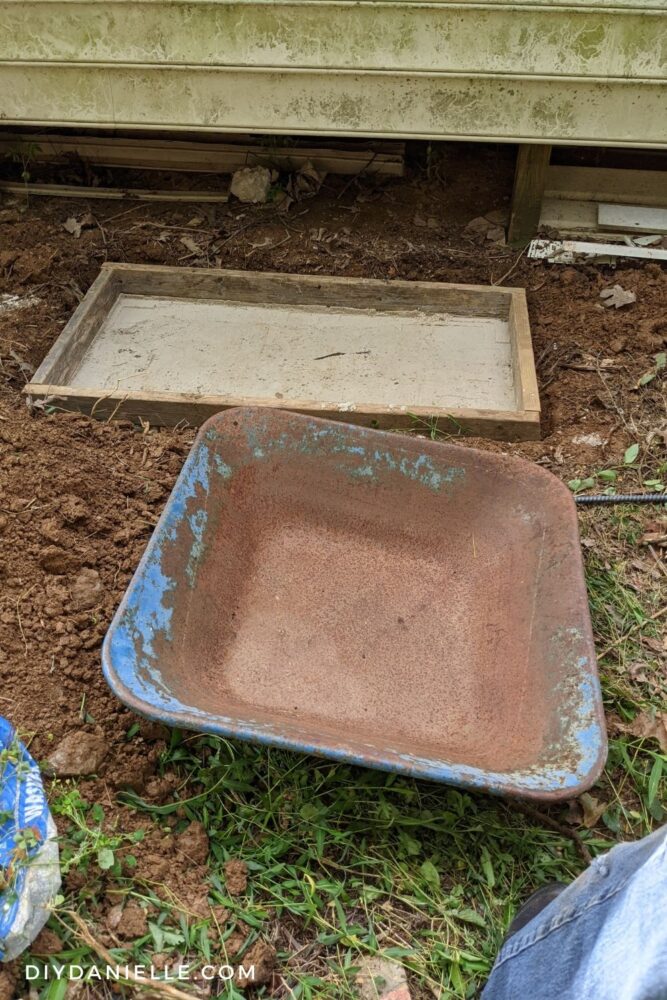
Step 1: Dig
Start by digging up the soil where you want to place your slab. You can measure and mark the area with Inverted Marking Spray if you prefer.
The zone needs to be deep enough to fit your 2x4s with the 4″ part up.
Step 2: Build a simple rectangle with 2x4s and place it where you want your slab. Our 2x4s were cut as follows: (2) 24.5″, (2) 52″.
Ensure it is level.
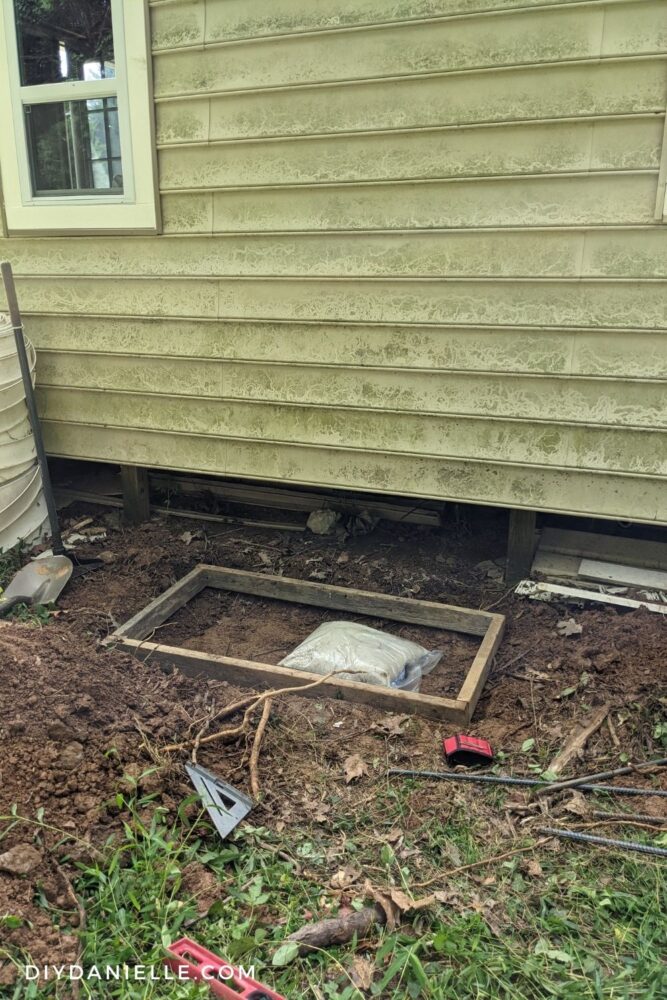
Step 3: Add sand. Tamp down.
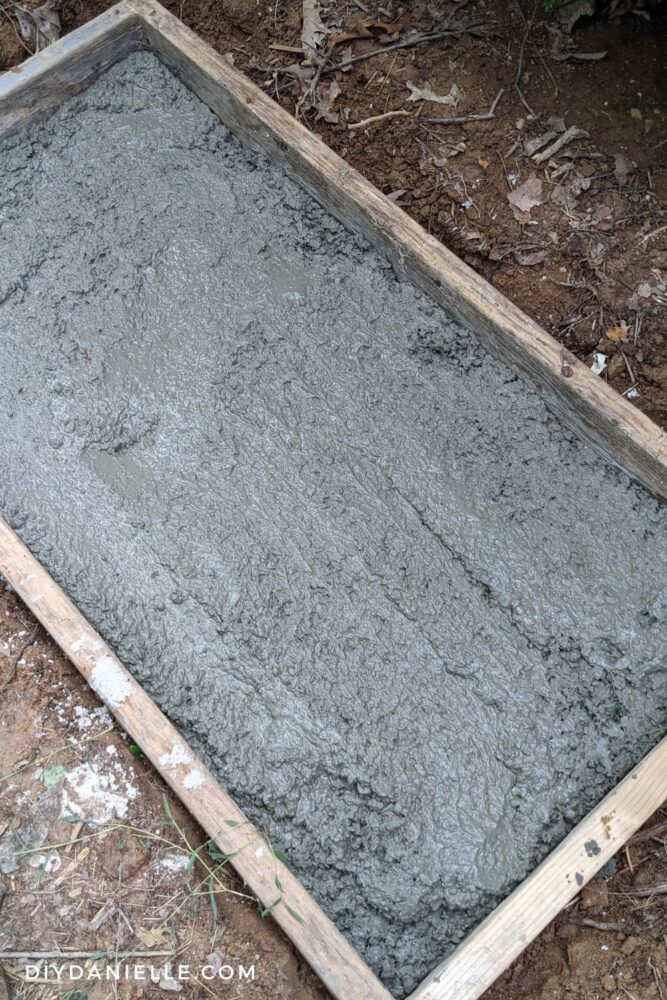
Step 4: Mix your first bag of concrete thoroughly, according to the directions on your bag. Pour into your 2×4 frame/concrete form.
Step 5: Continue to mix concrete in your mixing pan, then pour it into the frame, one bag at a time. Once you’re most of the way to the top of your frame, stop.
Step 6: Add your short pieces of rebar, spacing them evenly.
Step 7: Add your two longer pieces of rebar, spaced evenly, on top of and perpendicular to the short pieces.
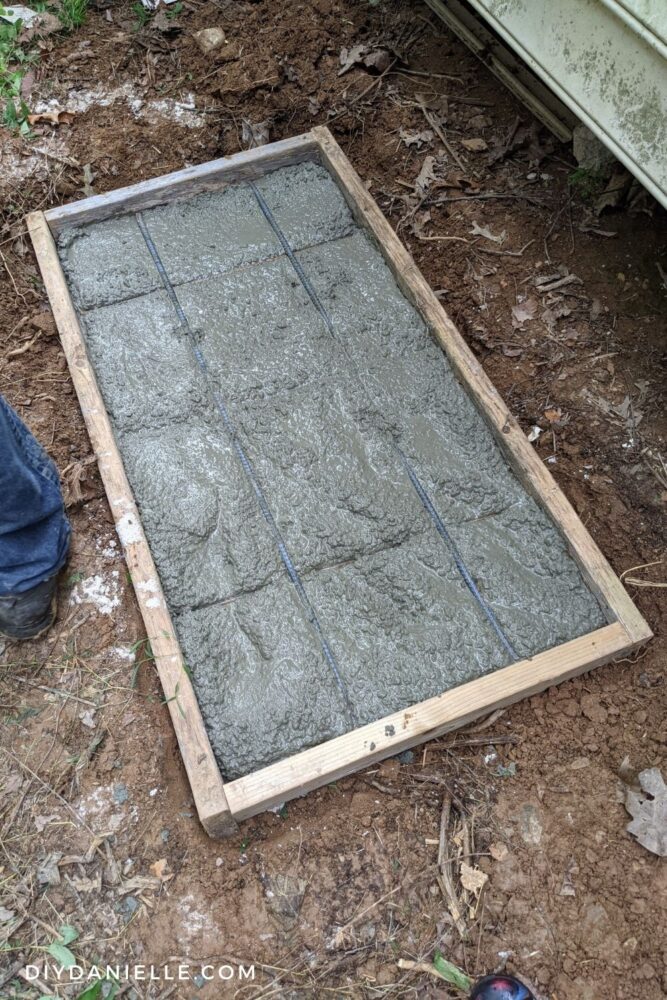
Step 8: Mix and pour the last of your concrete into the frame.
Step 9: Use a 2×4 or trowel to smooth out the top of your concrete.
Step 10: Let harden.
After it had a few hours to set, we laid a piece of plastic over the top to protect it and hold the moisture in until it fully cured. Concrete can take a long time to fully cure, but this is depending on the concrete type, the depth of the slab, the weather, and more.
Just to give you an example, we had a company pour concrete piers for a barn to be placed on. The barn company wants the concrete to cure 5-7 days before they place the barn on the piers. According to a quick web search, 28 days is generally the full curing time, but 7 days is usually sufficient for heavy traffic. This particular slab was fine to walk on within 24-48 hours, although we didn’t place our mini split right away (due to availability of the installer).
Keep an eye out for the She Shed Final Reveal! I’ve been slowly updating several sheds so you should also check out our Shed Repairs Series that will cover several different types of updates and repairs that we’ve done to older sheds on our property.
Please share and pin this post! You can also post your project and tag the DIYDanielle team on Instagram @doityourselfdanielle!
Google Web Story: How to Pour a Concrete Slab