


How to add interior window trim with window jamb and casing to a she shed. This unique trim is easy to clean and painted gray and pink!
Originally, this shed only had one long horizontal window and a garage door. We removed the garage door and framed it out to install a small exterior door. It was a lot of work to rebuild the garage door side of the shed. When we got done and only had the one small door with it’s simply window, it became pretty quickly obvious that the RIGHT way to do this she shed project was to add windows.
Without windows, the lighting would be pretty dismal.
We purchased four windows and installed them. The exterior of the windows needed to be trimmed out too, which we did right away so we wouldn’t have any water leaking into the shed.
Our next step was to trim out the interior of the windows, after installing the beadboard walls.
This post may contain affiliate links which may earn me commissions should you click through them and take certain actions. As an affiliate for Amazon, Cricut, xTool, Home Depot, and other sites, I earn from qualifying purchases. Please DIY carefully. View my full legal disclosures here.
The majority of my content is generated by me, as are 99% of the photos and videos, but I utilize technology for titles, descriptions, video editing out all of my ums, and occasionally for text overlay on images.
Please read the whole post so you don’t miss any important information!
My windows were the 23.375 in. x 35.25 in. 50 Series Single Hung White Vinyl Window with Nailing Flange. We bought the wrong windows THREE TIMES before finally getting the right ones. Returning them repeatedly took way more time and mental energy than I care to admit.
What is Casing vs. Trim?
Trim refers to any type of trim, including casing and baseboard. Casing specifically refers to the interior and exterior trim that goes around the window.
When a window is installed, there is a frame of wood (2x4s in our case) supporting the window. The window is attached to the frame, then casing is added outside to block bugs and weather from getting in. Casing on the interior of the house is predominantly decorative.
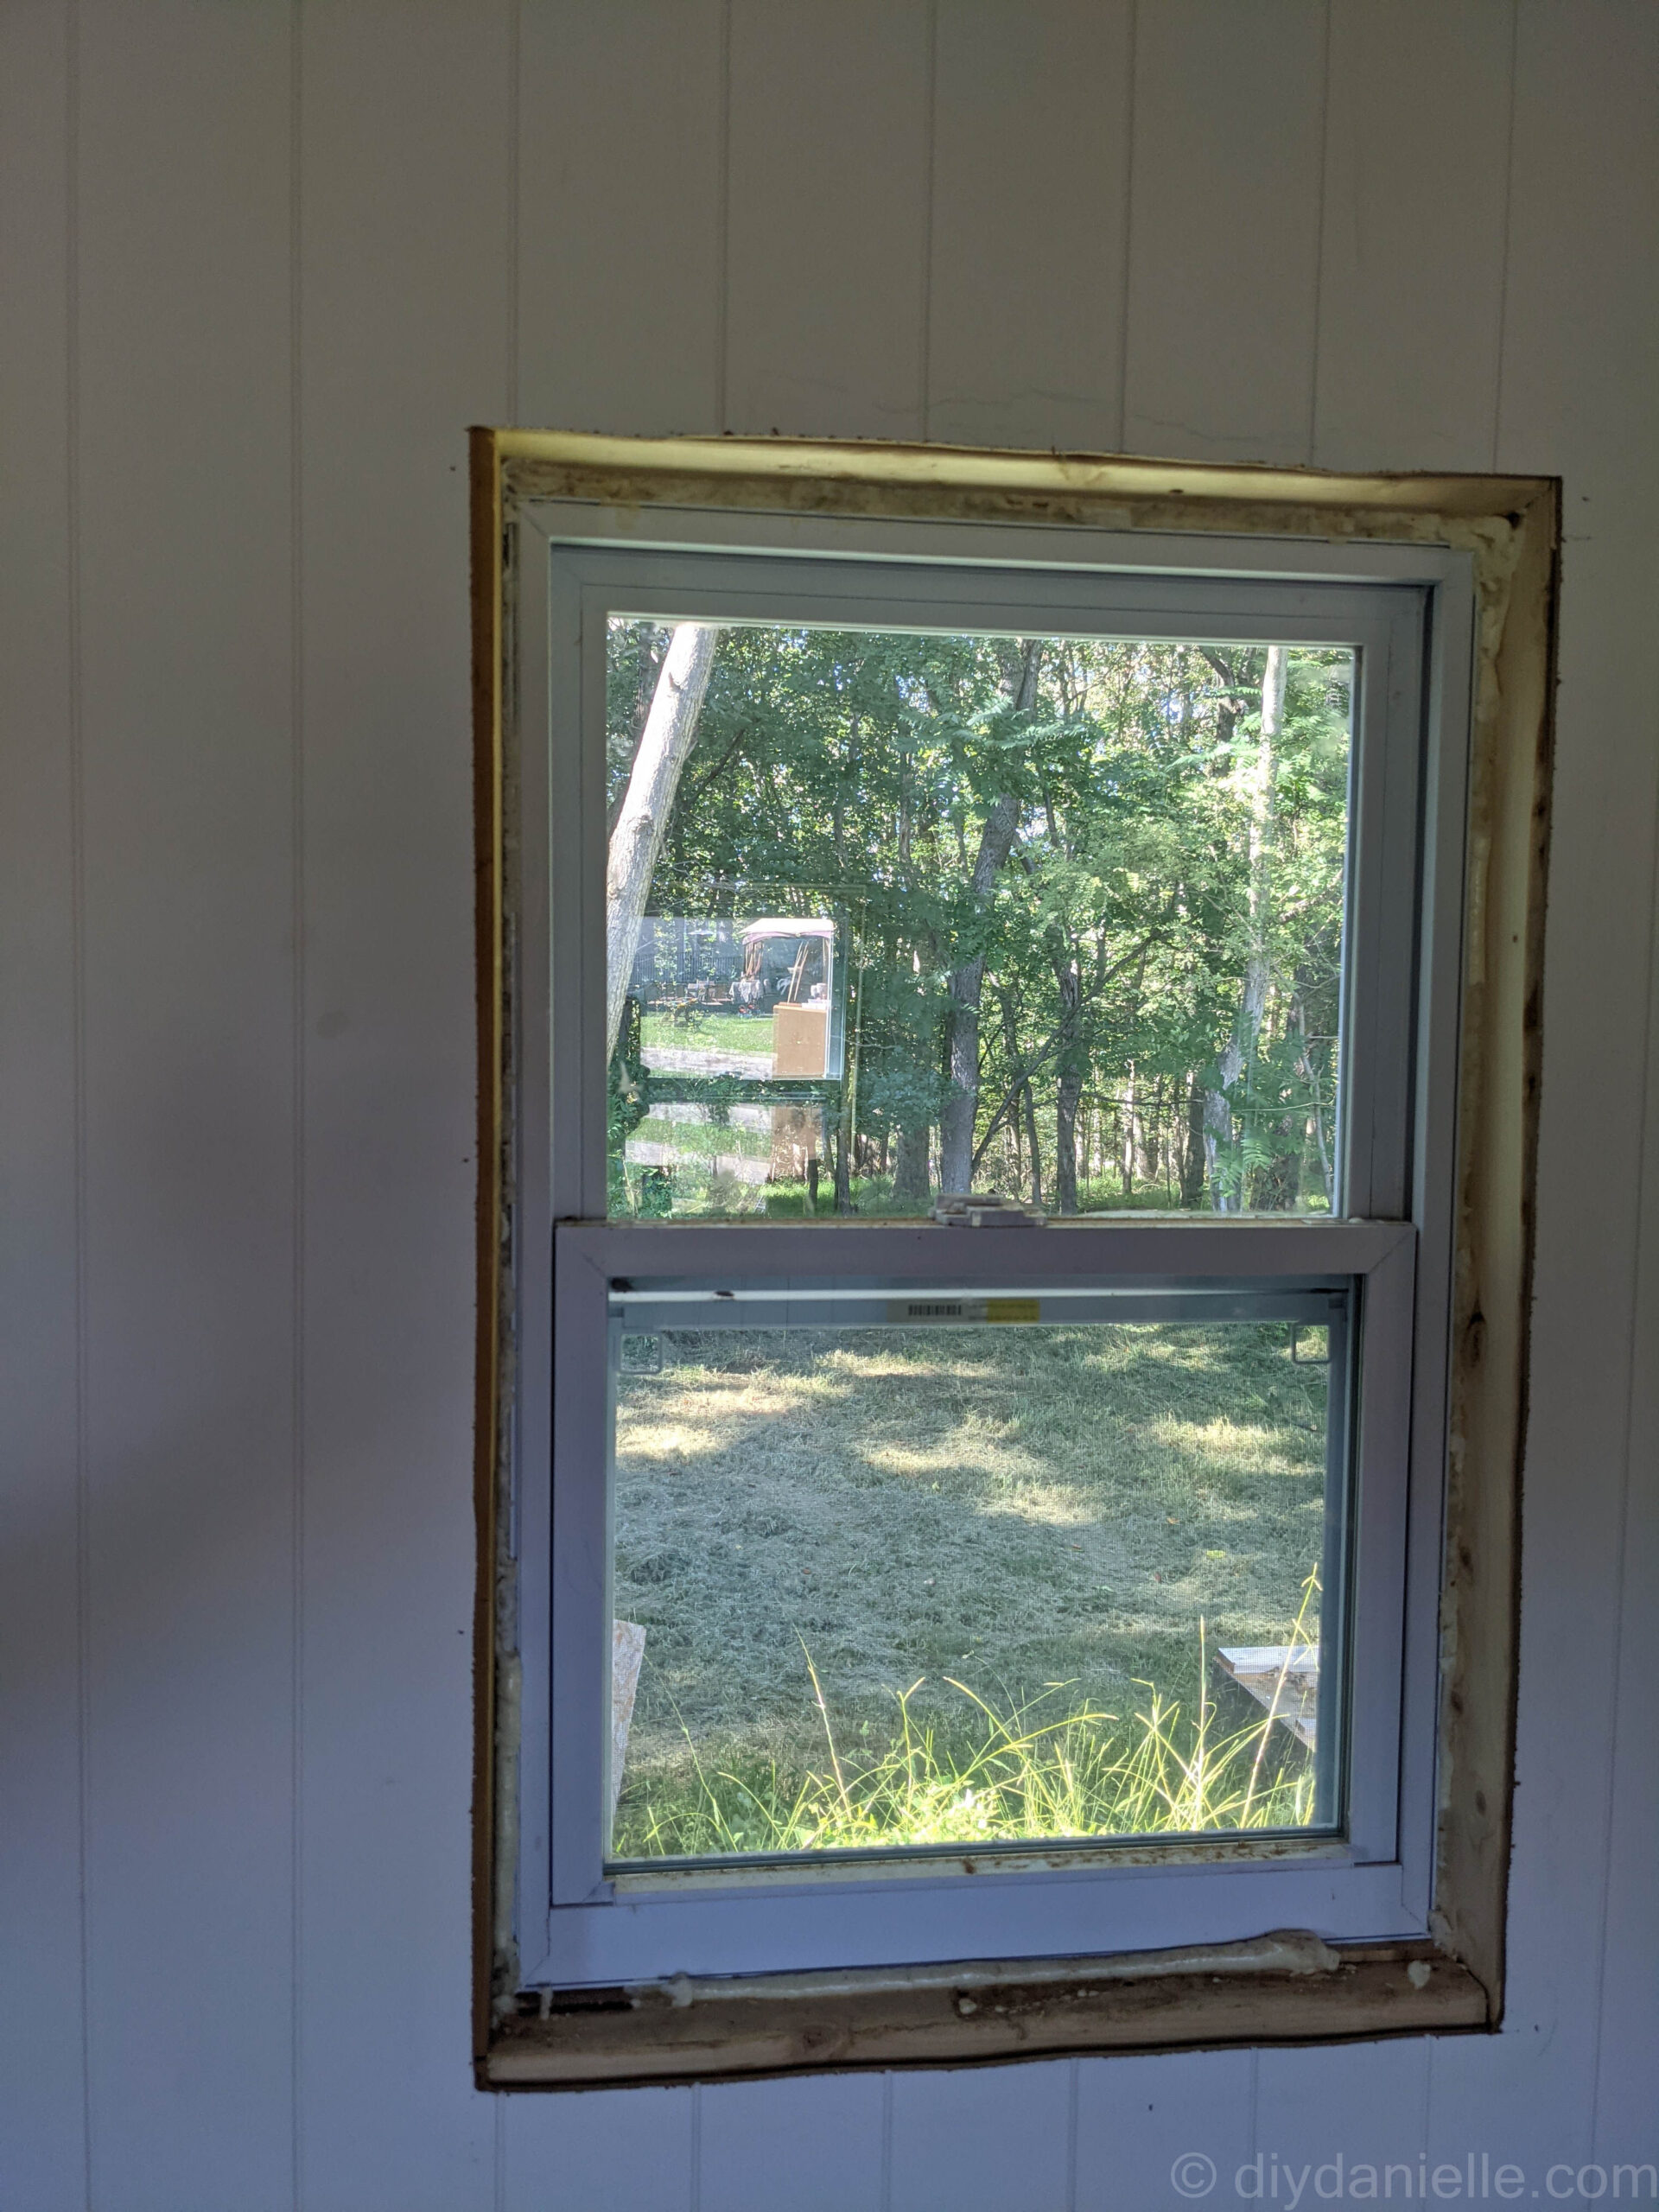
After all, you wouldn’t want your windows to look like this, right? The casing will help cover the raw edges of the paneling, and hide the spray foam insulation that I used all around the window to help insulate around it.
How to Install Interior Window Trim
Last year we paid someone to install a window in our upstairs bathroom. After watching each step of the process, I figured this was something I was willing to tackle for the she shed. I liked the framing style that we did on that window so I opted to go the same route vs. trying to trim them the same way contractors typically install window framing with a windowsill.
These windows do NOT have the traditional windowsill. They were very easy to install though and I was able to purchase the trim pieces fully primed which saved me some time.
Supplies
- AZEK Trim 0.75 in. x 3.5 in. x 8 ft. White PVC Traditional Trim
- Scrap 3/4″ plywood
- Ryobi Brad Nailer
- Level
- Safety Gear: Quality Mask (it’s not safe to breathe in the bits of MDF that are thrown around when you’re cutting it)
- Shims
- Caulk: paintable
- Wood glue
- Miter saw
- Spray foam insulation
Spray Foam any Gaps
The first thing I did was to use spray foam insulation. Once it dried, I cut away any excess pieces that might get in the way of making the casing for the window.
My friend Scottie from ByScottie came over to help me because I had a bit of paralysis about attacking this project- it seemed REALLY HARD at the time and it was great to have someone around to help me get over that feeling.
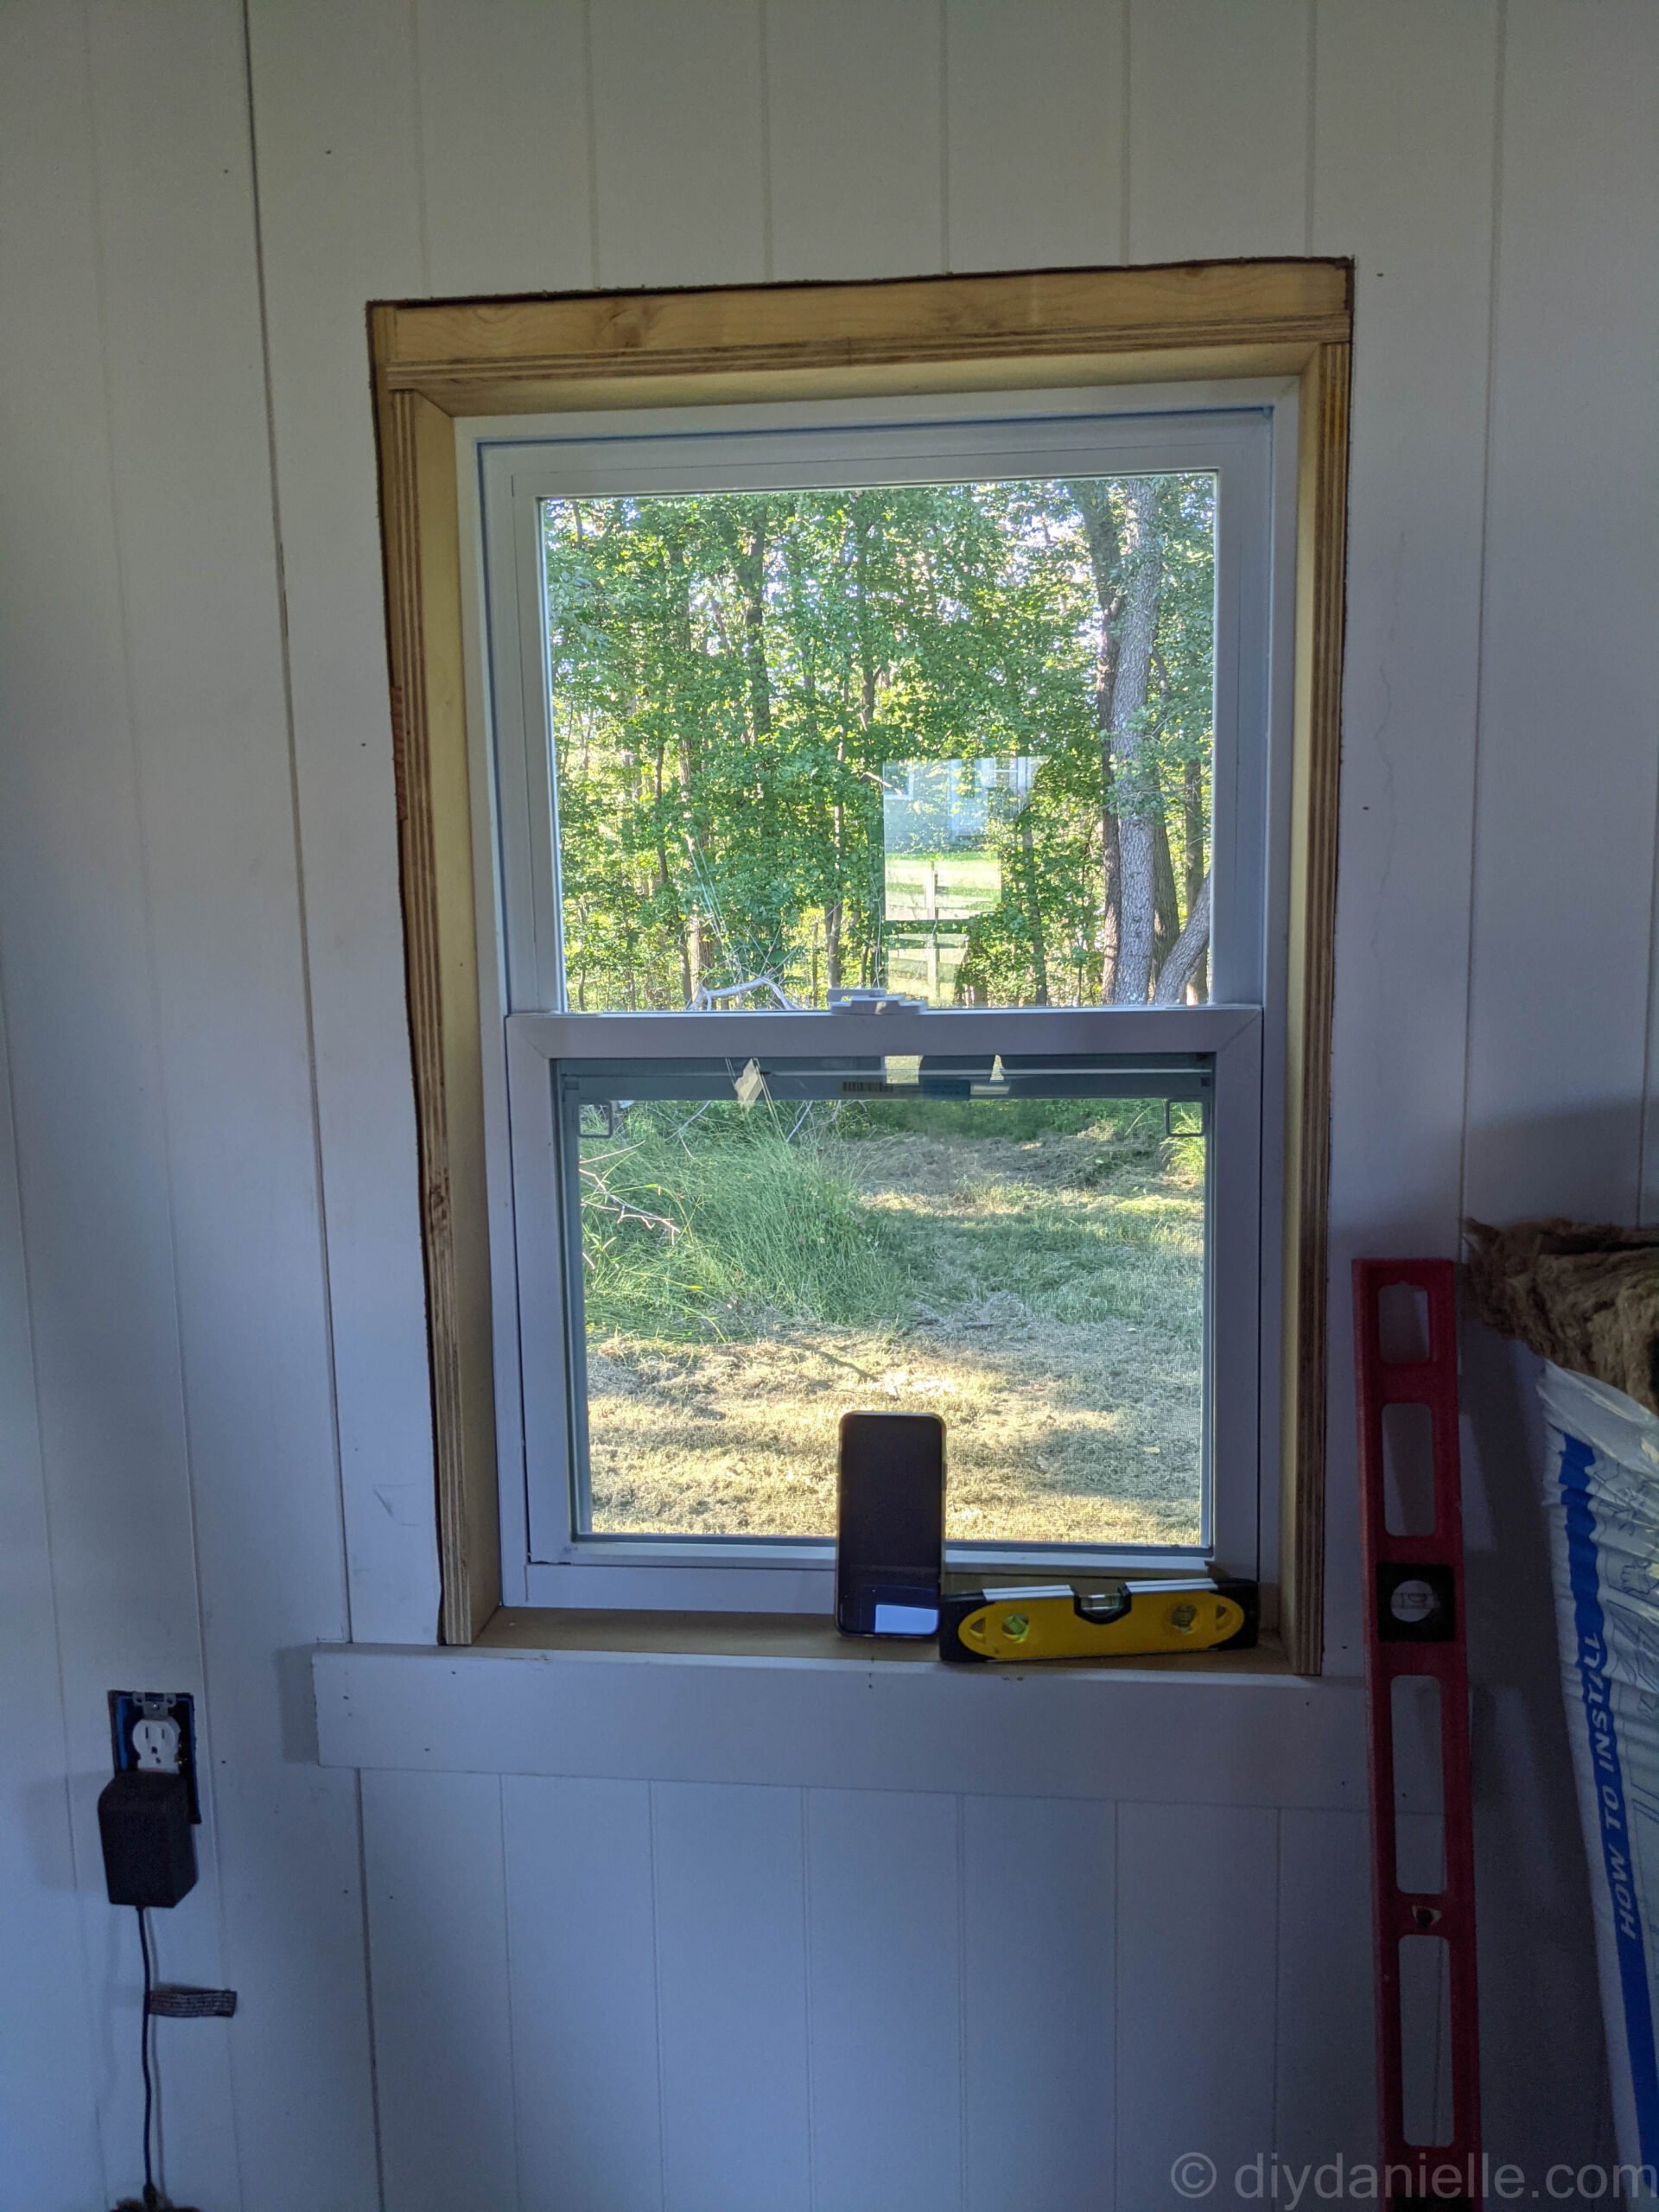
Installing the Window Jamb
I had to look up the right word for this piece- it’s called the Window Jamb apparently. We needed to add a window jamb around the whole interior of the window, then place the casing over it. The casing will hide the raw edges of the wood so 3/4″ thick furniture-quality plywood scraps were perfect for this project.
We started by measuring the depth, height, and width of the areas we needed to add the jamb to. We started with the bottom jamb (apron jamb? not 100% on terminology). We made sure it was level, then shimmed if needed, and used wood glue + the nail gun to attach the jamb.
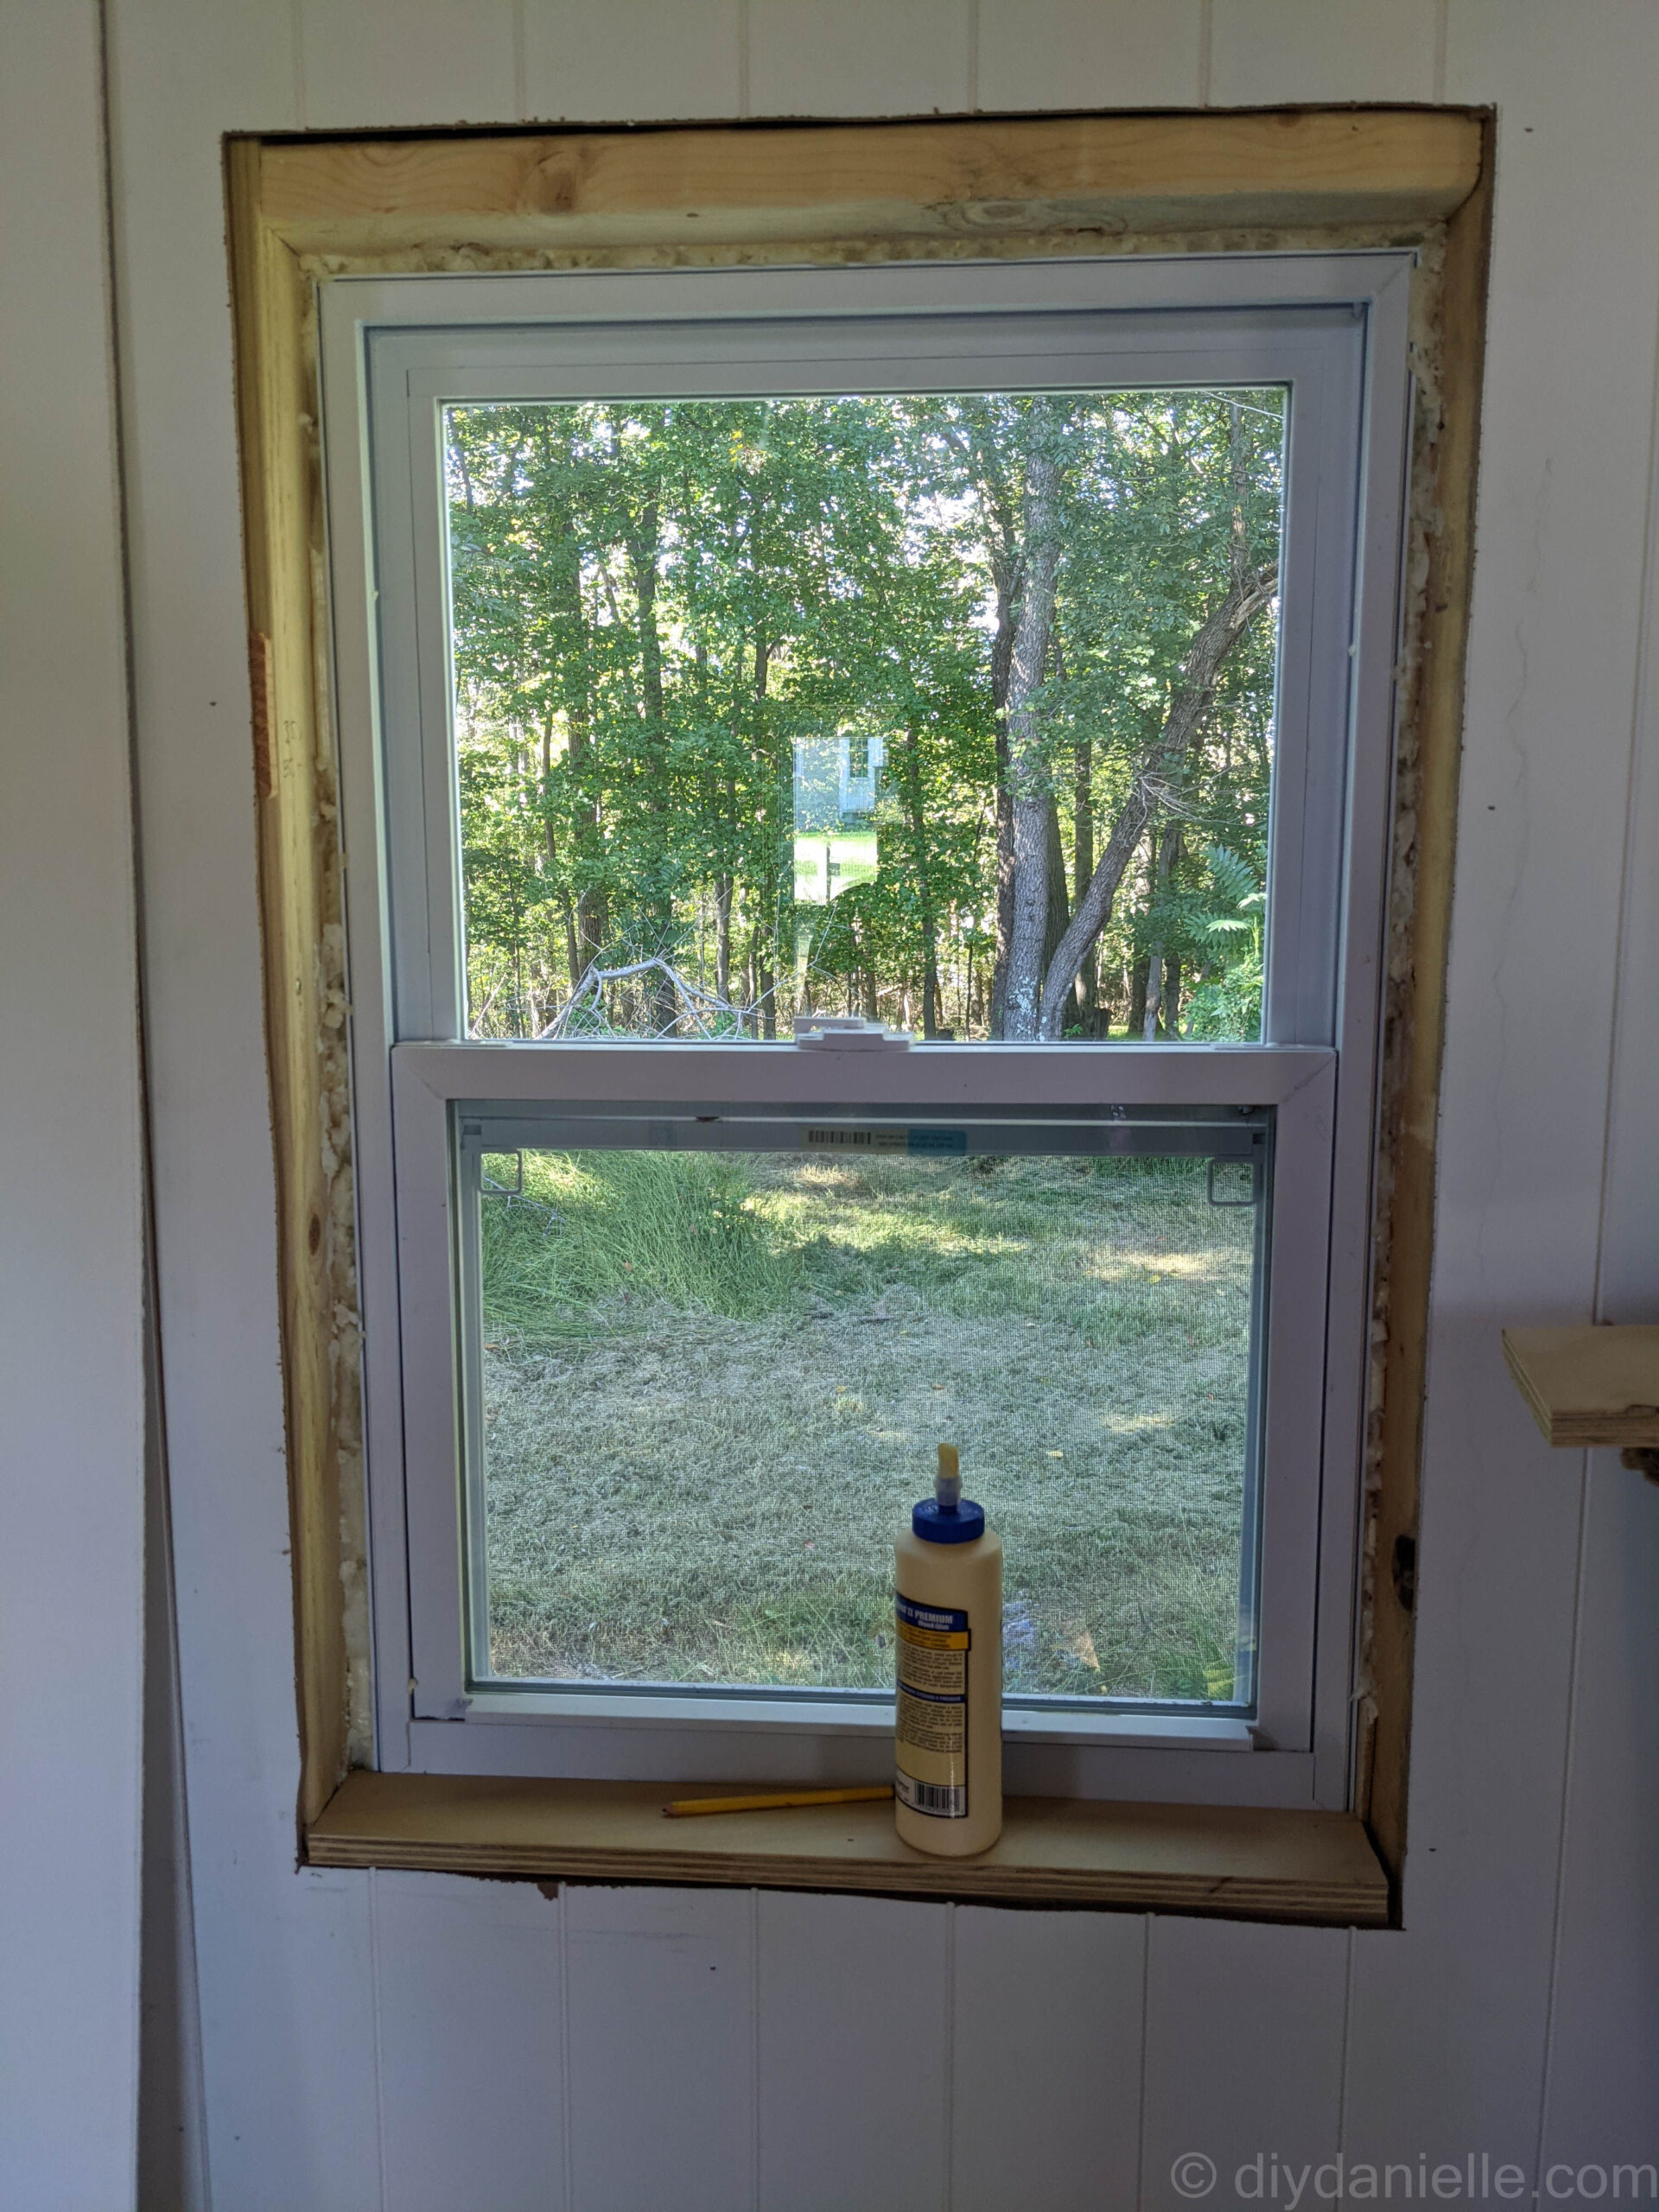
Next we measured a piece for the head jamb, and the side jambs. Once cut, we glued and nailed them all in place.
When it’s done, it should look like this. The jamb of the window gives us the smooth interior of the window that we will prime and paint to match the casing. It also gives us something to attach the casing to.
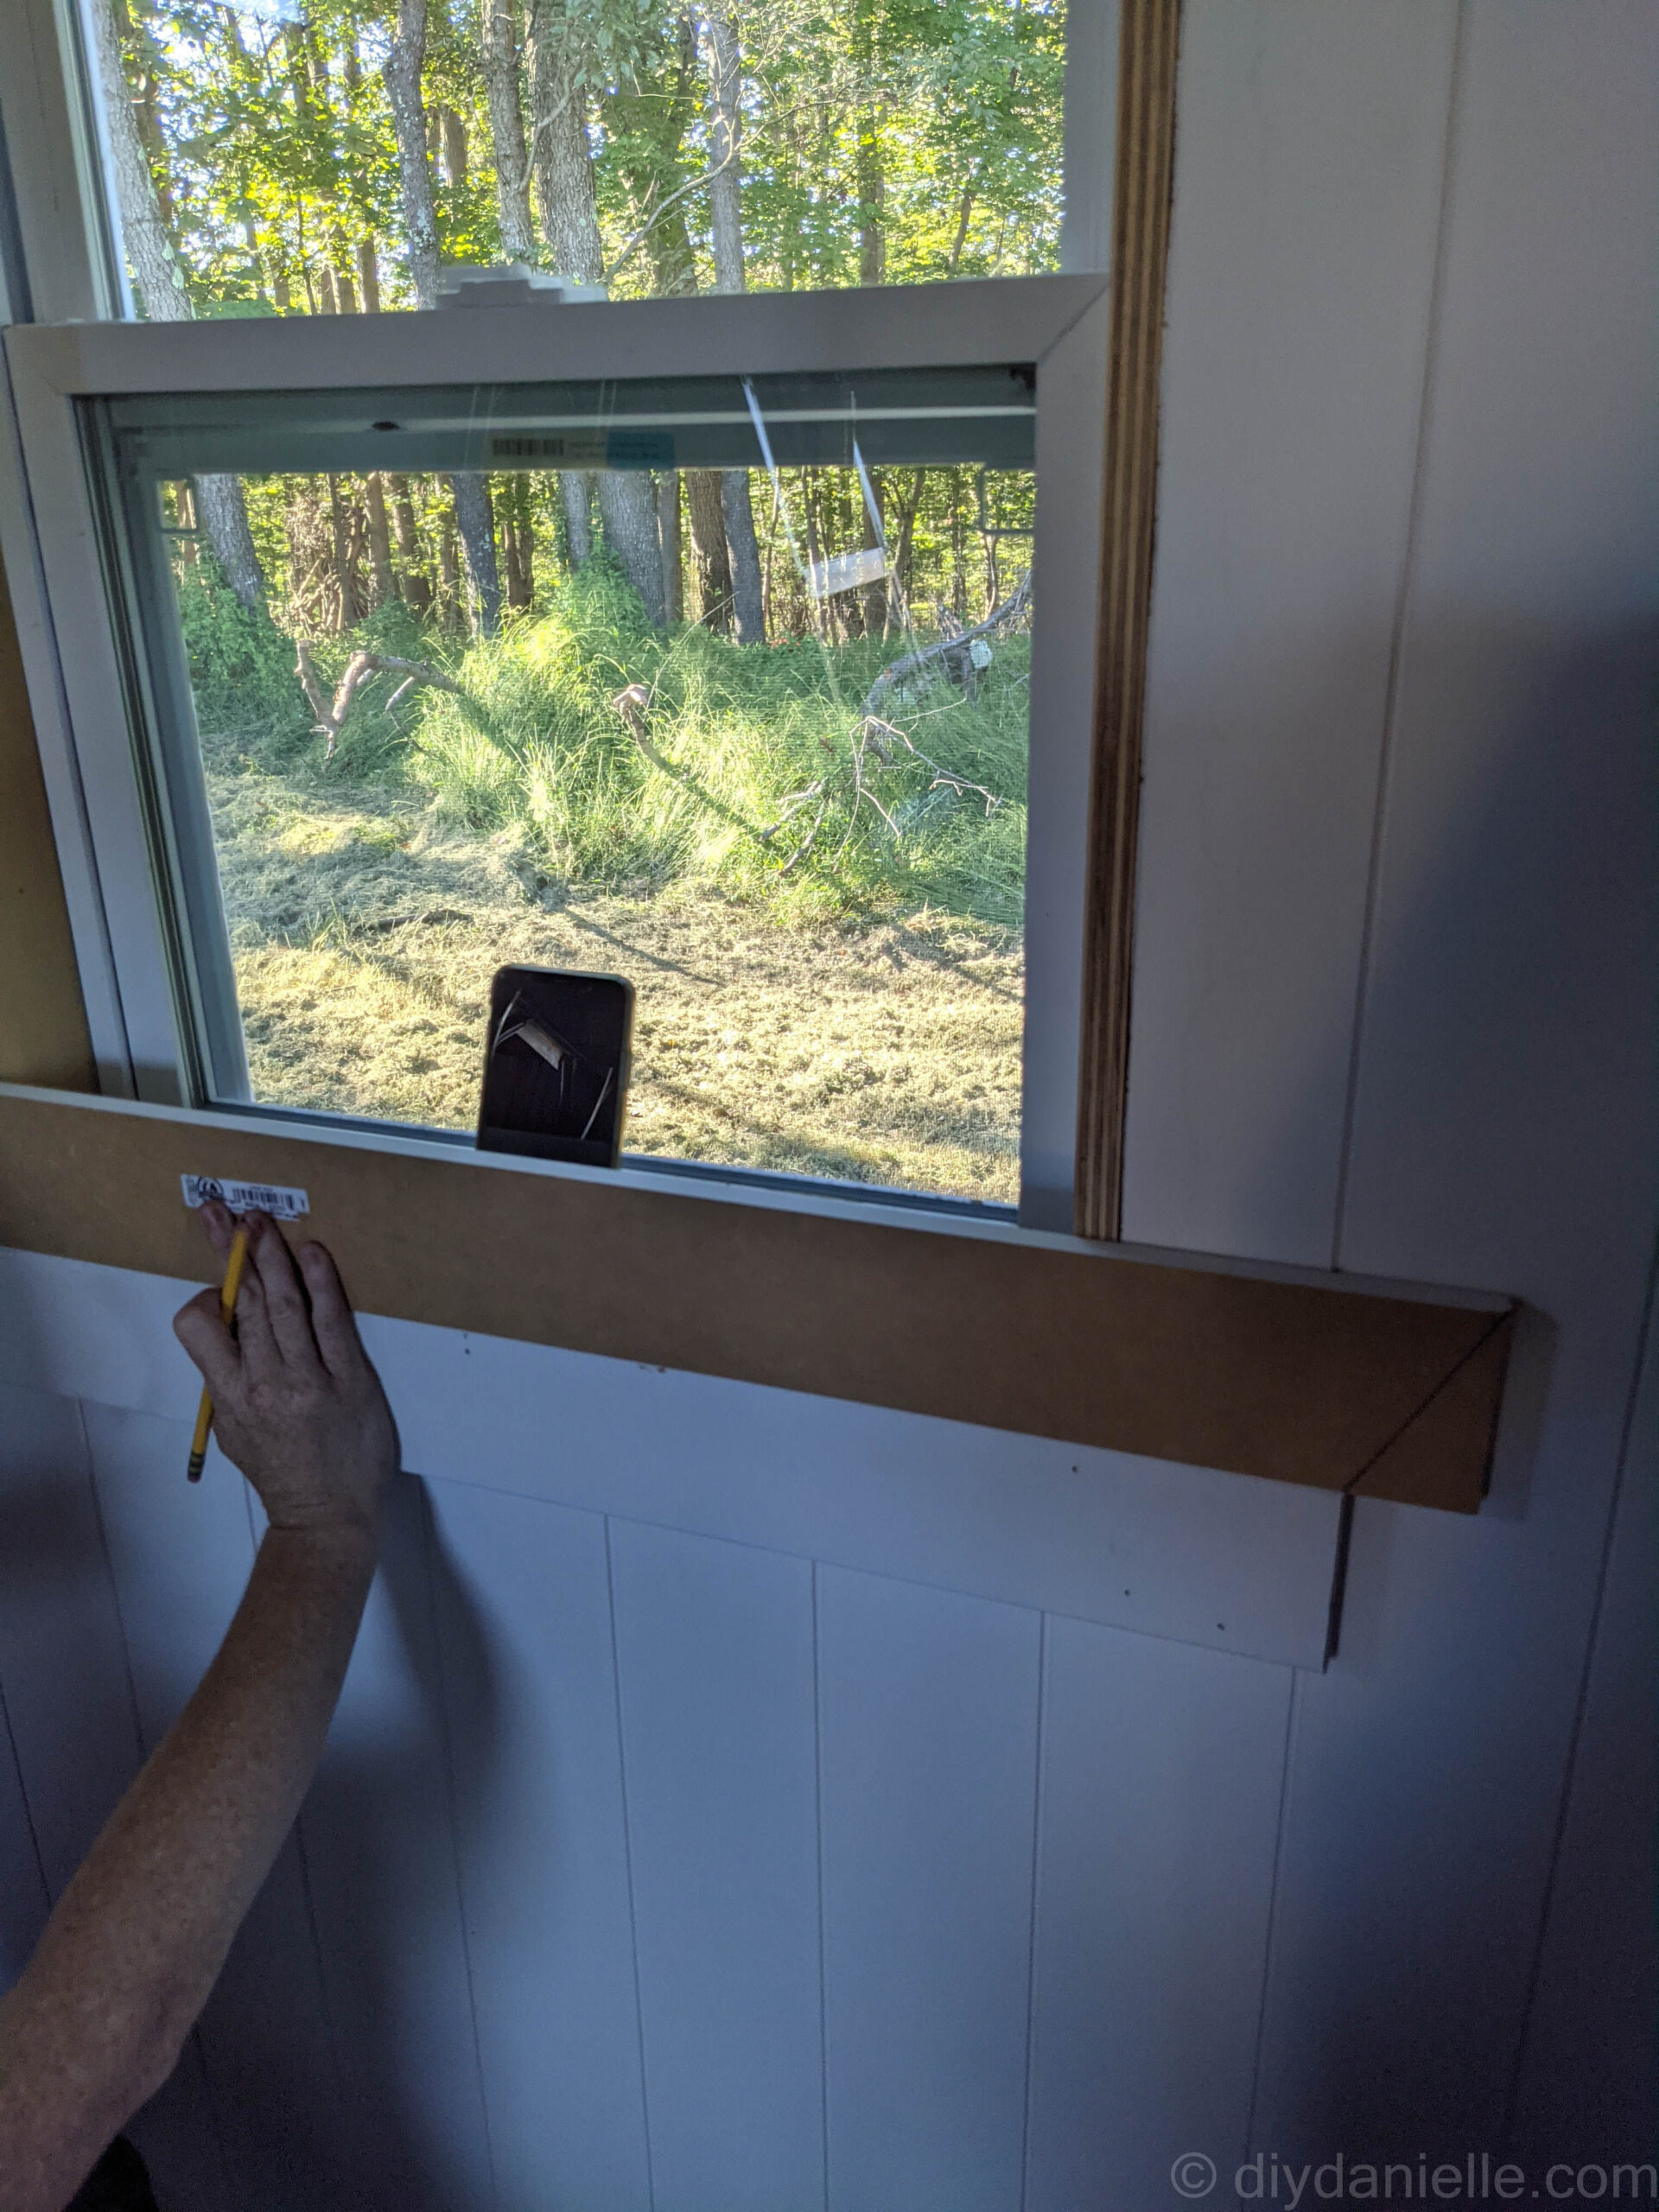
Installing the Window Casing
We were working on a window casing that was slightly different than the traditional casings I’ve always seen in homes. I like the square/blocky look that’s easy to wipe down vs. the decorating casings that have rounded edges.
For the casing, I used primed wood to save myself a step. I cut my bottom casing piece (the apron) slightly wider than it would be with the side casings on. I checked to make sure it was level and that it was all even with or above the bottom jamb. Then I attached it using my brad nailer, making sure that the center of the trim piece matched the center of the window.
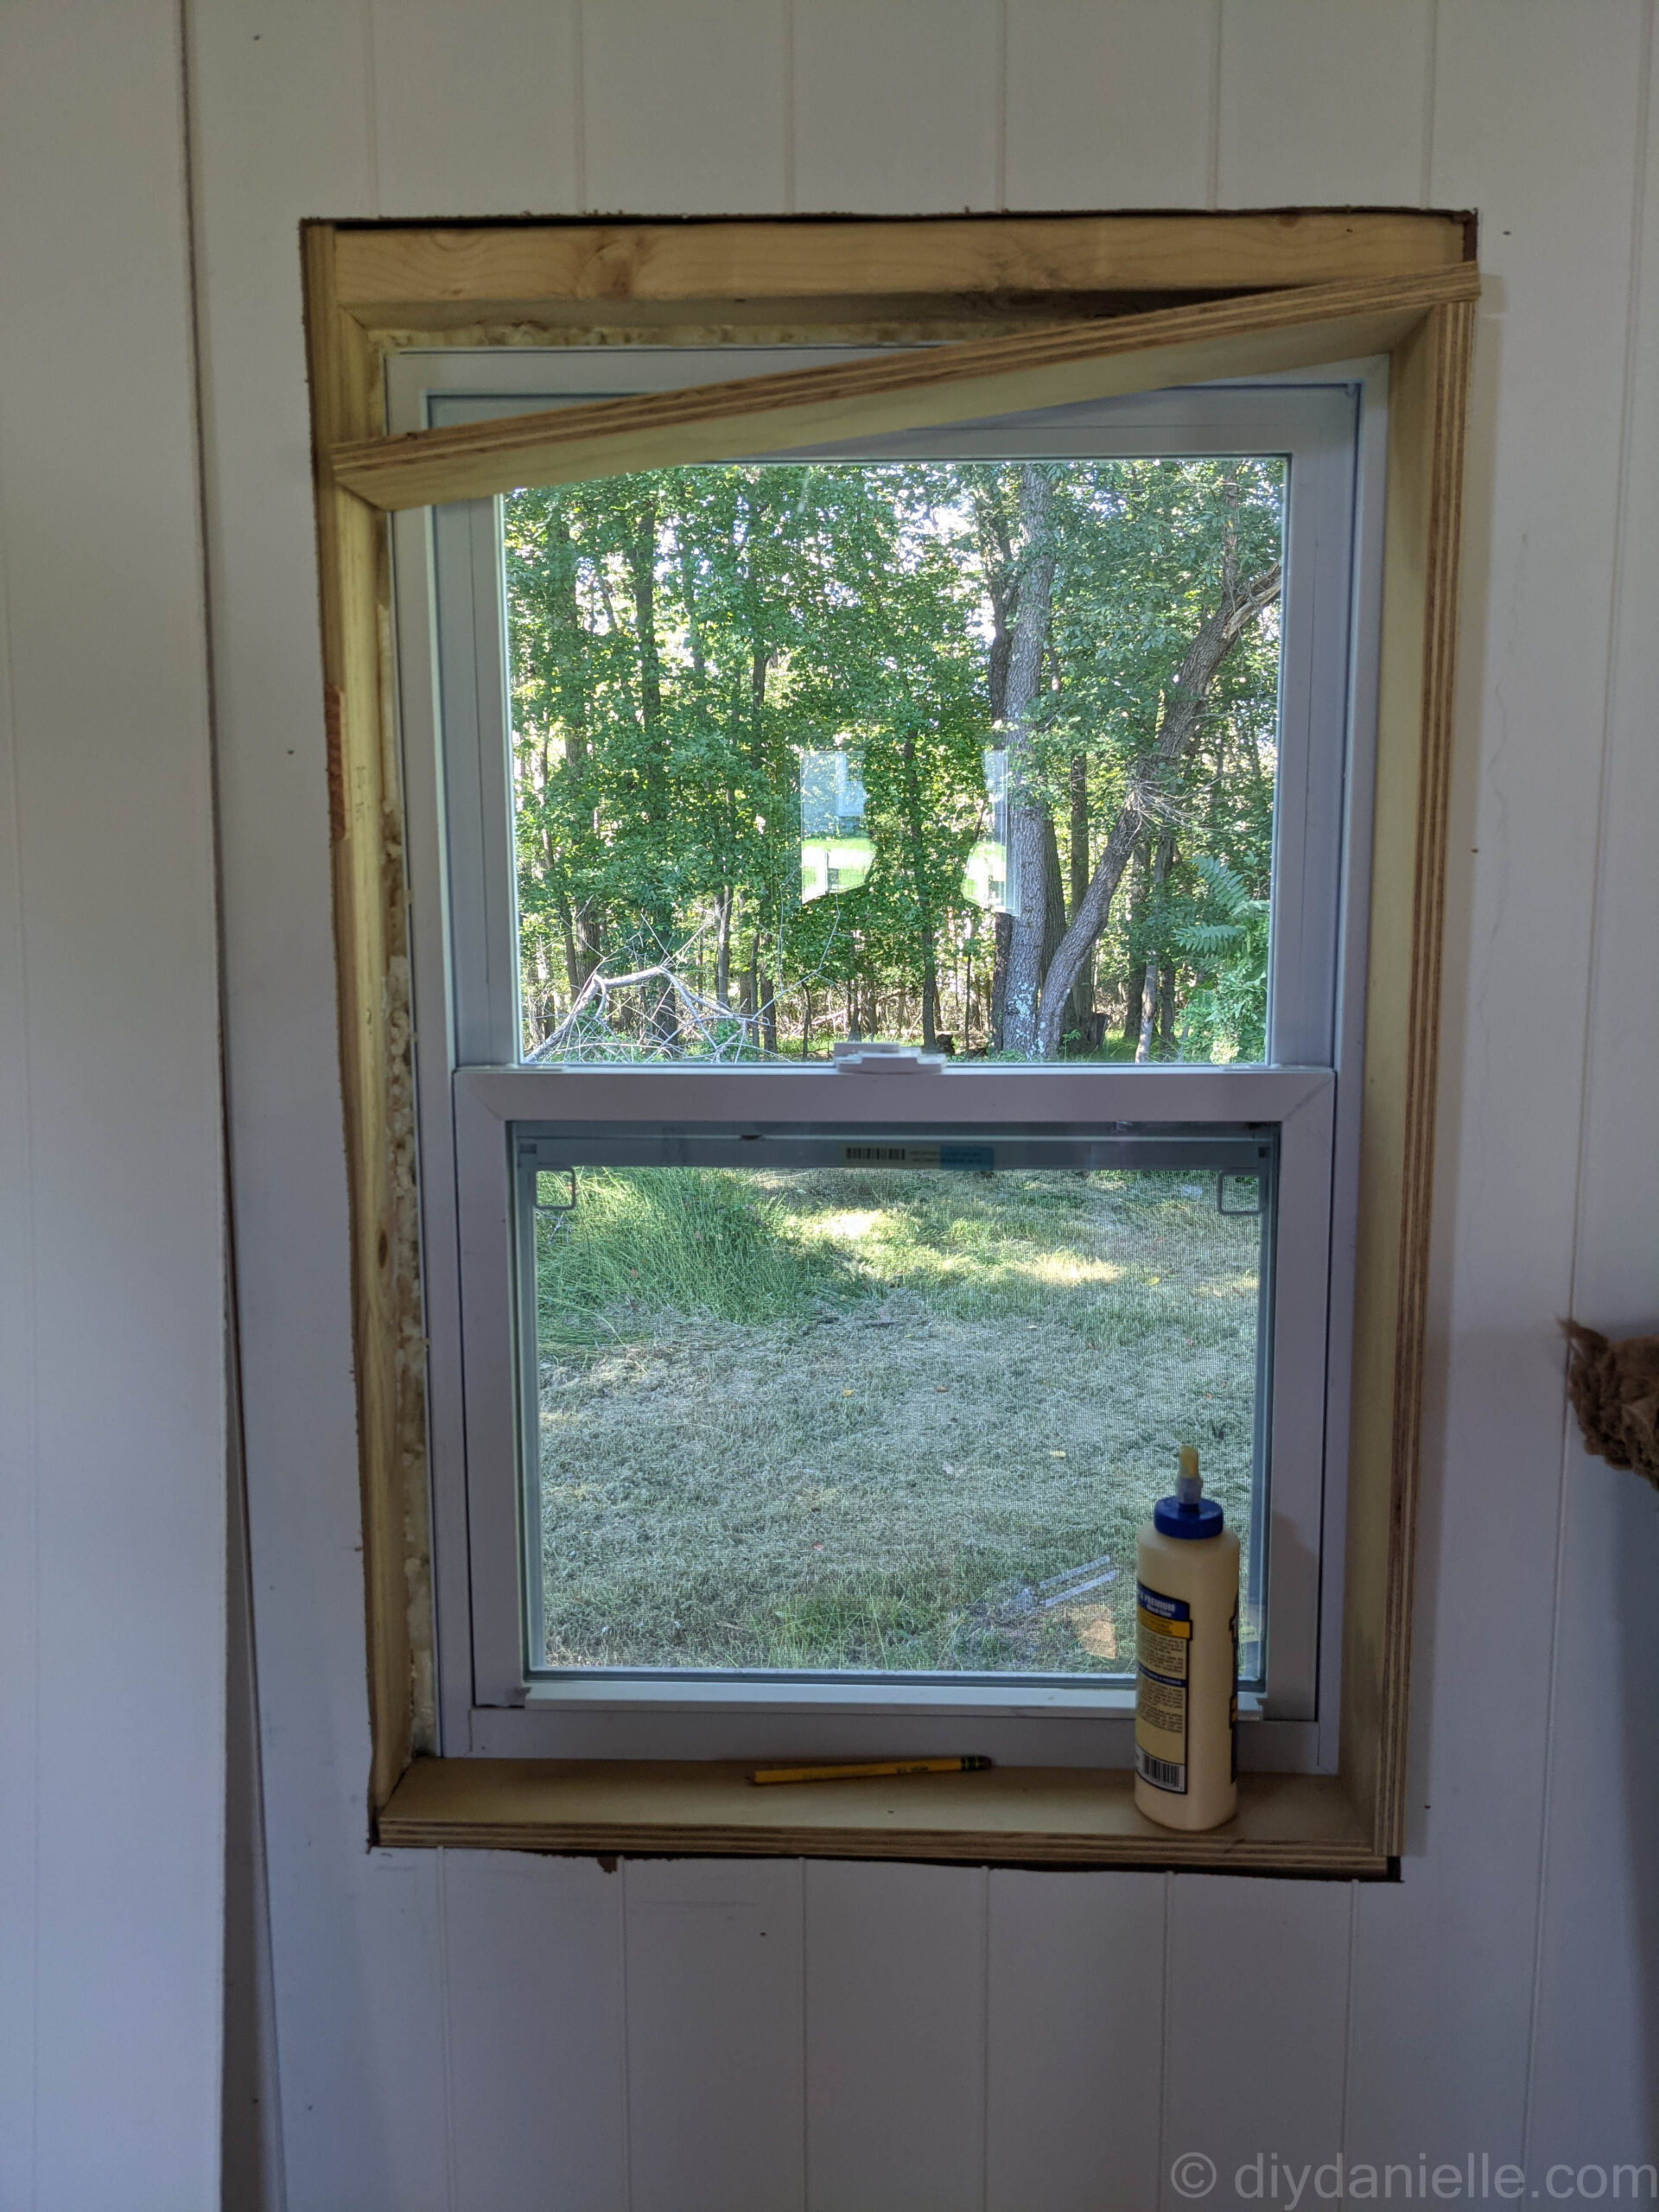
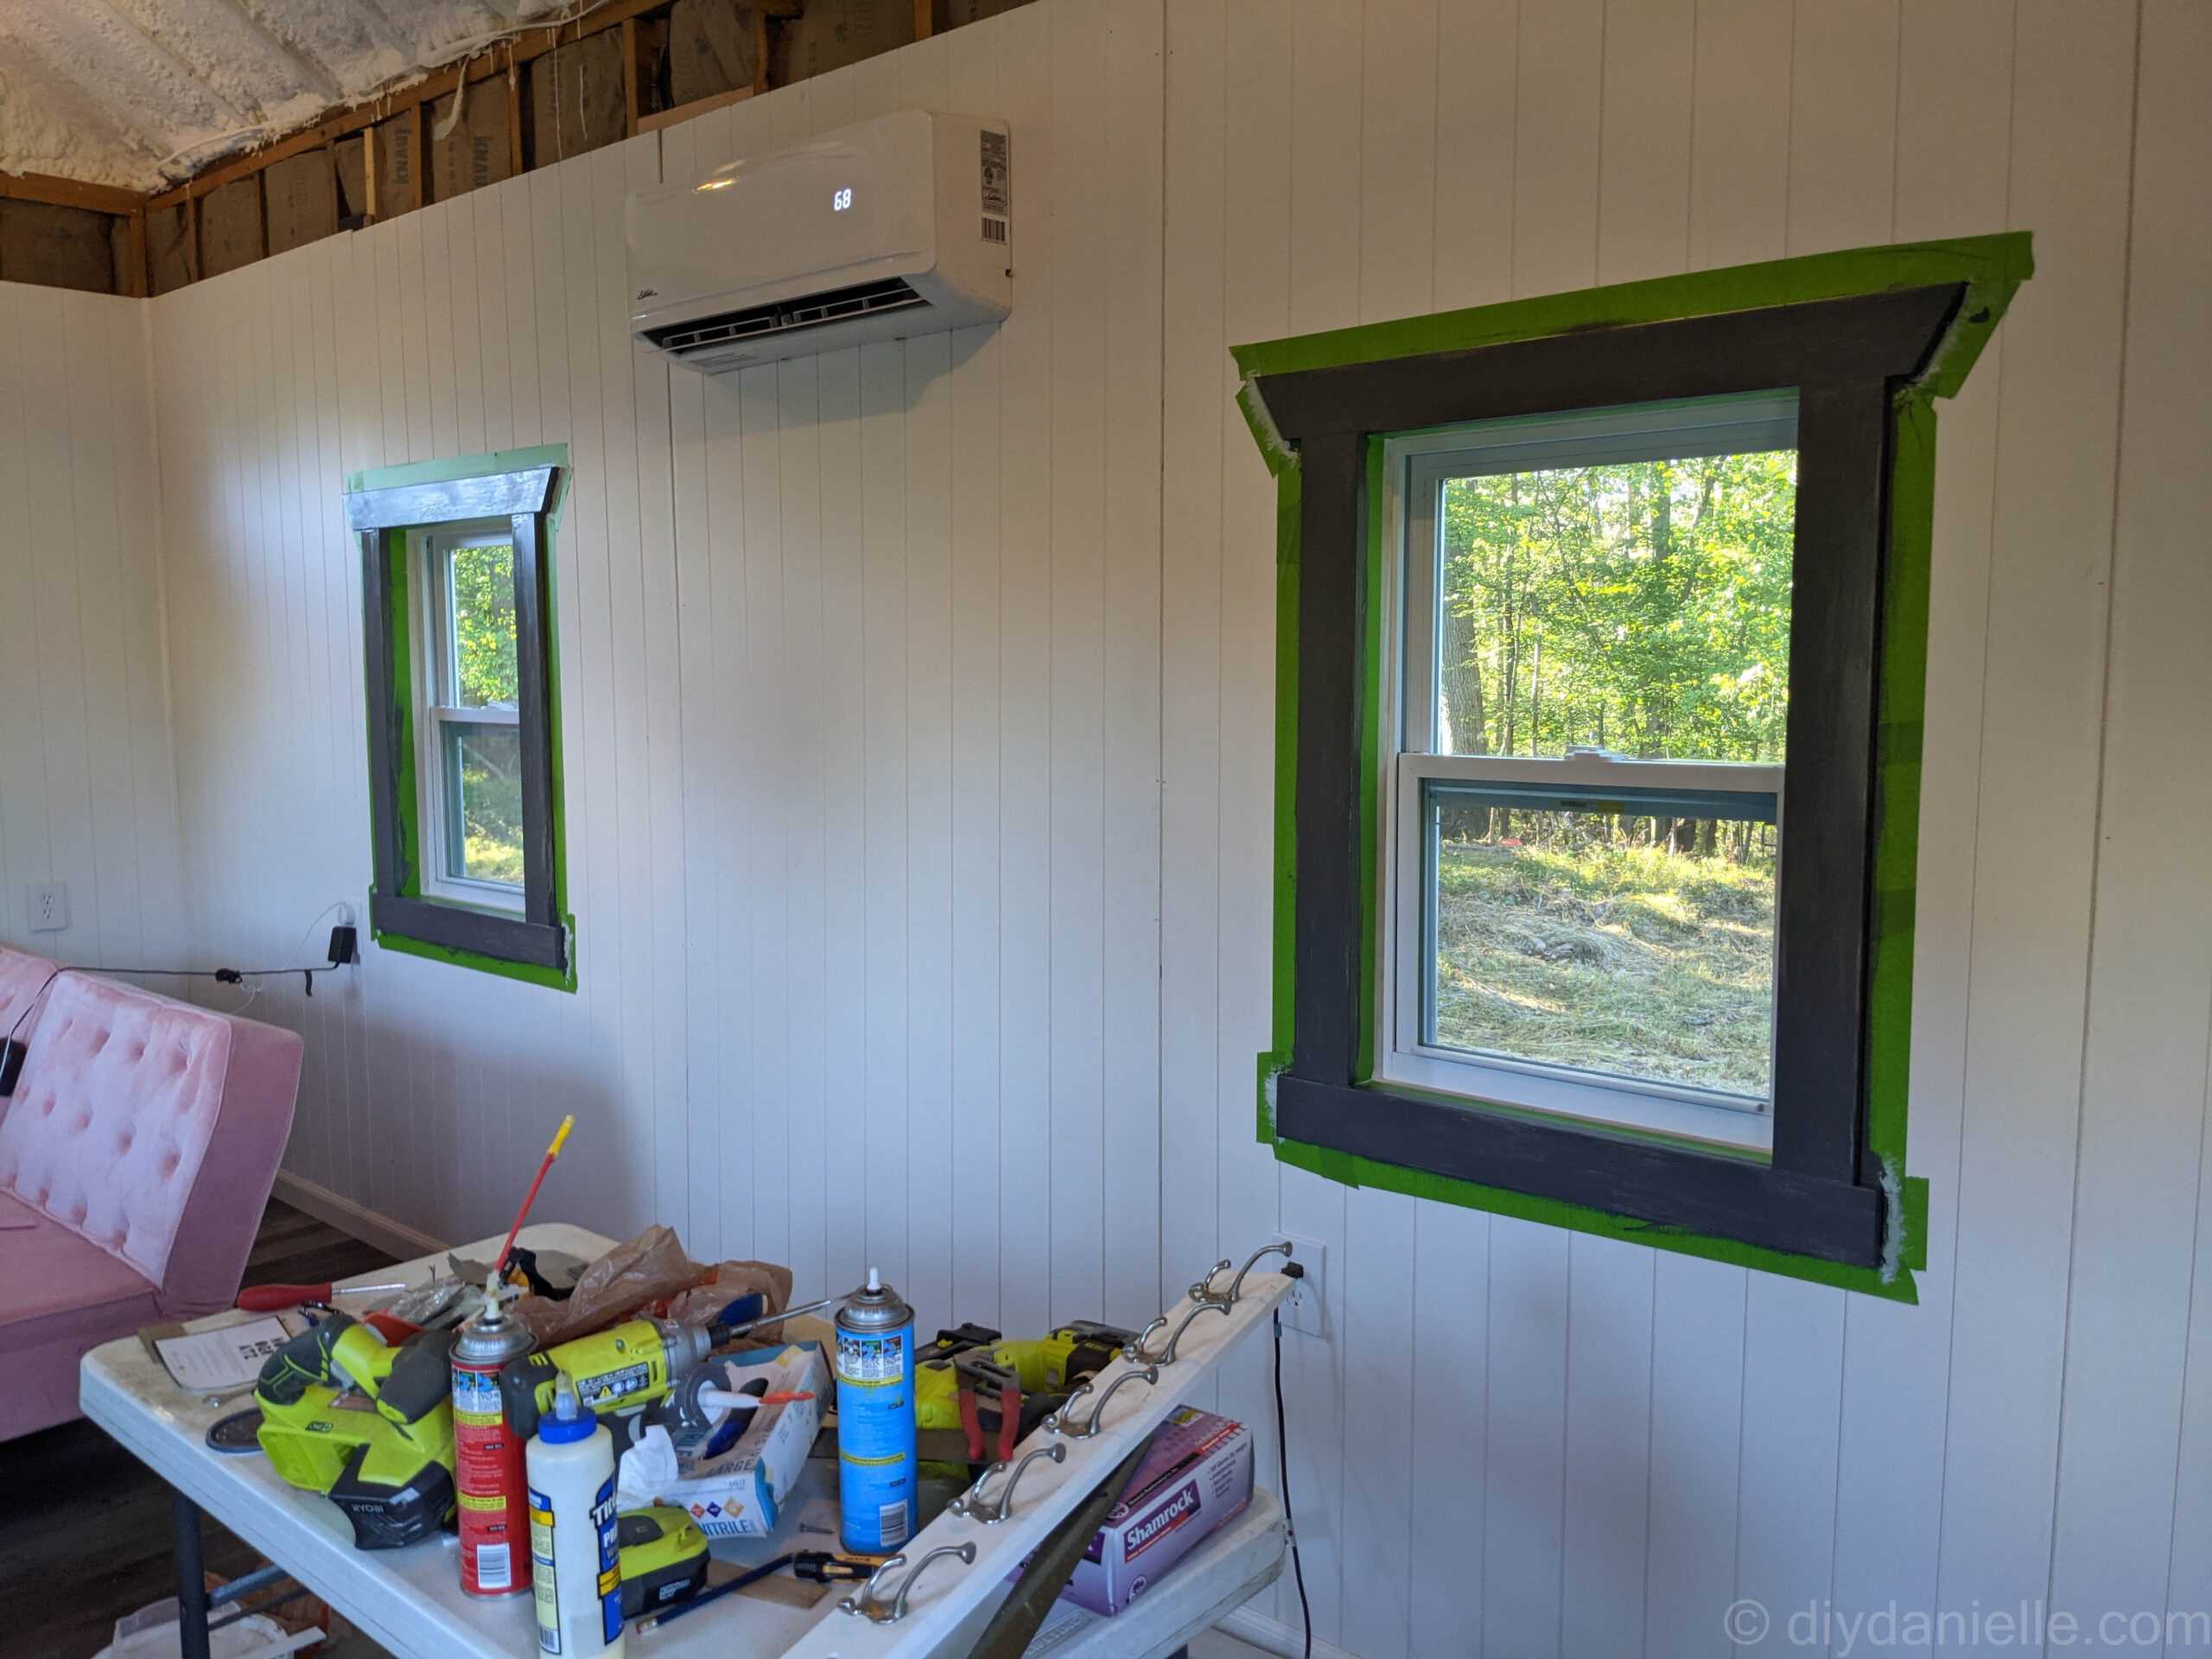
I wanted my top casing, the header, to be angled. It needed to be quite a bit wider than the apron to accommodate the angled cut.
Scottie showed me how to flip the wood to the back, then draw the angle on either side. This is how we DECIDED on the angle to use. We just repeated the angle for both sides, and for all of the window headers. I believe the angle was 31 degrees.
Once it was cut, we were able to check to make sure it was level and even with the head jam, then use our brad nailer to attach it, centered, on the window.
The side casings are just cut to the height of the area between the header and the apron. They MAY NOT be the same and there MAY be gaps. Small gaps can be filled with caulk. Attach with the brad nailer.

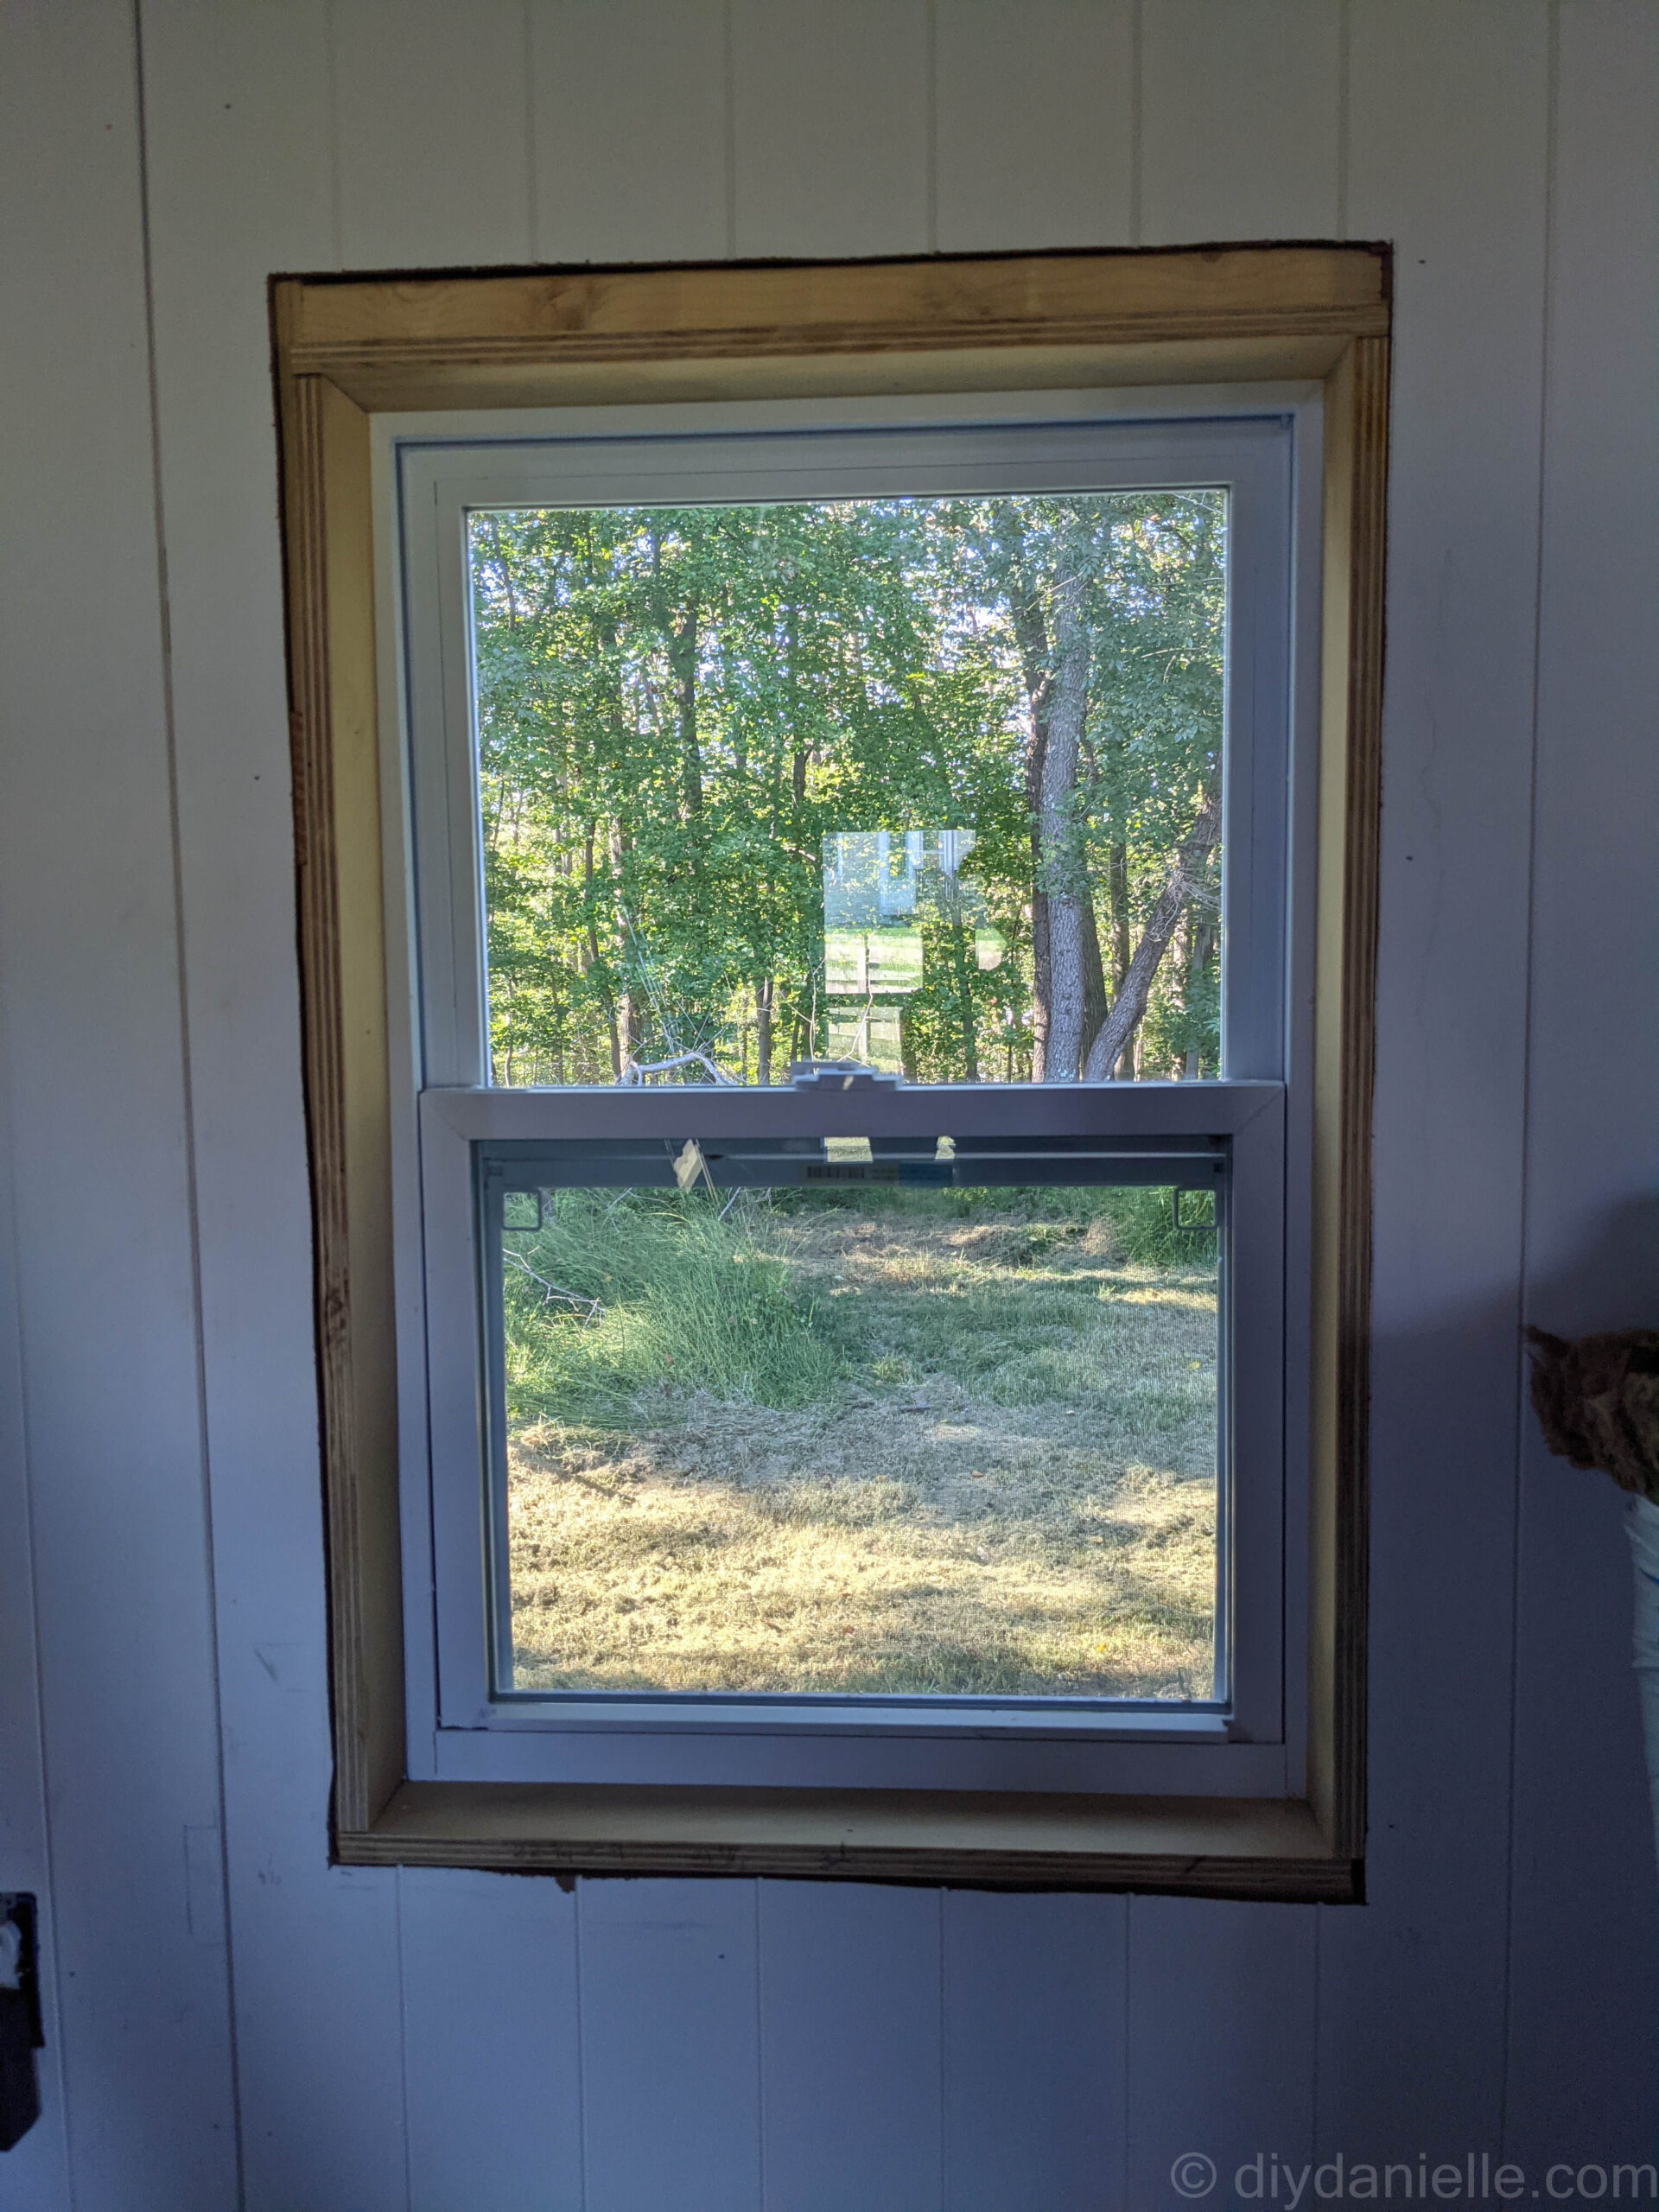
When finished, your windows should look like this.

Patch any holes left from the nail gun and use paintable caulk around any seams. There’s a seam between the jambs and the casing, seams between the jambs and the window, and seams between the casing and the wall. You’re going to be busy.
Priming and Painting the Trim
Once the caulk dried, I taped around the window casing. Then I primed the unfinished areas.

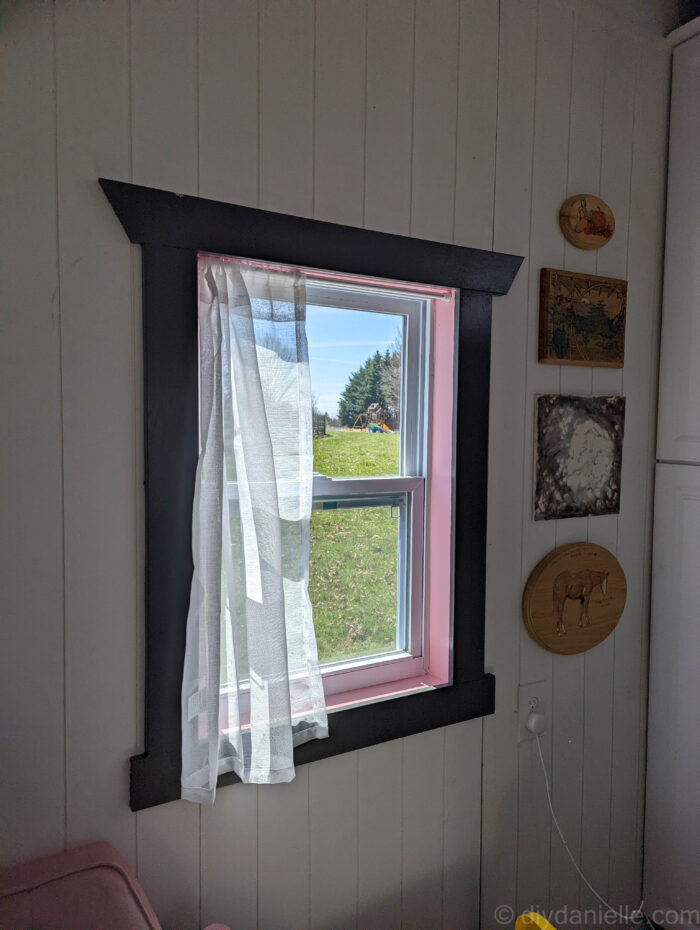
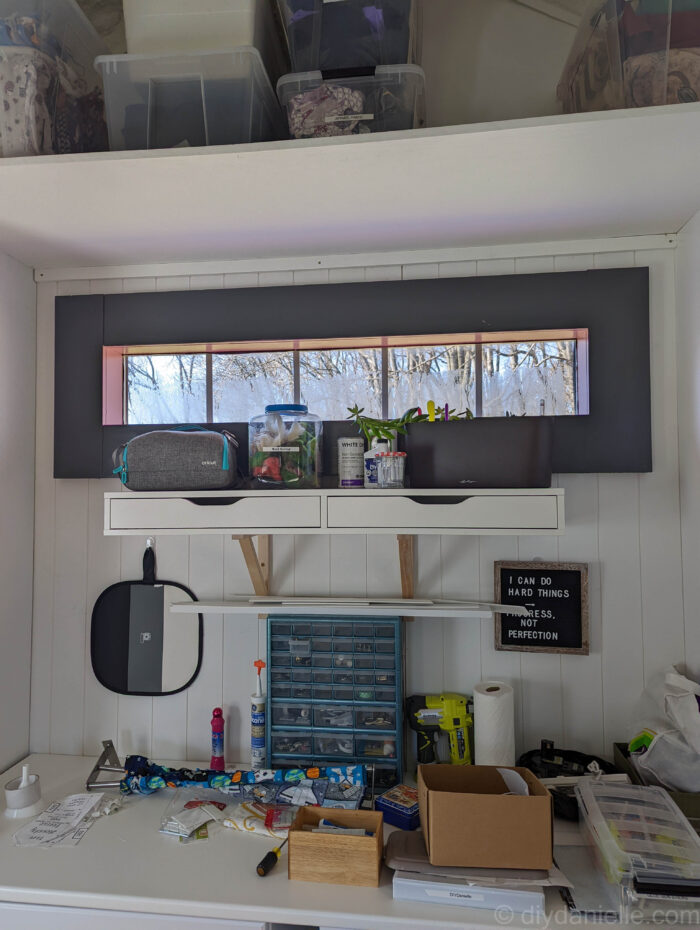
I decided to go with a more unique look than simple white casing. I used dark gray for the casing (Behr Ultra Semi Gloss- Knight’s Armor), with the jamb pieces of the window painted pink to match my couch.
Here’s a photo of the finished window with the jamb painted pink.
Framing the Large Horizontal Window
We messed up on cutting the panel on the right side of this window so we had to go with a slightly different style when casing this window. The other issue we had was the depth of the window. The window as is was not flush with the panels.
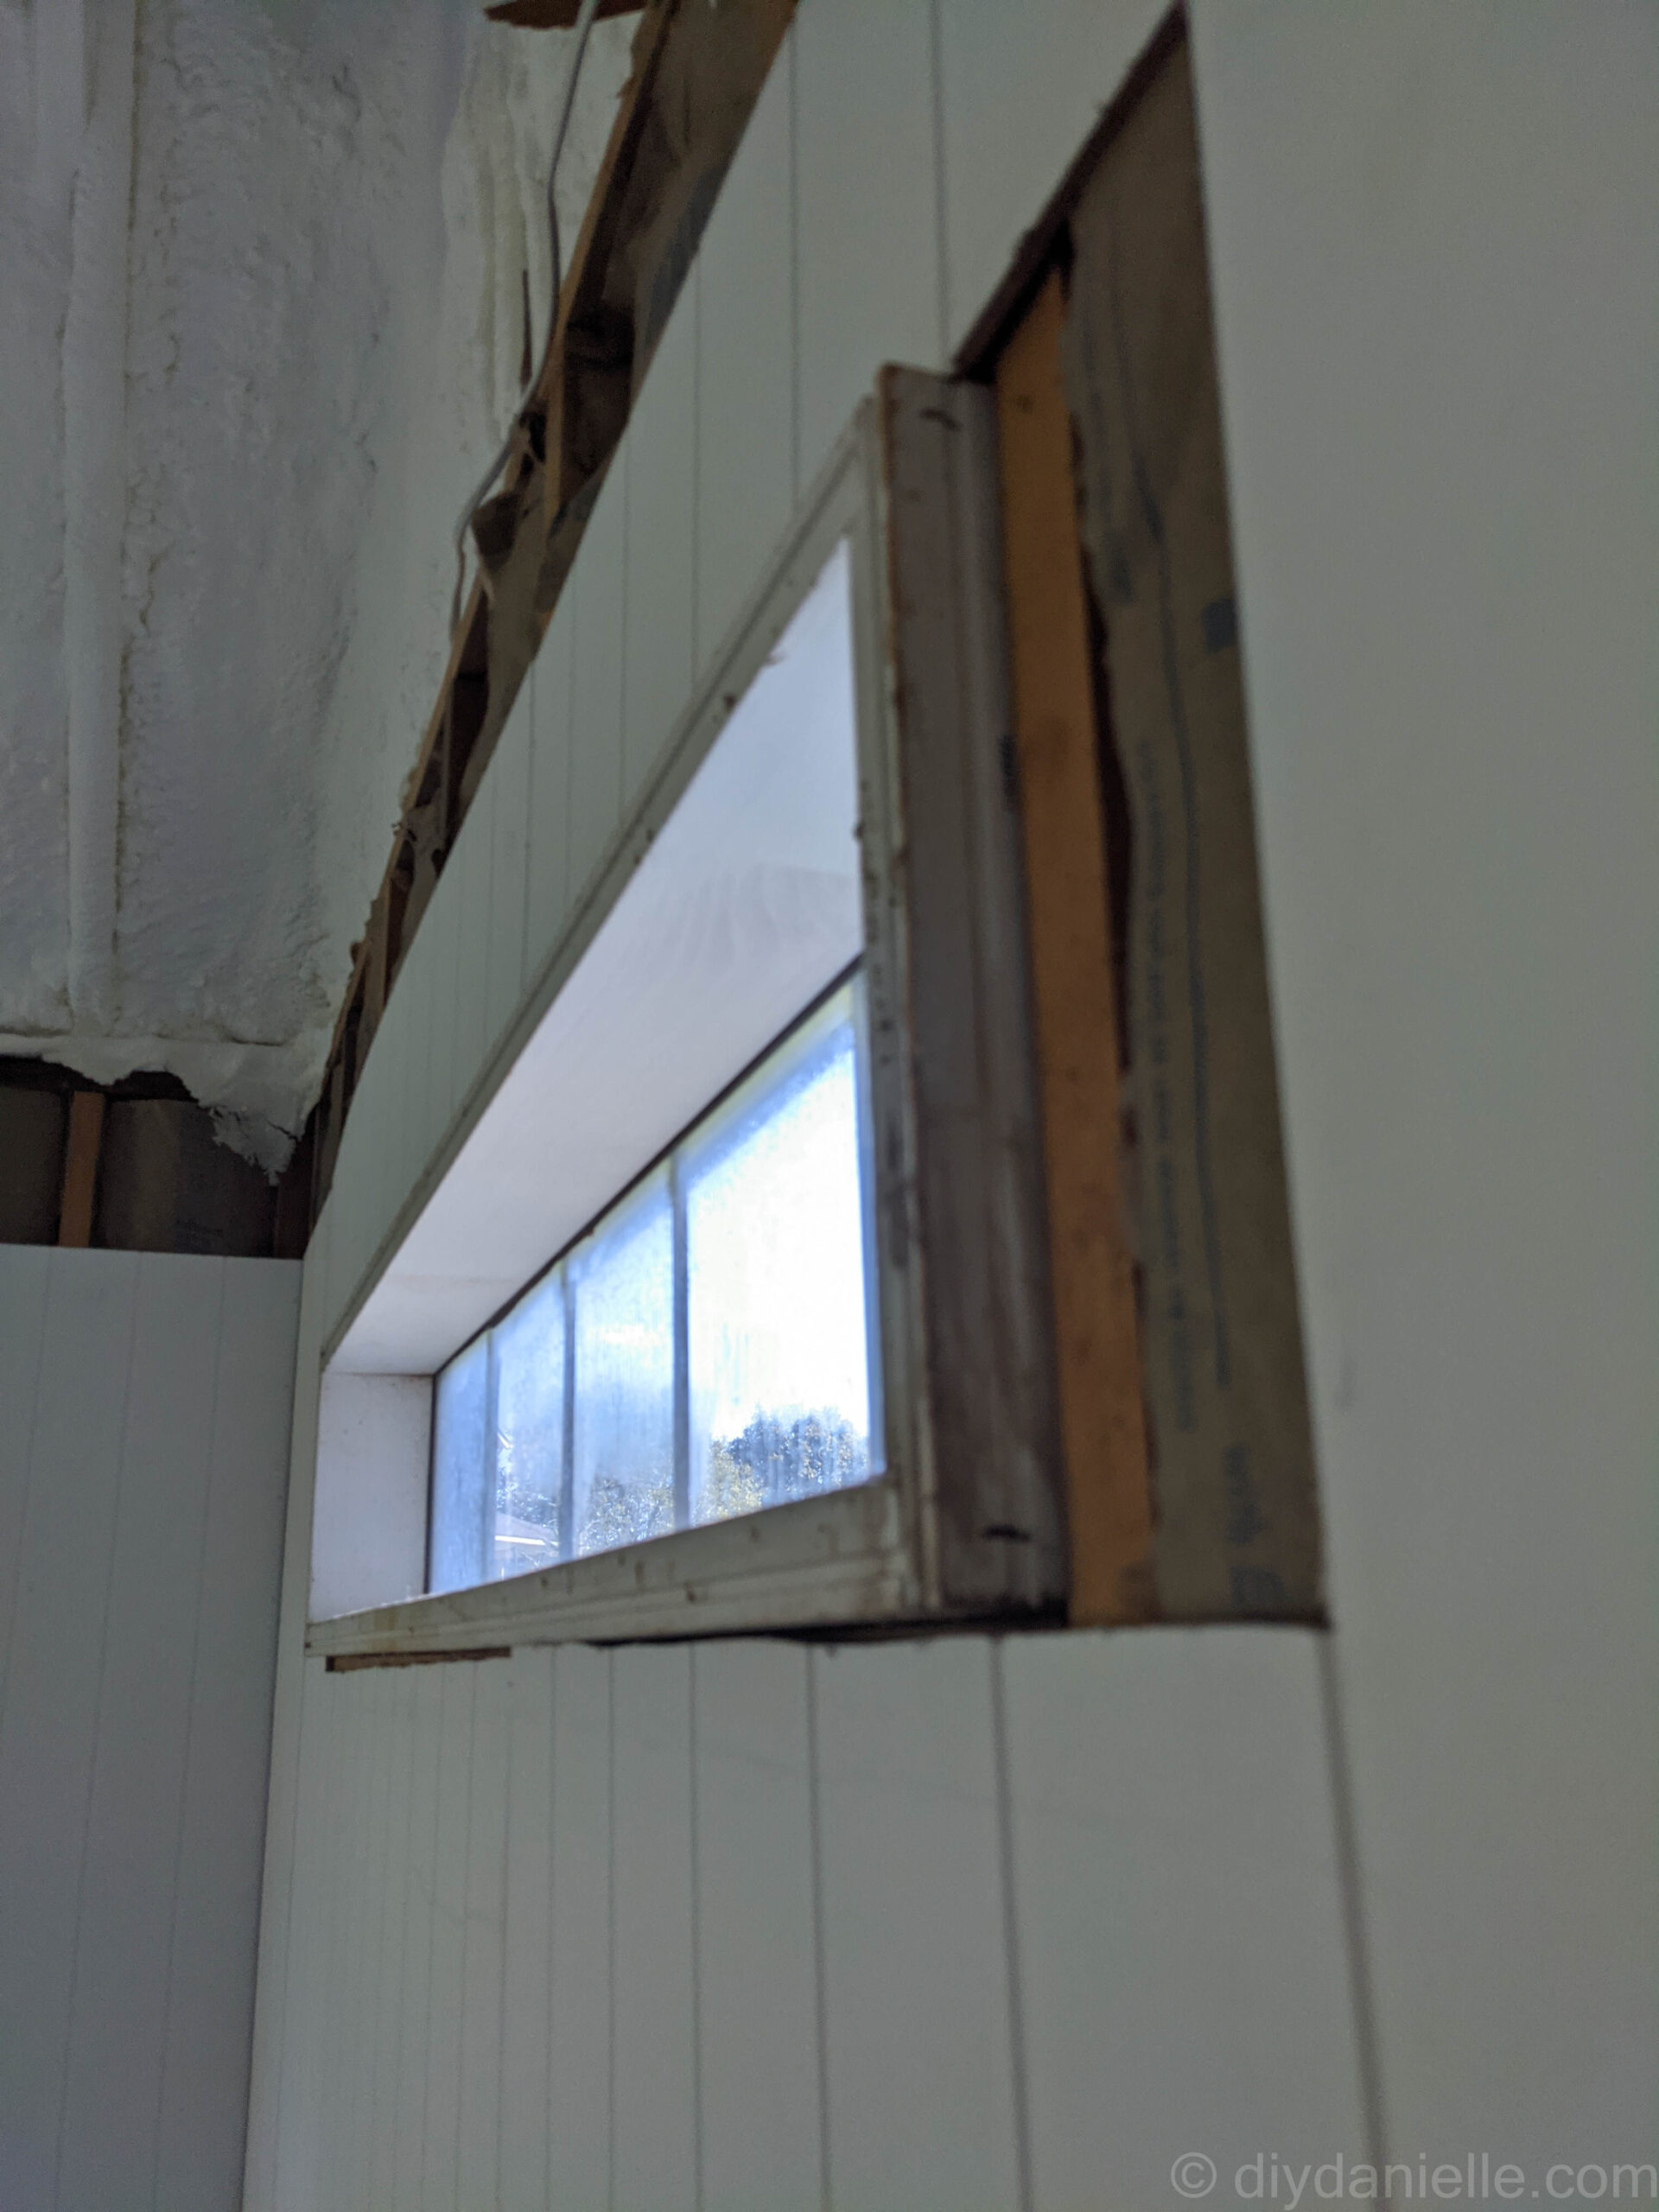
We needed to add wood scraps first, all the way around, so that the window and the surrounding area are all flush.
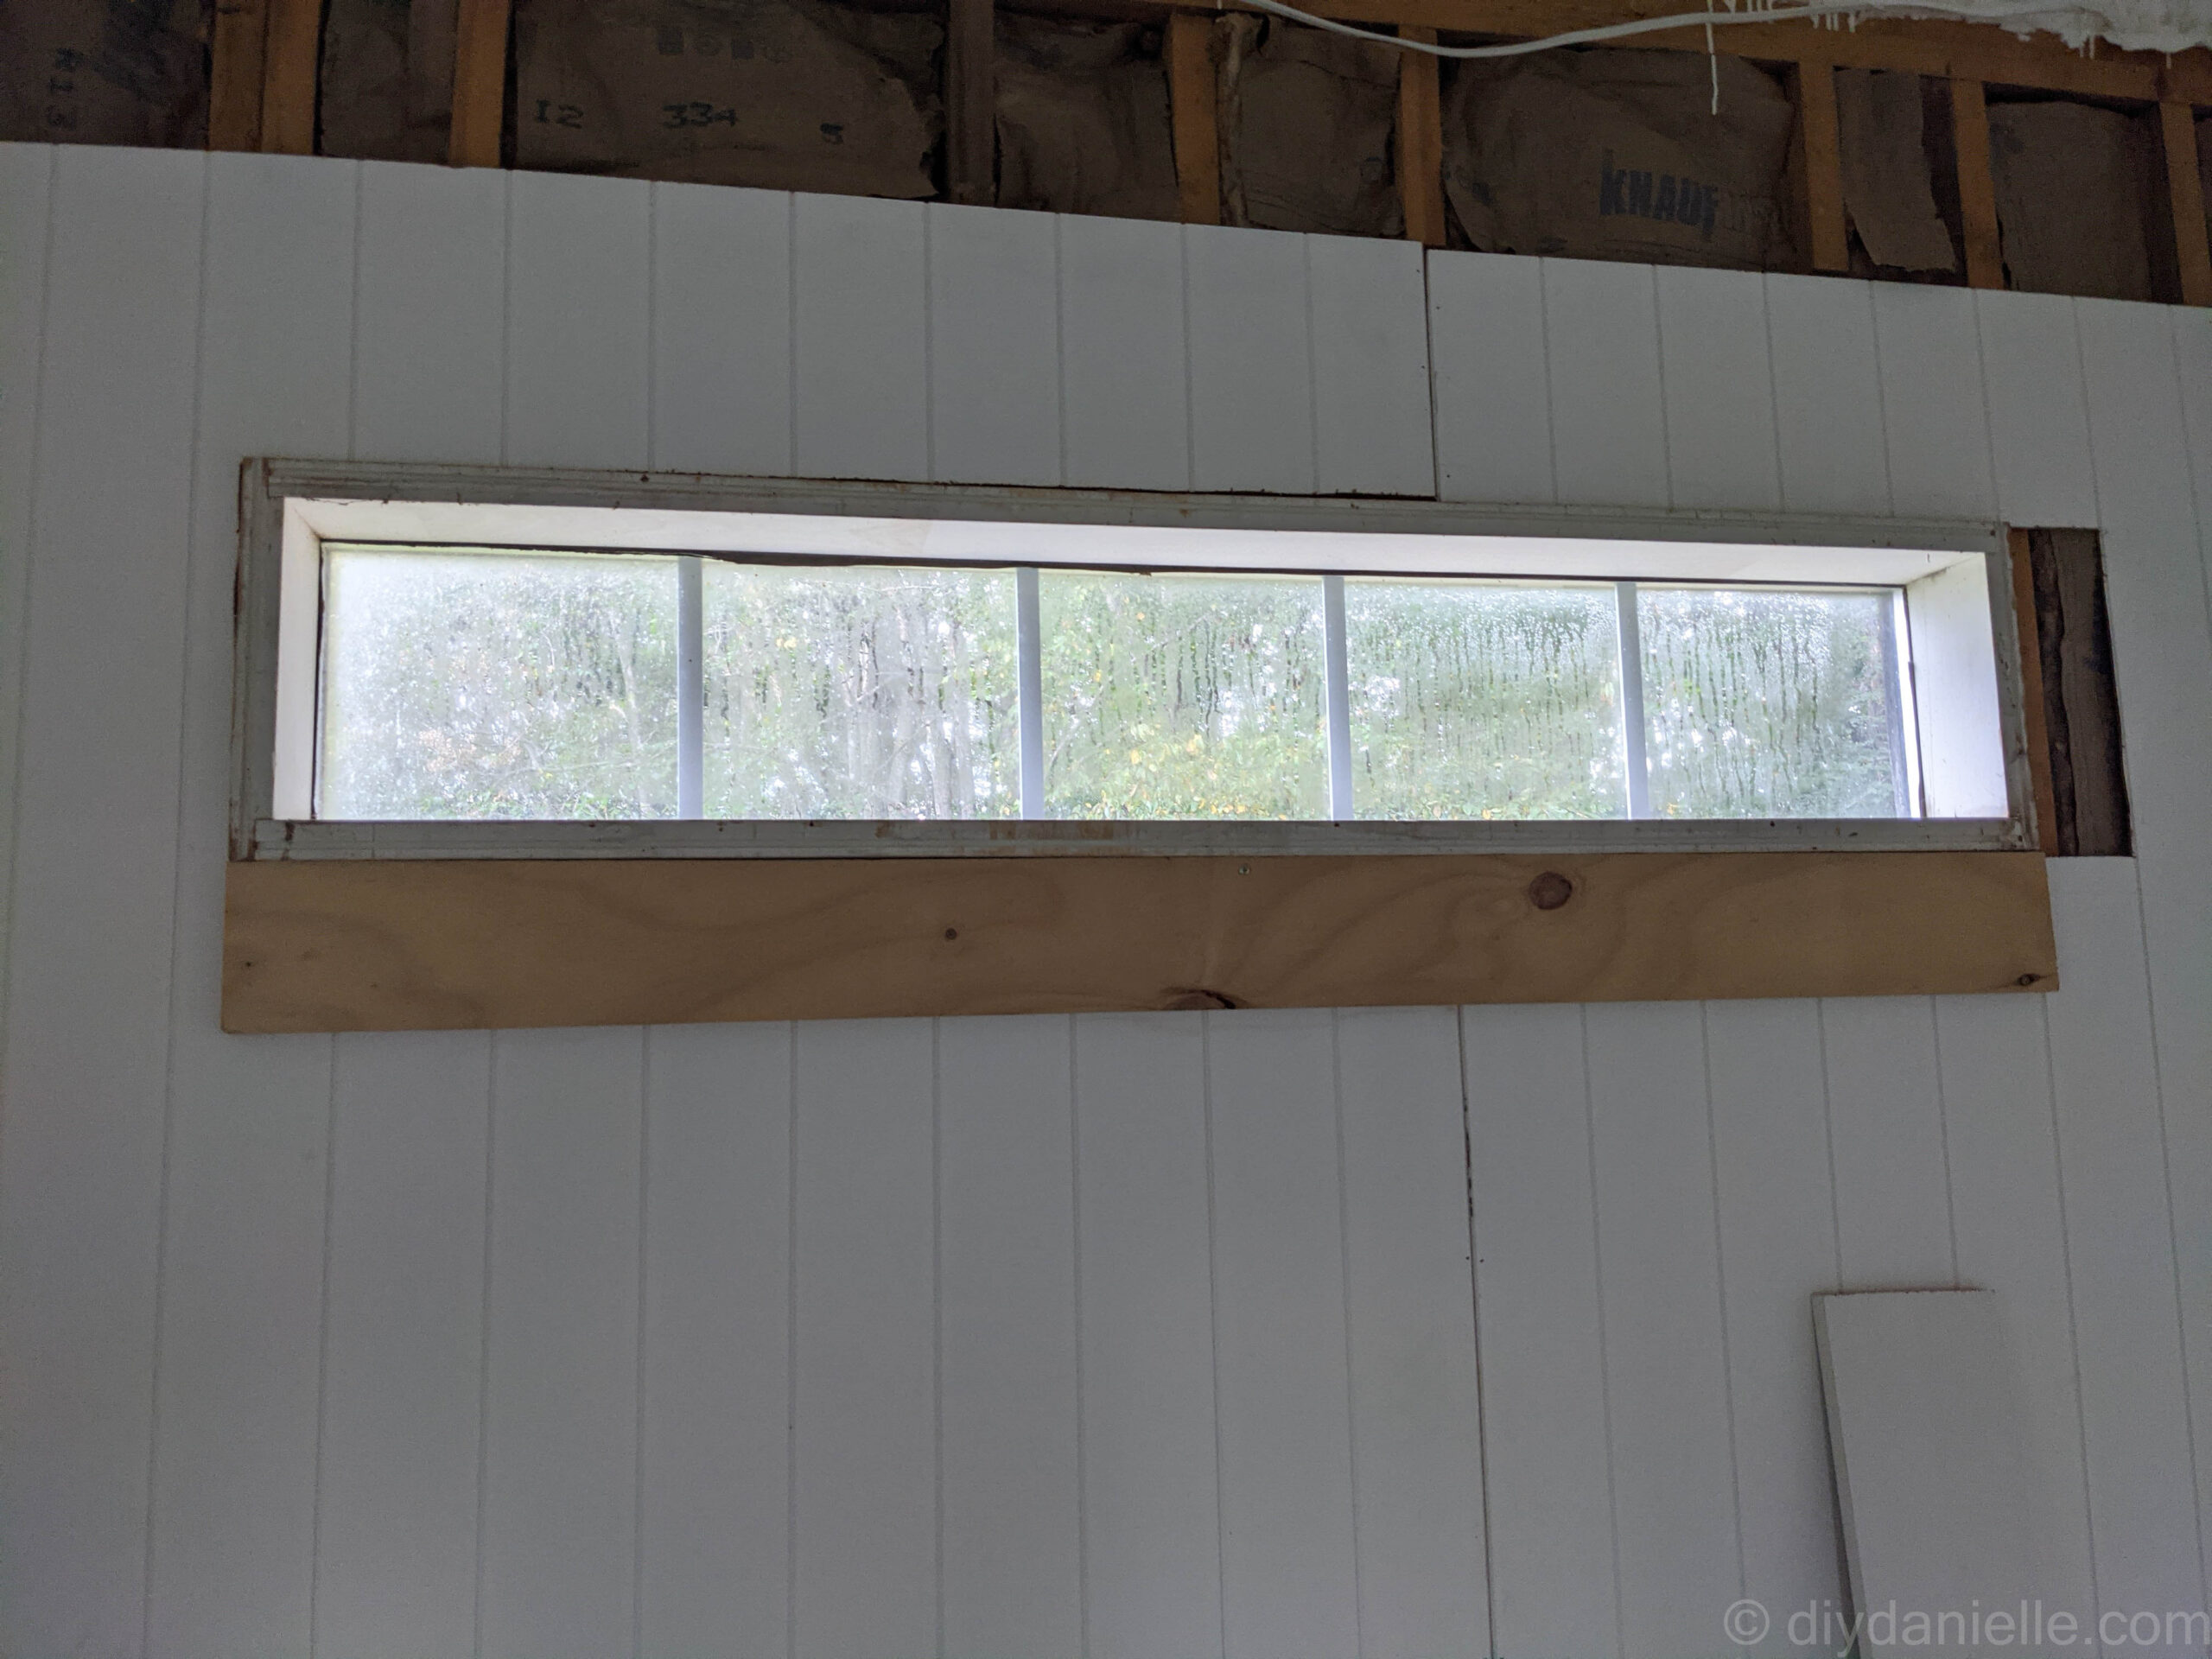
Once the wood scraps are added, we were able to add the trim pieces all the way around the window. The trim covered up both the wood scraps AND the window jambs.
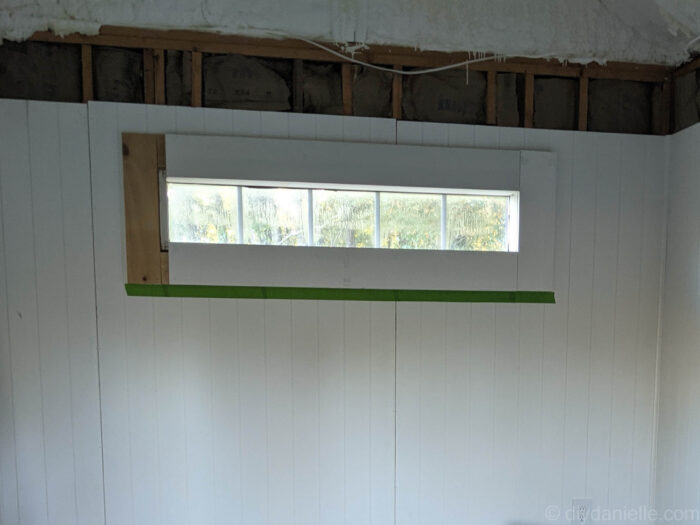
After, I just painted it to match the other four windows! This windowsill is decent size to place plants and other small items. Excuse the mess, I need to clean up.
Please share and pin this post! You can also post your project and tag the DIYDanielle team on Instagram @doityourselfdanielle!
Google Web Story: How to Add Interior Window Trim
What a detailed and inspiring guide! I love how you broke down each step of installing interior window trim from adding the jamb to attaching the casing and finishing with primer and paint. Your tips on measuring shimming and using caulk to fill gaps are incredibly helpful especially for DIYers like me who get nervous about precision cuts. I also appreciate the creative touch of painting the jamb pink and the casing gray it really adds personality to the she shed! This post makes what seemed like a daunting project feel totally achievable. Thanks for sharing your experience and photos!