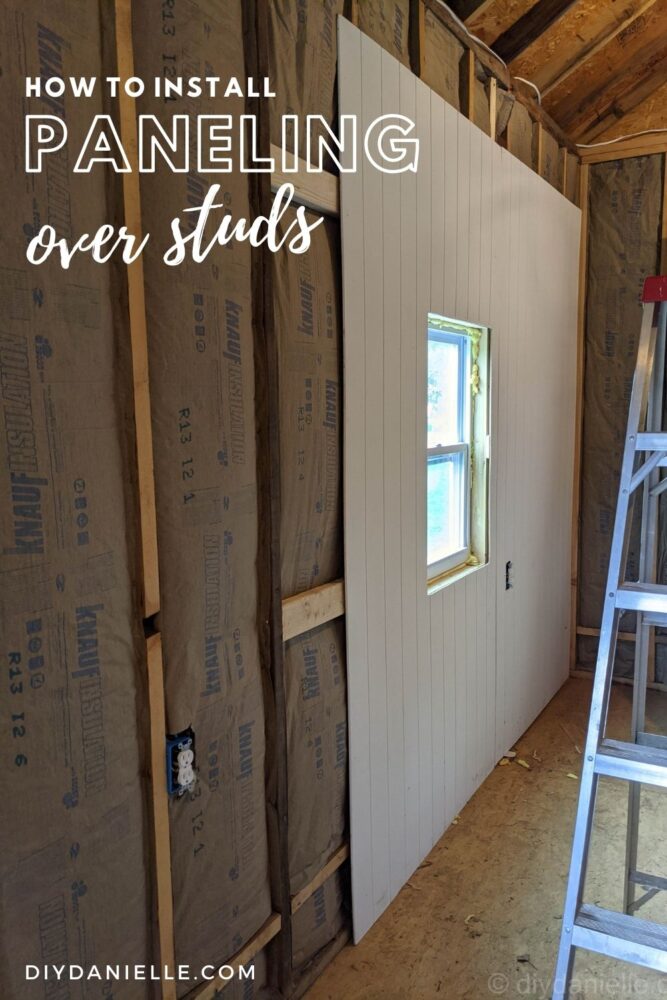
How to install paneling on studs. If you want to skip drywall, here is how we installed paneling directly on studs in a converted shed.
Choosing what to use for the interior walls of my she shed was probably one of my harder decisions. I don’t have a truck or a trailer yet so transporting drywall home from the store was impossible without renting a truck for the day. I could have paid someone to drywall and paint everything, but that looked like it would be pricey. I was, however, able to fit paneling into my minivan with all of the seats out. It’s thin and flexible so I was able to get half the panels home on one trip, and the other half of them on another.
Paneling SHOULD be installed over drywall. If you install it over drywall, you can use drywall tape and skip using mud. This helps reduce how much time you spend working on the walls. The benefit to using drywall with your panels is that it’s easier to hang shelves, pictures, and other items on the wall. With drywall, you can use wall anchors if you don’t have a stud behind the spot you want to place the item.
When you use exclusively paneling, like I have, you need to hang pictures and shelves on a stud (the 2x4s behind the panels). This can be tricky. I added an entire wall of cabinets so I knew I wouldn’t need to hang much on that wall. For the other walls, I tried to strategize ways to get around the ‘no wall anchor’ issue.
Scroll down to see a video I did on our process for installing the beadboard without drywall behind it, as well as a list of the supplies that we used. I will start with a photo tutorial.
This post may contain affiliate links which may earn me commissions should you click through them and take certain actions. As an affiliate for Amazon, Cricut, xTool, Home Depot, and other sites, I earn from qualifying purchases. Please DIY carefully. View my full legal disclosures here.
Please read the whole post so you don’t miss any important information!
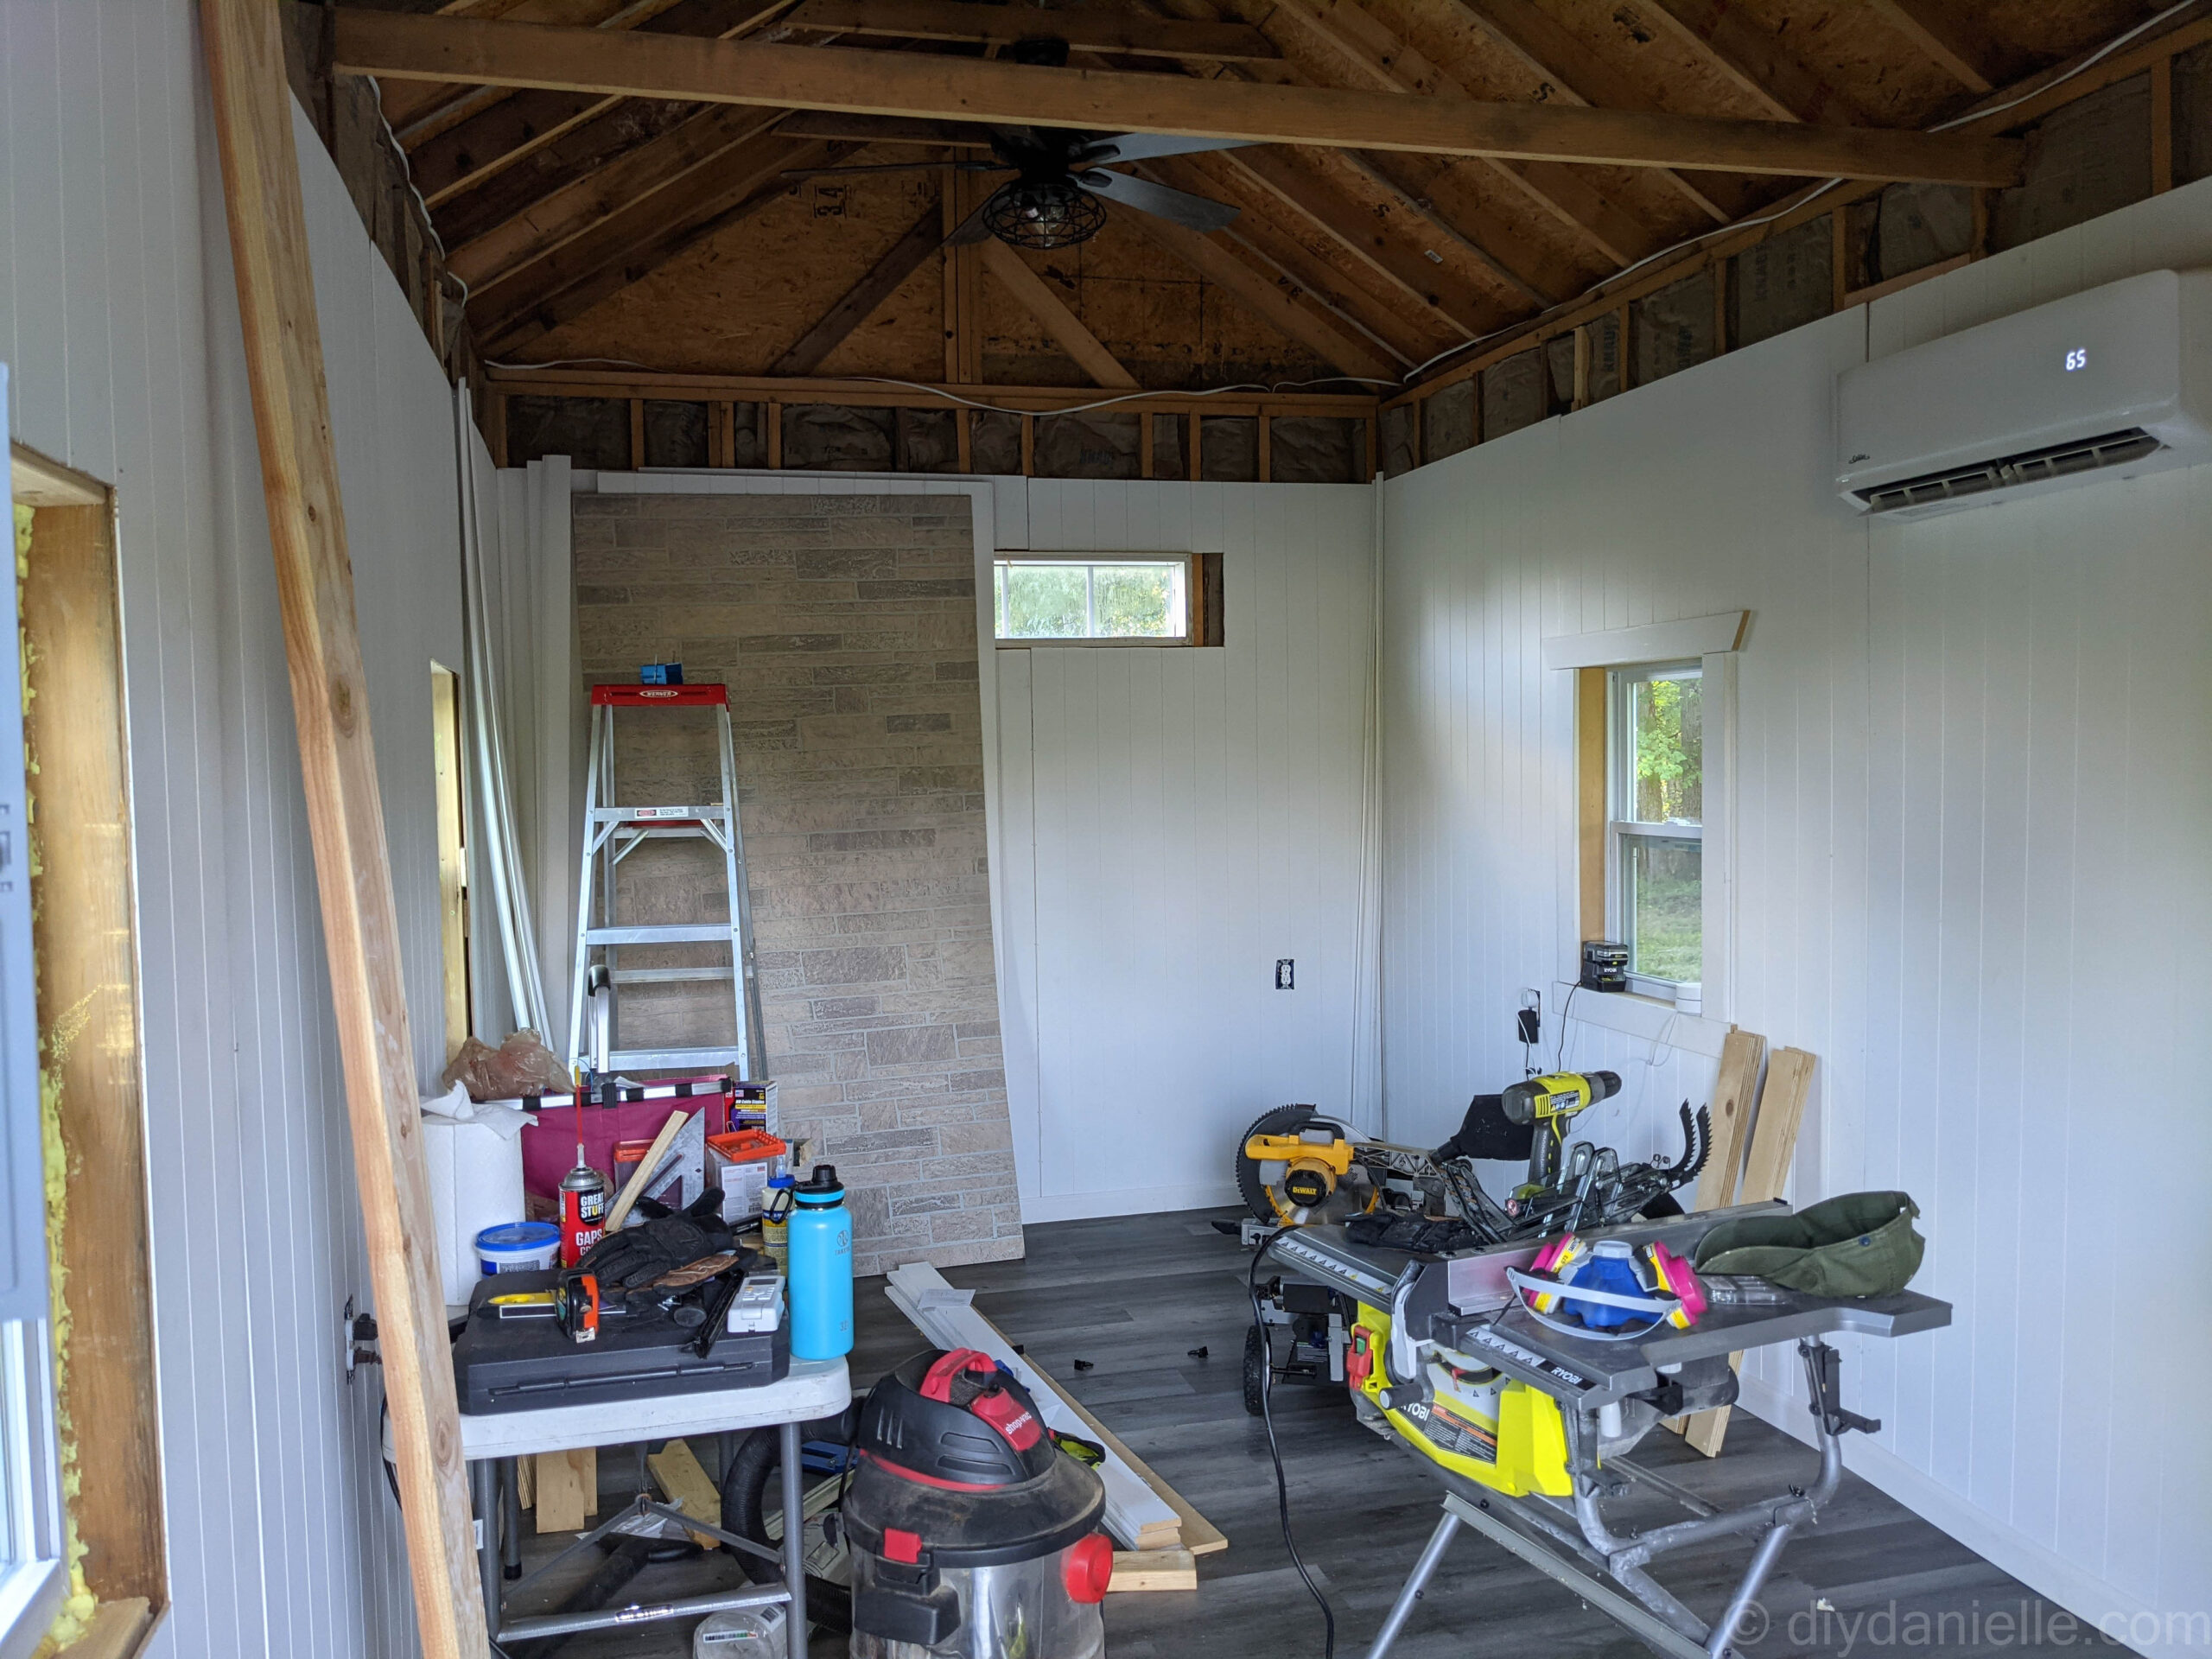
The first thing that I should mention is that I choose to use two different types of beadboard for my she shed walls. The white beadboard was cheaper per sheet and easier to match up side by side. I used a brick beadboard as well, however, for one short wall. This was exclusively for photography purposes; I like to photograph against different surfaces and having different walls gives me additional backdrops. I found that the brick beadboard was trickier to line up correctly and to cover the seam.
Check out my previous post analyzing your options for walls inside your she shed: Drywall and drywall alternatives for your she shed. Before you get started on this project, make sure your electric is all installed and you have your insulation installed properly as well.
How to Install Paneling Directly On Studs
Supplies
- Ryobi Brad Nailer
- Jig Saw
- Panels:
- Level
- Safety Gear: Quality Mask (it’s not safe to breathe in the bits of MDF that are thrown around when you’re cutting it)
- Shims
- Corner Trim: 205 1 in. x 1 in. FEMDF Outside Corner Moulding: Sold by linear foot, purchase enough for each corner. I also used some to trim around the door.
- White Lattice Moulding (optional)
- Caulk to match your panels
- Extra Interior Grade 2×4 Studs: One per area where two panels meet.
- Saw horses
- Circular saw or table saw
- Multi-Purpose 10.1 fl. oz. White Siliconized Acrylic Latex Caulk for covering large amounts of gaps
- Alex Fast Dry 5.5 oz. White Acrylic Latex Plus Silicone Caulk if you just need to cover small nail holes
Planning Paneling Placement
It’s good to start by planning out your panel placement. For the brick panels, you need to make sure the design on the panels lines up. For the white panels that I used, it wasn’t quite so complicated because they match up as long as you use full panels (except in the corners) and place them vertically.
Using the white shiplap panels vertically means they aren’t shiplap style, but I didn’t care. I wanted simple white walls.
Cutting Panels
Cutting for the Width
THE ONLY PANELS you need to cut for width are the ones on the ends of each wall. ALWAYS make sure the raw edge is at the corner where it will be covered by the corner trim.
I don’t have any good photos of this, but we cut our panels outdoors on sawhorses. We used a circular saw or a table saw to cut the last panels on each wall to the correct width. Your saw will spit out a TON of gross dust when you cut them so make sure to protect your lungs with a good mask.
Cutting Out for Windows and Outlets
This piece was truly a pain in the butt. For each panel, we had to measure out where the window and outlet would be. Twice. We’d saw out the placement on the panel, use a drill bit to put a hole in the corner, then use the jig saw to cut the rectangular shape out.
This. Is. Not. Fun.
At ALL steps in this process we were checking and double checking our work. We still messed up one panel, to the right of the long horizontal window. Fortunately, we were able to cover that up with trim.
We did one panel at a time. We’d install the first panel, then go to measure and cut everything for the next panel.
Installing Panels
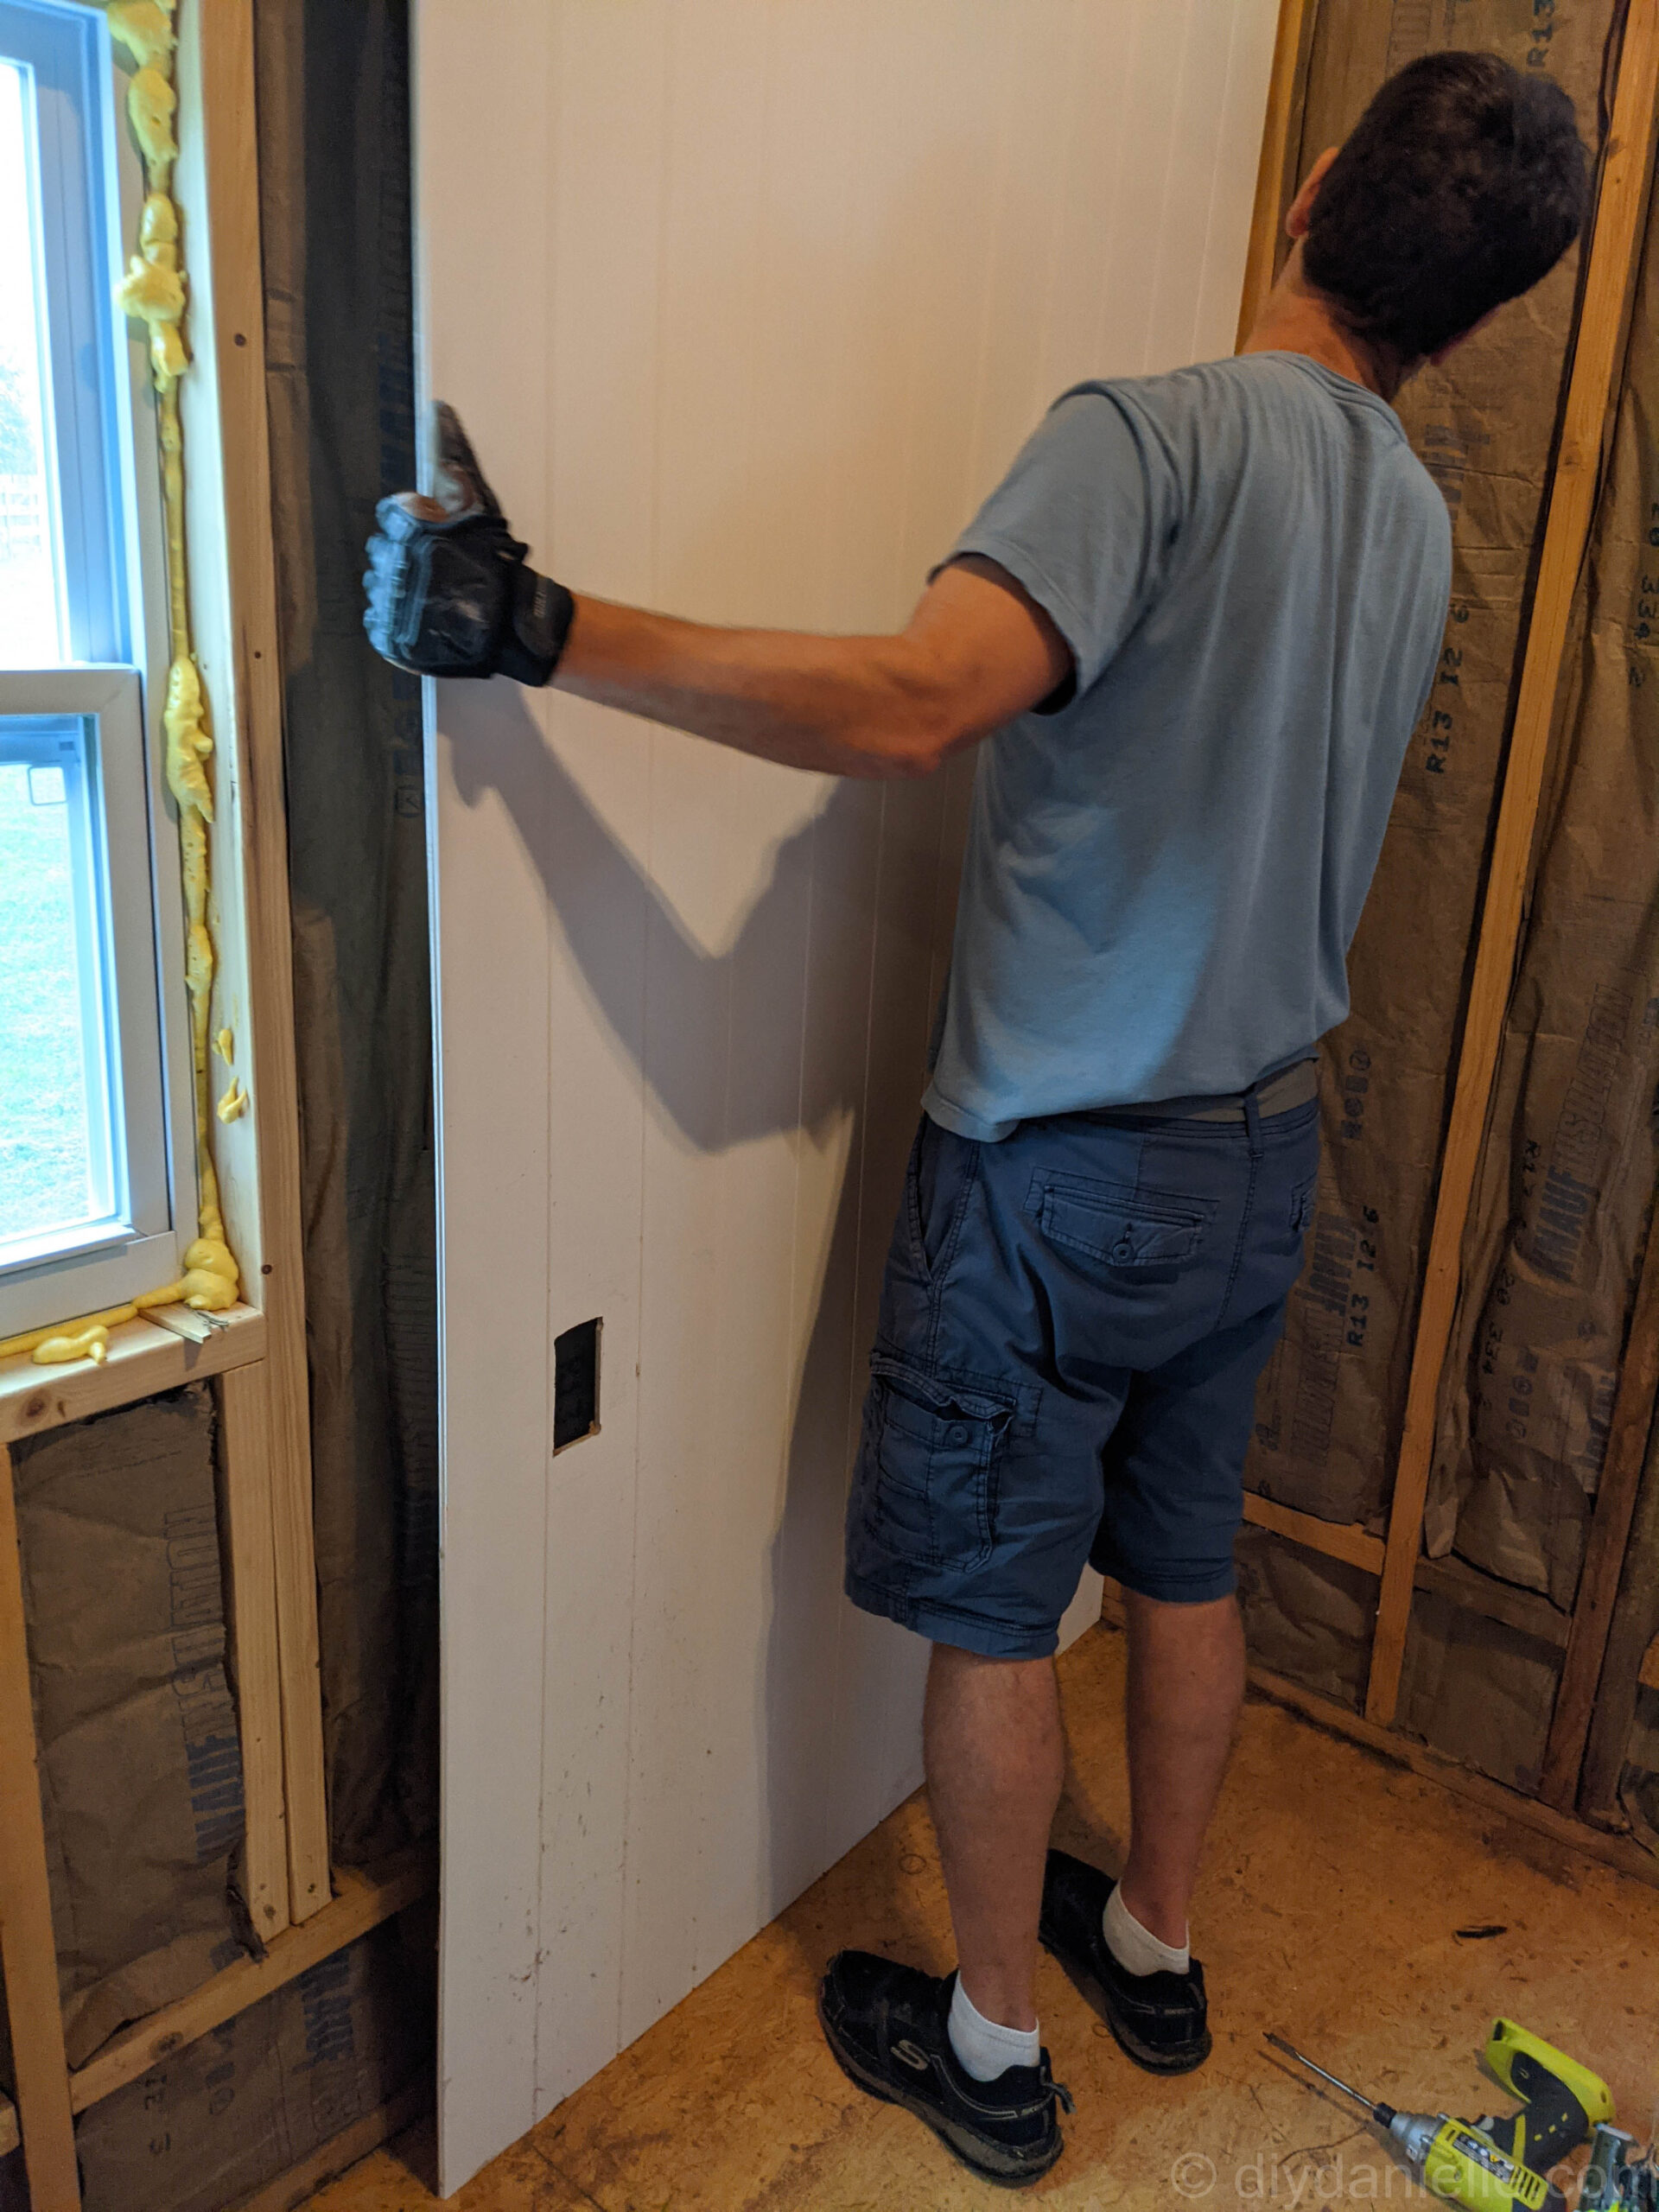
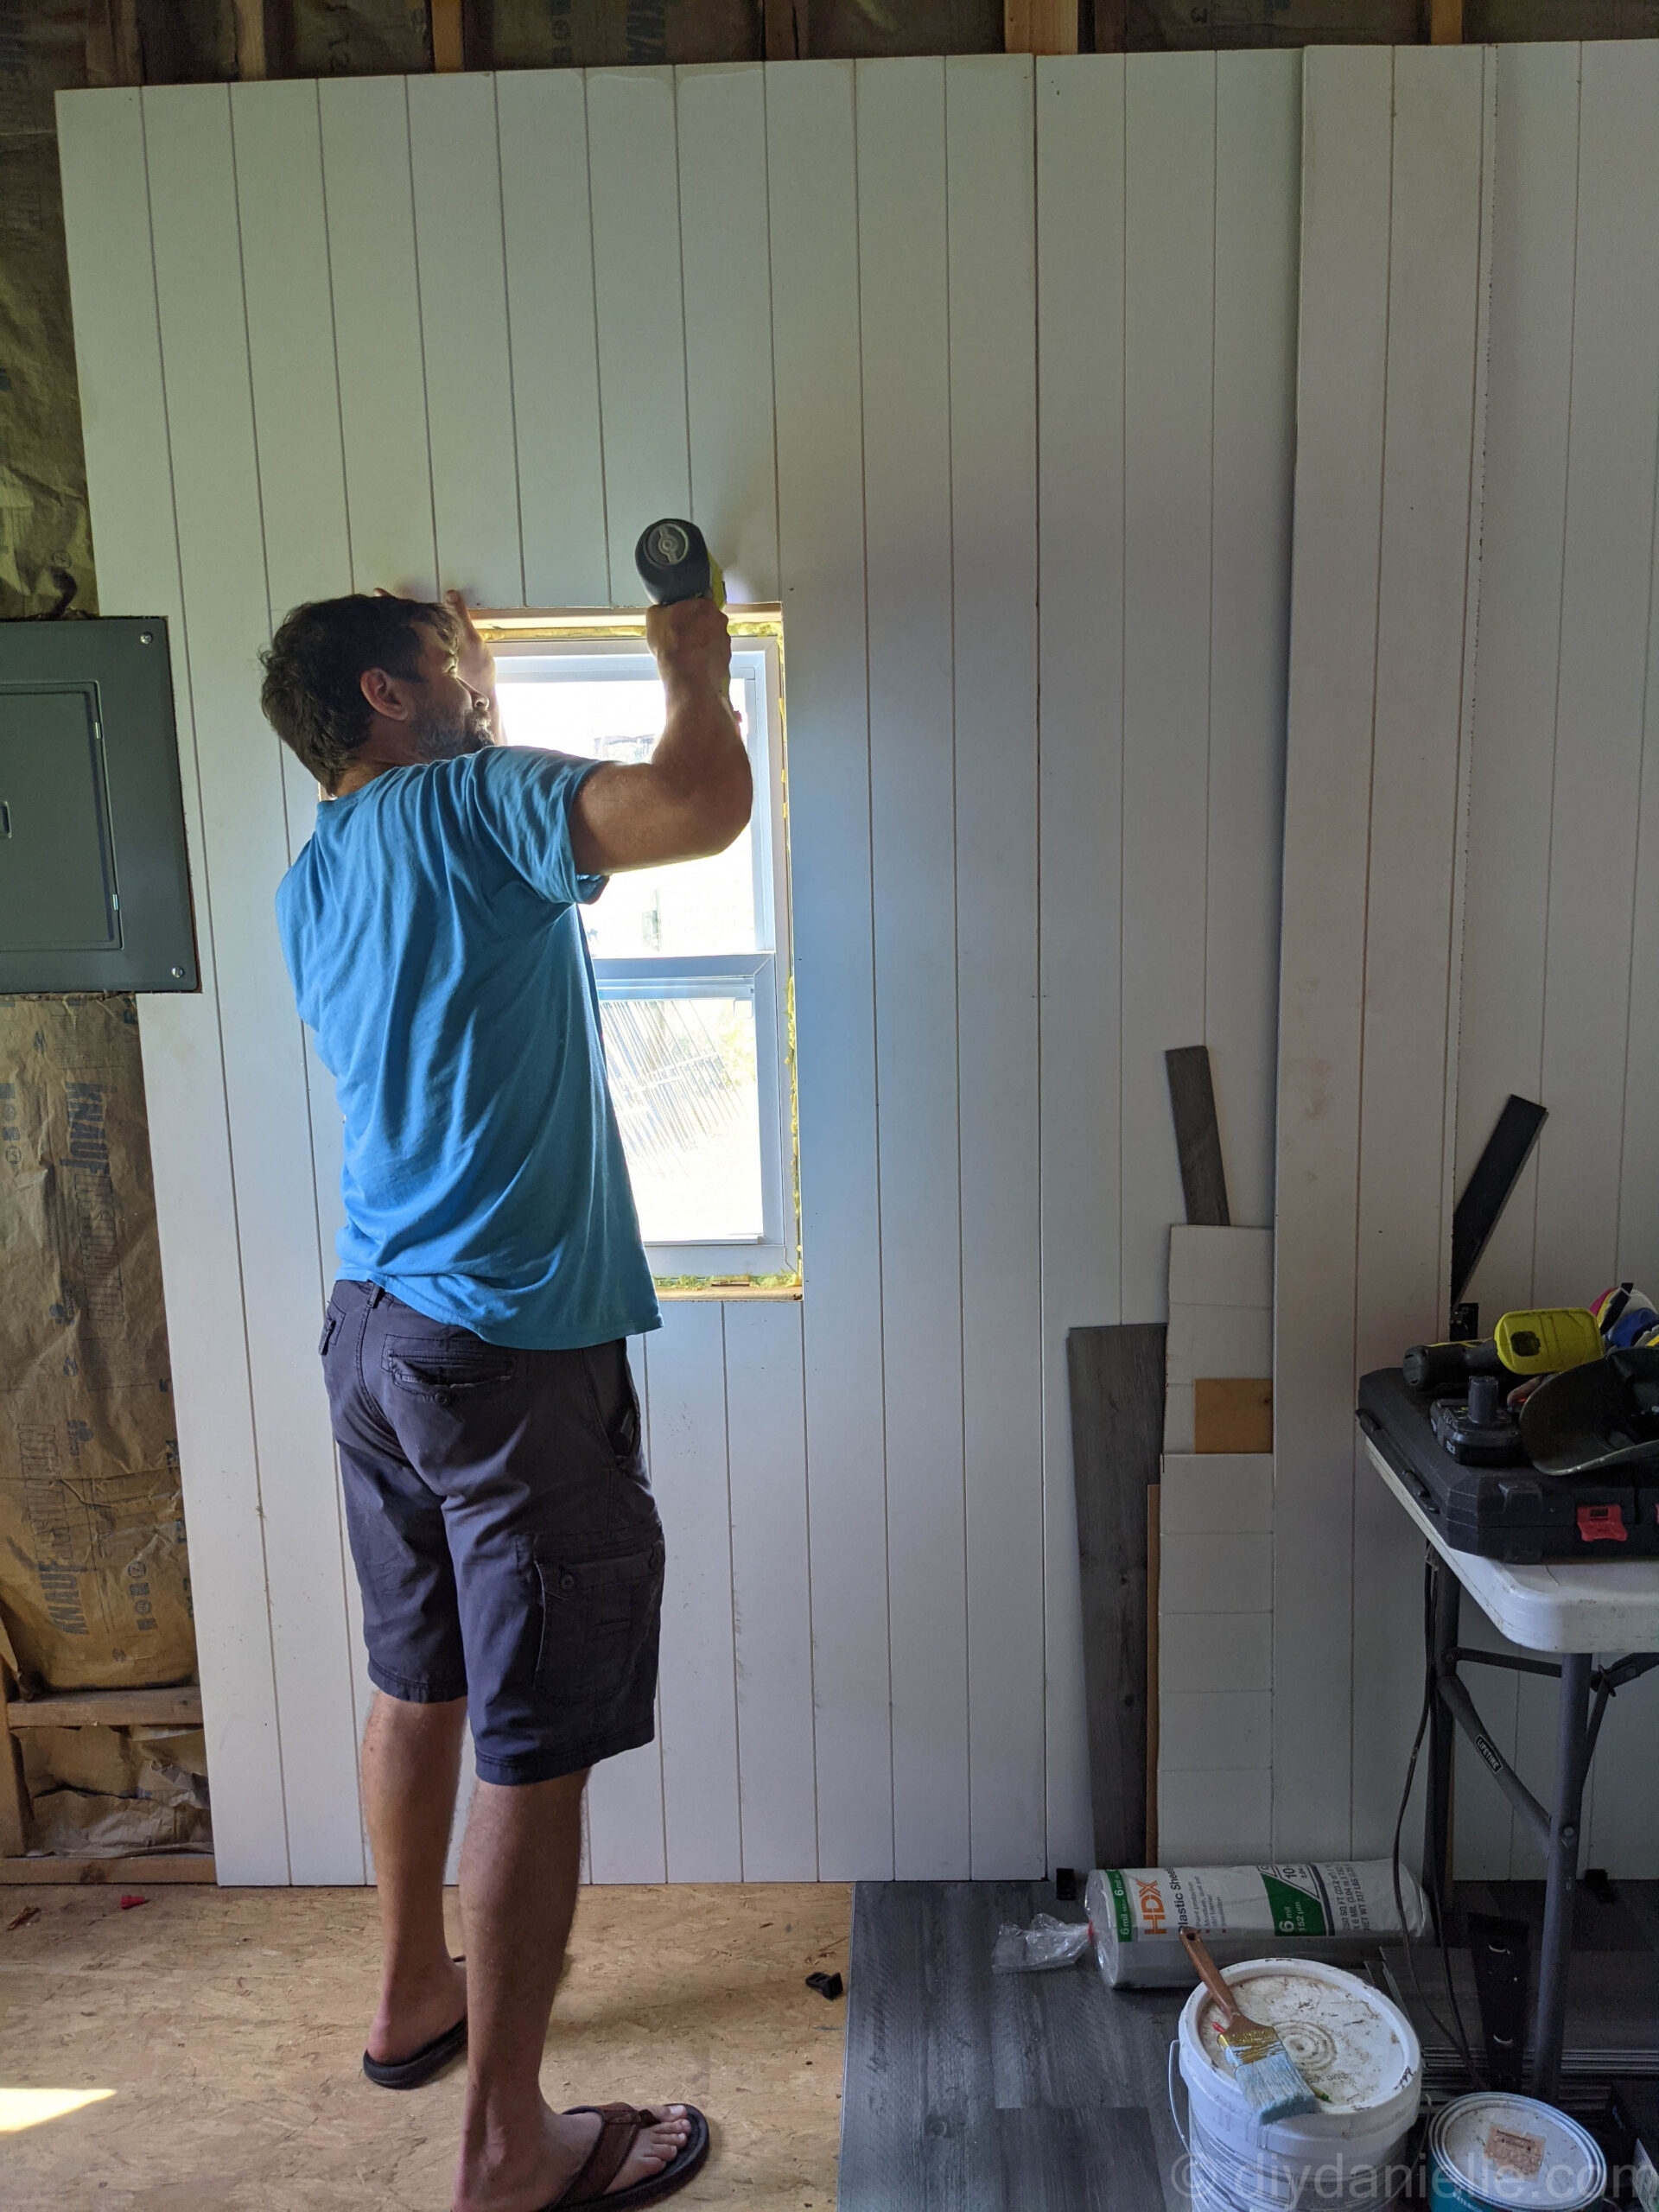
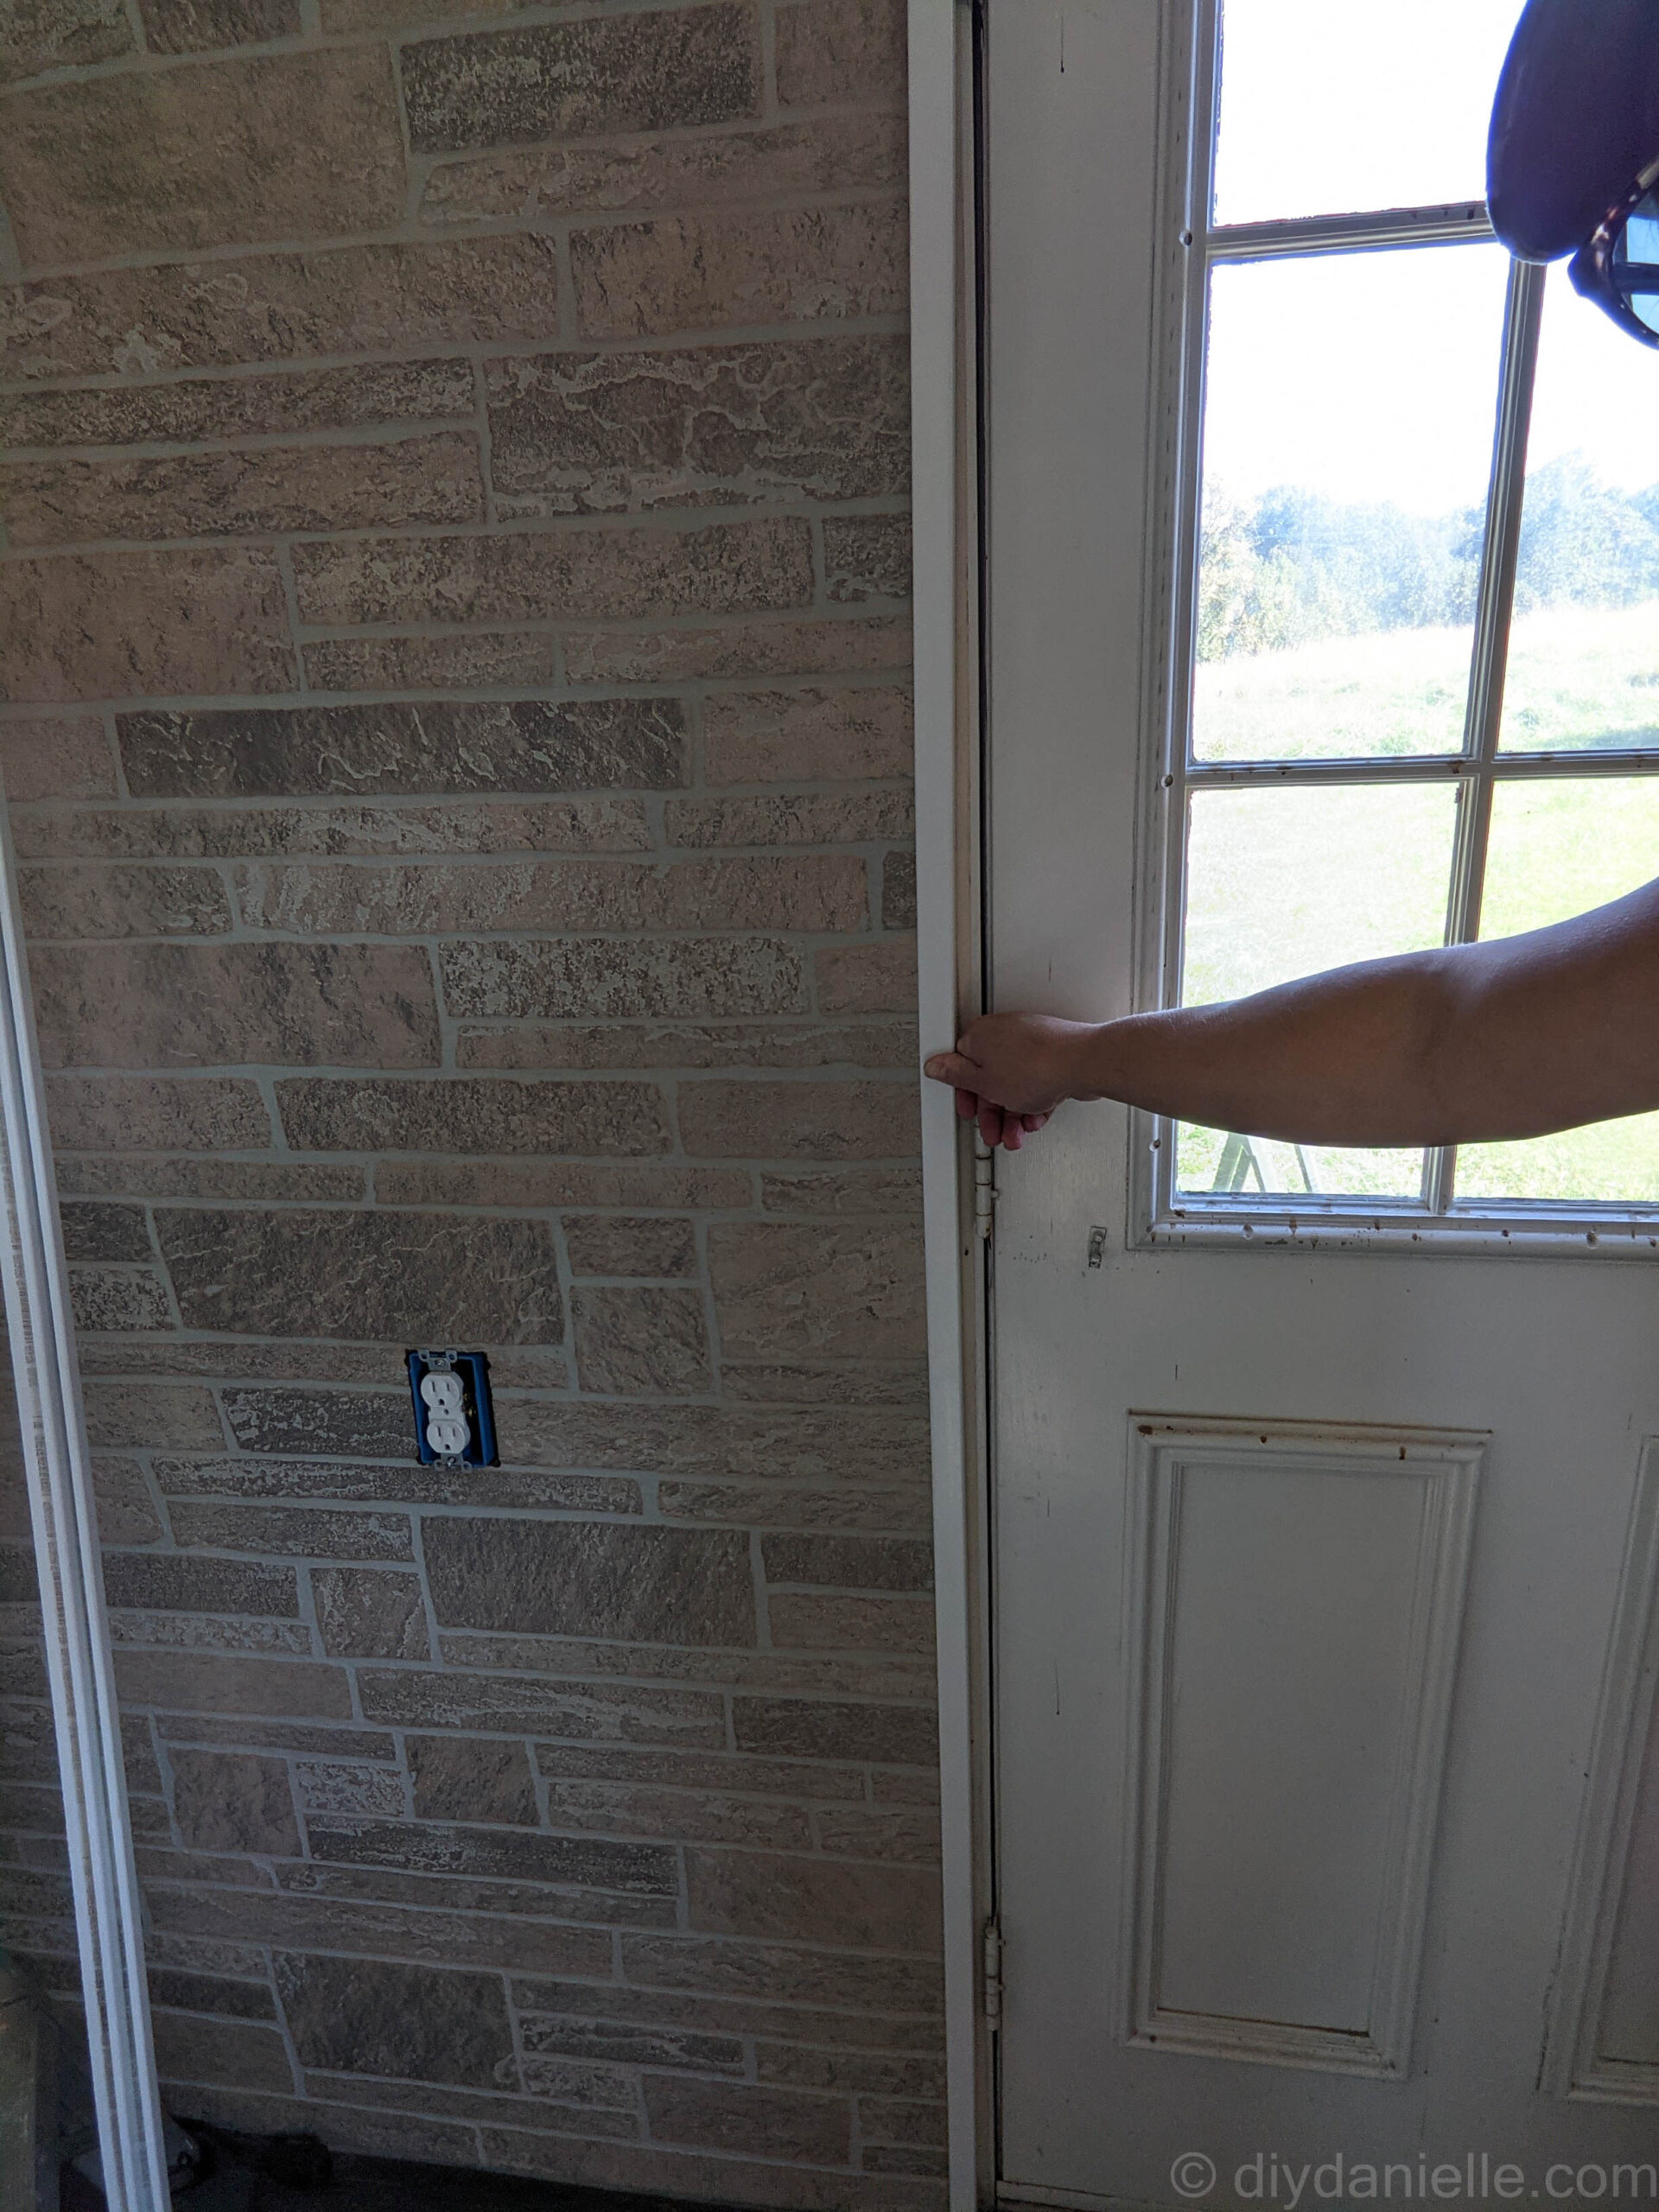
We started from one side of the wall and worked our way to the other side. This allowed us to use the smaller number of panels. Ideally, you’d probably work from the center of the wall and work out, however. That method would give your walls a more symmetrical appearance. Here’s my husband pushing the first panel up against the corner to make sure the cut out for the outlet is in the correct place.
Our walls are 9′ so I planned on doing something different above the panel. I’ll write another post about that!
This is a two person job. One of us would hold the panel flush against the corner (or the last panel placed). We’d make sure it was level, shim out areas as necessary if the studs weren’t quite even or if the panel wasn’t level, and then use the Ryobi Brad Nailer to nail the panel in place (you can use screws too). Attach the panels ON THE STUDS.
Whatever type of nails or screws you use, you’ll want to cover the holes with a bit of white caulk after.
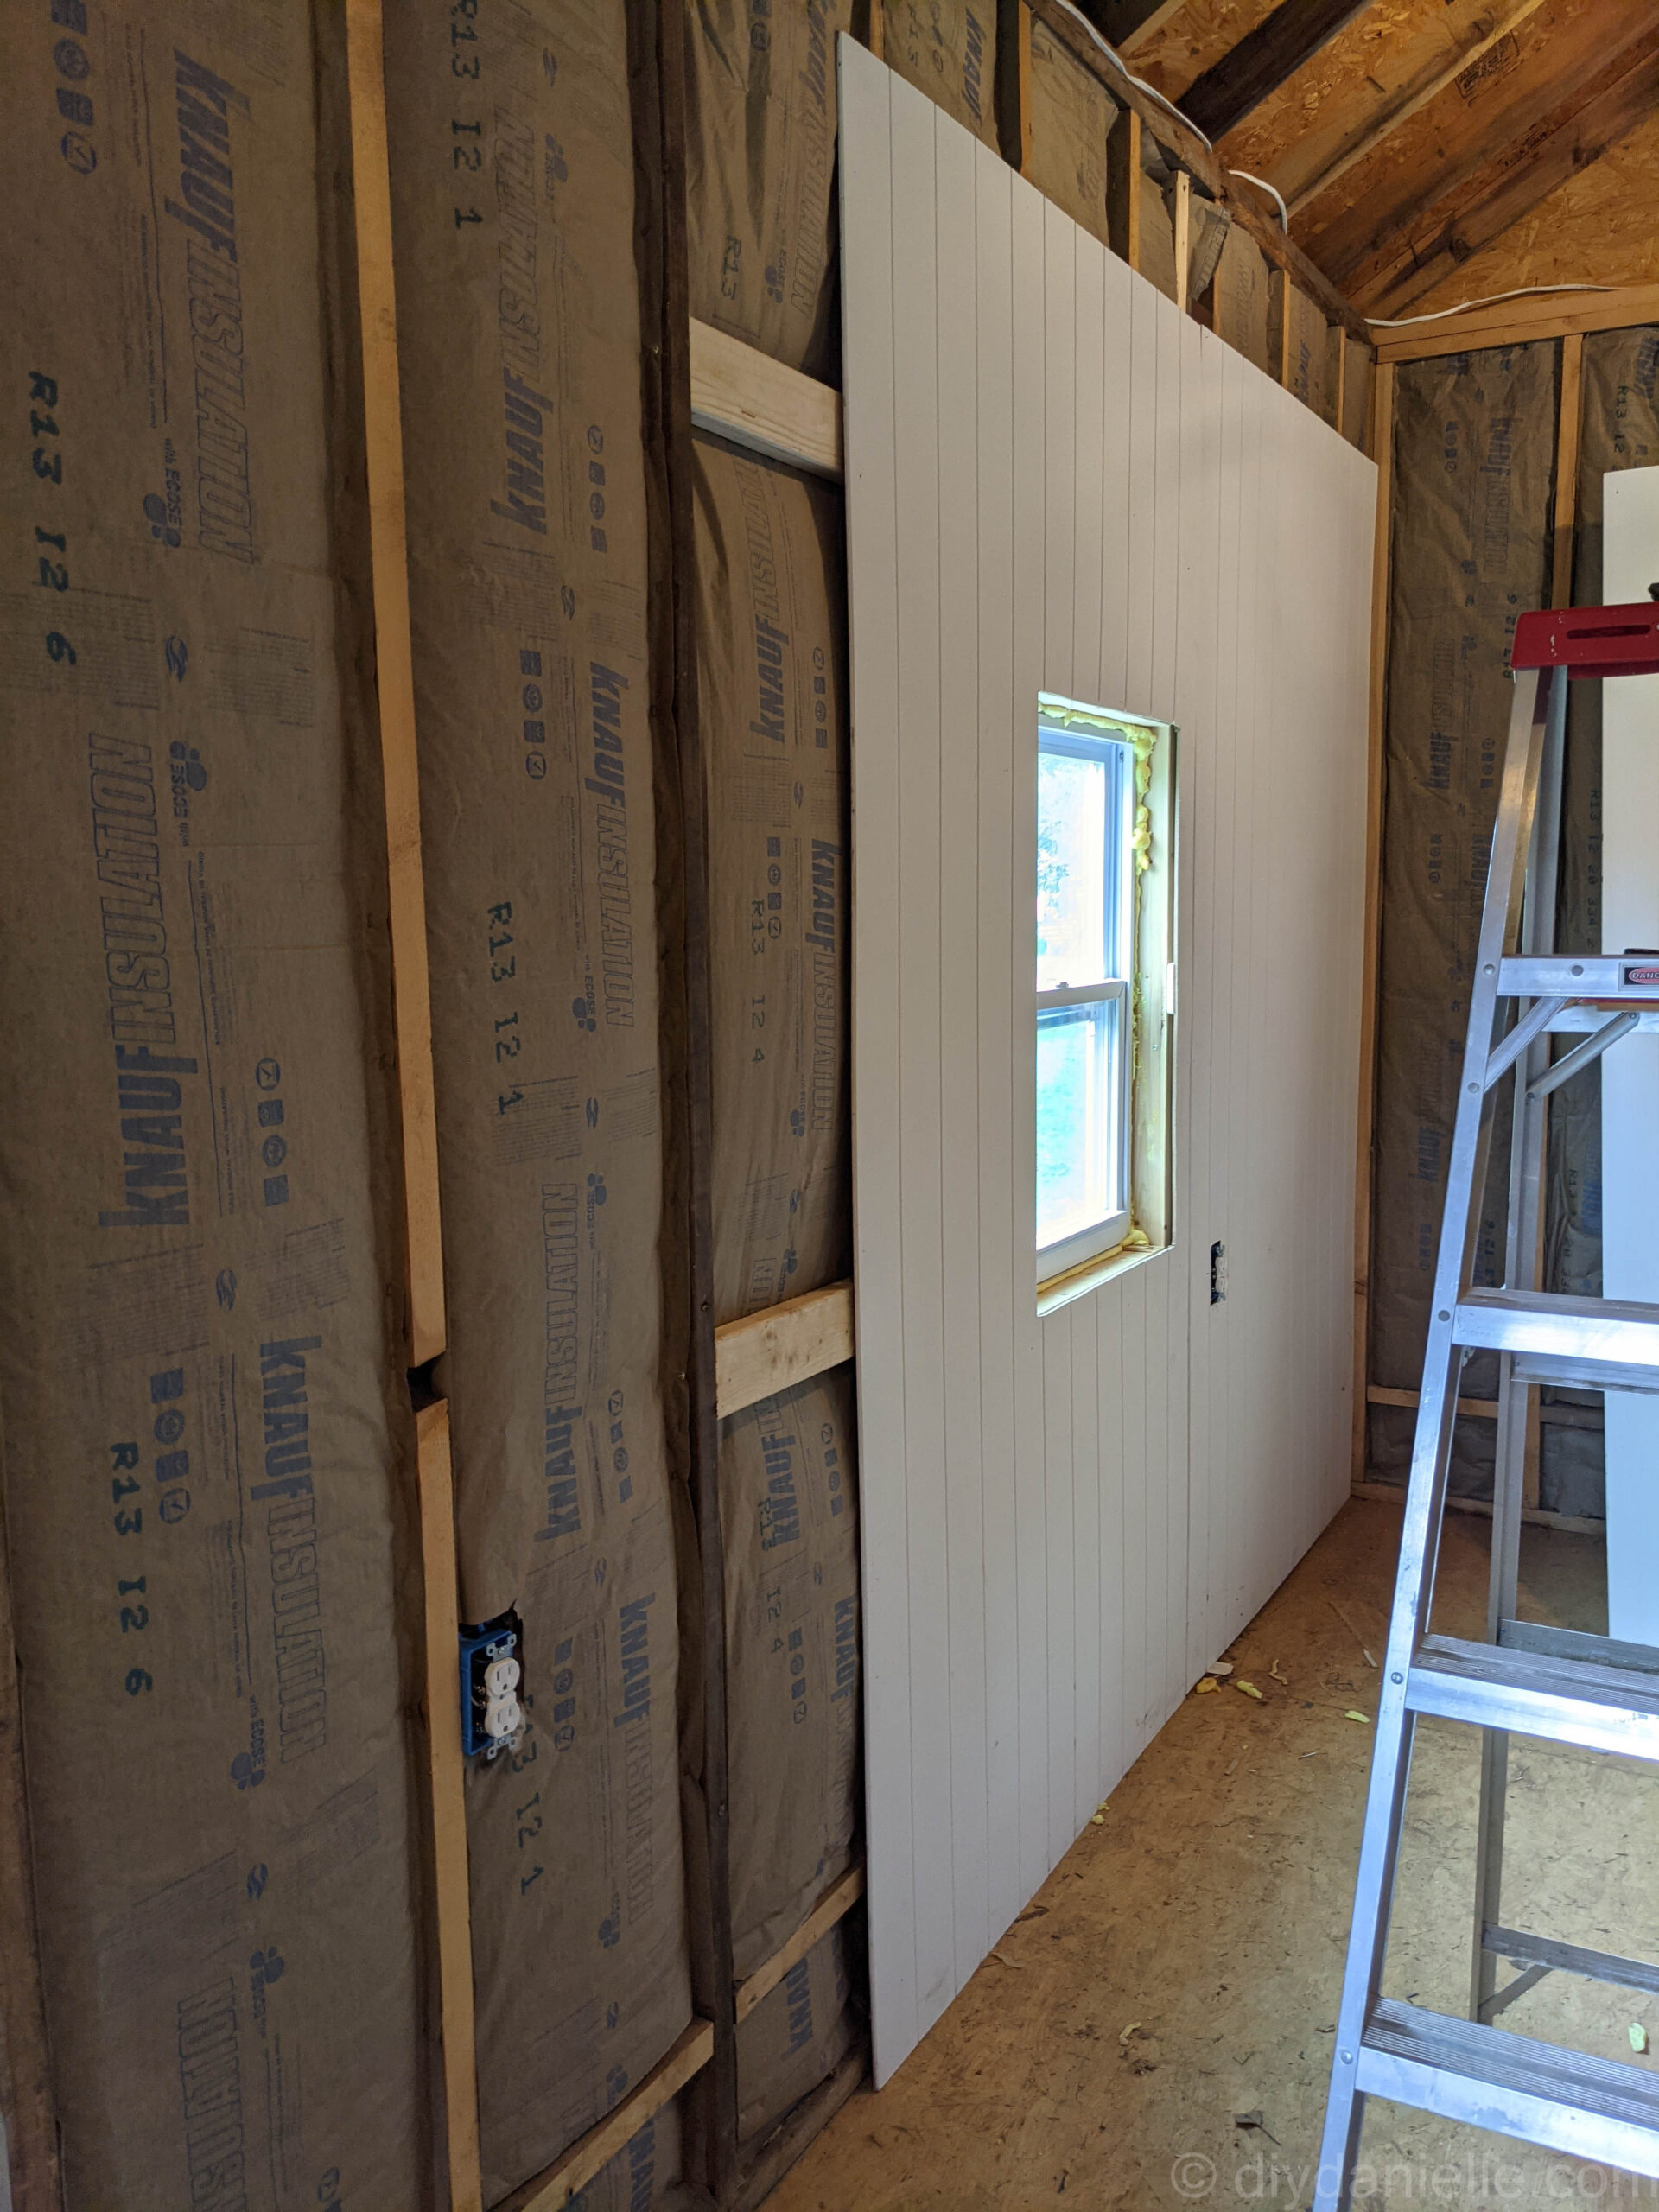
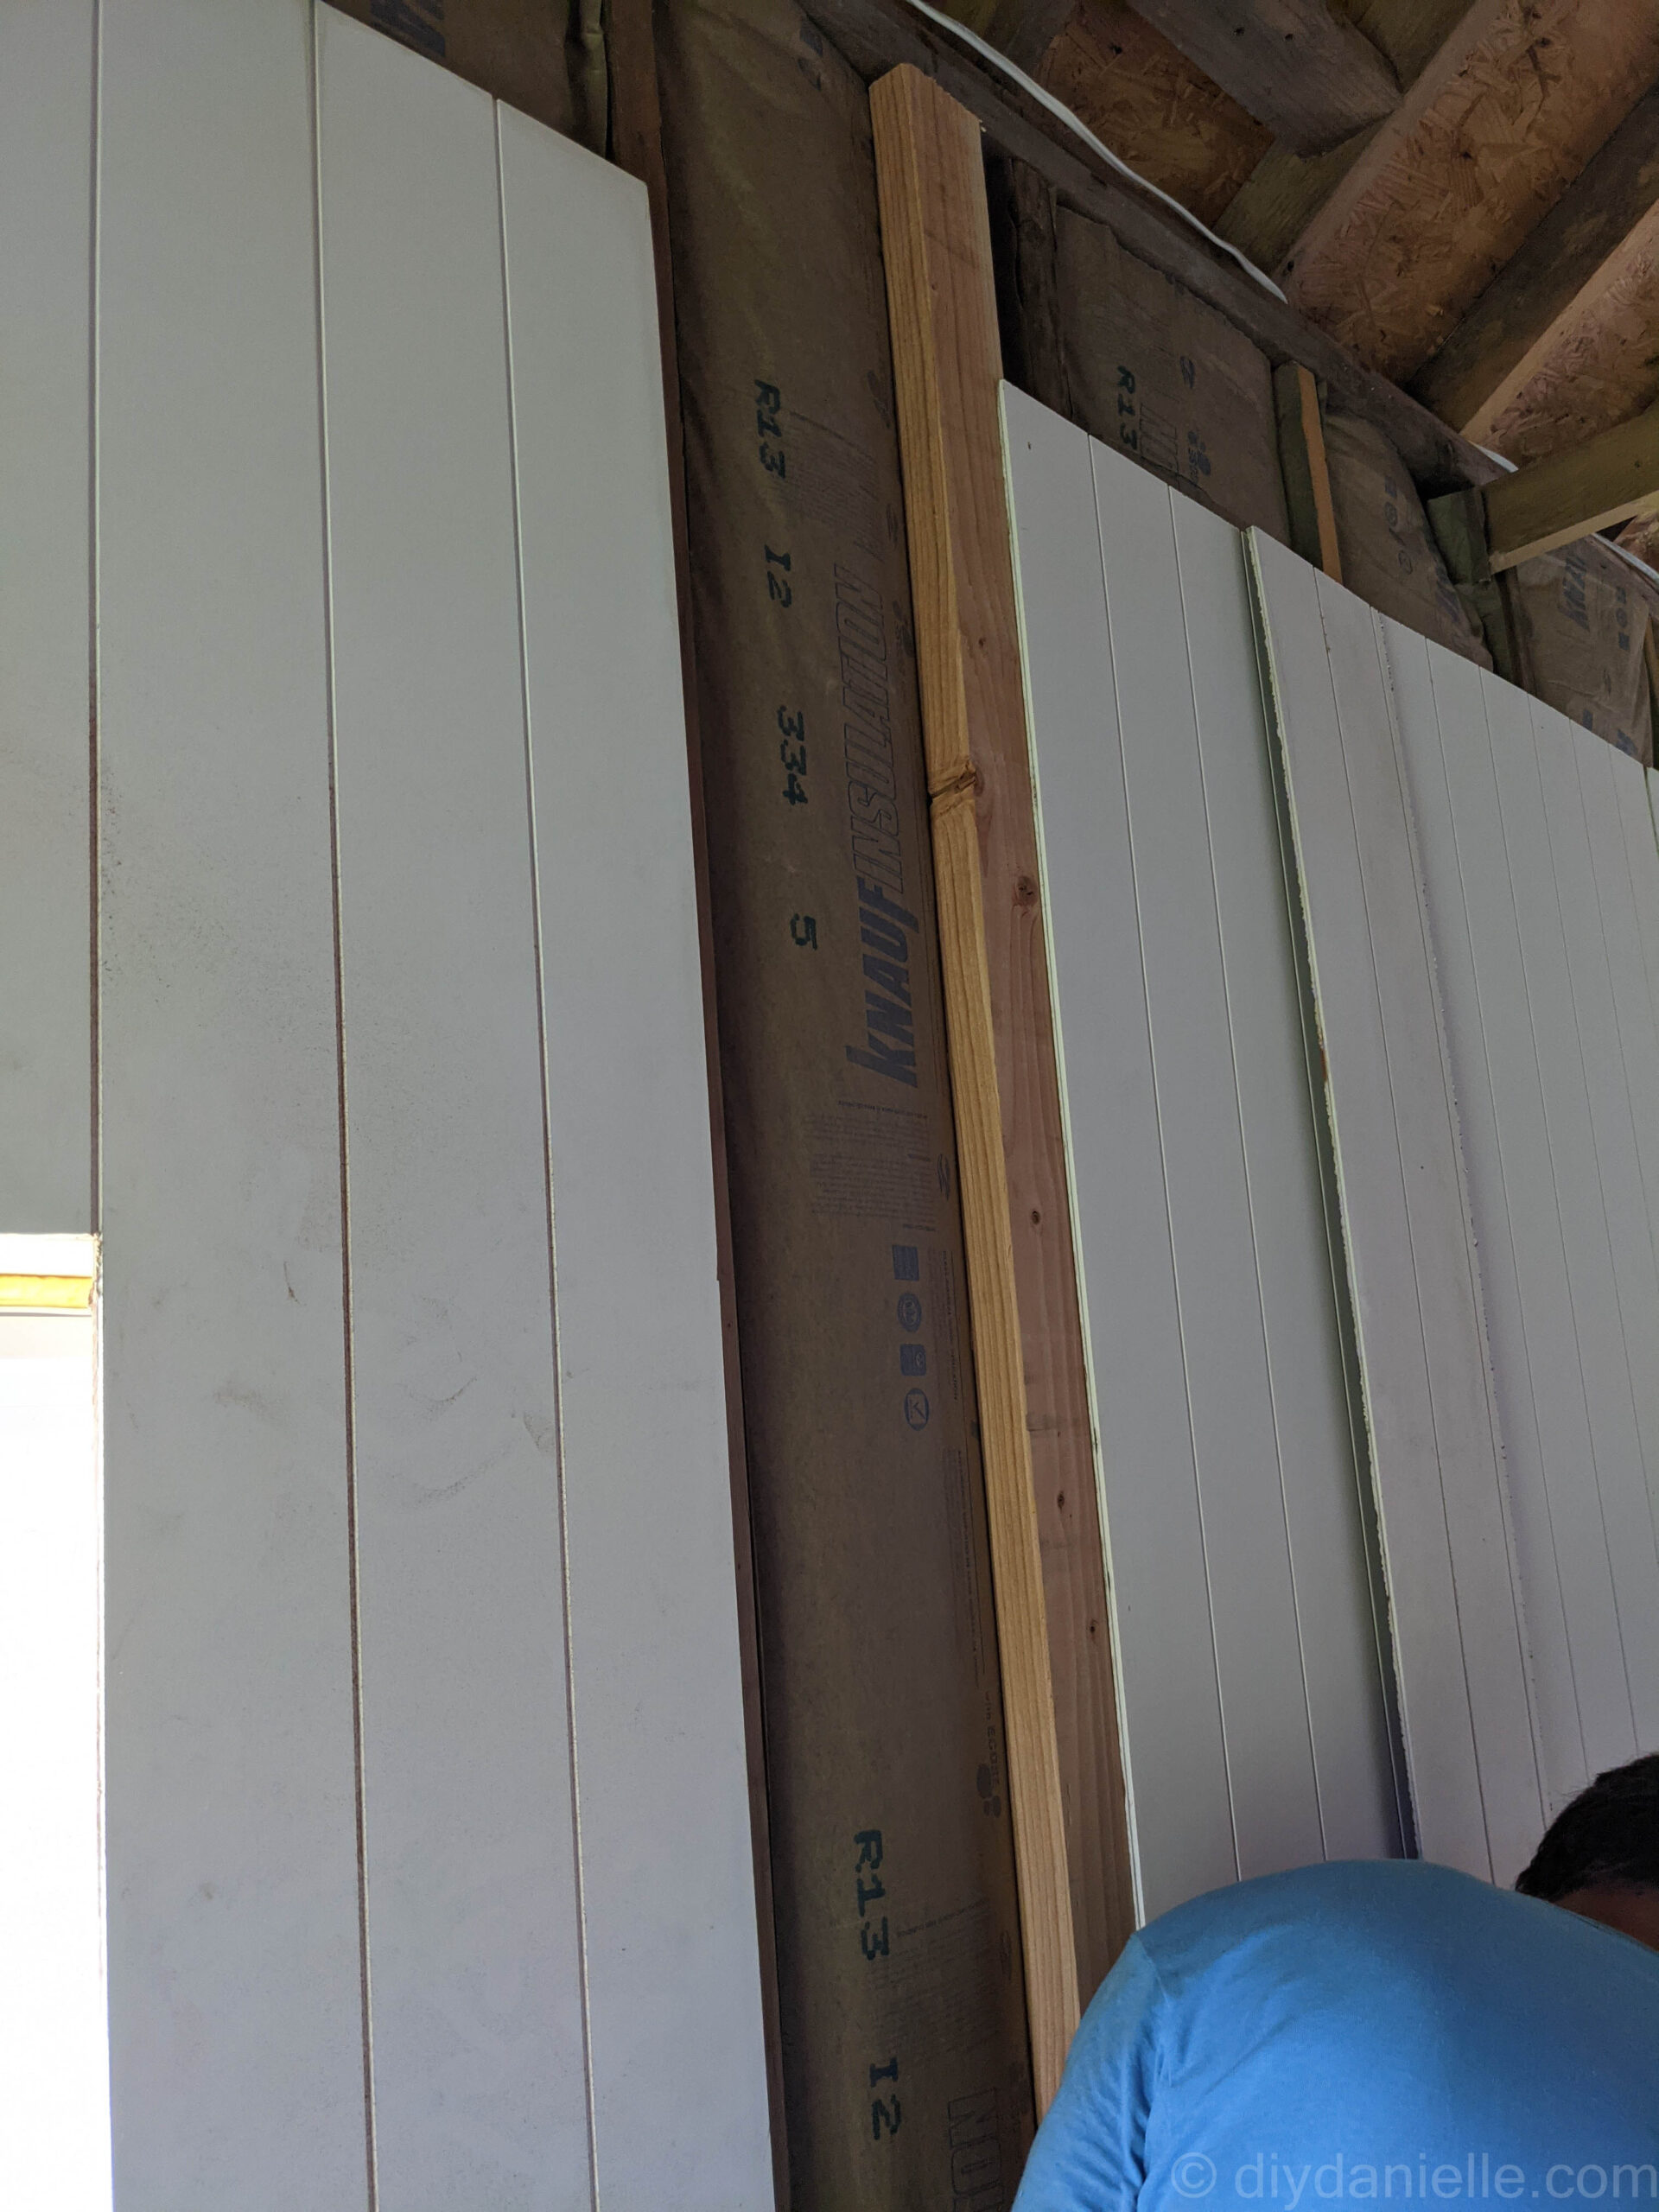
The one problem we ran into pretty quickly was that panels didn’t always meet at the stud. In the picture below, you can see that our 2nd panel ends in the middle of the stud bay. For this one, we used scraps of 2x4s horizontally to support the panels and give us something to attach the panels to. The more horizontal panels we added (3-4 was better than the two shown below), the more sturdy the wall seamed.
It worked, but DO NOT DO THIS.
It was cheaper for the wood and a good use of scraps, but we found that adding a new stud vertically was simply more supportive. And even though 2x4s were running $12/each at the time, it was FAR easier to install (1) vertical stud than cut 4+ small pieces to attach them horizontally. We also used fewer screws when doing a vertical stud.
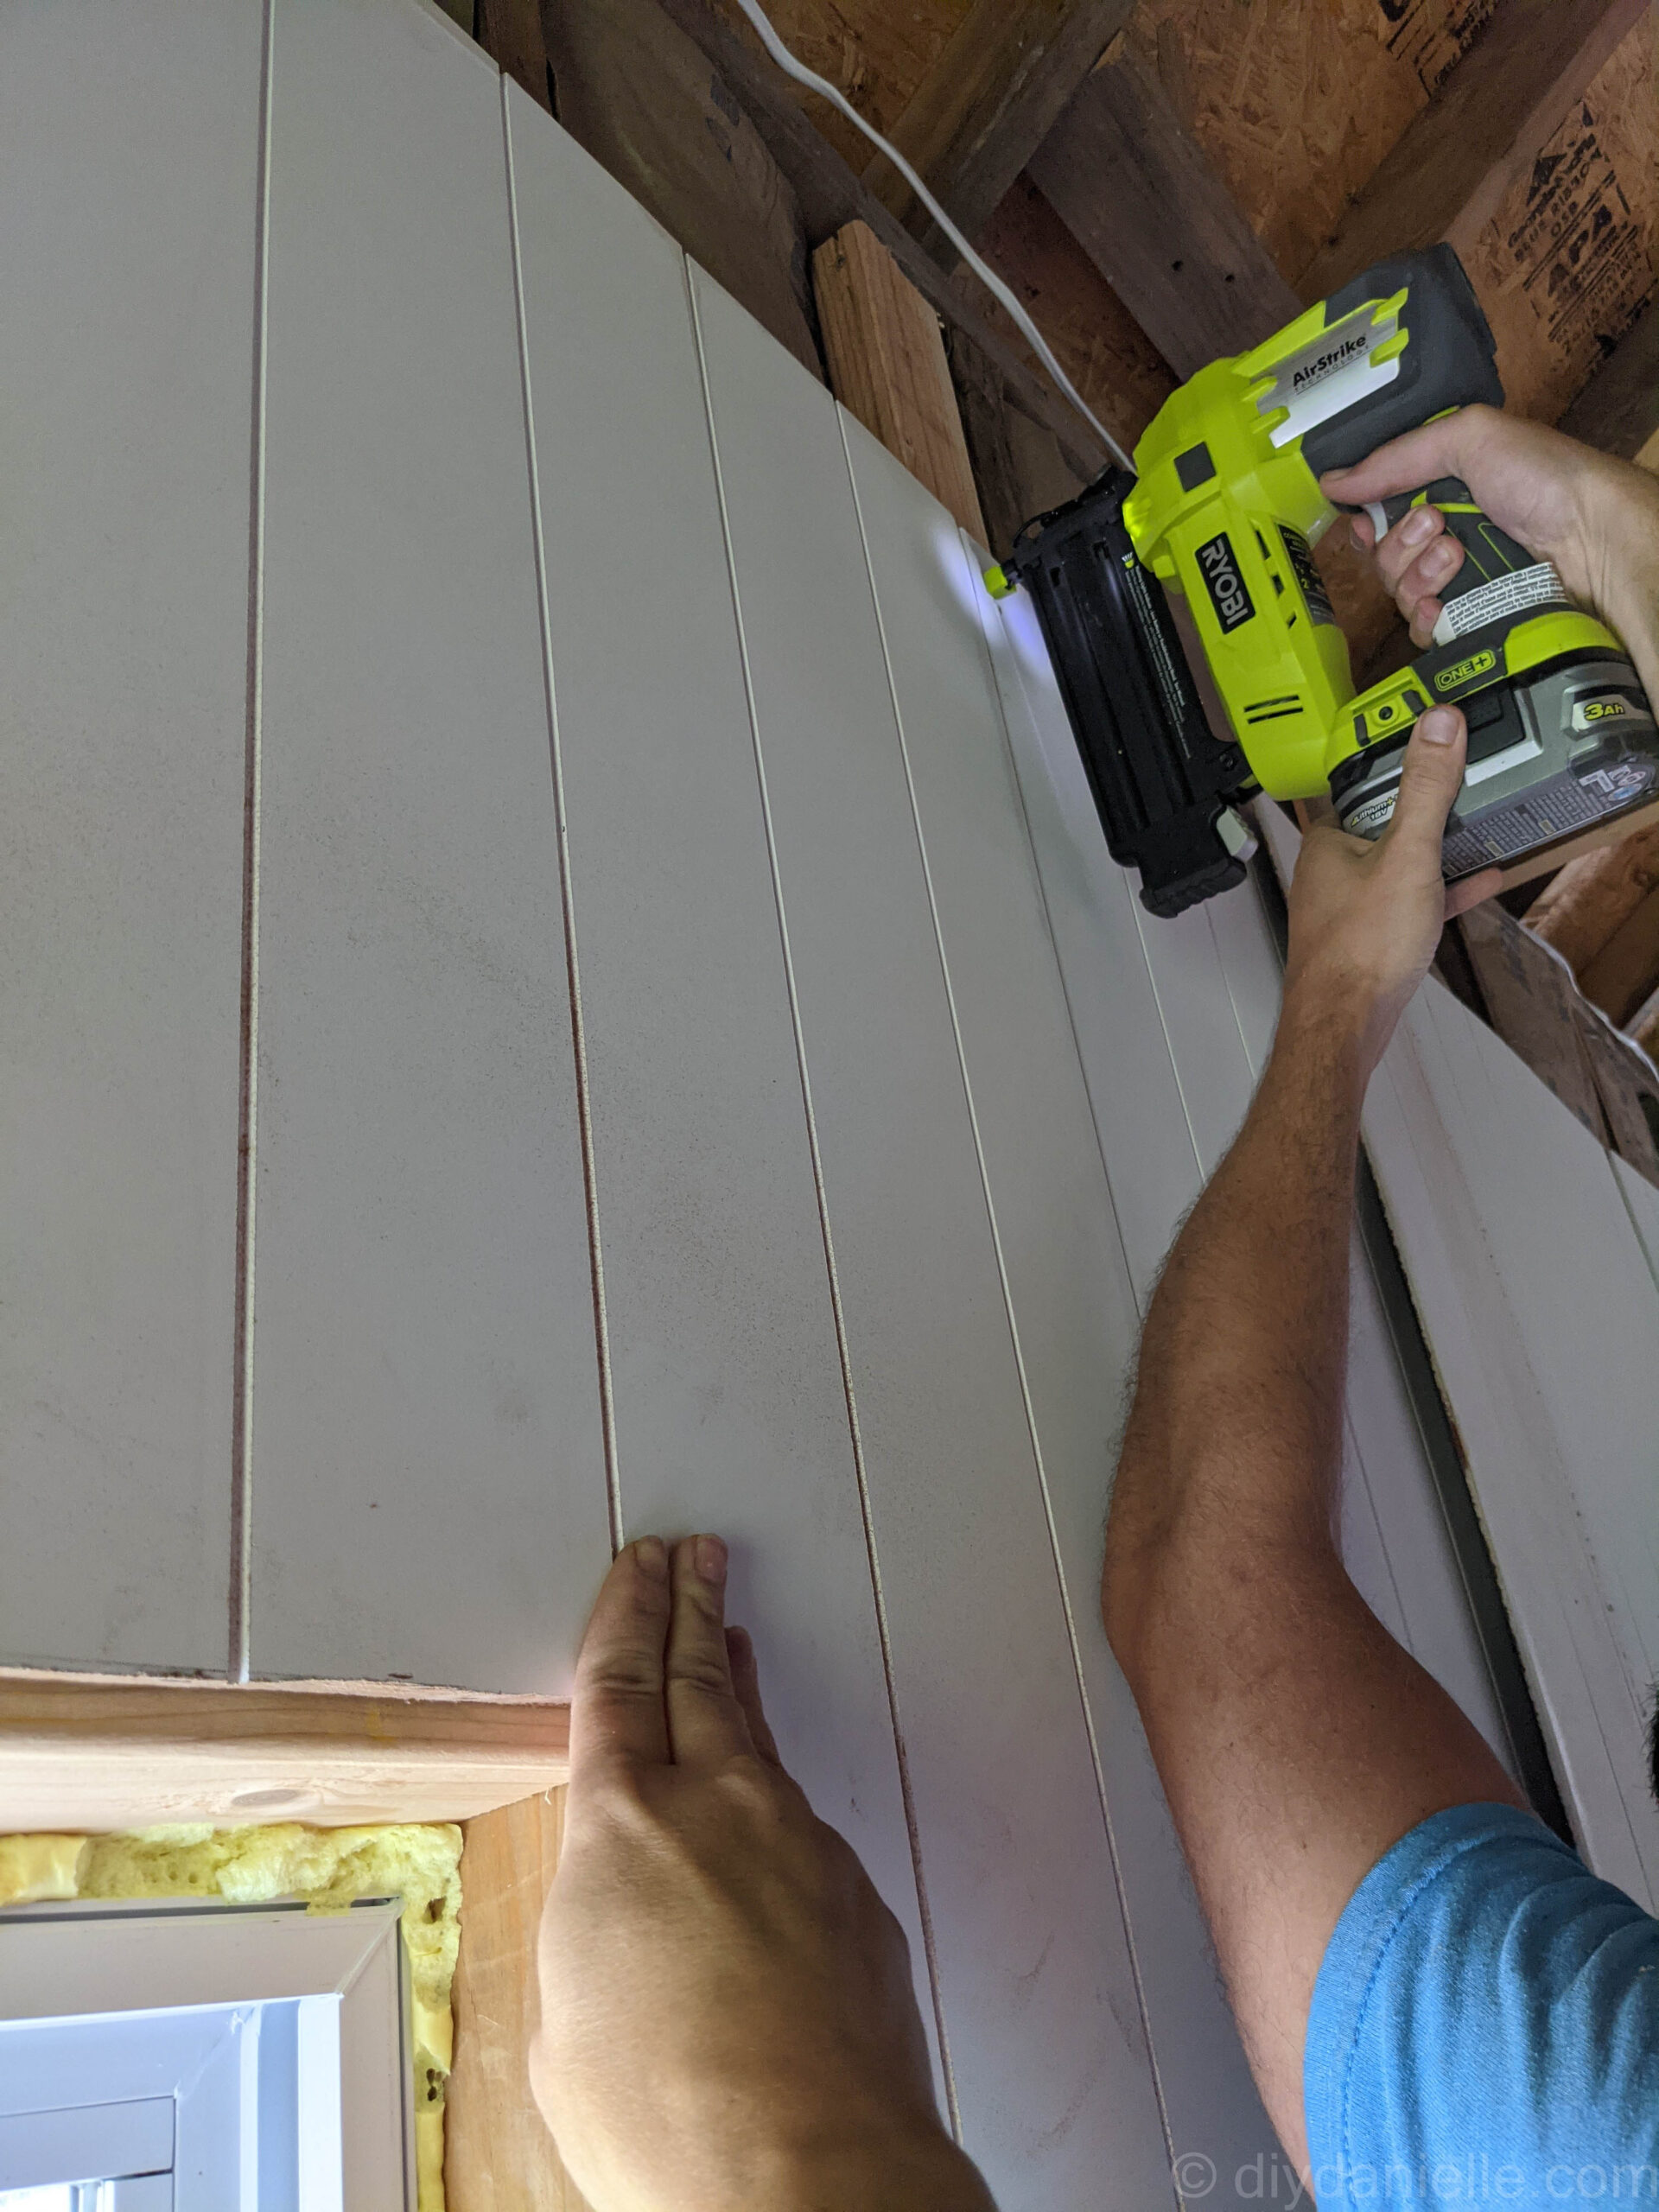
Screws cost money too and your time is worth something. This is how we attached the 8′ 2x4s. As you can see, we didn’t place it like a a true stud, but had the big side of the wood facing forward. This gave us more space to support the panels where they meet.
All we did is use our Airstrike to attach the panels to each stud.
We made sure to attach the paneling edges to the wood framing around the window. These raw edges will be covered up by window trim eventually!
Installing Panels around Outlets, Windows, and Doors
When we installed trim around our windows, this covered the raw edges of the paneling. We didn’t need to do anything for that.
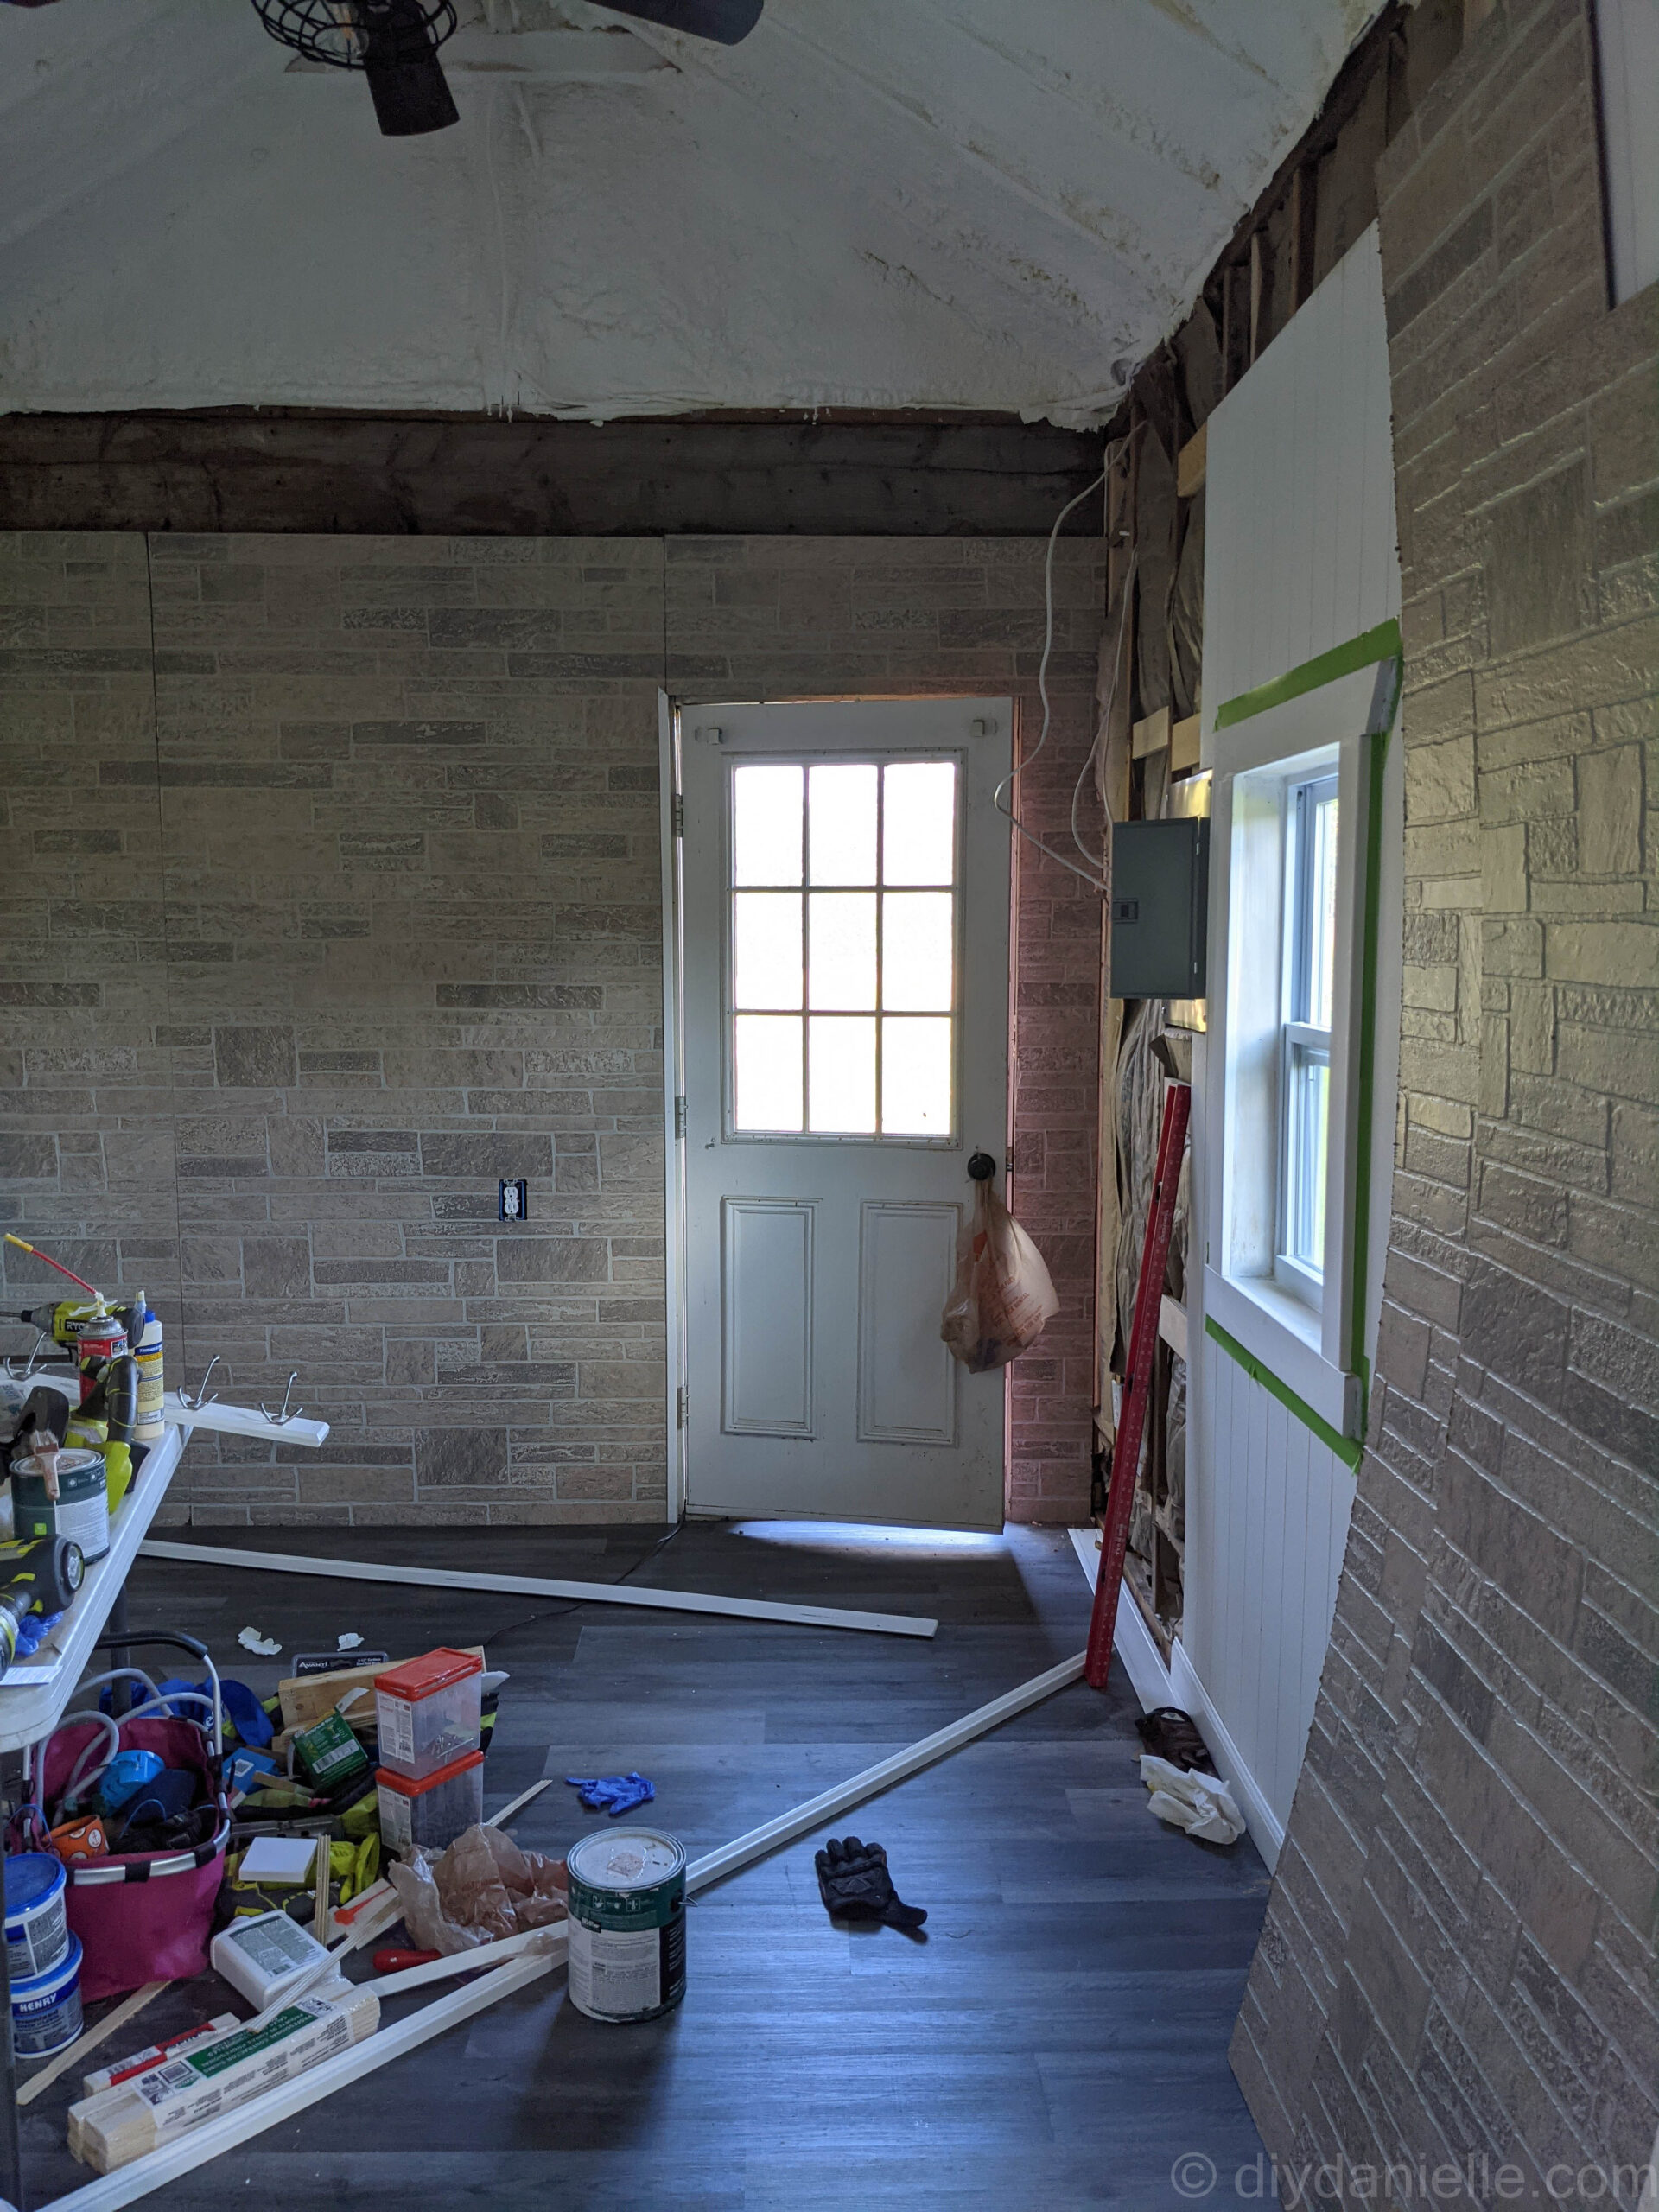
Our door was a bit more tricky. I tried to fill any gaps to prevent cold or hot air (and bugs) from getting in. But this corner was a bit weird.
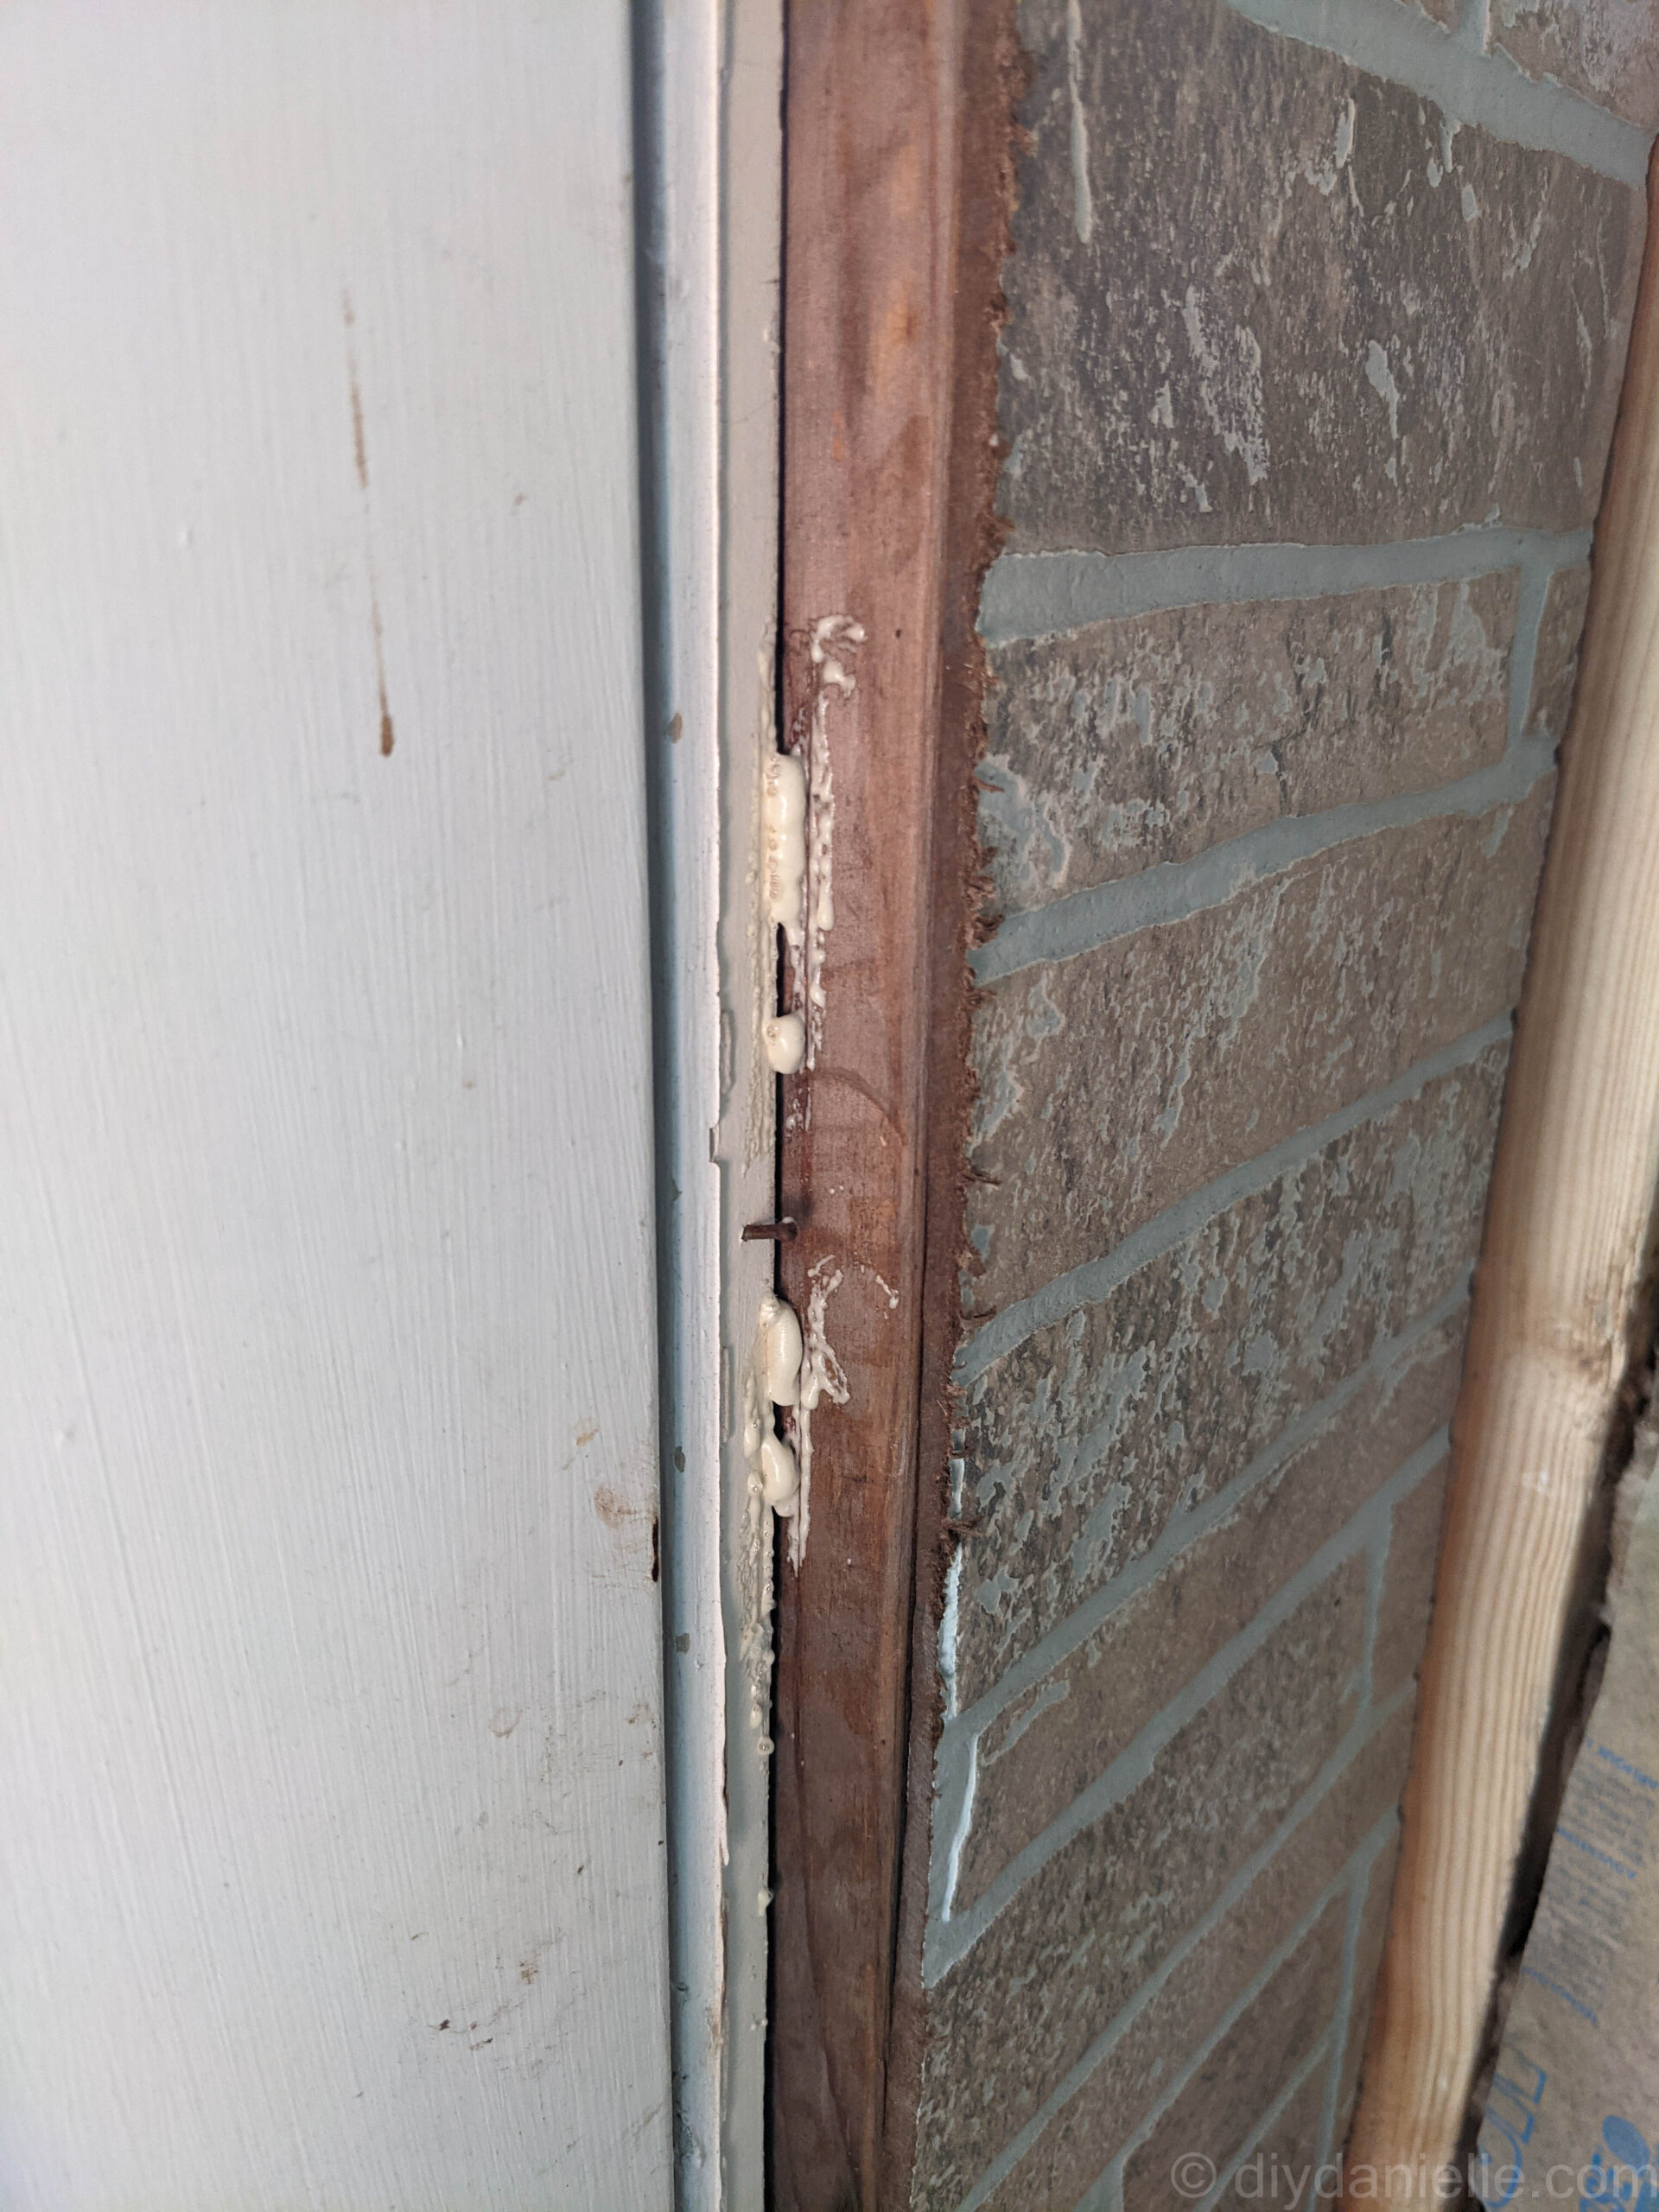
I cut the Corner Trim: 205 1 in. x 1 in. FEMDF Outside Corner Moulding to cut around the door frame, covering up the raw edges. These just were nailed in place using my brad nailer.
You only need to use the corner trim on the top and two sides of the frame frame.
At the top of the door frame, you need to cut your trim at an angle so it can meet smoothly with the side pieces. See top left corner of the door, below.
Covering Seams Between Panels
I think that it is pretty easy to see the seams between the panels. When installing the panels, you can push them up tight against each other, but if you look close, you can tell they are separate panels.
You have two options here: Fill the gaps with color coordinating caulk or cover the seams with lattice. Lattice will simply be attached with brad nails, again, and you can fill in the tiny holes with a speck of caulk.
If you decide to caulk every seam, here’s a tutorial that I wrote on how to caulk a bathroom. Same method, but you’ll use a different type of caulk for this.
I suggest:
- Multi-Purpose 10.1 fl. oz. White Siliconized Acrylic Latex Caulk for covering large amounts of gaps
- Alex Fast Dry 5.5 oz. White Acrylic Latex Plus Silicone Caulk if you just need to cover small nail holes
Covering Corners
The corner were easy. I simply use a piece of my Corner Trim: 205 1 in. x 1 in. FEMDF Outside Corner Moulding to cover them up, using a brad nailer to attach them over the panels.
I will probably get some complaints, but the video below is ONLY a tour and explanation of what we did. If you want to see lots of action video of the process, I didn’t get video of that because we both had our hands full at the time and moving a tripod around is time consuming.
Interested in another DIY project to renovate a “shed” space into a living space? Check out my DIY office that I made from a tack room in our barn!
Please share and pin this post! If you make this project, share it in our Stuff Mama Makes Facebook Group. We have regular giveaways for gift cards to craft stores. You can also tag me on Instagram @doityourselfdanielle; I love seeing everything you make!