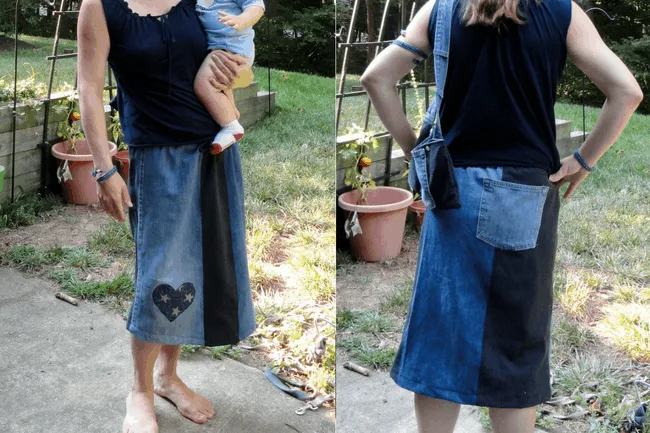
How to upcycle jeans to make a simple patchwork jean skirt. This is such an easy to follow patchwork denim skirt tutorial!
I’m steadily trying to sew my way through the giant pile of clothes that Daddy B gave me to upcycle. He had a lot of jeans so I’ve put together a few projects- this skirt, a skirt with a jean top and knit bottom, a bandanna, purse, and bracelet.
I like this project because I’m trying to use all parts of what I upcycle, as much as I can. When I was in elementary and middle school, I was fascinated by how people throughout history used all parts of an animal so as to produce less waste. I really haven’t stopped being fascinated by this. I still really enjoy books that discuss how people have or may have done this, such as in Jean Auel’s Earth’s Children series (fiction, but really well thought out fiction).
Imagine how little waste we would have if we could do this more in our society. Plus, scraps of the same materials help make excellent coordinating accessories. Nothing will ever match quite so well as the same materials! I’m usually terrible about accessorizing- maybe this will help me coordinate better in the future!
This post may contain affiliate links which may earn me commissions should you click through them and take certain actions. As an affiliate for Amazon, Cricut, xTool, Home Depot, and other sites, I earn from qualifying purchases. Please DIY carefully. View my full legal disclosures here.
Please read the whole post so you don’t miss any important information!
If you are really into jean projects, I’ve also patched knees in jeans in a totally unique way and I have a patchwork jean purse too.
Here we go…
Note: This is an old post that was updated. It was originally published July 7, 2012
SUPPLIES NEEDED FOR A PATCHWORK DENIM SKIRT
- Old jeans
- Coordinating fabric
Patchwork Denim Skirt Tutorial
First- if I turn Daddy B’s pants into a cute skirt for me, does that mean *I* wear the pants in this family? Teehee… Ok yes, bad joke! I couldn’t resist though!
Cut your pants apart. I cut off the legs and then cut the legs open.
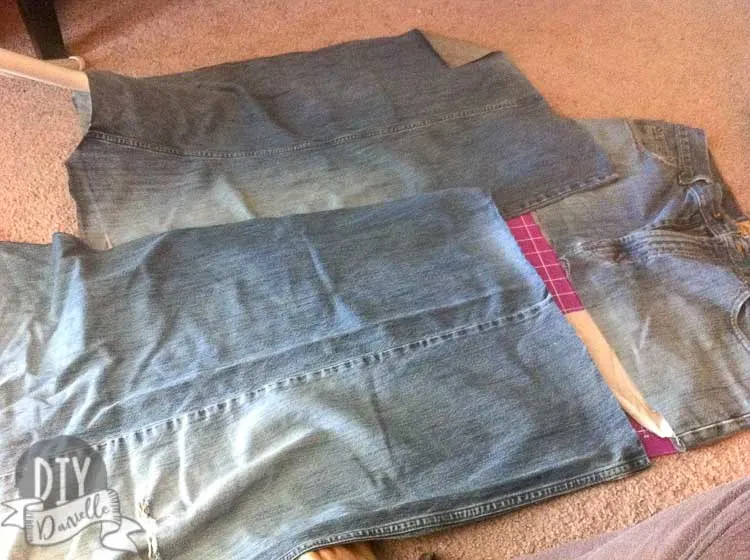
Cut out 5″ or 10″ width pieces of the pants and jeans. I just did a bunch of these two sizes.
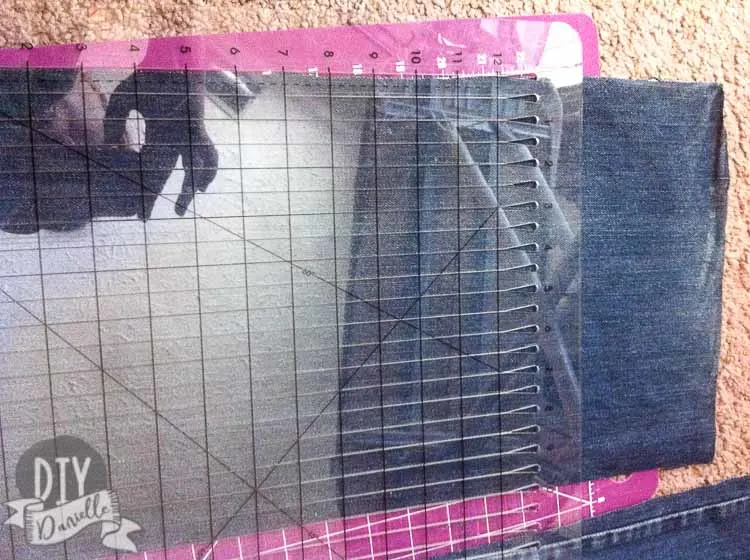
Iron your fabric. Probably doing this before cutting it would be wise, but whatever.
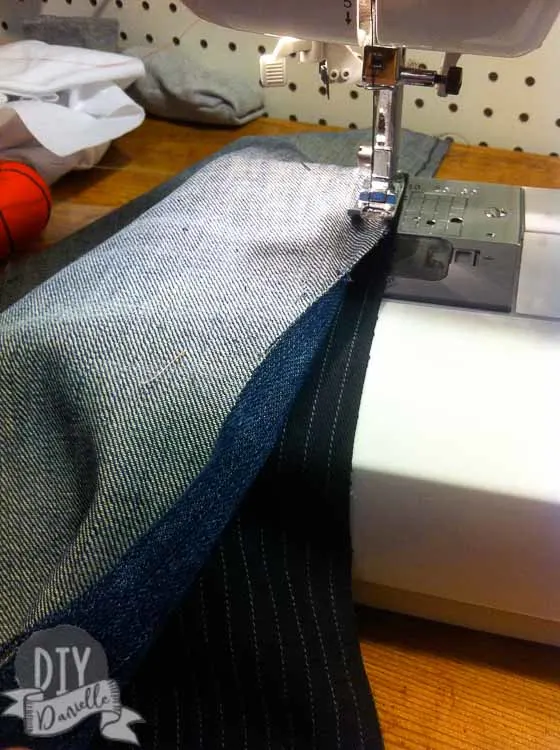
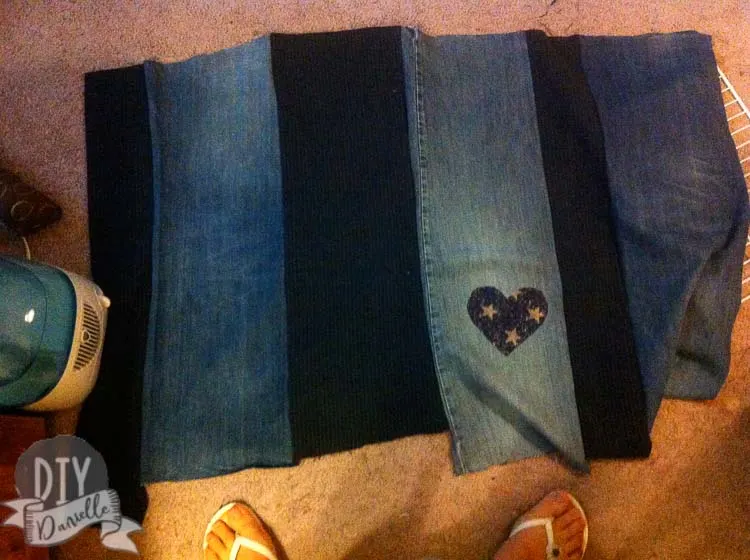
Take two pieces, face them right sides together and sew along one long side with a 1/4″ seam allowance. I kept adding on pieces until I had one huge rectangle with lots of pieces all sewn together.
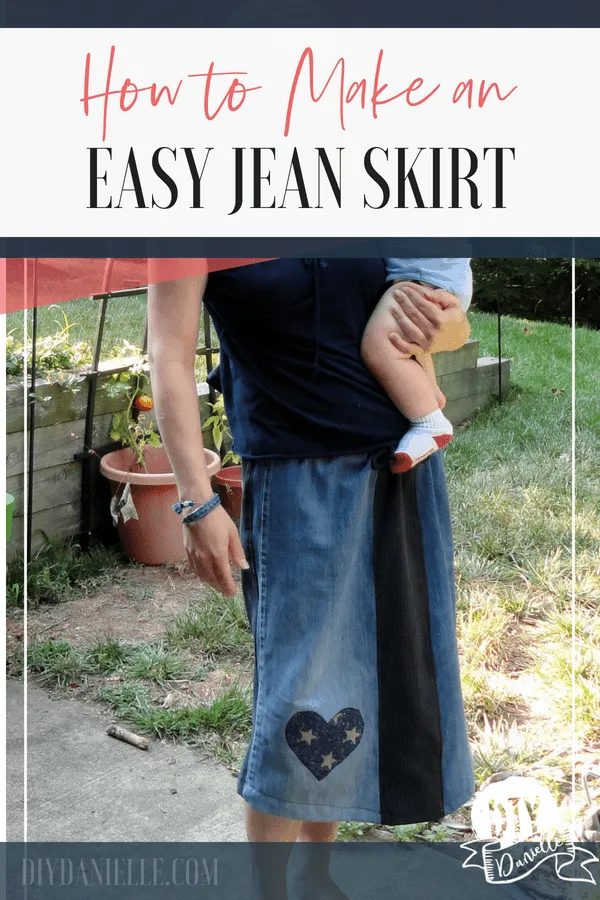
I didn’t think I had enough strips of fabric to not use one of them so I decided to cover a hole in one of the strips with an extra heart appliqué I had laying around so I didn’t waste any of my fabric. Not going to give my screwed up directions here because I’m not certain I did it the way I was supposed to… so far it’s holding up, but you should just find a good tutorial on making patches or appliques if you want to do this too.
I went back to my strips of fabric sewn together and zig zagged all of the raw edges to prevent fraying. Serge if you have that option.
ETA: This might not be strictly necessary if you are using just jeans. The dress fabric may be more likely to fray.
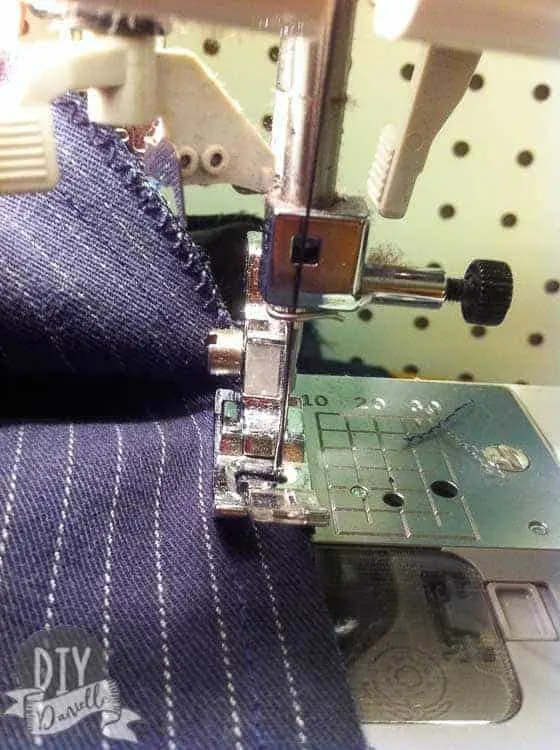
I also top stitched each strip as well. I made sure the extra fabric that I zig zagged was all in one direction, then did a straight stitch to finish it.
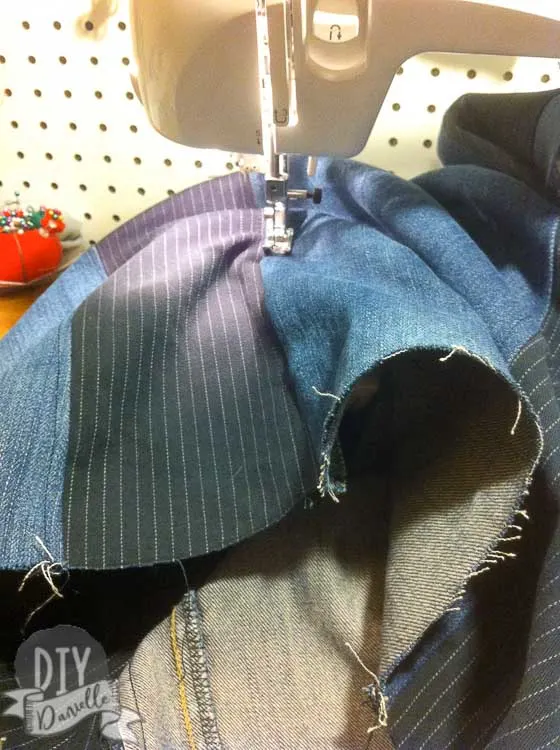
I didn’t like how it looked as just a rectangle so I decided to make the waist smaller than the bottom. I had no clue what I was doing. I decided to measure the biggest part of my bottom half- in my case, my hips/butt, to figure out how wide the waist needed to be so I could pull the skirt up to put it on. Jean isn’t very stretchy and I was using a drawstring to hold it up so it needed to be big enough to squeeze into! I added a couple inches to that in order to account for seam allowance.
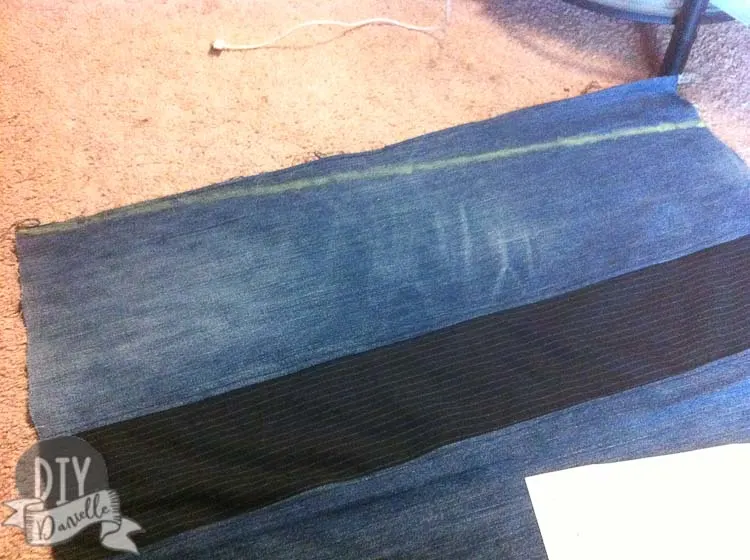
The chalk line shows where I cut it.
I put the ends of my rectangle together, right sides of the fabric facing each other, and sewed a straight stitch up the side with another 1/4″ seam allowance. I finished this with a zigzag and top stitch, similar to the other pieces. You should now have a “skirt” with no finished seams at the top or the bottom. Give it a try- pull it on. It should fit.
Next you’re going to add a casing at the top for your drawstring (waist). I just folded under the top fabric twice and top stitched to close the casing. Leave a small area to feed your drawstring through. I used teeshirt yarn for my drawstring (yay for more upcycling!) and attached a safety pin to the drawstring, feeding it through one side until it came out the other. I made sure I had enough string, cut the sides even, and tied a knot on each side.
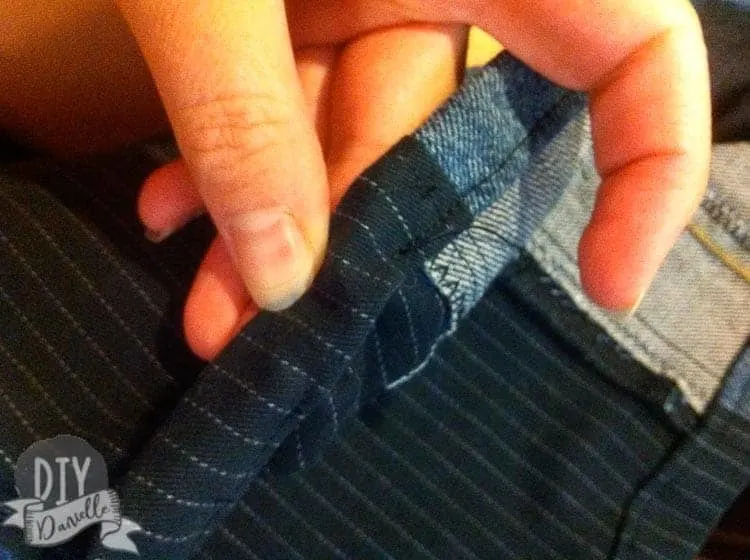
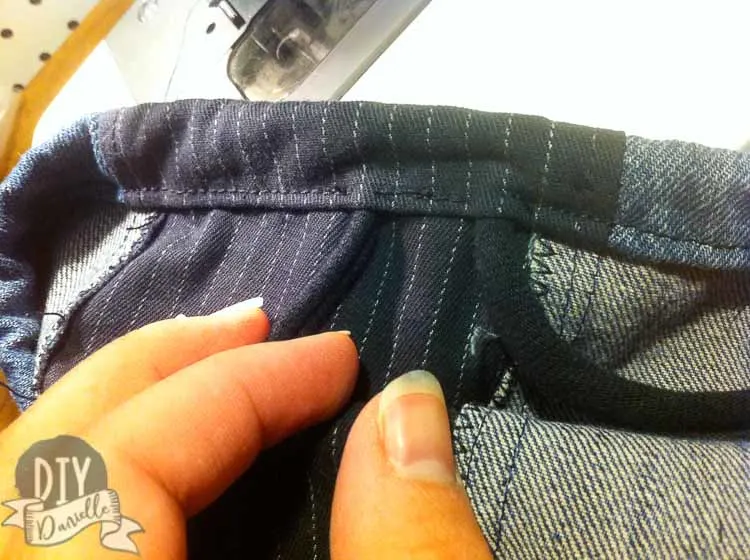
You might want the drawstring on the outside, but I like it on the inside so I don’t have a little bunch over my tummy to pucker out my shirt… that annoys me. It looks goofy. I didn’t want to cut holes in my fabric (haven’t figured out how to do button holes yet) so I just fed the strings through the bottom of the casing, then did a stitch in between the two strings.
I decided to add a pocket at the last minute. I seam ripped a pocket from one of the pants and then just stitched it onto the back of my skirt. I had to zigzag the bottom of it on because it was fraying. Probably should’ve picked up some matching thread, but whatever. Haha, I’m so lazy.
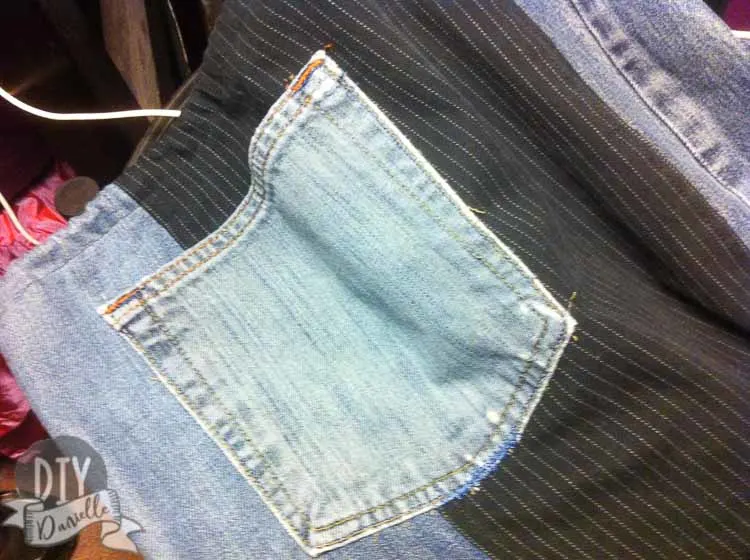
To finish my skirt, I just folded over the bottom twice and top stitched to create a finished seam. I recommend pressing first. A coverstitch machine would do an even nicer job of this.
This is a really old post of mine and I’ve done a lot more clothing posts since! Make sure to check out these other posts…
Want more fun sewing ideas? Check out these other fantastic sewing posts:
How to Convert a One Piece Swim Suit to a Two Piece | How to Alter a Tankini to a Bikini | How to Make Boxer Briefs | How to Turn a Onesie into a T-Shirt
How to Babyproof a Sewing Room | How to Thread a 1034 D Serger | Sewing Tools | How to Choose a Sewing Machine | Sewing Tips and Tricks for Beginners
Please share and pin this post! If you make this project, share it in our Stuff Mama Makes Facebook Group. We have regular giveaways for gift cards to craft stores. You can also tag me on Instagram @doityourselfdanielle; I love seeing everything you make!
Check out these other Secondhand Fashion Ideas!

Jean
Tuesday 12th of September 2023
You make it sound so simple & almost haphazard at times, or whatever! Lol!!! I love it!! Your accompanying pics make it clear you do know what you're doing, lazy or not! I can't wait to try this out.