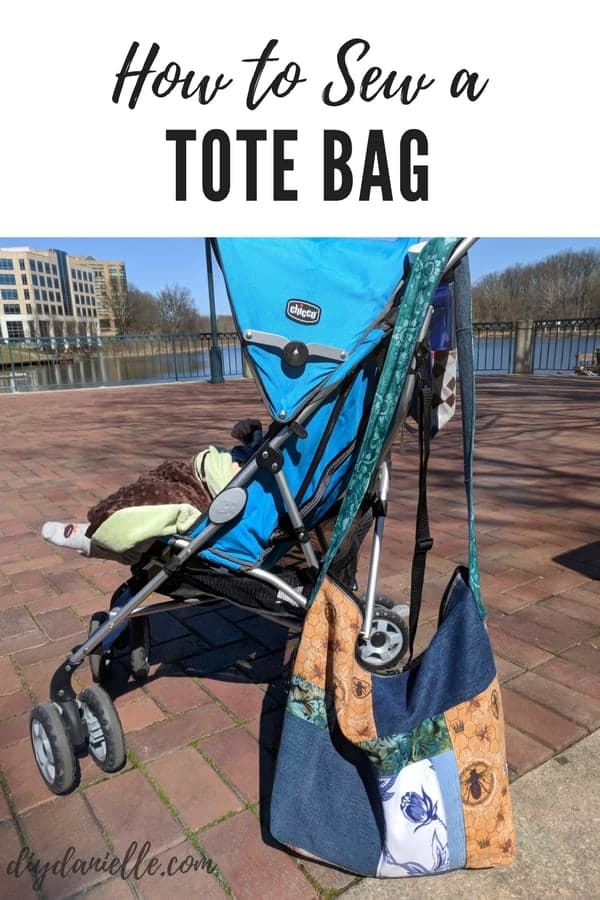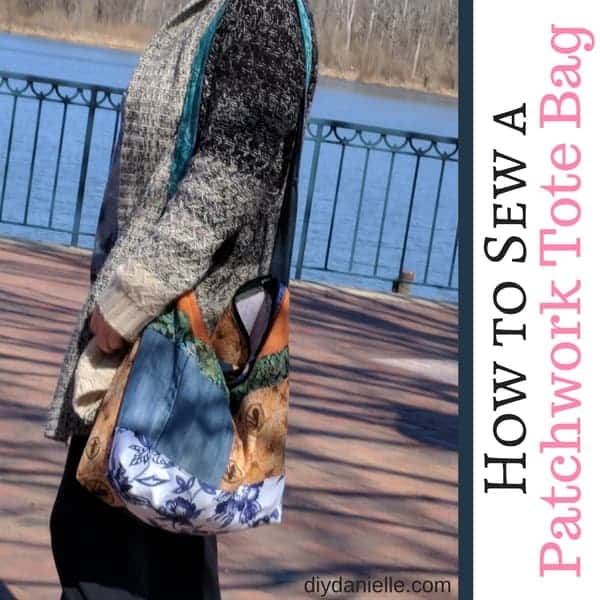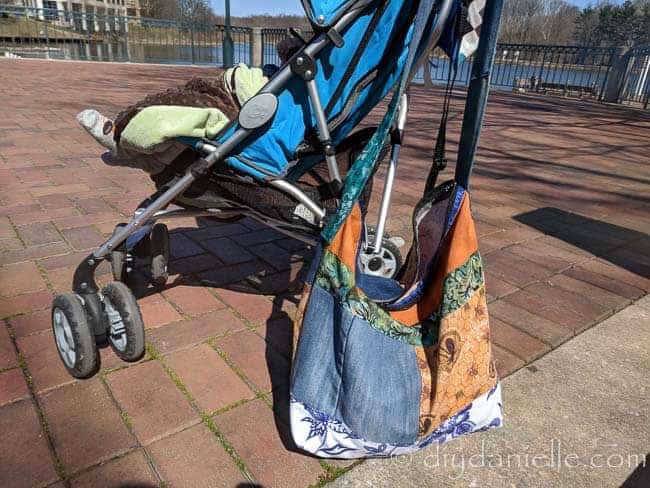
How to make a tote bag. This easy tote bag pattern is fast to make and uses upcycled or scrap fabric.
This tutorial may include affiliate links. If you use those links to make a purchase, I receive a small commission from the sale.
My gym situation was sad. I had a nice yoga mat bag, but I’ve been carrying my change of clothes in a bright green reusable grocery bag. I finally decided to do something about it and make a quick gym bag. I didn’t want anything fancy so I opted for a fabric shoulder bag with a zipper opening. I really like the hobo bag look and how easy it is to sew a bag without a liner or stabilizer. Yet it’s still sturdy because of the type of fabric I used.
For this bag, I used a zipper that I cut off my son’s worn out school bag (the fabric had worn through). This made it super easy to sew on.
Supplies for a Hobo Bag
- Fabric scraps: I used jean (very sturdy), some scrap upholestry fabric that I had in my scrap bin, and a few other fabric scraps that I thought coordinated well.
- Sewing machine and/or serger
- Zipper: You can purchase a zipper or upcycle an old zipper like I did.
- A serger and coverstitch machine really help make these come out nicer. They add a professional touch. I’ve heard good things about this coverstitch by Janome
- Need fabric? Try Online Fabric Store® Up to 70% off Fabric + Free Ship $60+. Great Selection, Low Prices or try Fabric.com
If you sew a lot, make sure to check out our new app, Sew Organized, available FREE on the Android Play Store and the Apple App Store.

Download it on the Android Play Store | Apple App Store
How to Make a Tote Bag
Here’s a video that explains each step to make this bag. Scroll down for the photo tutorial.
To begin, you need some scrap fabric. It’s helpful if you use thicker fabric like upholstery fabric or jeans. I didn’t cut all of my scraps the same size. I wrote a post on upcycling clothing into other items if you’re interested- I do a lot of fun upcycle projects with old clothes.
Here’s my helper. I try to babyproof my sewing room well so this guy doesn’t get into too much trouble if I’m sewing.

I figured out the size for my bag and cut up a paper bag as a template. The width was around 18.5″ and 37″ long. Keep in mind that half of your fabric will be on one side of the bag and the other half will be on the other side of the bag. What does this mean? Your bottom half needs to face the opposite direction as the top.

You’ll sew each piece together, right sides together, then top stitch. I worked my way across, row by row.
As an option, you could add a pocket or two if you want. I didn’t add them. Honestly, I think an exterior pocket would take away from the patchwork appearance of the bag. And because I didn’t add a lining, any stitching to add a pocket to the inside would show up on the exterior. So no pocket for me.
Once all of the fabric pieces were sewn together, I needed to add my zipper. I have been saving old zippers to upcycle, but I usually seam rip them from the fabric. This time I had just cut the fabric away. I was thinking about seam ripping it before reusing, but realized pretty quick that I could EASILY sew the surrounding fabric of the zipper to my bag fabric. This meant I didn’t need to use a zipper foot and made the process SO much easier. I highly recommend this method.

As you’d add any zipper, you face the zipper right sides together with the bag fabric. I sewed it on, right sides together, then turned it over to the correct side to top stitch.

Next I folded my bag in half so I could sew the zipper onto the other top of the bag. Sew right sides together, again, then flip the bag through the open sides so you can top stitch.

See? Now you have your zipper sewn on.

Turn it right sides together again. Sew up both short sides with a straight stitch. I serged my sides too. Make sure to unzip your zipper about halfway before sewing your bag sides up.

Now you can turn your bag right sides out through the zipper area. This is what it looks like.

Just kidding, flip it back right sides together. We still need to add the boxy bottom to the bag. To do this, you pinch the side of the bag with your thumb and the bottom of the bag with your pointer finger. You can sew across that triangle to create a boxy bottom. The size of your triangle cut out will impact the size of the bag bottom. Think of it this way- the edge of the triangle you’ve cut off/sewn is the width of the bottom of your bag. Does that make sense?
I always save the triangle and use it for a template for the other side of my bag so that I can get the triangles exactly the same size.

Now you can flip right sides out and you’re finished with the main portion of your bag.

All that is left to do is make your strap.
The strap is 46″ long x 2″ wide. I used jean fabric for the bottom side of the fabric and some quilting cotton for the top half of the strap. I sewed the two pieces right sides together, turned, pressed, and top stitched. Then I sewed each end of the strap onto the bag, using a square and x.

All done!
If you’re a fan of yoga too, make sure to check out my tutorial on how to sew a yoga bolster pillow. New to sewing? Make sure to check out my post on tools that make sewing easier.
Please pin it!