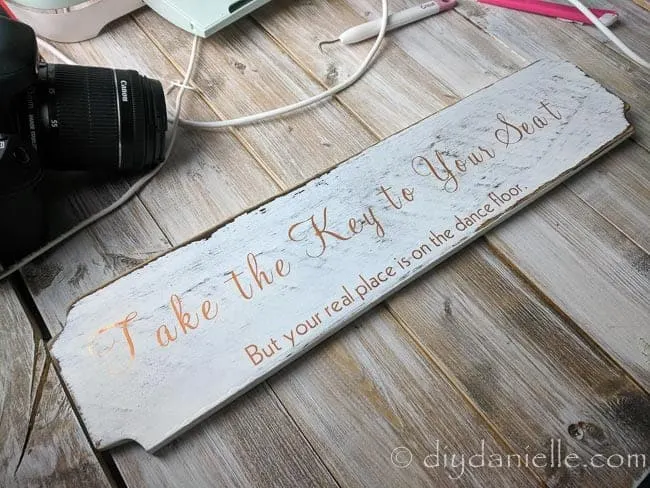
Reception seating chart ideas. Check out this super easy DIY wedding reception idea and make your own keys for guest seating arrangements!
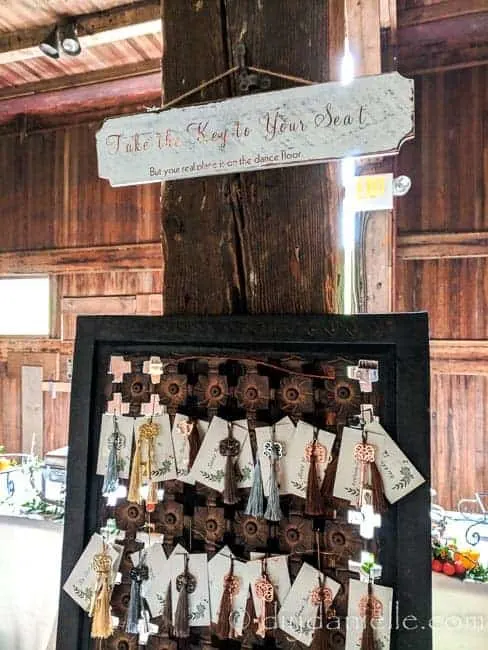
My brother-in-law got married last year and I realized belatedly that I should have offered to make some signs for the wedding. I was married in the pre-Pinterest days so I didn’t even think of it. When my sister-in-law got engaged, I made sure to offer to make them a sign or two if they needed it. For the reception, she wanted to hang keys with each guest’s seating information on their key. She needed a sign to hang above the keys to let guests know to grab their key. I was more than happy to make it for her!
Here’s how I made the sign for the reception seating arrangements.
Supplies for the Reception Seating Sign
This post contains affiliate links. If you make a purchase using these links, I get a small commission.
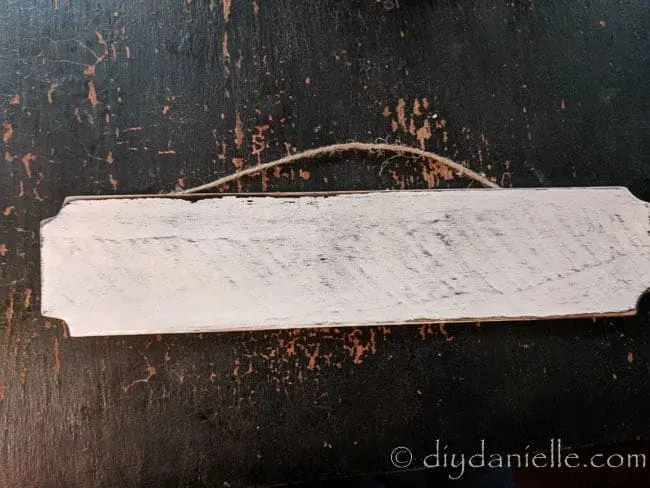
- Sign: I got this a while back from Target or Michaels or Joanns. One of those.
- Cricut Air 2 (my machine), or if you really want to get fancy, get the new Cricut Maker™
- Cutting mat
- Weeding tool
- Rose Gold Adhesive Foil from Cricut
- Transfer paper
- My Free Cricut Design
Supplies Used for the Keys
How to Make a Sign for a Reception Seating Chart
I had a sign that was PERFECT. Unfortunately, my kids wrote all over it with crayon soooooo I used a magic eraser to clean it off.
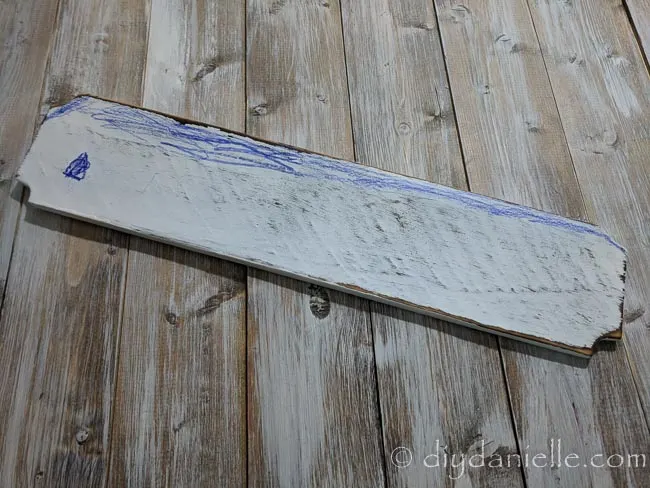
This is it cleaned off- Magic Eraser is… well… magic. It can even remove wood stain that dripped onto cabinets (whoopsies).
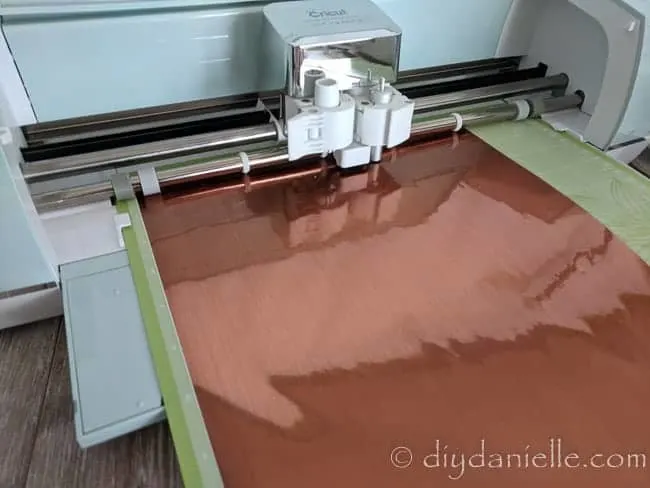
I cut my design on the adhesive foil (custom setting and you choose the adhesive foil on your computer).
Then I used transfer paper to transfer the design onto my sign. Transfer paper makes it SO much easier. Peel the backing to the transfer paper off, stick the transfer paper on your design (carefully), then peel the backing off your vinyl (the adhesive foil). Then you can stick the transfer paper + adhesive foil onto your sign. Peel the transfer paper off, making sure all the letters adhere.
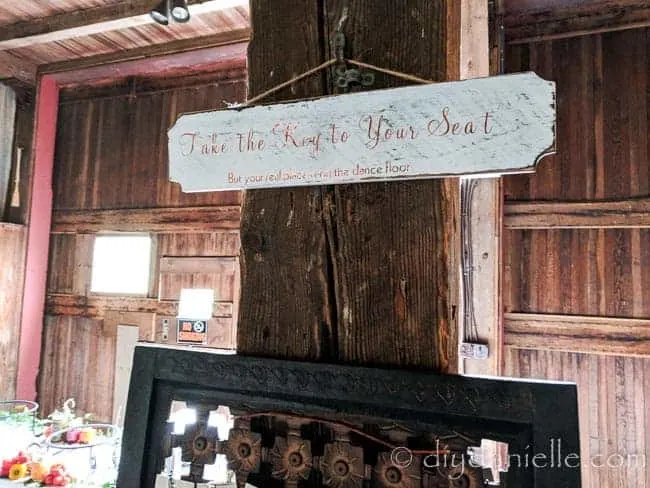
Here’s the sign at the wedding!
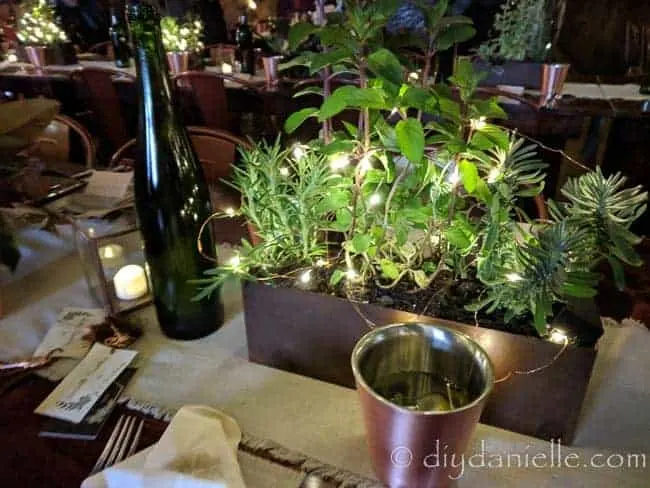
Ohhhh and aren’t these arrangements GORGEOUS!? Herbs! I love herbs. Apparently they spent hours DIY’ing these. Wish I was local to help out.
If you love this idea, make sure to PIN IT on Pinterest and share it on your favorite social media sites. I have another post, Creative DIY Wedding Favors, that might be a good one to check out if you’re planning a wedding.
Want other cute Cricut ideas and cut files? Check out my Minecraft Windows and the nursery signs that I made for my friend’s baby shower.
Use the Discount Code DIYDANIELLE on cricut.com for 10% off any cutting machine or heatpress (no minimum). Excludes: materials/accessories/mystery boxes/etc. Applies to US/CA only, code expires 12/31/23.
