
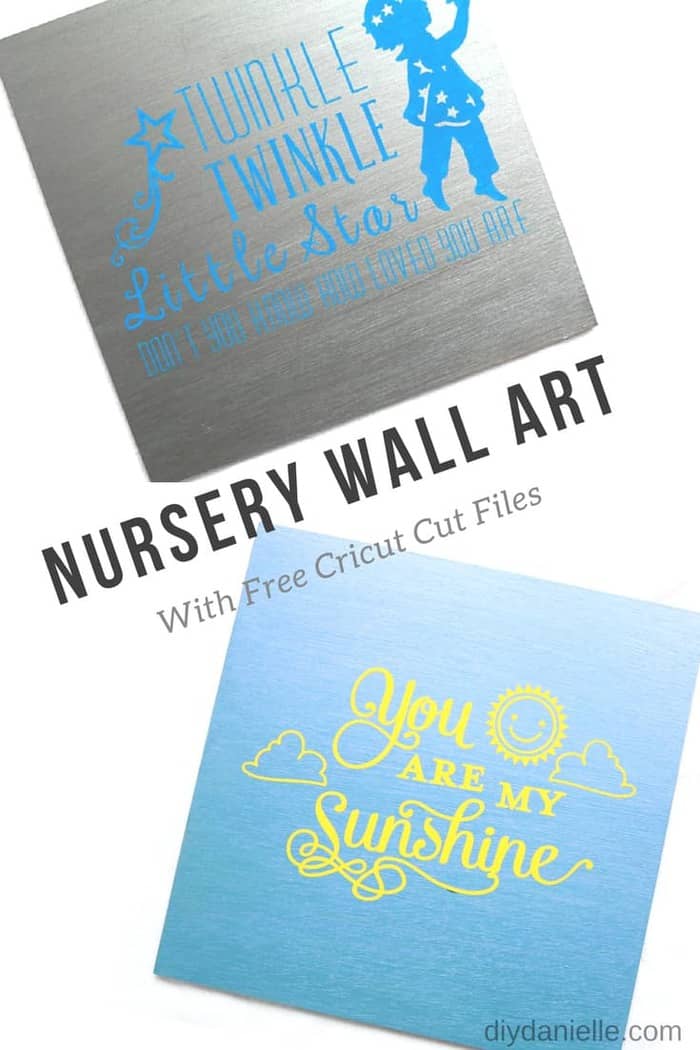
How to make baby nursery signs with “Twinkle twinkle little star” using a Cricut machine and a free cut file.
This post contains affiliate links. If you make a purchase using these links, I will receive a small commission. I only recommend products that I believe in.
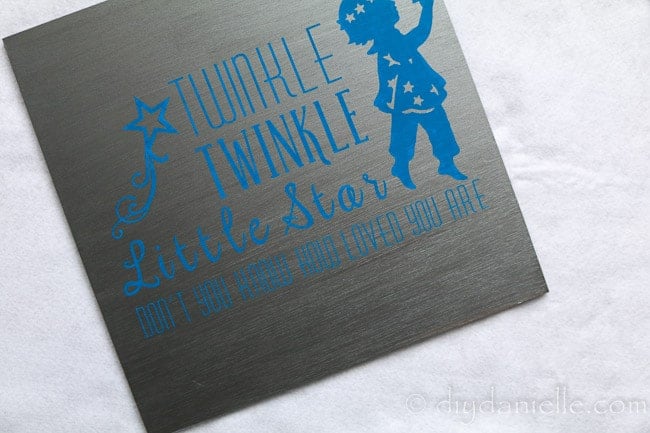
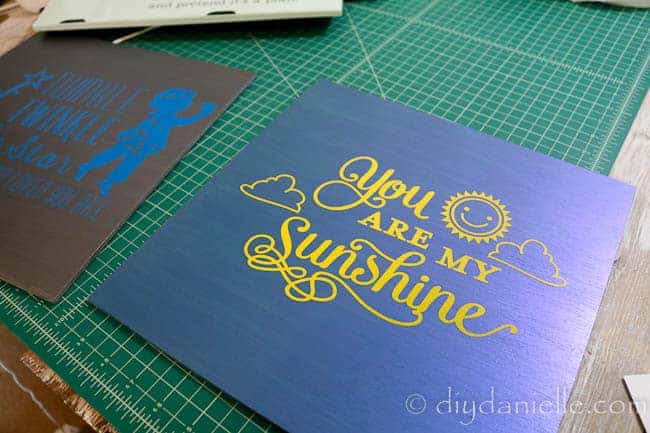
A close friend of mine is due soon with her third baby and I made two signs for her baby shower (and for wall art, if she chooses to use them like that). I was able to get a premade ‘You are my sunshine’ file from the Cricut access library, but I couldn’t find something that said ‘Twinkle twinkle little star.’ I whipped up this super cute design and I love how it turned out.
And this FolkArt brushed metal paint and color shift paint is AMAZING. I am going to be really sad when my samples run out.
Supplies for the Baby Nursery Signs
Supplies may include affiliate links to the products that I used.
- Cricut Air 2 (my machine), or if you really want to get fancy, get the new Cricut Maker™
- Cutting mat
- Weeding tool
- 12×12″ board (I found these in the painting canvas section at Michaels)
- Paint brush
- Outdoor Vinyl from Cricut
- Transfer paper
- FolkArt Brushed Metal Paint in Assorted Colors (4 oz), 5169 Gray
- FolkArt Color Shift Acrylic Paint in Assorted Colors (2 ounce), 5131 Blue Flash
The 12×12″ boards were leftover from another project, the Back to School/End of School Signs, that I made for my sons. They came in a back so I’ve had extras that I wanted to use.
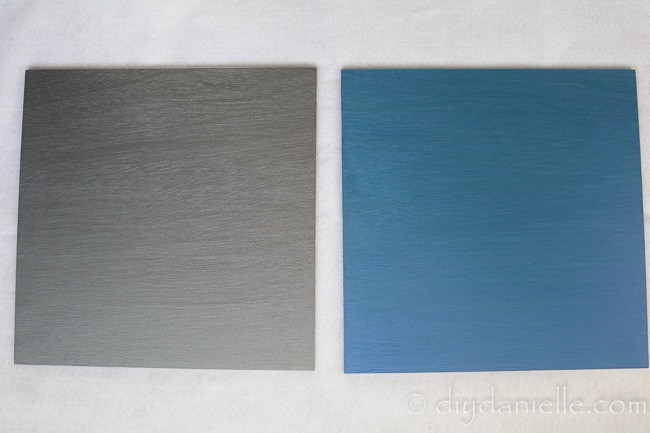
The paints were samples that I got at a conference I attended and I adore them. I really like the metallic colors to them. Loveeee. And the texture after they were painted is really nice too. I also didn’t have any issues with my outdoor vinyl sticking to this paint which was nice.
How to Make Baby Nursery Signs
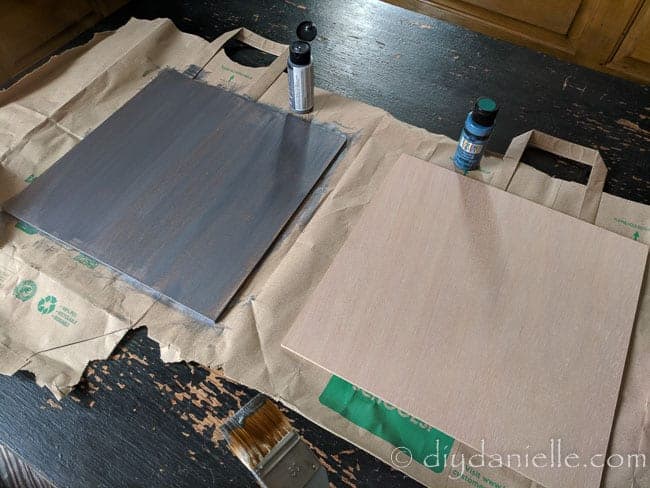
First you want to take your boards and paint them. I needed a couple of coats. I just painted the front and the sides. I used a regular paint brush for the first layer or two, but the last layer was finished with a sponge brush.
These are the signs painted. Isn’t the color and texture PERFECT?!
Next I printed my vinyl with my Cricut Air 2. I used outdoor vinyl. Then I weeded the excess vinyl off.
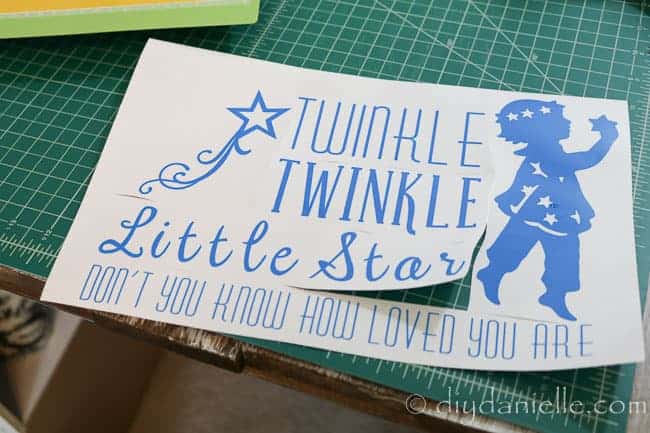
Once I had the whole design weeded and ready to go, I used my transfer paper on top of this. You lay the transfer paper on top and do a good job pressing it on before peeling the back of the vinyl off. This allows you to take just the vinyl (stuck to the transfer paper) and stick it to the sign.
When you stick it to the sign, you need to press it well again so the vinyl sticks to the sign, then peel off the transfer paper. This usually takes some time and patience.
Once you’ve peeled off, you just need to add something for your sign to hang from on the back, if desired, or leave as is to be propped up.
If you like this, you may also like my children’s bathroom sign.
Please share this post!
Use the Discount Code DIYDANIELLE on cricut.com for 10% off any cutting machine or heatpress (no minimum). Excludes: materials/accessories/mystery boxes/etc. Applies to US/CA only, code expires 12/31/23.