
How the Garden Tower 2 can make gardening easier and more feasible for busy moms. Teach your kids how to garden and get fresh fruits and vegetables, even in a small space.
I received a Garden Tower 2 in exchange for my honest review. This post may contain affiliate links. If you use those affiliate links, I get a commission on sales. This does not impact the price of your product. I try to pass on coupons and other savings in my posts whenever possible. I only recommend products that I think my audience will like.
I love gardening. I love it so much that every year I get really excited. I spend a ridiculous amount of money on gardening supplies, soil, and veggies. I spend hours planting everything and prepping the soil. I compost all year round. Then sometime in July, I absolutely give up because there are tons of weeds and it’s HOT. We’re in Maryland so our summers are usually in the 90s and I can’t stand it. The heat causes production to be poor. My lettuce bolts. And did I mention weeds? We have THE WORST WEEDS. Prickly. Hard to pick. Solid roots that just hang on for dear life. I end up harvesting about a million cucumbers and that’s the extent of my crop.
Last year I went big, but totally let it all go to hell as I was approximately one billion years pregnant and there was no way the weeding was getting done. We mowed the garden at the end of the summer, if you want an idea how bad it was. This year I am attempting to seed that area with grass. I just can’t fight that battle again.
In my head, I thought I’d just skip a year and start new next year…. but then it started to get warm and I started to think about fresh tomatoes and strawberries and digging in the soil.
But WEEDS. They’re really the #1 thing that prevents me from being successful.
I started investigating hydroponics and aquaponics systems but I was concerned about the costs, plus it seemed like a lot of ‘new’ to figure out. In my search for ideas, I stumbled across the Garden Tower 2 and knew immediately that this was it! The solution to my problems!
Not only was it a compact way to grow a lot of vegetables and fruits, it looked like the weeding necessary would be minimal. Also the tower includes an internal cavity for worm composting… and y’all know I love worms and composting. The whole tower seemed like a great learning experience for my kids too, without as much of work as a whole garden.
In fairness, we do plenty of other gardening and still have lots of weeding between our front gardens and our trellis planters. But this should substantially cut down on how much work I have to do this year. And with a 8 month old baby, that’s a good thing.
Products Featured
- Garden Tower 2
- Garden Tower Caster Kit
- Uncle Jim’s Worms (I ordered 1,000)
- Blue Hawk Garden Shovel (Lowes) but you can find a small shovel on Amazon too. I like having a short handled shovel for adding soil to the tower.
- Optional for decorations on the tower:
- Cricut Air 2 (my machine), or if you really want to get fancy, get the new Cricut Maker™
- Cutting mat
- Weeding tool (for the vinyl, not your garden weeds)
- Outdoor Vinyl from Cricut
- Transfer paper
Want the free Cricut cut file for decorating your tower? Sign up for my email list below!
Setting up the Garden Tower 2
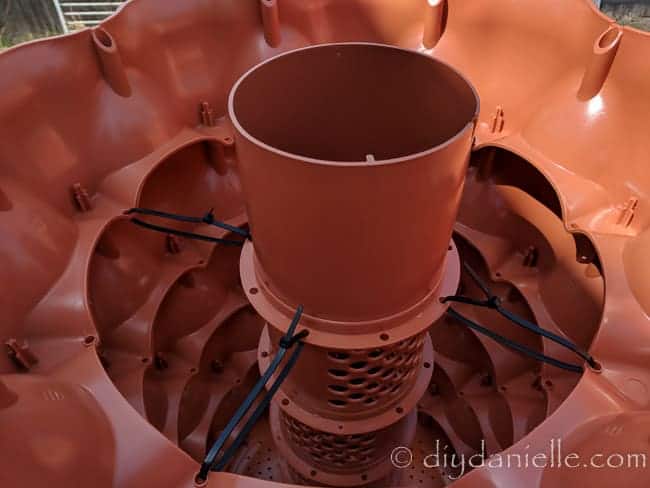
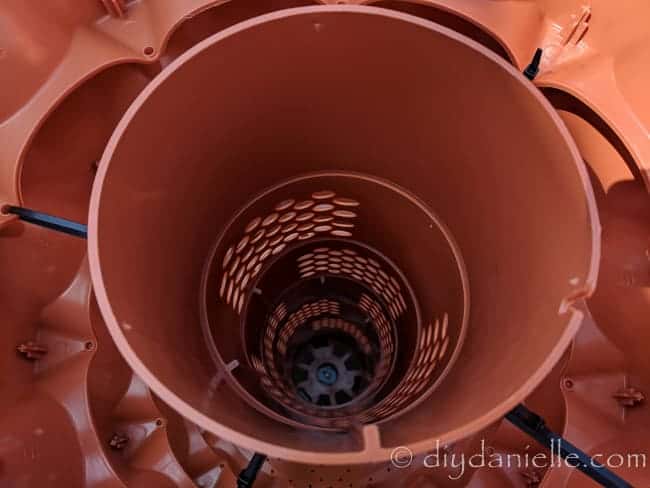
Setup was very easy. The main tower’s legs slide in easily, then you stack each tower ring, alternating with adding the middle compost tube sections. No tools required for this part. The compost tube is pretty wobbly… we thought we were doing something wrong, but they enclose some zip ties for you to use to secure the tube while you pour in the soil. Once the soil is in, you won’t have to worry about the compost tube because the soil will easily hold it in place. The compost tube sections and the tower rings each have fairly obvious mechanisms to secure them in place.
You slide the drawer into the bottom and add the compost screen on top. Be very careful with the screen as it’s probably the most fragile part of this setup.
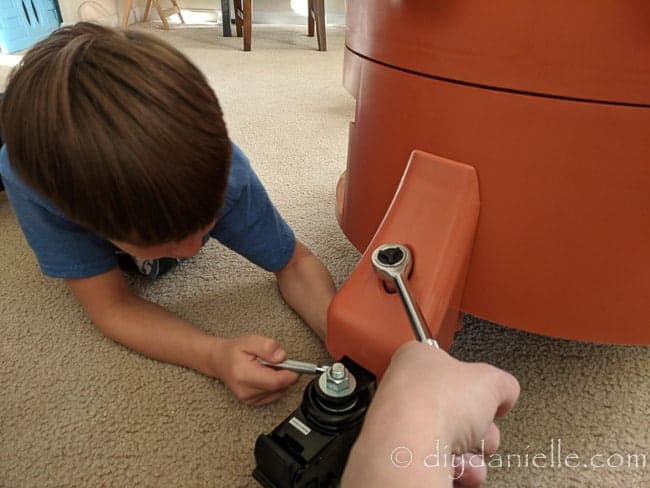
The caster kit (sold separately) was really the hardest part of setting it up as you need some tools (1/2″ and 3/4″ socket) but the products come with really detailed instructions so we had no issues. The caster kit attaches to the bottom so the whole tower will roll. You want to install this at the beginning, before you build the whole tower. These casters only work on hard surfaces, like our deck. The legs that come with it can be placed on bricks if you want to place it on grass. Apparently people do fine moving it with a dolly on grass.
We have a deck and the far corner gets a good bit of sun. I wanted to be able to easily move the tower around so I can weed in the shade or move it to the shade if it’s really hot out so that the plants won’t get too much heat in the worst parts of the summer. Maybe my lettuce won’t bolt this year. A girl can dream.
You want the tower in an area that gets enough sun though… just keep that in mind. We videoed in the later part of the afternoon so it looks shady but we knew that the porch corner gets direct sun from the morning into the early afternoon. It’ll get more as the season progresses (it’s only April when we’re installing it).
Adding soil to the tower
You’ll need potting soil for your tower. Potting soil is lighter than the soil you find for ‘in ground’ gardens. This is important. Good potting soil holds the nutrients and moisture for your plants. It isn’t as heavy and thick as garden soil which means there’s more breathing room for roots- this prevents roots from rotting. Sterile potting soil allows you to garden indoors with a tower without potentially having a pest infestation in your home.
The Garden Tower 2 uses 6 cu ft of potting soil.
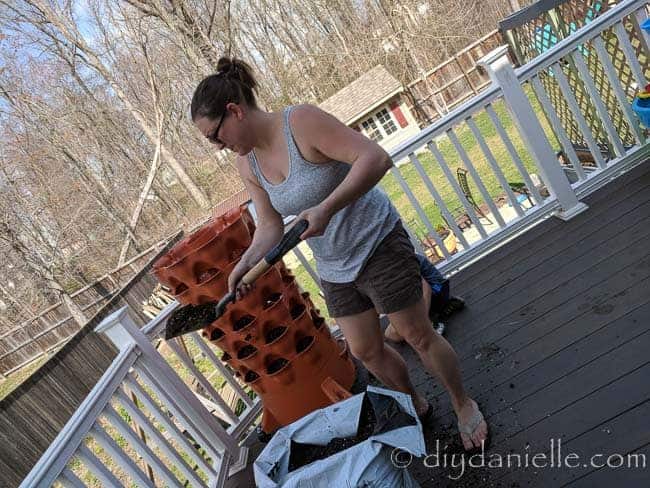
Our local garden shop offered potting soil in a big 55 lb cube. It’s all squished into one bag. Super convenient. I used most of it for our tower, then had a bit left for our trellis planters.
You can use the zip ties to hold the compost center in place or you can have someone hold it while you add your soil to the outsides. Put the cap on the compost area so you don’t send a ton of soil into it. Your soil should fill in around the inner tube, holding it in place.
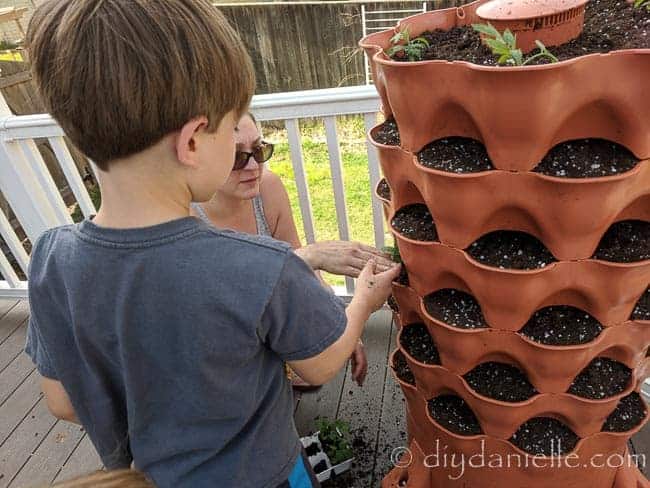
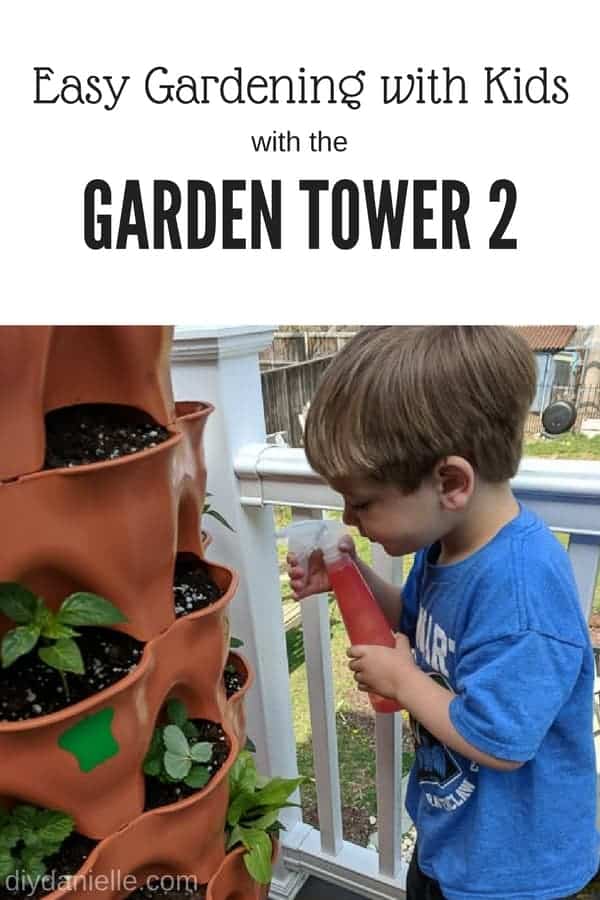
While I was filling, I had my 6 year old helping me by putting his hand into each pocket and pulling the soil down a bit. The soil is pretty light and fluffy so I wanted to make sure it was all placed in the tower properly before we started adding plants. Someone in the Garden Tower Facebook group mentioned that they found it helpful to wet each layer of soil before moving on to add another layer. We did a little of that, but we didn’t add a ton of water because it was supposed to rain the following day.
Planting in the tower
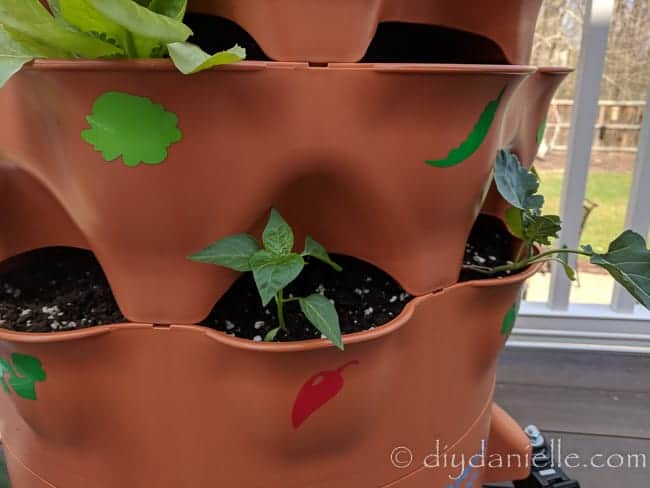
Planting isn’t complicated. We used seedlings for most of our tower pockets. We just made a little hole, added our seedling, then patted soil over the roots. Easy peasy.
We’re also planting some seeds in some of the pockets. I usually do easy to grow items from seed, and seedlings for harder stuff. Or I do seeds for things I always kill and don’t want to spend money on the seedlings for- like the carrots.
The Garden Tower comes with a cool little printable sheet where you can plot out your tower. It makes it easy to understand and explains which rings (lower or upper) you can plant different plants on. Heavier items like cantaloupe or cucumbers need to be on the bottom. The other consideration is that the upper plants will shade the lower plants later in the season. This is good for some plants and bad for others.
I decided to stick with fairly small plants. I would have liked to do cantaloupe but I felt like they’re just too big to successfully grow in a small container. I can’t even get them to grow in a huge garden bed.
For seedlings, we planted:
- An entire circle of strawberries (9)
- Romaine lettuce (4)
- Jalepeno peppers (4)
- Bell peppers (4)
- Broccoli (4)
- Tomatoes (4)
- Onions (probably too many)
For seeds, we planted:
- Green beans (5)
- Carrots (9)
- Cucumber (2)
- Nasturtium (3)
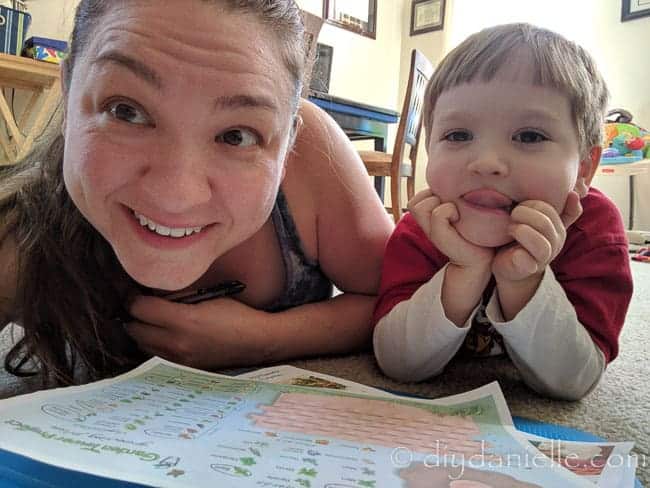
Below: My 4 year old needed to supervise as I planned to make sure I planted enough strawberry plants. But let’s be honest… there’s never enough strawberry plants.
Vermicomposting in the Garden Tower 2
I’d love to say I’m the foremost expert on worm composting, but we’ve definitely had some ups and downs with our worm bin experience last year. Overall, I ‘get’ the general idea and I’ve had wonderful luck with the compost tea from the worm bins. I strongly prefer the worm bins during the warmer months because they don’t require turning like a tumbling bin or open bin. They also seem to compost pretty fast and we didn’t have issues with smell from them. This means we can keep those bins closer to the house and therefore it’s less work to haul compost out to them.
The hard part is that this composting method involves a living creature and I’ve already got a lot of of those (3 kids, ages 7 mo, 4, and 6, two guinea pigs, a dog, and our pond fish). If I mess up the compost bin balance on the worm bin, the results are a bit more tragic. I take my worm care very seriously. Last time I attempted to initially keep the worm bin inside and the worms tried to escape. I carefully picked up so many worms… twice… before I figured out that you need to put a light on the bin. Thank God for the internet.
So a few words of warning. You can put too much compostable products into a worm bin. You need an appropriate amount of vegetation for the number of worms you have. Also, there still needs to be a good balance of greens to browns… I erred towards too much greens last time.
You need to water your worms. You’ll be doing that anyways… and the rain will help. But the worms, like your plants, won’t do well if you let the tower dry out. Sad worms.
The other consideration is that they can’t survive a cold winter in the compost bins and they need some shelter from intense heat. That’s one thing that I love about the garden tower- the compost tube is enclosed within the tower so the worms should have some protection from extreme heat or cold. Even so, I’ll release our worms into the (real) soil at the end of the growing season, unless I decide to bring the Garden Tower indoors under a grow light.
At the bottom of the Garden Tower, there’s a drawer and a screen. The screen keeps the worms and compost from falling into the drawer. The drawer will collect compost tea. This is excess water that’s run through the tower and collected nutrients. This stuff is gold. You can pour it back into the tower over your plants or use it in your other planters or gardens.
If you want to do a cool science project with the kids, get two seedlings on your windowsill. Use worm compost tea on one, but not the other and record the growth. I haven’t tried it, but I’m pretty sure you should see an amazing difference. I’ve had good luck with the plants I used it on in my gardens.
Each growing season (or if it’s full), you need to empty the compost tube. You can just place the compost back in the top of the tower after you empty it (into the soil). This acts as a fertilizer. Any excess can be used on other plants.
In terms of worms, how many you have will determine how much they can compost in a week. I ordered 1000 from Uncle Jim’s. We make quite a bit of compost and I’m hoping to avoid using my other bins this summer. 1,000 worms weighs about 1 lb. They’ll eat about 1/2-1 lb of food scraps per day.
Compost Printable
There’s quite a few things you can put in a compost bin, but make sure to check out more info on my worm composting post because some items aren’t worm friendly. I was doing some research this year and I’m excited to hear that the paper bedding and poop from our guinea pigs is compostable (seeing they’re vegetarians) and that the worms apparently find it all delicious.
If you want the free printable, sign up below. I recommend keeping it by the compost bin so your family can be reminded of the rules. My husband and kids, no matter how many times I tell them, tend to put weird stuff in the compost bin that I have to pick out later. This is not a fun job.
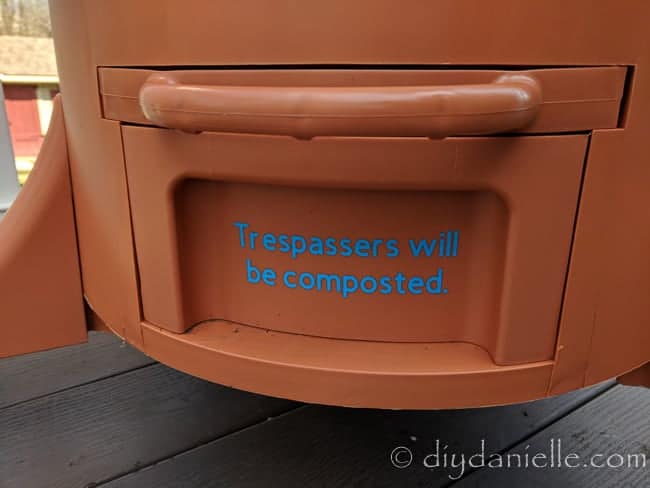
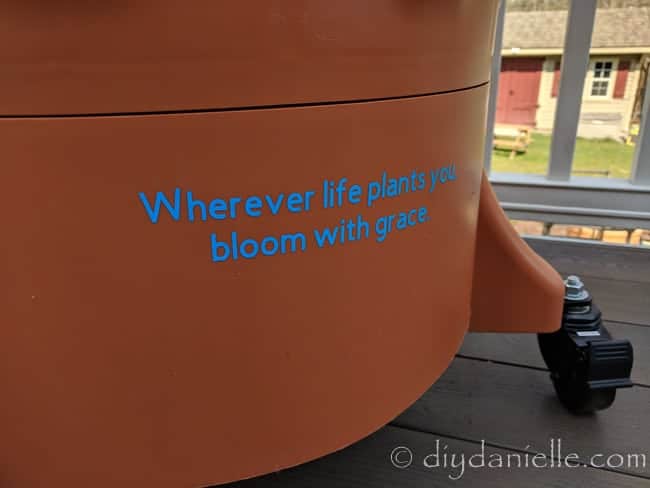
Customizing the Garden Tower 2
We all know that I can’t leave a perfectly good garden tower alone. I like to customize things. I decided to add my own personal touch to the tower with printable labels. Love how these came out. I am not sure the carrots and nasturtium labels will stay on- I didn’t have the outdoor vinyl in orange and didn’t want to run to the store so I used some adhesive foil.
Final Thoughts on the Garden Tower 2
This tower doesn’t guarantee success. It’s a planter. It’s a really convenient, space saving planter. The setup is meant to help newbie gardeners succeed, but you still need to do your research. Don’t bite off more than you can chew.
I love it. I absolutely love it. After filling it, it still wheels pretty easily around on my patio. I made sure to use the wheel locks so nobody will take it for a spin. It’s just the right height for me to work with and my 6 year old can reach most of it pretty easily. The fact that it spins on the base makes it really easy (and fun) to water and care for. We were having a great time when we were getting it all planted, spinning it so we didn’t need to move as much.
My back loves this tower. I’ve had multiple back injuries and weeding leaves me sore for days. I love that I’ll be able to do all of my garden work standing up or even sitting in a chair. We put a water table on the deck so the baby can play while I do any gardening that’s needed.
Quick Gardening Tips:
- If you’re new to gardening, seeds are a lot harder than buying seedlings at a local nursery.
- The nurseries tend to have better prices than your local big name hardware stores.
- You need potting soil for the tower. It’s a pot. Garden beds use a heavier soil.
- Watering is pretty much the most important part of being successful. If you can’t be consistent, get some tools that let you be consistent. I think hand watering is probably best when the plants are smaller (and when you’re probably more motivated), but here are some options for automated watering:
- Garden hose timer: Setup your garden nose to water the tower on a schedule.
- Spinkler: A sprinkler of some sort to disperse the water via timer to your plants. The tower obviously needs to be hit on all sides with the water.
- Sunlight is really important. Make sure your plants get plenty of light, although some plants need more than others (the information on your seed packets should give you basic instructions)
I hope this post was helpful! Please let me know if you have any questions.
Pin this!
Use the Discount Code DIYDANIELLE on cricut.com for 10% off any cutting machine or heatpress (no minimum). Excludes: materials/accessories/mystery boxes/etc. Applies to US/CA only, code expires 12/31/23.