An intro to worm composting and vermicomposting. Why worms make the best compost for your garden.

I received my worm bin from The Squirm Firm free in exchange for an honest review. I only recommend products that I believe in. This post may contain affiliate links. Using these links helps support my blog. Thank you!
I love composting and we own several types of bins to compost with. Each type of bin offers different benefits and over this series, I will discuss the pro’s and con’s for each type of composting option. And if you’re anything like me, you might want one of each.
We’ve cut down on our trash production by a LOT since starting to compost. It’s a lot less work to throw dead leaves and grass into the compost than it would be to bag it for trash pickup. We spend less money on garbage bags. We spend less money on soil and soil additives (plus, it’s natural) in our garden.
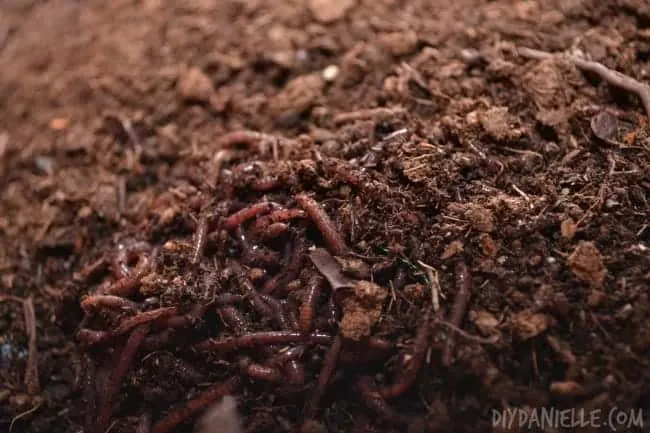
Worm compost has been, by far, my favorite method of composting though. The ‘tea’ does wonders for my garden and my kids absolutely adore their worm friends.
Worm Composting (Vermicomposting)
We’ve been using a couple of regular outdoor compost bins, but my goal this year was to find better ways to turn over compost more quickly for use in our garden. Worm composting is really an amazing way to do this. The worms turn food into compost more quickly and it’s a fun activity to do with the kids. Not only that, but the resulting compost is even more nutrient rich than regular compost.
Plus… worms! Yay!
Pro’s and Con’s of Worm Compost Bins
Pro’s
- Can be kept indoors
- It’s more entertaining to watch.
- Fun for kids.
- Faster turnover
- In ideal conditions, the worms will reproduce. More worms = faster composting.
- More nutrient rich results
- Can add grains to this bin, although it’s recommended to do so in small amounts.
Con’s
- It involves worms, if you aren’t a fan.
- Due to this involving live animals, you need to be more careful about how you care for your compost bin or you’ll kill off your worms.
- Worms are a bit pricey to buy- so you really want to make sure you keep them alive. But if you care for them properly, they’ll reproduce and yay! No need to buy worms more than once.
- Some items can’t be added to a worm compost bin, such as citrus fruits and peels.
Supplies necessary for vermicomposting
Supplies listed below may include affiliate links to the products.
- Worm Composting Bin (this is the one I received free to review)
- pH Meter
- Moisture Meter
- Composting Worms from Uncle Jim’s Worm Farm– 1 lb
- Composting thermometer (I don’t have one yet, but I may invest in one if I have issues. Where I’m keeping my bin indoors, the temperature should be pretty stable).
How to Setup a Worm Composter
There are a lot of options for making your own worm composting bin, but I really liked the worm composting bin that I found on Amazon. It was more compact and ready to setup. Not only that, but the DIY bins required a lot of supplies that weren’t particularly cheap unless you had the items sitting around. This particular bin fits in our mudroom closet which is convenient to our kitchen.
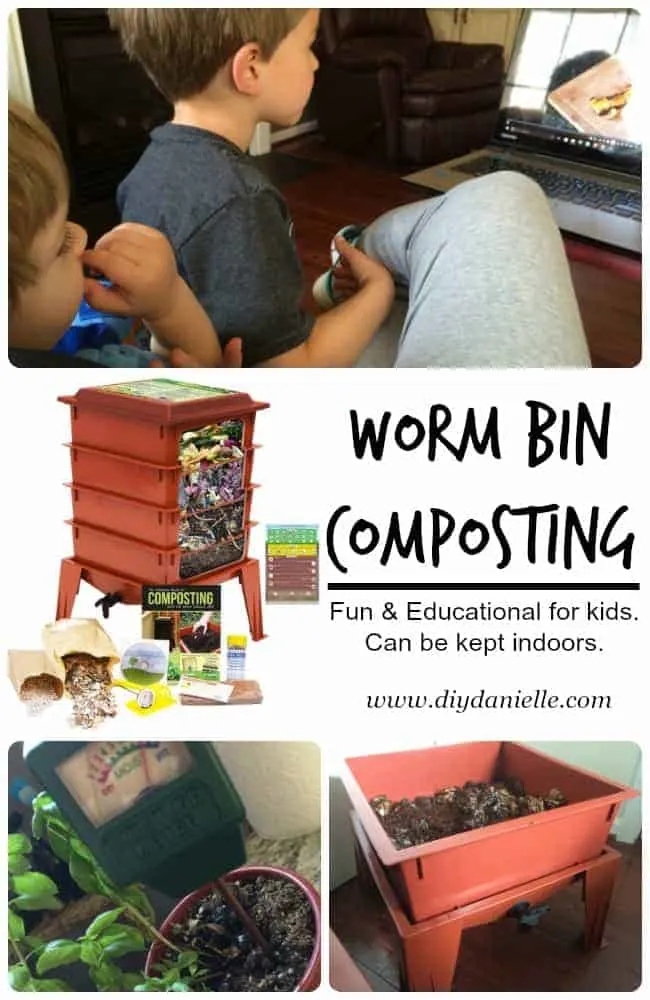
For setup, the set comes with a DVD that explains how to set up the whole thing. My kids LOVE watching this DVD. But it’s pretty simple to setup- the video explains a lot about worm composting.
The set comes with four stacking trays, the collection base, a lid, and a worm ladder. You put the base down, put the worm ladder in, then add one of the trays. Put the top on. Put the other trays to the side- you’ll use these 3+ weeks down the road.
Your coir and shredded paper can be mixed together. Add water. Put a layer of paper or newspaper on the bottom of your tray. Then put your paper mixture on top of that. Put some kitchen scraps in the corners of your tray.
Now you can put your worms in. Add them to the middle, that way you can check on them later and see if they managed to crawl over to the food in the corners.
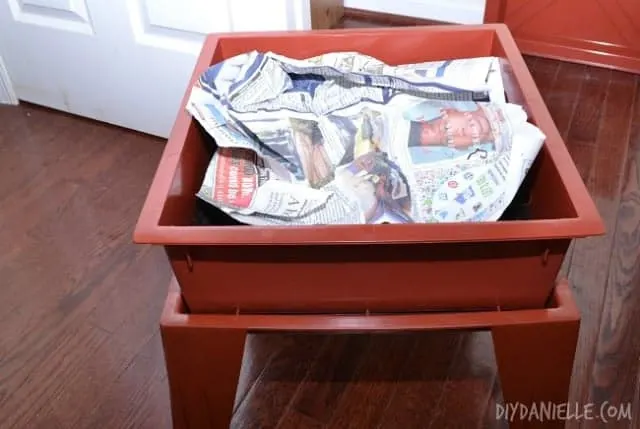
Put a thick wet sheet of newspaper on top (more than pictured below).

Put the top back on. I had my bin in a dark closet and the worms tried to make an escape. Apparently worms may have a hard time adjusting initially and try to get out. To get them used to their new home, you want to set it up so they want to burrow into the soil. Worms dislike light and dry soil. To assist, I put some dry dead plants and leaves on top of the newspaper. I also put a light over my bin to run 24/7. Worms don’t like light so they will burrow back into the soil. This stopped the worm escapes, although I had three escapees. My friend has a worm bin and said she had a similar problem when she first set it up.
Caring for Your Worm Composting Bin
- Your bin needs to be in an area where it will be between 40-80 degrees Fahrenheit. Don’t put it in direct sunlight.
- Large items take longer to compost. In other words, breaking up items into smaller pieces will help the worms compost more quickly. Some people use a food processor to shred everything before adding the food into a compost bin. I love to shred papers for all of my compost bins… it’s a nice option for junk mail!
- Composting worms can eat half their weight in compost per day. Don’t over feed them or you might have a stinky compost bin.
- Composting is really all about balance. It’s a good lesson for life. Balance. Balance. Balance. The reason for this is because some items contribute nitrogen and others contribute carbon. You want to balance your “green” and “brown” contributions to the bin with 70:30 ratio for brown to green products added. If you have proper balance to your compost bins, you will have an effective compost bin that does not smell.
Further Resources on Worm Composting
The company that makes this worm composting bin, The Squirm Firm, has a really useful website and blog with great tips on worm composting. I highly recommend checking them out. You can subscribe to their email list to get a monthly email about raising worms.
Other Composting Posts
I’ve written several posts about composting on my blog.
- Aerated Static Compost Bins
- Composting 101: How to Start Composting
- Open Bin Composting
- Closed Bin Composting/Tumblers
Thanks for taking the time to read this post! I really appreciate the time you’ve taken. Please share, like, and pin my post if you enjoyed it. Follow me on social media and subscribe to my email list to keep up to date on all of my latest projects!


