
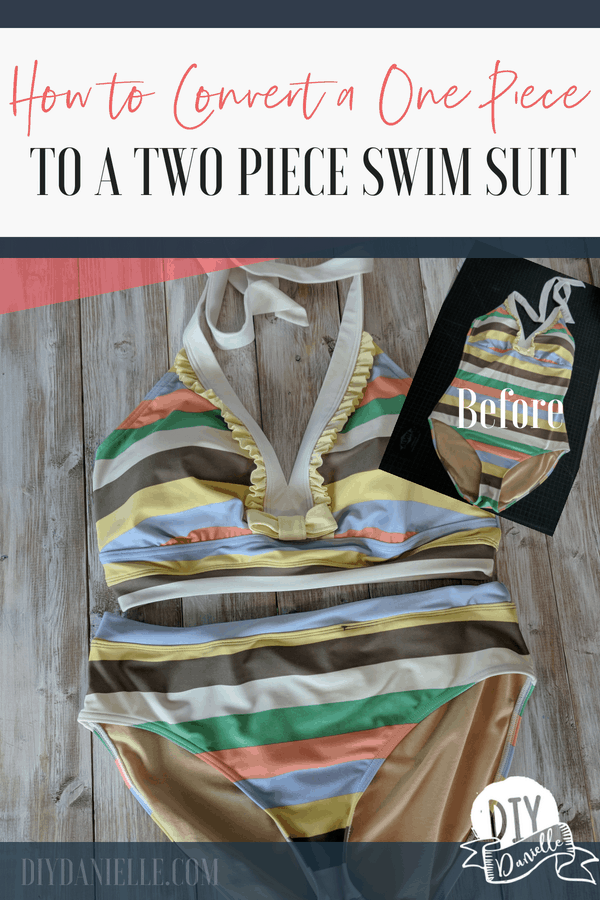
How to convert a one piece swim suit to a two piece. This easy bathing suit fix is perfect if you have a long torso and the swim suit doesn’t fit right.
As I’ve mentioned in my post about converting my other swim suit’s tankini top into a bikini, we had a couple of beach trips for the summer and I didn’t really have swimsuits that fit great. I decided to make my first attempts at working with swim fabric an upcycle project, for fear of ruining brand new swim fabric. This ended up being a really reasonable sewing project, particularly with the assistance of my serger and coverstitch machines. But I think you could easily do the project with a regular sewing machine, as long as you use a stretch stitch.
This post may contain affiliate links which may earn me commissions should you click through them and take certain actions. As an affiliate for Amazon, Cricut, xTool, Home Depot, and other sites, I earn from qualifying purchases. Please DIY carefully. View my full legal disclosures here.
The majority of my content is generated by me, as are 99% of the photos and videos, but I utilize technology for titles, descriptions, video editing out all of my ums, and occasionally for text overlay on images.
Please read the whole post so you don’t miss any important information!
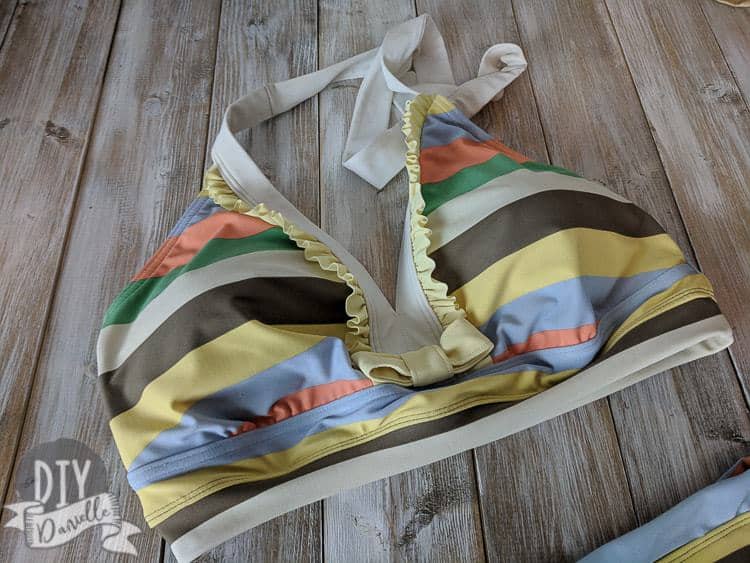
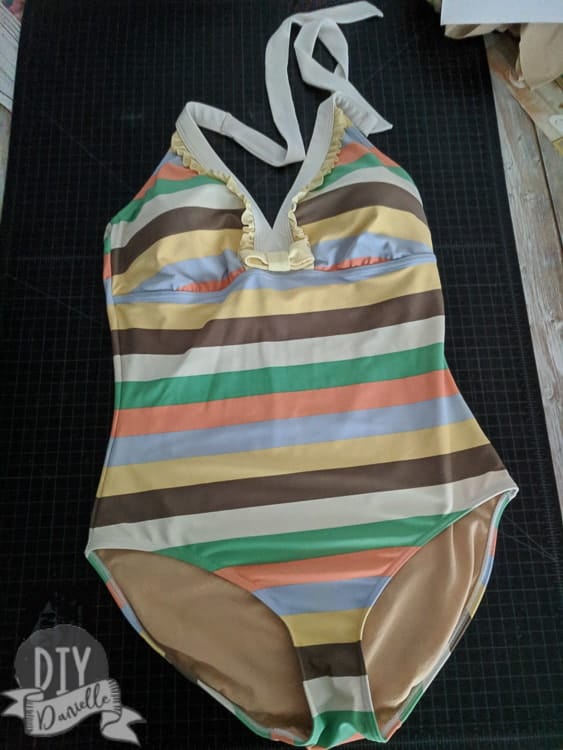
This is the bathing suit I needed to convert. Because I have a long torso, the bathing suit pulls down on me, making the whole thing look kind of funky.
Supplies for Altering a One Piece to a Two Piece
- An old swim suit
- Nothing else! If you want to use a different colored band, you could make your own bands using coordinating swim fabric.
- Sewing equipment- stretch needle with a stretch stitch if you’re you using a sewing machine. Something to measure and cut with. Coordinating thread.
DIY One Piece Swim Suit to Two Piece
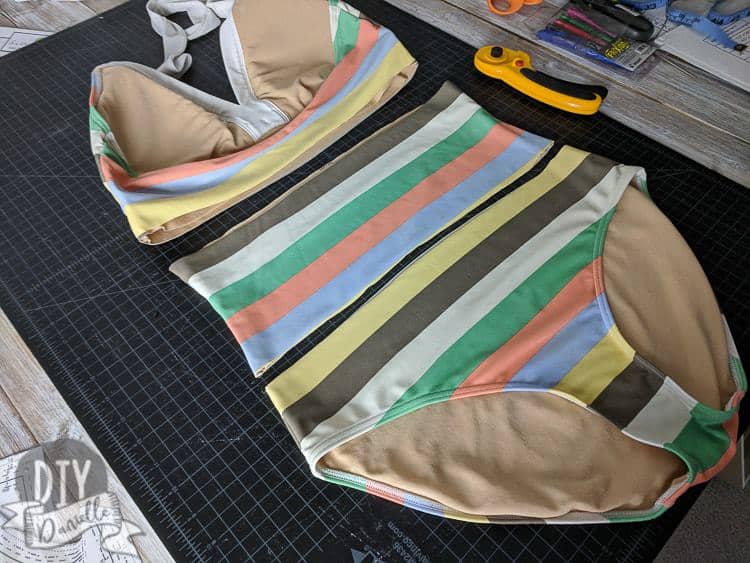
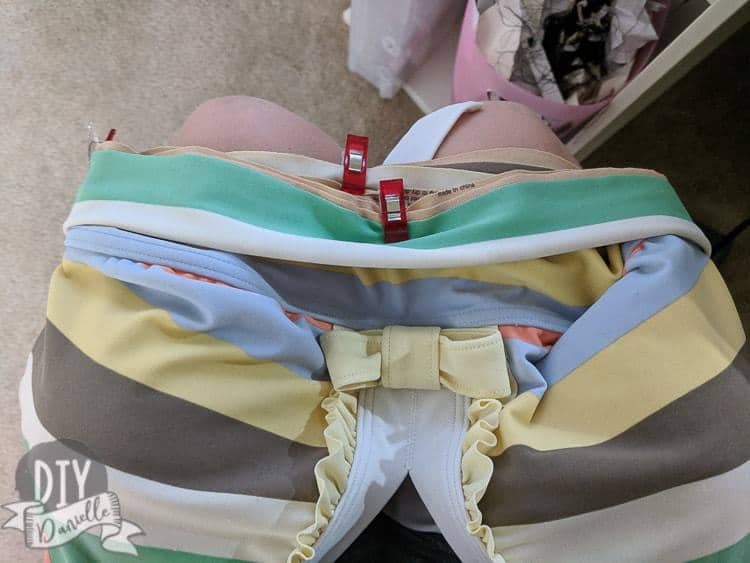
You need to start with your bathing suit back side up. Measuring carefully, I cut the bikini top and the bikini bottoms, removing the middle piece. SAVE THIS. This swim suit has a really nice liner throughout the whole suit, unlike some types that have the liner only around the bikini areas. If you have a liner that only goes over certain parts of the suit, try to avoid cutting it in an awkward place.
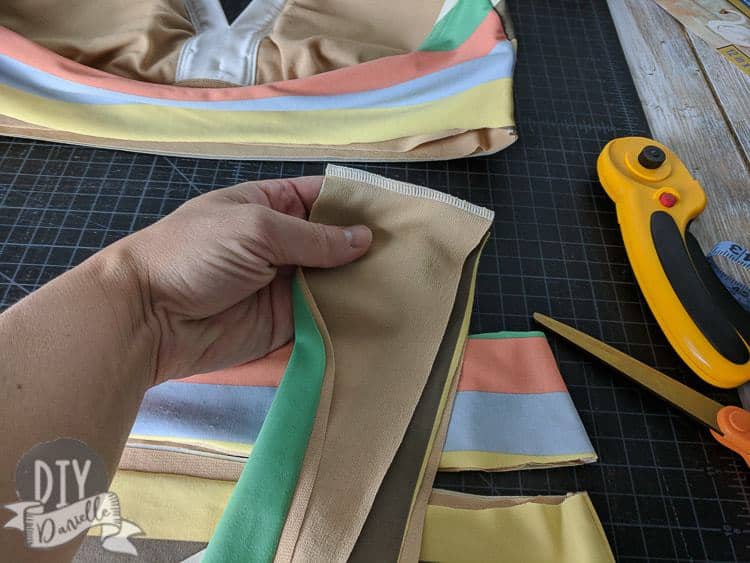
You need to use your middle fabric to make the bands which is why you’re saving it. It does limit how big your band can be. If you want thicker waist bands, you could always use coordinating fabric. I cut the main middle piece in half for the bikini top’s band and the bikini bottom’s band.
Here’s where it got kind of tricky. When I went to measure myself for the band for the bottoms, I have a 39″ waist (measured where the bikinis would be, not my normal waist). I would have subtracted 3″ to get a 36″ band, but the fabric wasn’t that long. Um. It has always fit around my waist before so I just used the size I had for the waistband. I did NOT cut that strip of fabric open because I would have lost inches in fabric with the seam allowance. I just used the band as is.
The band on the bikini top is 28″ which I calculated based on my underbust measurement. You want the band to be snug, not loose, so it’s smaller than my underbust number, seeing the fabric will stretch. I had to cut the suit open at one seam to get the right length for my band.

This is the band for the bikini top… I faced it right sides together and serged it.
Once serged, I folded it in half, marked the quarter marks on both the band and the swim suit top, then matched up the clips. The band needs to be stretched as you sew it onto the bikini top. Make sure not to stretch the top too.
Band sewn onto the bikini top. This was serged, then I top stitched using my coverstitch machine and black thread (meh, use coordinating thread… the black top stitching is ugly).

I put the band on my bikini bottoms the same way. Here’s a close up of the finished bottoms. Again, don’t really recommend the black thread, lol.
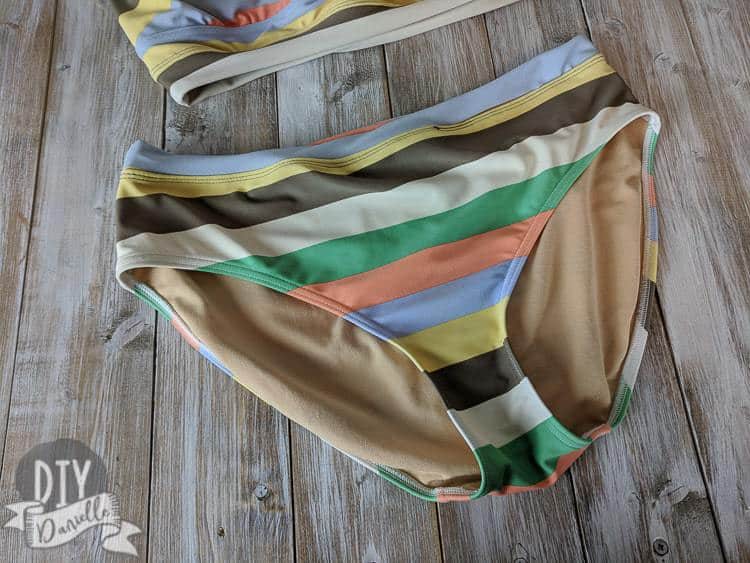
My only thought with the bottoms is that I may have left too much liner. Next time, I would make sure the liner inside was stretched tight so I didn’t get ‘extra’ fabric in the bum area. I didn’t notice it at the beach but it was soooooo weird when I was working out at the pool.
Want more fun sewing ideas? Check out these other fantastic sewing posts:
How to Babyproof a Sewing Room | How to Thread a 1034 D Serger | Sewing Tools | Sewing Tips and Tricks for Beginners | Tips for Decluttering and Upcycling Clothing |
Check out these other Secondhand Fashion Ideas!
Please share and pin this post! You can also post your project and tag the DIYDanielle team on Instagram @doityourselfdanielle!
Great idea. Will try with an old swimsuit
Thanks!