
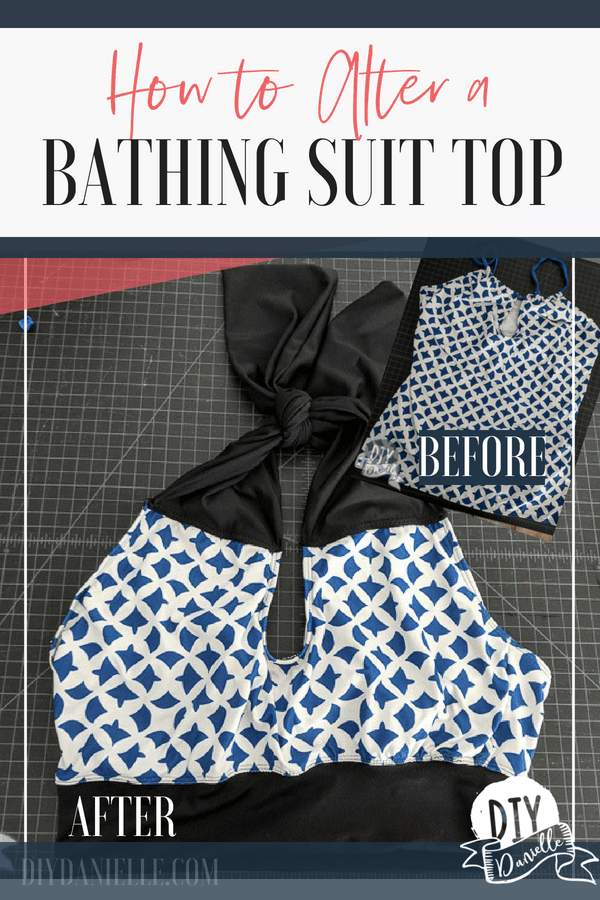
How to alter a tankini to turn it into a bikini top. Learning how to alter a bathing suit is easy and it’s a great way to bring new life to an old swimsuit.
This post contains affiliate links. If you make a purchase using these links, I may receive a commission. This does not affect your price for the product. Thank you.
A while back, I got this cute bathing suit set with a tankini and bikini bottoms off Amazon. It’s so cute on the model. But I have a really small cup size and the strings tended to bunch up, leaving everything a bit lopsided. When you also are a bit lopsided thanks to baby having a favorite side (probably TMI, but we’re probably all women here), it’s not wonderful to draw attention to that area. The top was also not super easy to workout in, which is when I usually wear my swimsuits. I take aqua aerobics classes at my gym a lot and I need my everything to stay in place.
I finally decided to tackle FIXING the bathing suit so it was more wearable. It’s an old suit so I felt comfortable tackling swimwear for the first time by altering it. I figured that the worst case scenario was that I ended up tossing it.
Supplies to Alter a Swim Suit
- Coordinating swim fabric and/or liner if you need it.
- Scissors and sewing equipment.
Need fabric? Try Online Fabric Store® Up to 70% off Fabric + Free Ship $60+. Great Selection, Low Prices or check out Fabric.com.
If you love sewing, don’t forget to check out the Sew Organized phone app!

How to Alter a Tankini Top Swim Suit
Working with swim fabric was pretty intimidating, but it really was such an easy project once I focused on it and let go of my fear. I feel like using an old swimsuit was the perfect way to boost my confidence because I didn’t have a lot to lose.
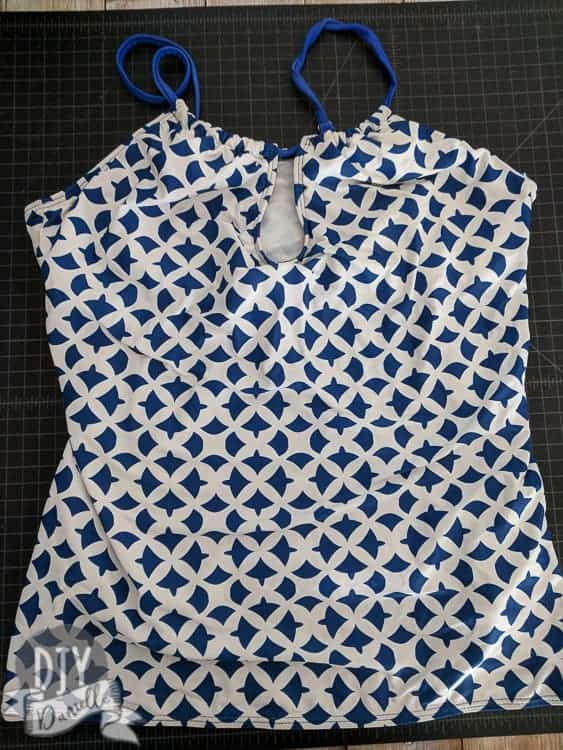
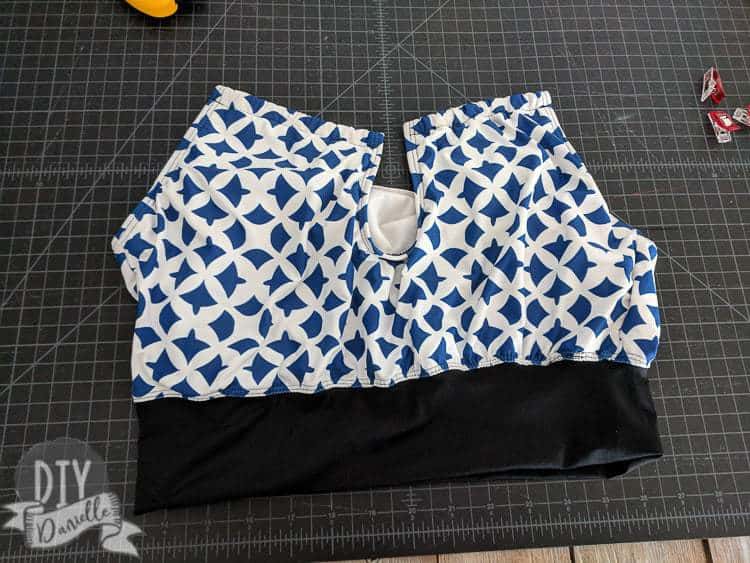
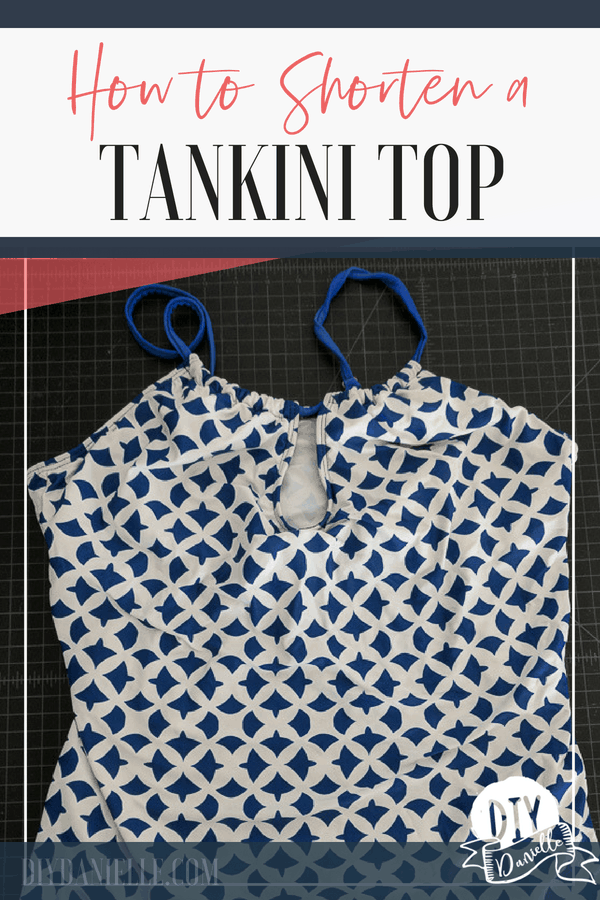
This is the tankini that I started with.
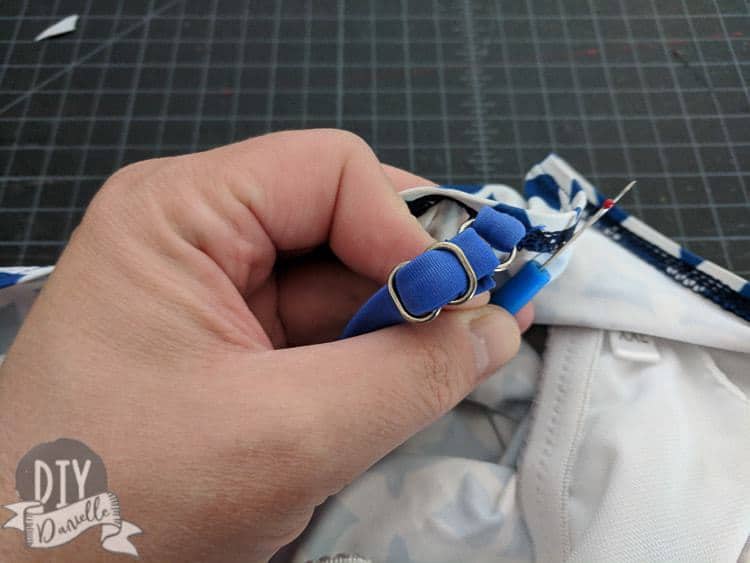
I started by removing the blue string. I didn’t want to keep it. I opted to seam rip so I wouldn’t ruin any of the fabric on the bathing suit.
Here’s the tankini without the strap.
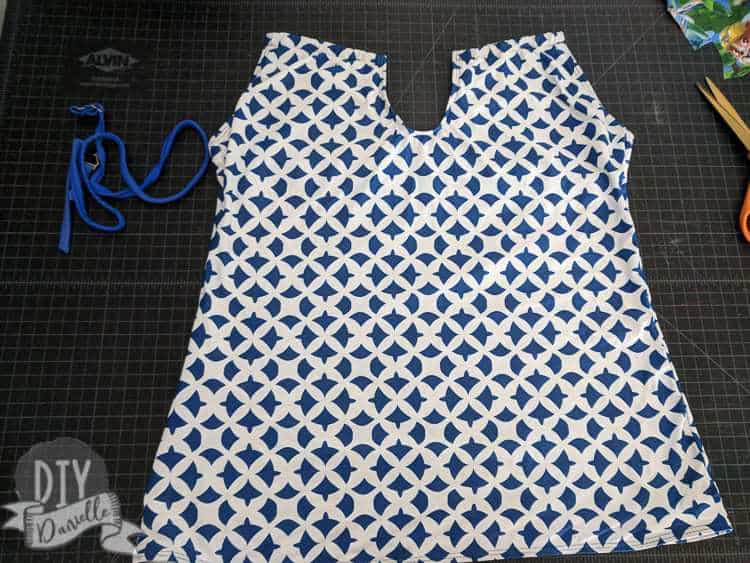
I decided that my best option would be to shorten this into a bikini top. I’m not particularly shy about my stomach (whatevs, I am three kids too tired to worry about my body honestly) and I don’t like the loose fabric sticking to my stomach while I’m swimming or working out. Although… in retrospect… it’s nice for sun protection. Oh well.
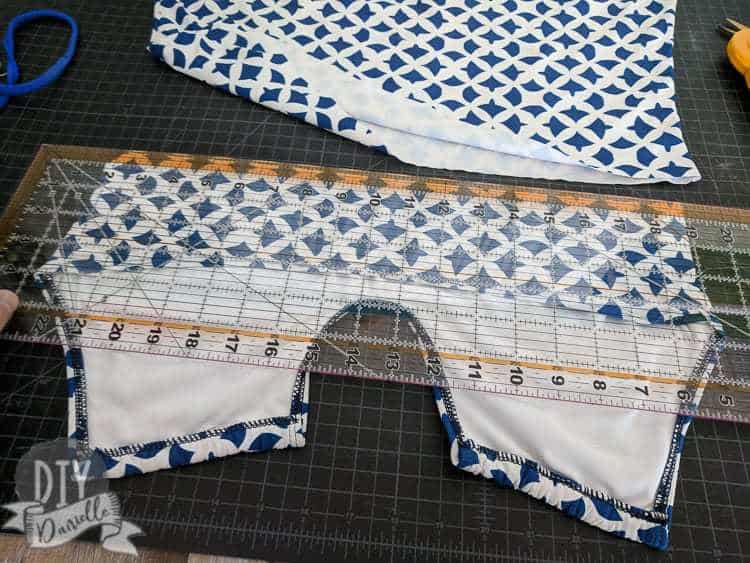
My quilting ruler was the perfect option to cut the bottom portion of the bathing suit off. I made sure it was equal on both sides. Lots of measuring before I cut.
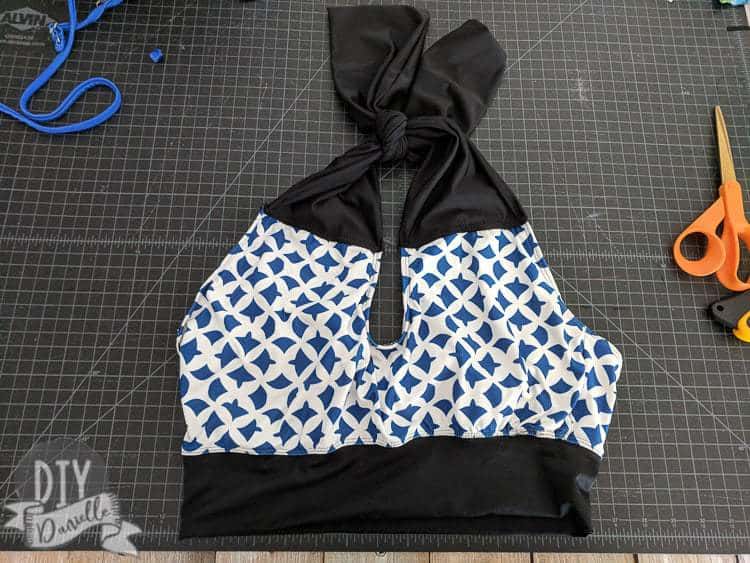
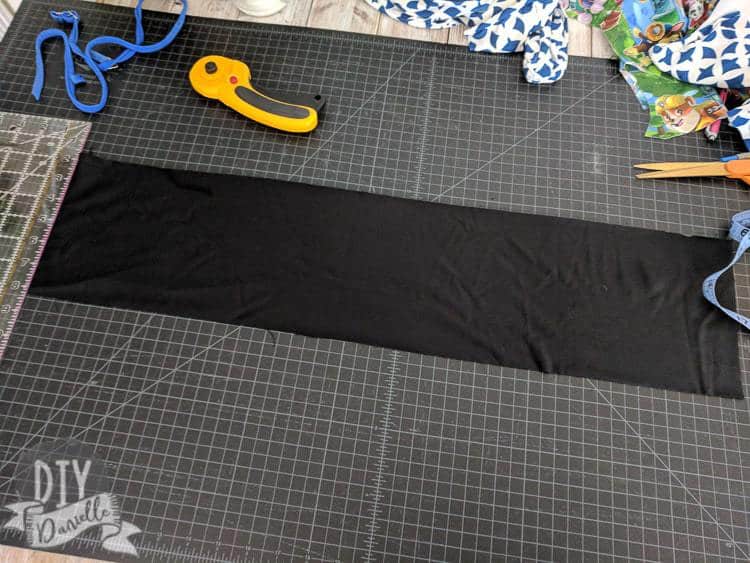
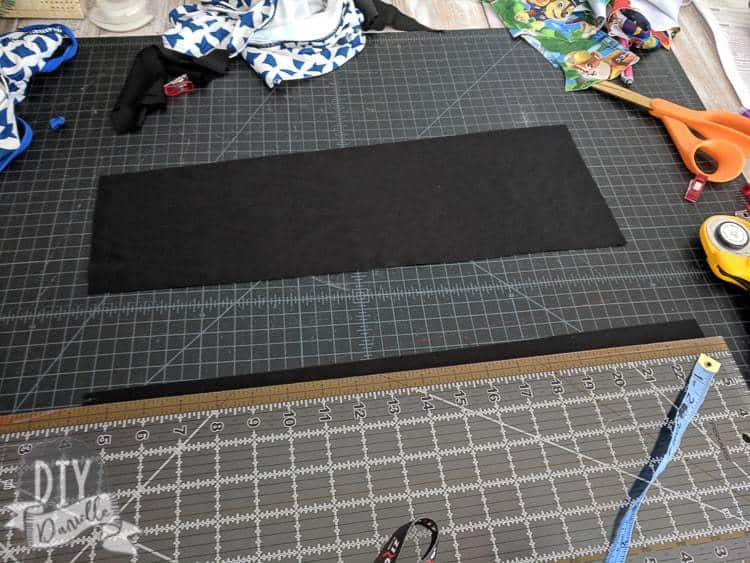
I could have used the bottom portion of the suit that I’d cut off for the bands, but instead I decided to use some coordinating black swim fabric. The first thing I did was cut a band for under my breasts. This needs to be tight because you don’t want the ladies falling out or drooping down, but I didn’t have any swim elastic… so I needed the band to do the job. This seems to have worked pretty well actually.
My band is 28″ long by 6.5″ wide. The band is folded over for the swimsuit so it’s actually only 3.25″ wide once sewn on. Your band length needs to be less than your under bust measurement.
I started by measuring under my bust (exactly where you think it is), then I subtracted a bit, making sure that the length of fabric was still long enough to fit around that area (I wrapped the fabric around me to make sure, stretching it). Make sure to account for a seam allowance here.
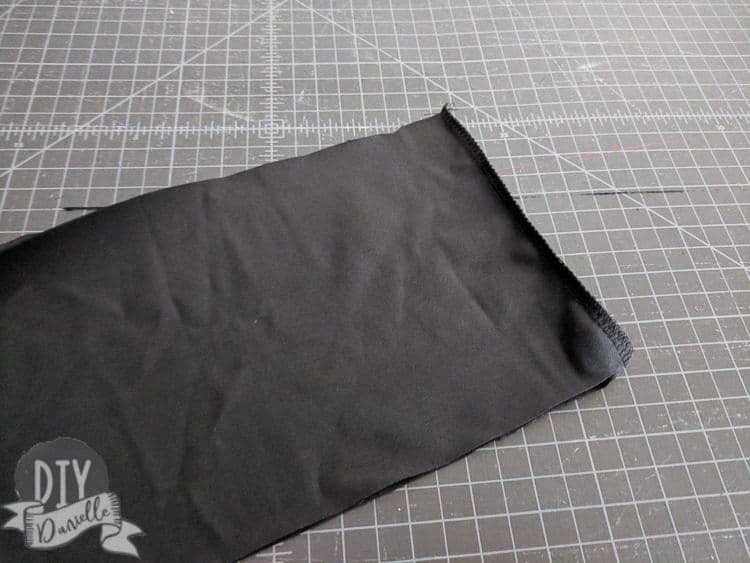
Once I decided on the length and width of my band, I cut it and faced it right sides together to sew along the short end. This was done with my serger. If you don’t own a serger, use a stretch stitch on your sewing machine.
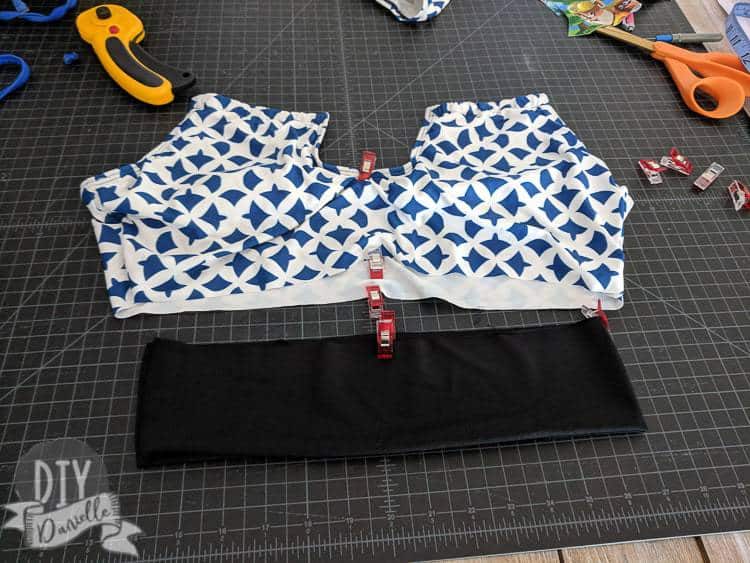
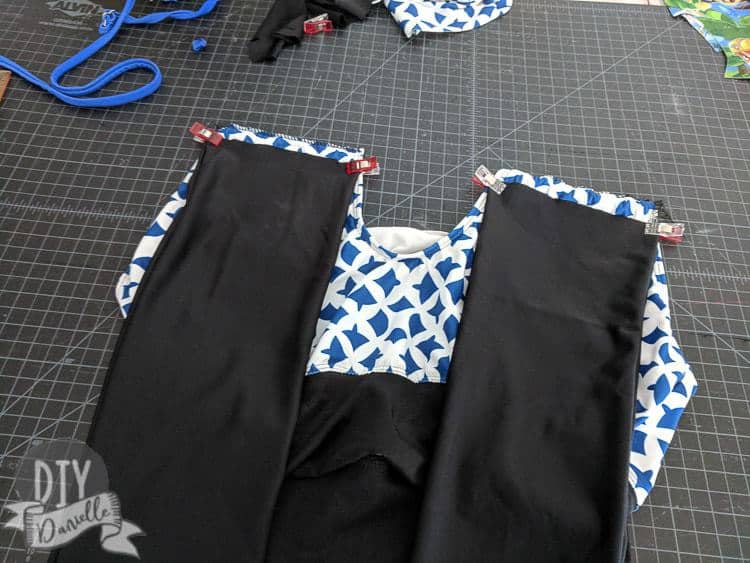
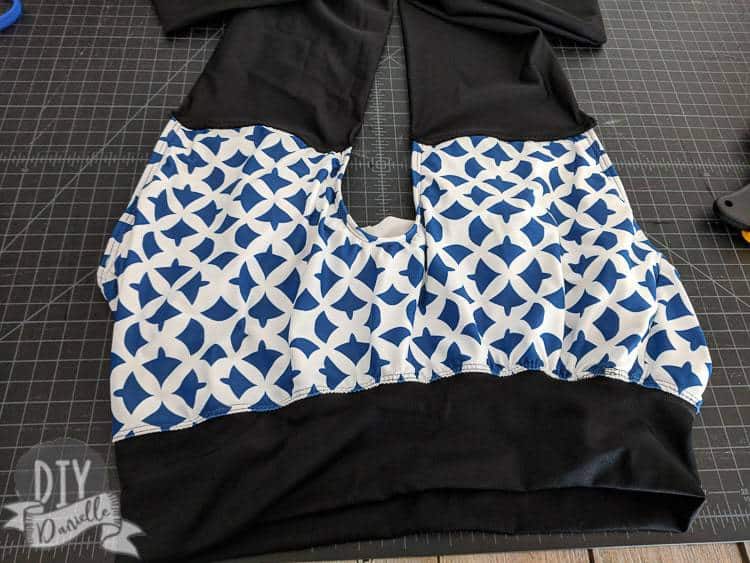
At this point, I wanted to sew my band on. I used a clip to hold the liner out of the way (see the clip on the keyhole area), then put clips every 1/4 of the way around the swimsuit. Fold your band wrong sides together. Repeat with your band.
Once you have placed your clips, you can line up your band clips and your swim top clips. Pin right sides together. The band is shorter so you’ll need to stretch the band as you sew it to the top.
Once you pin right sides together, serged or use a stretch stitch to sew the band to the top right sides together. I flipped right sides out and used my coverstitch machine to top stitch. You don’t need to do this.
The next thing to tackle was the straps for around my neck. Initially I thought I would make the straps go directly down my back instead of around the neck, but I didn’t like the finished look of the keyhole that way. I measured the top of the swim suit all the way to the top back of the swimsuit though and that’s how long I made each strap. I matched the width of the top of the front part of the bathing suit to the band width. The band is a bit thinner in the back. I cut two. The width is double the width I wanted them so I could have both sides be finished.
I folded each strap right sides together, used my serger to sew the long side and one short side. Flip right sides out.

I matched the raw edge to the front top of the top. I sewed these right sides together.
You can top stitch or not. I used my coverstitch but it’s hard to see it in the photo because I sewed on the black straps.
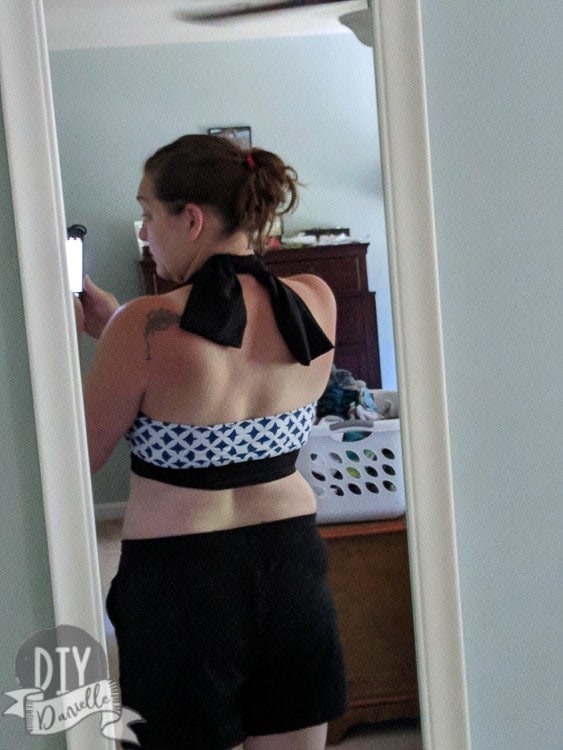
Here’s the finished suit from the back. The finished sides of the straps are loose so you can tie them.

Here’s a video showing you the whole process if that helps!
I’m a bit embarrassed to show you the laundry piles and my disorganized sewing room… but my husband’s not great at taking photos and this is the best I could do.
Here’s the front! I LOVE how this came out. My only complaint is that the inner ‘boob liner’ is not cupping my boobs properly. The liner rides up and I end up fishing in my top more often than I’d like. I think I’m going to add a few stitches to hold the bottom of the liner to the inner band.

Please pin this!
Want more fun sewing ideas? Check out these other fantastic sewing posts:
How to Babyproof a Sewing Room | How to Thread a 1034 D Serger | Sewing Tools | How to Choose a Sewing Machine | Sewing Tips and Tricks for Beginners
Grear job!