How to use permanent vinyl with your Cricut machine. A guide to using permanent vinyl for signs, crafts, and more.
Permanent vinyl is one of the first products I tried when I bought a cutting machine. I originally started with a Silhouette, then switched to Cricut brand machines. Permanent vinyl can be purchased from Cricut or from other brands. Oracal, on of the other large vinyl companies, calls their permanent vinyl 651 and has a few other types of permanent vinyl as well.
In this article, I’ll explain what permanent vinyl is, when to use it, some project ideas with the product, and how to apply and remove it. I’m going to be demonstrating with some designs that I put on our mirrors at home. I am creating affirmations with permanent vinyl, which is the perfect product for the mirror. The permanent vinyl will last for a long time and withstand frequent cleaning, but will still eventually be removable from the mirror.
What is Permanent Vinyl?
If you’re very new to Cricut or Silhouette machines, adhesive vinyl is product that that a cutting machine can cut designs out of. It’s a heavy duty “sticker” that you apply to items you’re crafting. The machine uses a blade to cut the vinyl, but not the mat underneath. You peel away the parts of the design that don’t belong, then use a transfer sheet to move the design onto your cup, wall, craft, or whatever you’re customizing. Adhesive vinyl is a fun way to make custom products for your business, your home, or your crafts/DIY projects. There are, however, different types of adhesive vinyl for different purposes.
Permanent vinyl is vinyl that is intended for permanent use. While it is not necessarily truly permanent, particularly if not applied correctly, it is much harder to remove and can cause damage if not removed carefully.
Tip: Removable vinyl, or 631, is used for items such as wall decals that you may want to take off eventually.
This post may contain affiliate links which may earn me commissions should you click through them and take certain actions. As an affiliate for Amazon, Cricut, xTool, Home Depot, and other sites, I earn from qualifying purchases. Please DIY carefully. View my full legal disclosures here.
The majority of my content is generated by me, as are 99% of the photos and videos, but I utilize technology for titles, descriptions, video editing out all of my ums, and occasionally for text overlay on images.
Please read the whole post so you don’t miss any important information!
Types of Permanent Vinyl
There are many types of permanent vinyl, although they’re all generally lumped together under the term. Cricut brand permanent adhesive vinyl is labeled as permanent vinyl.
As of December 2022, the types of permanent vinyl sold by Cricut include:
- Premium Vinyl- Permanent (in a huge variety of colors)
- Premium Vinyl Holographic
- Premium Vinyl Shimmer
- Premium Vinyl Mosaic
- Premium Vinyl Brushed
- Premium Vinyl Frosted
Use the Discount Code DIYDANIELLE on cricut.com for 10% off any cutting machine or heatpress (no minimum). Excludes: materials/accessories/mystery boxes/etc. Applies to US/CA only, code expires 12/31/23.
I’ve used some of the other types of Cricut permanent vinyl, such as the brushed metal one, and found it doesn’t adhere as well as the normal permanent vinyl. While I still use the other types of permanent vinyl, I always prepare for them not to stick as well.
Cricut also sells Smart Vinyl, which works with the Cricut Maker 3 and the Cricut Explore 3; the Smart Vinyl just allows those two machines to cut the vinyl WITHOUT the mat. It’s a really convenient feature of the Cricut Maker 3, but if you don’t own a machine that can use the feature, it doesn’t make sense to buy it. The small Cricut Joy permanent vinyl is meant specifically for the Cricut Joy machine.
You can buy Permanent Smart Vinyl here.
Oracal, one of the larger vinyl brands, also makes a variety of permanent vinyls. I like how they categorize their vinyl as it’s neatly organized into number systems. As with Cricut, you can get matte or glossy appearance to their vinyl. 631 is Oracal’s non permanent vinyl.
- Oracal 651: Glossy Permanent Vinyl for Indoor and Outdoor Use, 5+ Year Outdoor Durability / Metallics 4-year
- 641: Matte Permanent Vinyl for Indoor and Outdoor Use, 3-4 Year Durability, not for use on vehicles
- 751: Ultra Gloss High Performance Permanent Vinyl, 7-8 Years Outdoor Durability / Metallics 5-years
Oracal 751 would often be used for bumper stickers or making vinyl for other vehicles such as boats. I prefer the 751 for outdoor purposes, if I think they’ll be exposed to a lot of weather.
Uses for Permanent Vinyl
- “Please Excuse the Mess” Sign (snark included)
- DIY Custom Name Signs
- Customizing Furniture like this Game Cabinet
- DIY Car Decals
- Garbage Day reminder!
- No Soliciting Sign
- Custom Jenga Game for Family Game Night!
- Wheelbarrow Garden Planter
- DIY Step Stool
- Electric Fence Signs
How to Use Permanent Vinyl
I’m going to give you a basic guide to how to use permanent vinyl. This is going to be really basic for newbies to using a Cricut.
Basic Vocabulary
What is Weeding?
Weeding means that you use a tool, usually a weeding tool or tweezers, to remove the excess vinyl away from your cut design.
What is Reverse Weeding?
Typically, you cut your vinyl and weed the vinyl BEFORE placing the transfer sheet on top. With reverse weeding, you cut the vinyl, place the transfer sheet, then remove the vinyl backing. At this point, you will reverse weed, removing anything that isn’t part of the design from the transfer sheet.
You can also reverse weed vinyl that has already been placed on the project.
Reverse weeding is often helpful for smaller projects with lots of small lettering.
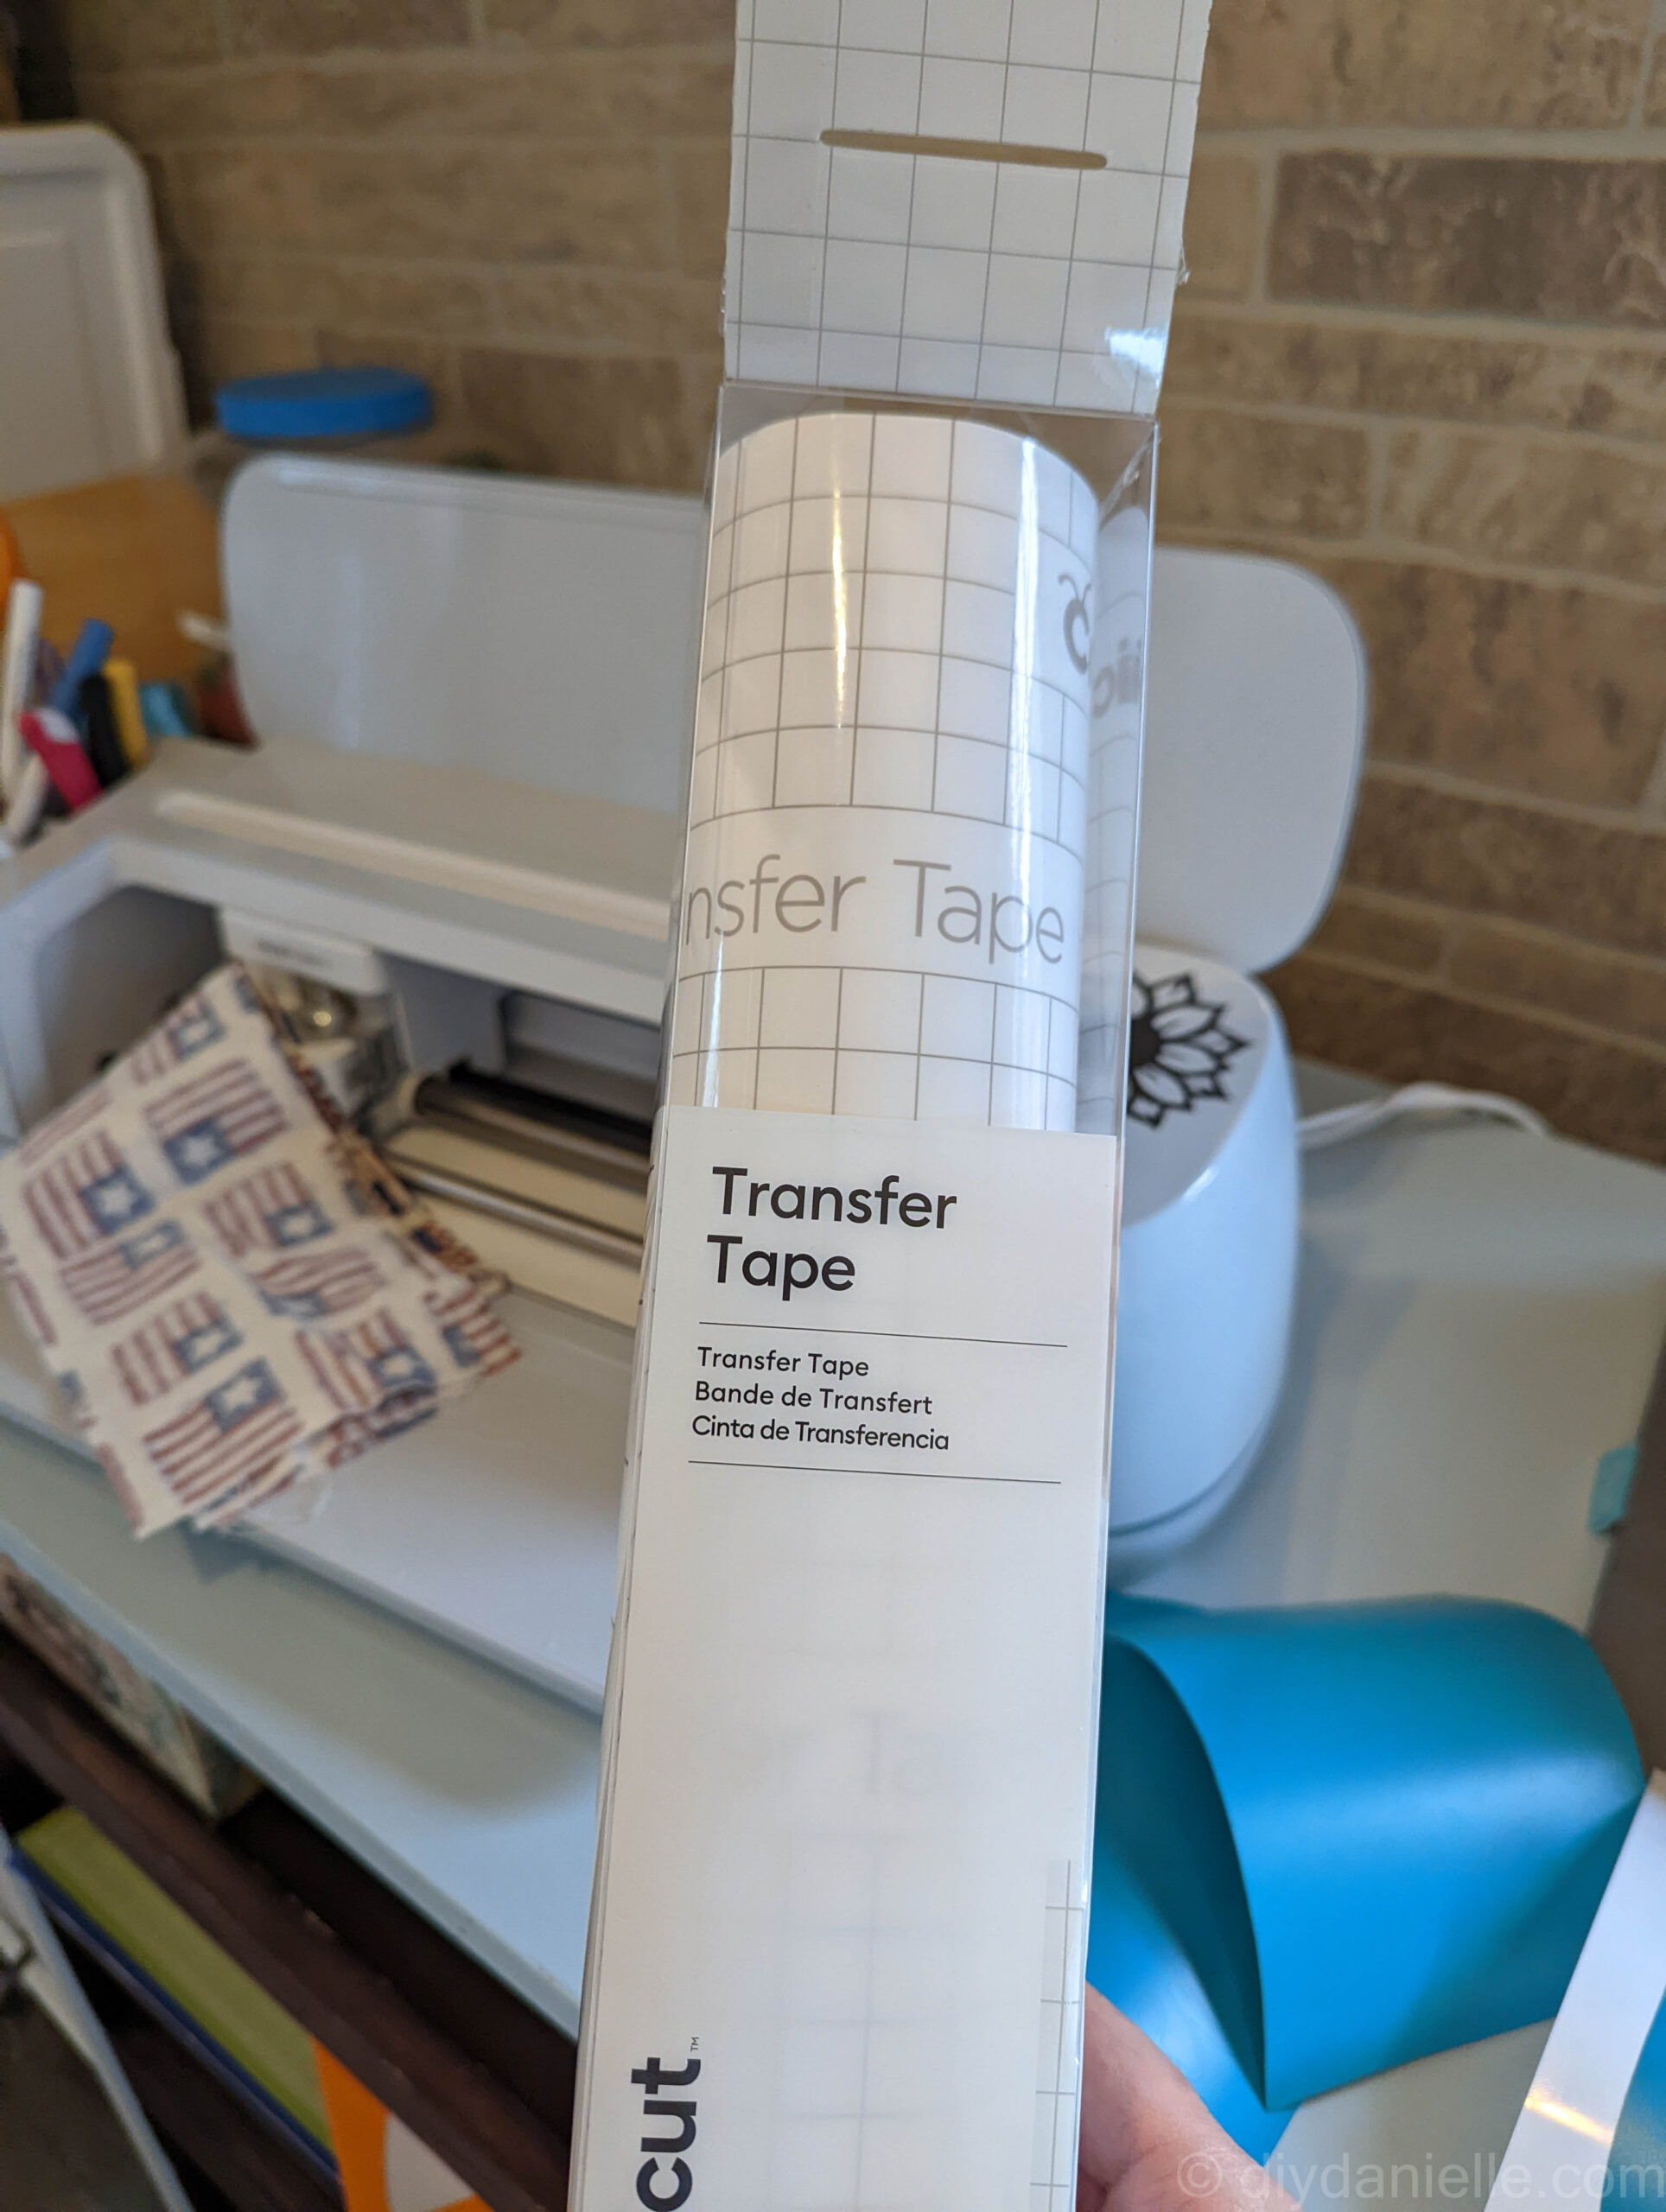
What is a Transfer Sheet?
HTV, or heat transfer vinyl, comes with a transfer sheet attached. Removable and permanent vinyl does not. A transfer sheet is a product that helps you move the vinyl to your final product. Your vinyl has a backing that doesn’t get cut by the Cricut machine. You weed the excess vinyl off your design. You place the transfer sheet on top of the design, then remove the backing to the vinyl. That exposes the sticky part of the vinyl so it can be attached directly to your blank product.
What is a Blank?
A blank is a term that is used for whatever item you want to place your vinyl on. This is usually an item that is sold without a design or text on it already. In this tutorial, I’ll be applying my vinyl to a mirror which isn’t technically a blank. A plain mug or cup is a blank, and you’ll often find products marketed on Cricut’s website or on Amazon that are sold in multi-packs as “blanks.”
How to Cut and Apply Permanent Vinyl
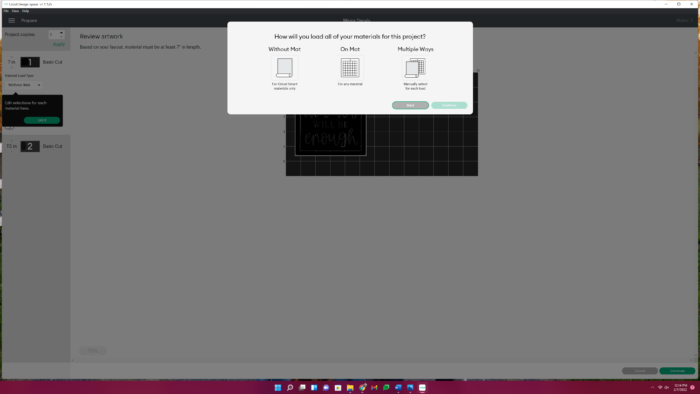
Permanent vinyl is easy to use. Pull up your design in Design Space. Resize and adjust your design as needed. Click MAKE IT when you’re ready to move on to cutting your vinyl.

If you’re using Smart Materials, you can select “Without the Mat”… otherwise, select on the mat. If you’re using a mat, place your sheet on the green mat with the vinyl face up. Unlike HTV, you’re cutting the front of the vinyl with permanent vinyl.
At this point, you should turn on and connect your machine. You’ll be cued to select your material and you should select the type of permanent vinyl that you’re using. In my case, I used Smart Permanent Vinyl.
DO NOT MIRROR your image unless your vinyl specifically states to do so, or you want the vinyl to be backwards.
Load your Smart Vinyl or your mat with permanent vinyl into your machine, and press the blinking Cricut button. Your machine will cut the vinyl for you.
Once the vinyl is cut, eject the materials from the machine. You’ll use a weeding tool to weed away the excess vinyl.
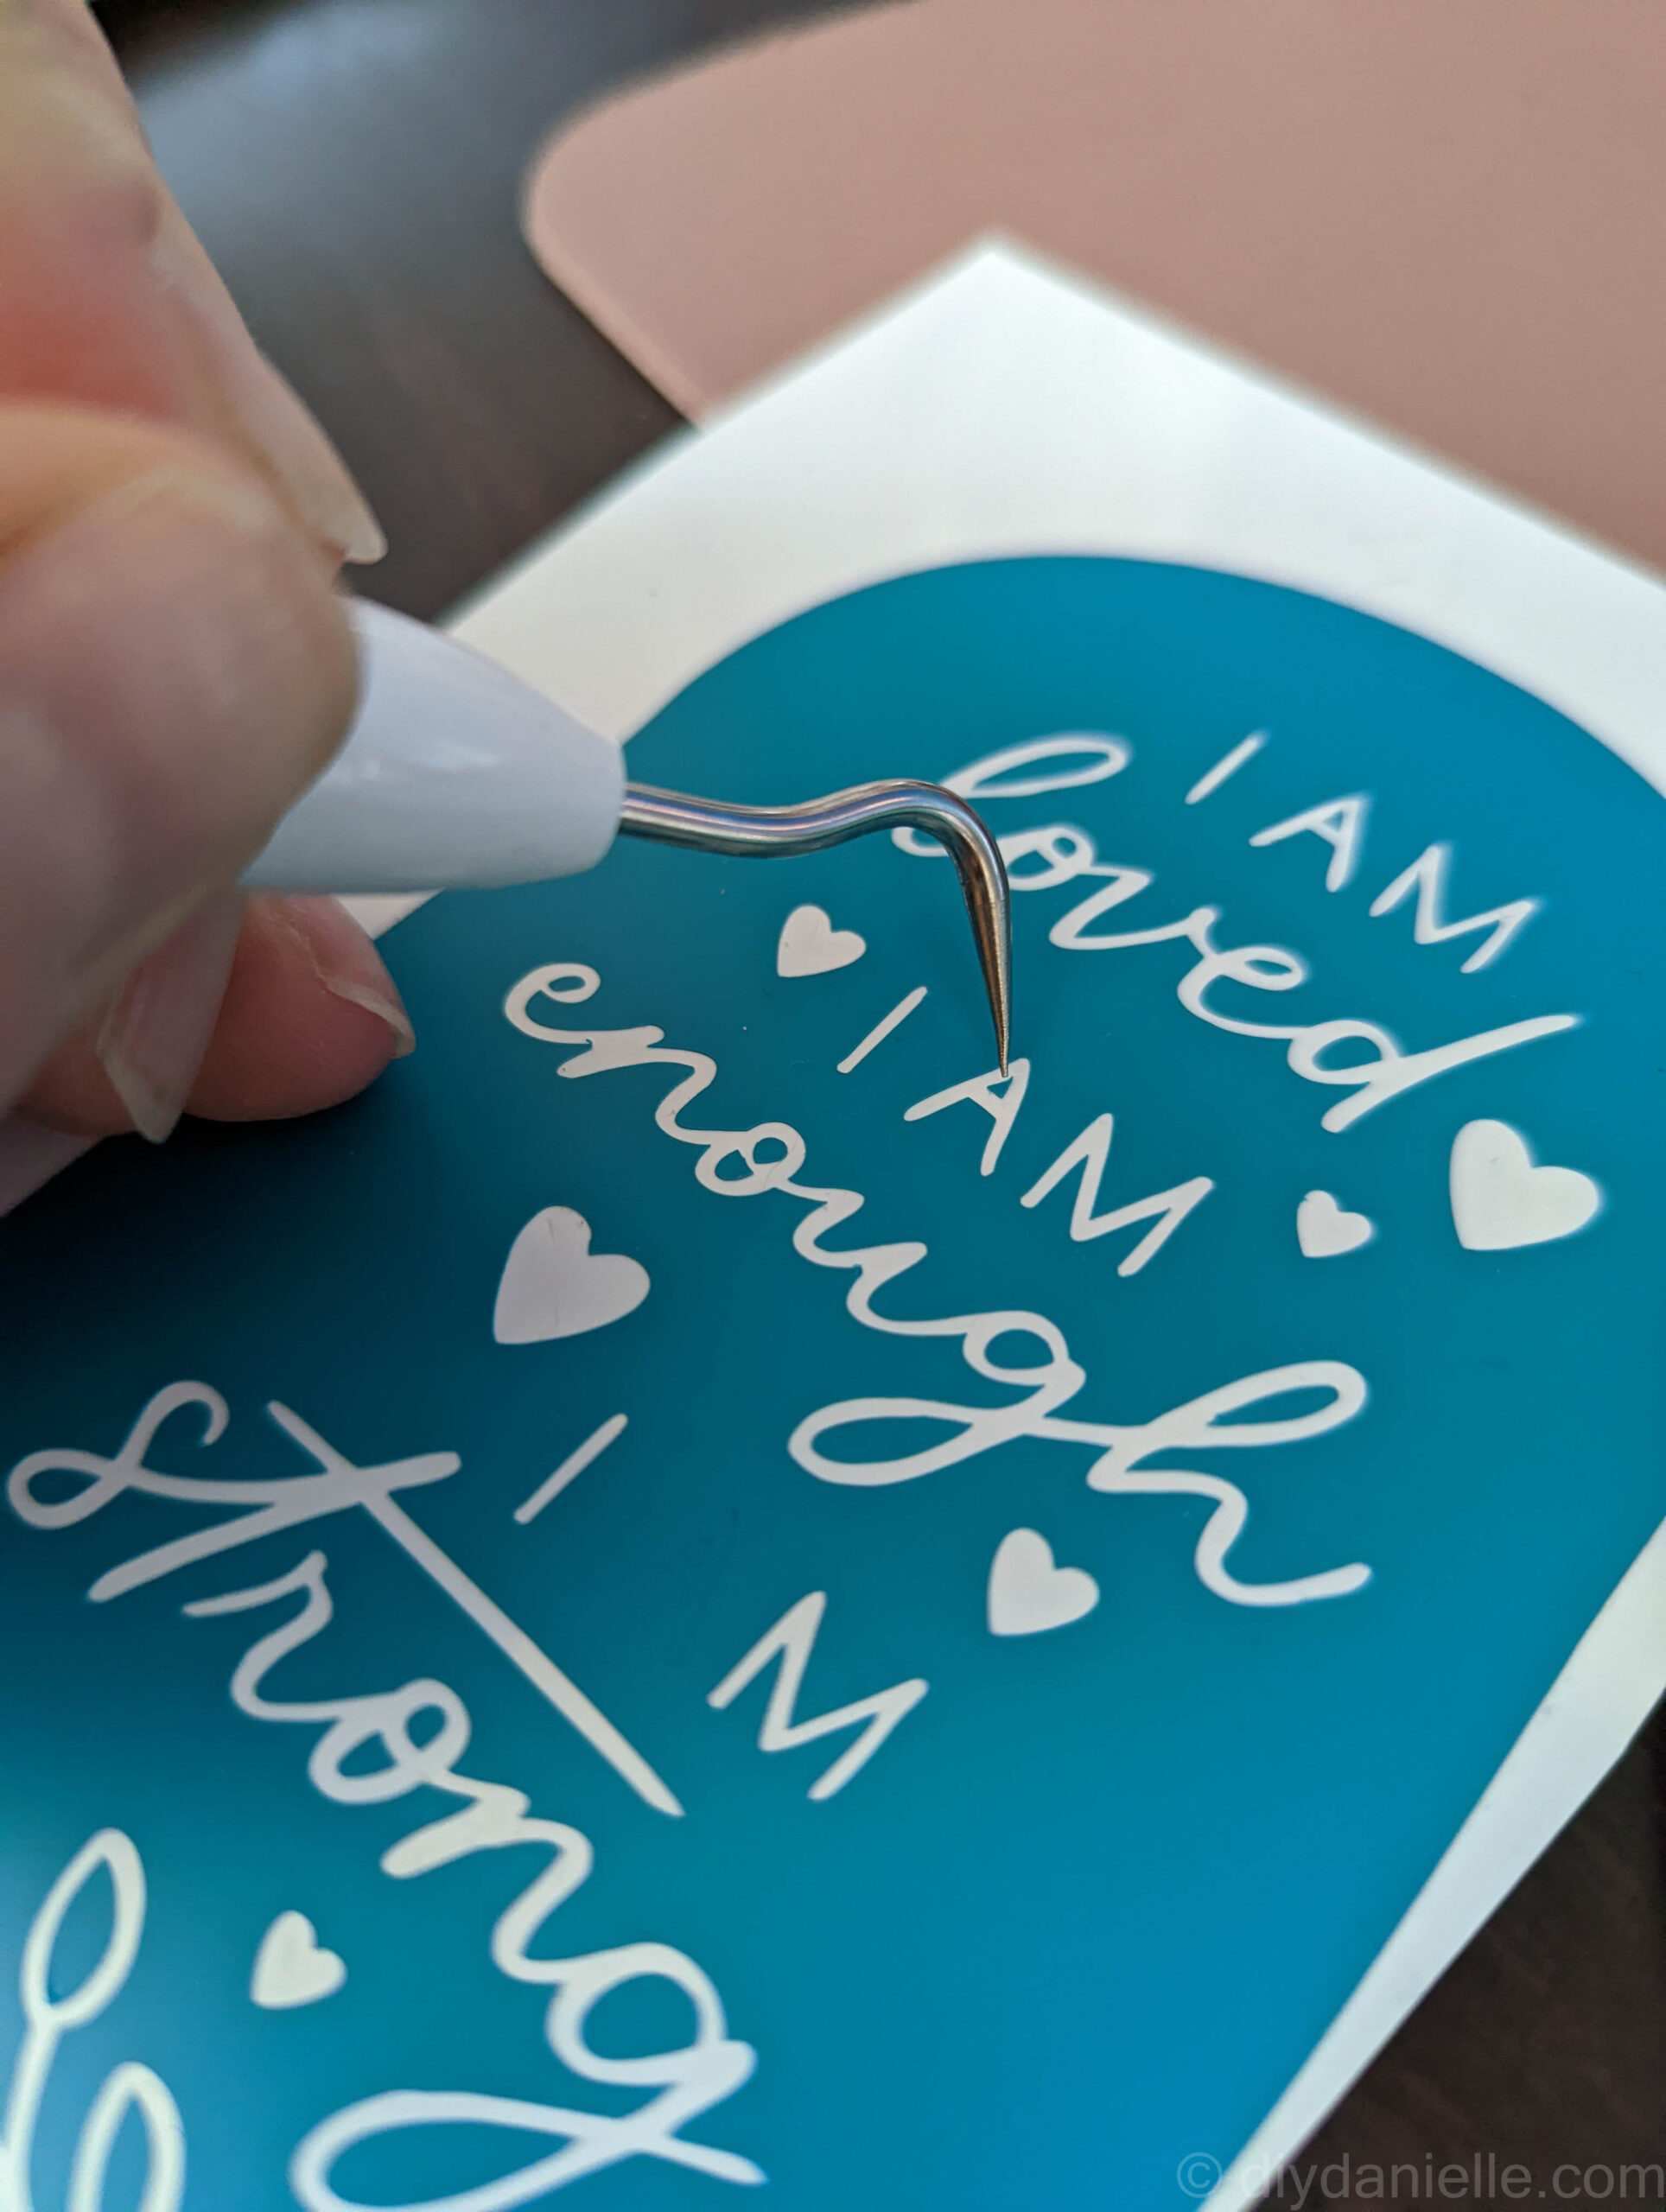
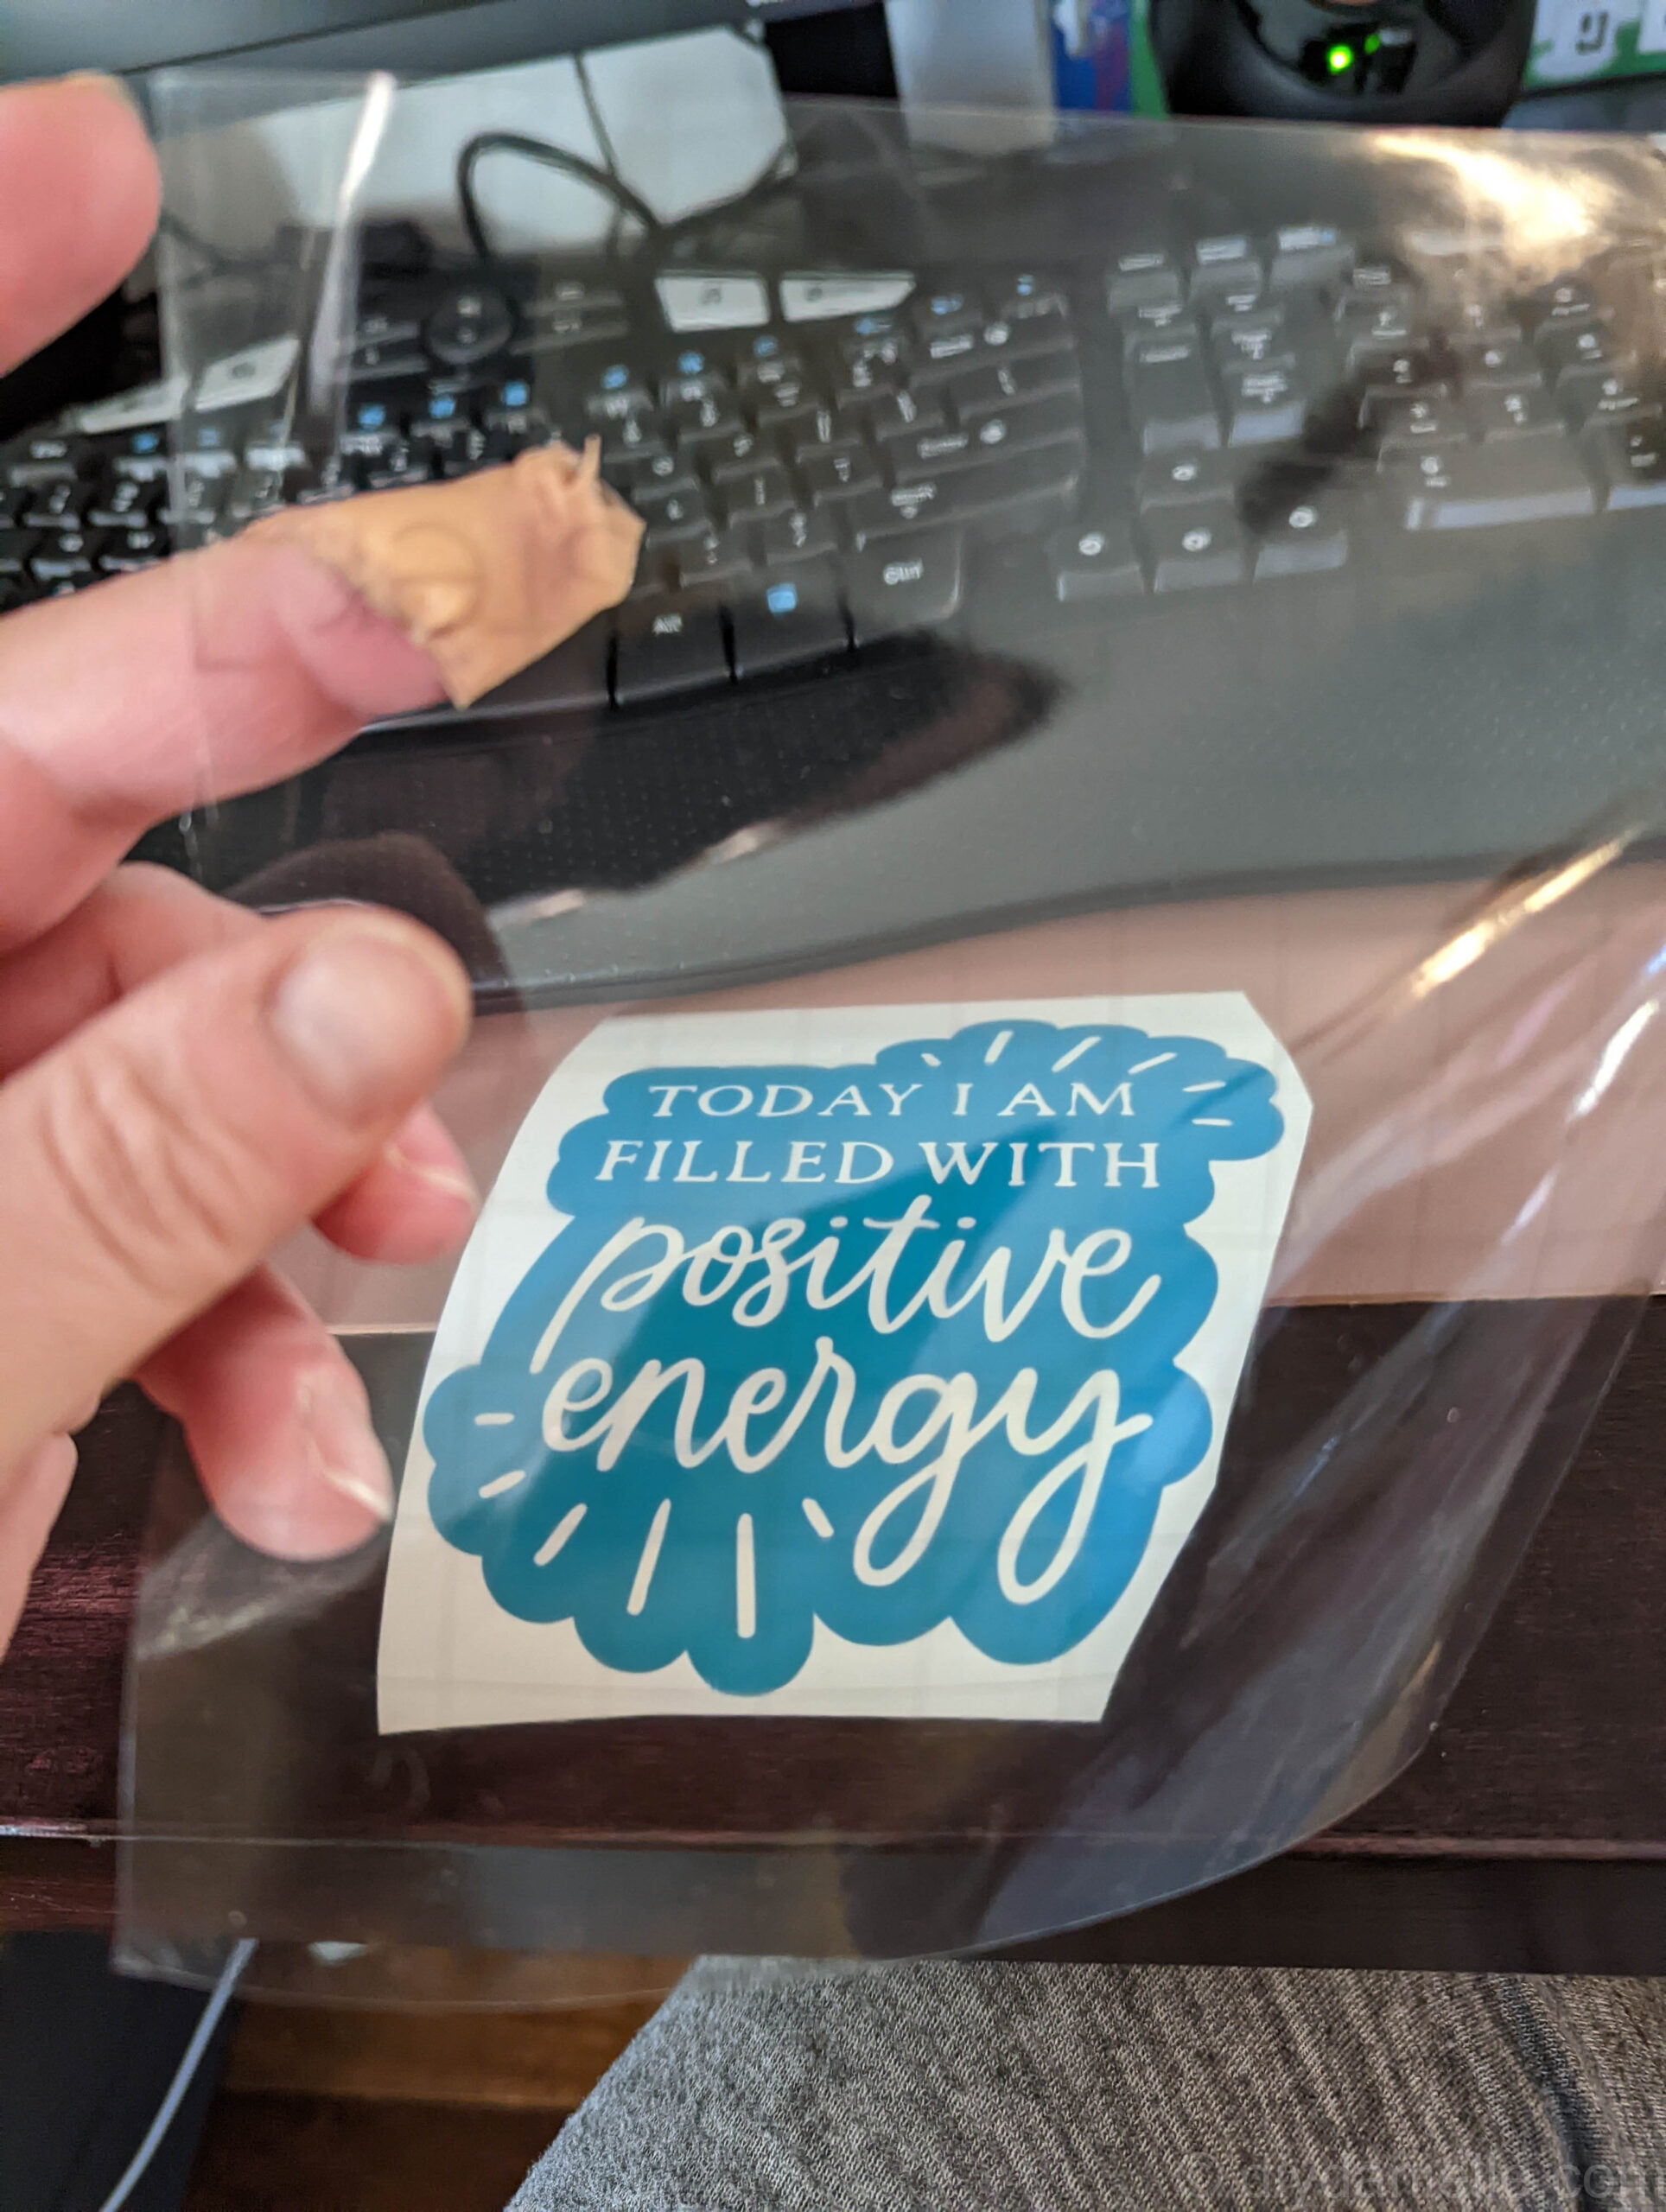
Here’s all three of my designs weeded.

When the design is weeded, you will cut a piece of transfer tape that is slightly larger than your design.
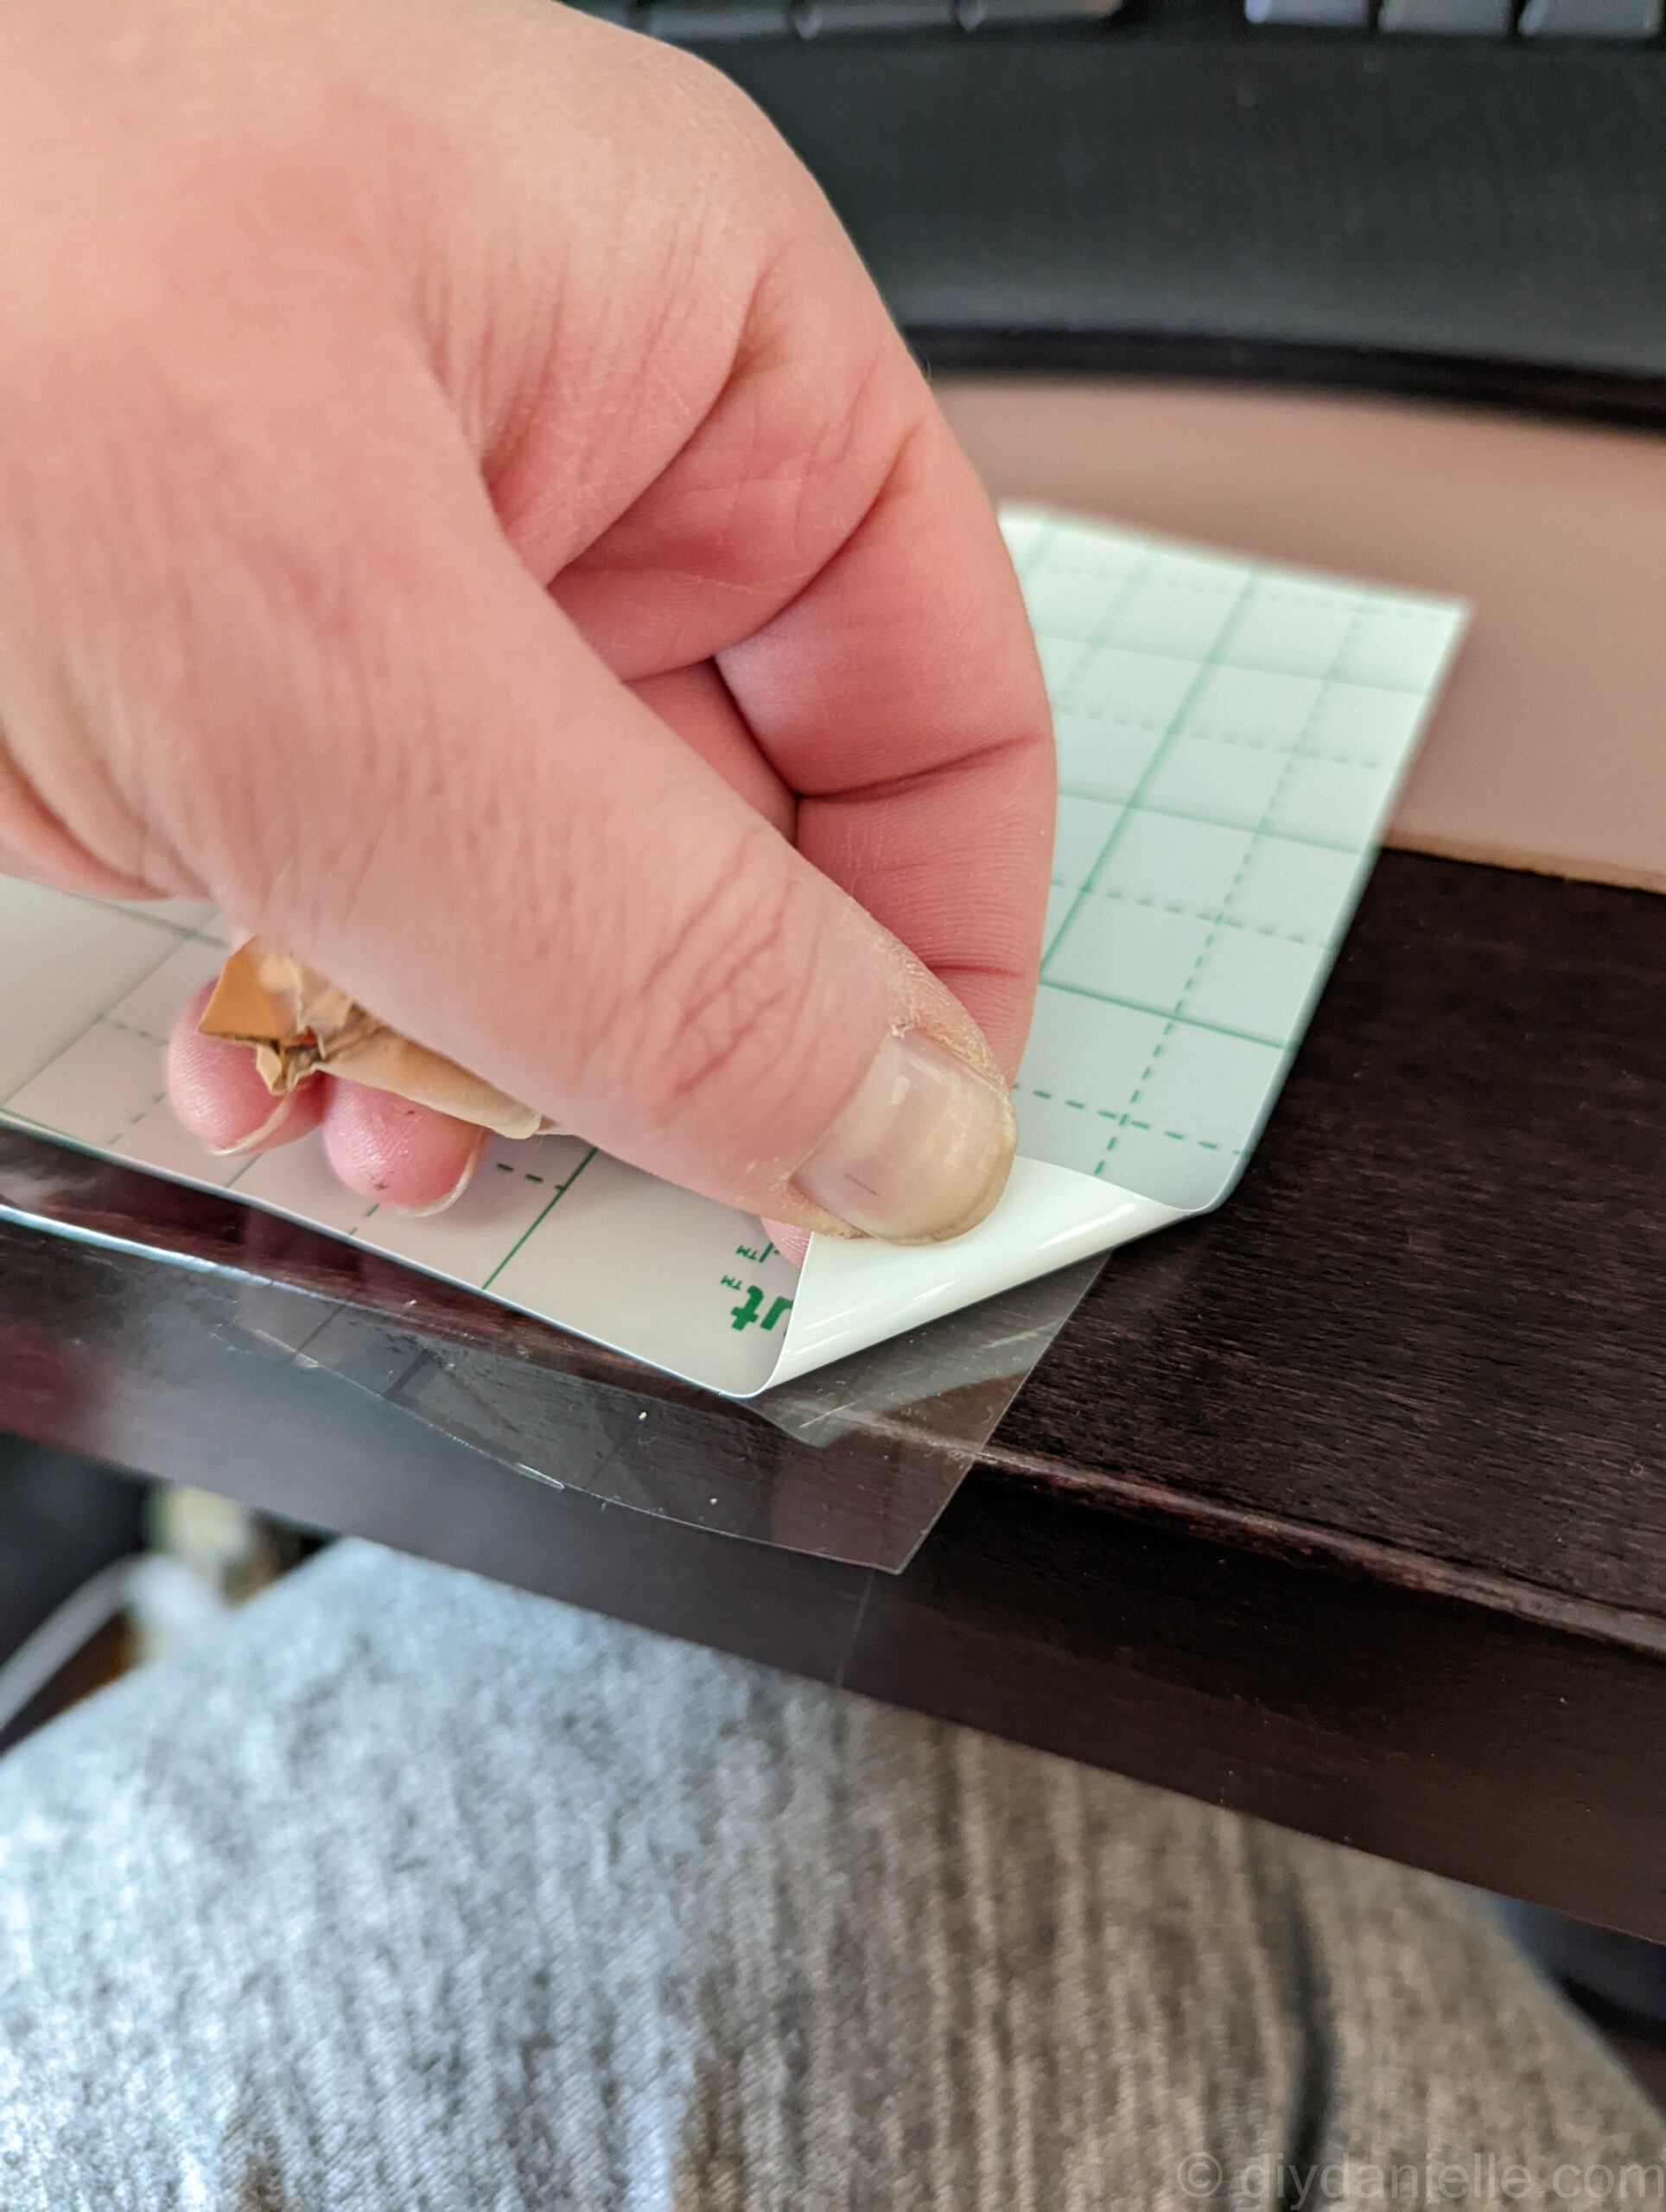
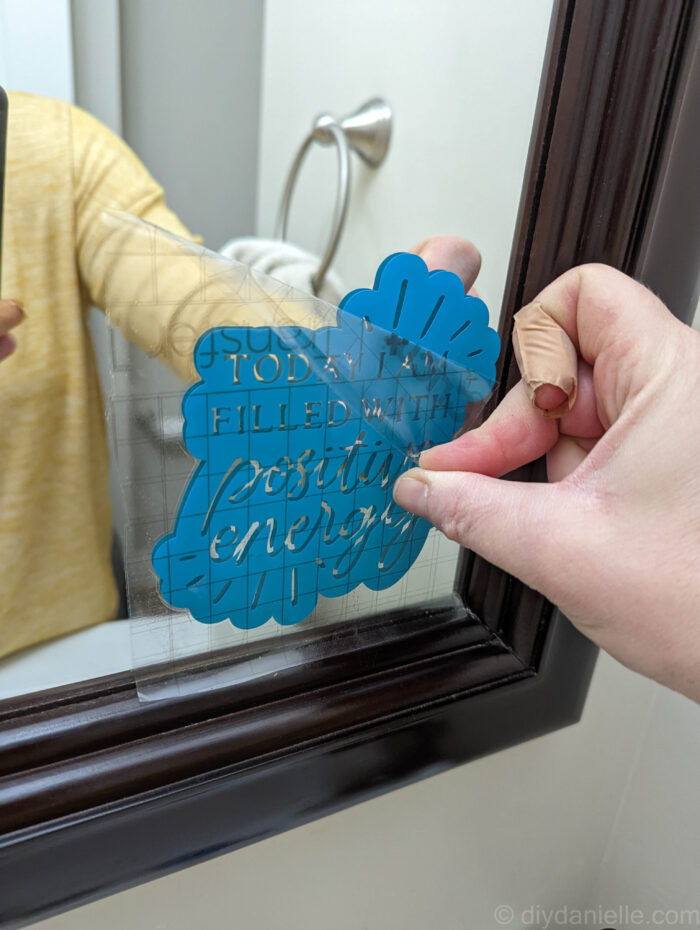
Peel off the back of the transfer tape, then carefully place your transfer tape over the design.
Once the transfer paper is stuck on the vinyl, flip it over and peel off the backing of the vinyl carefully. Make sure all of your pieces stuck to the transfer paper.
Clean off your blank item. You don’t want dirt or lint getting in the way. In this case, the mirror is the blank.
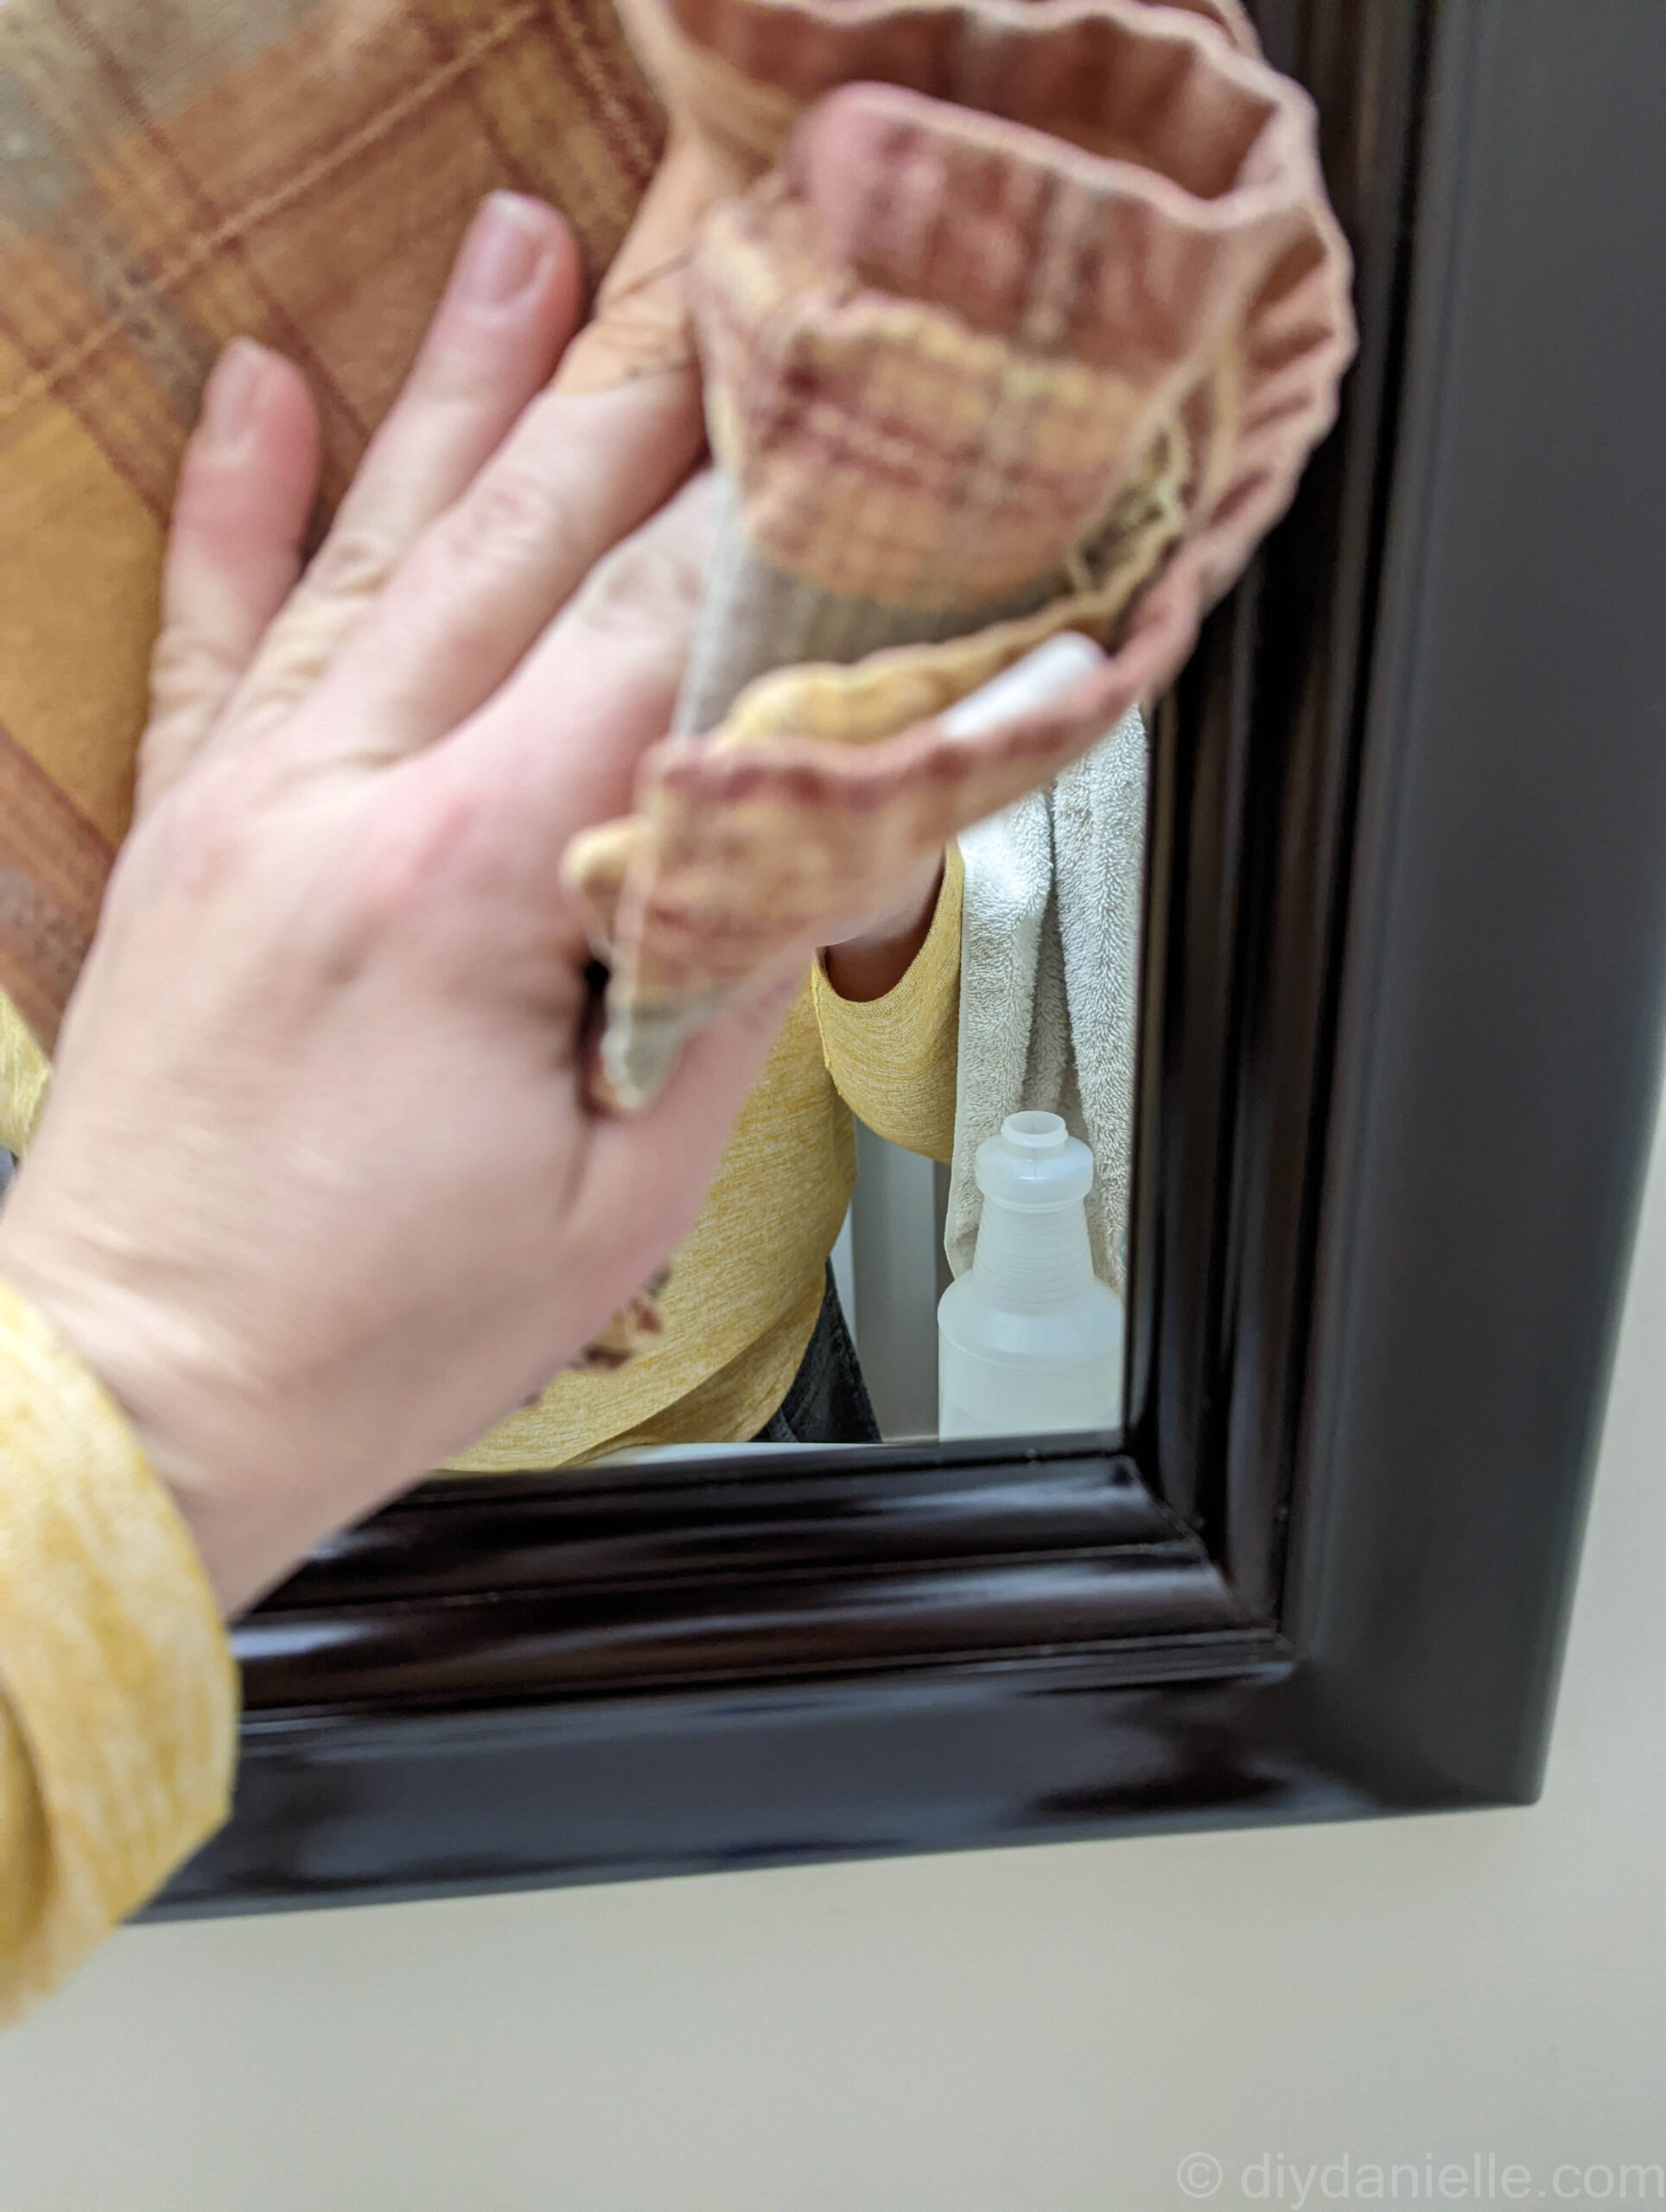
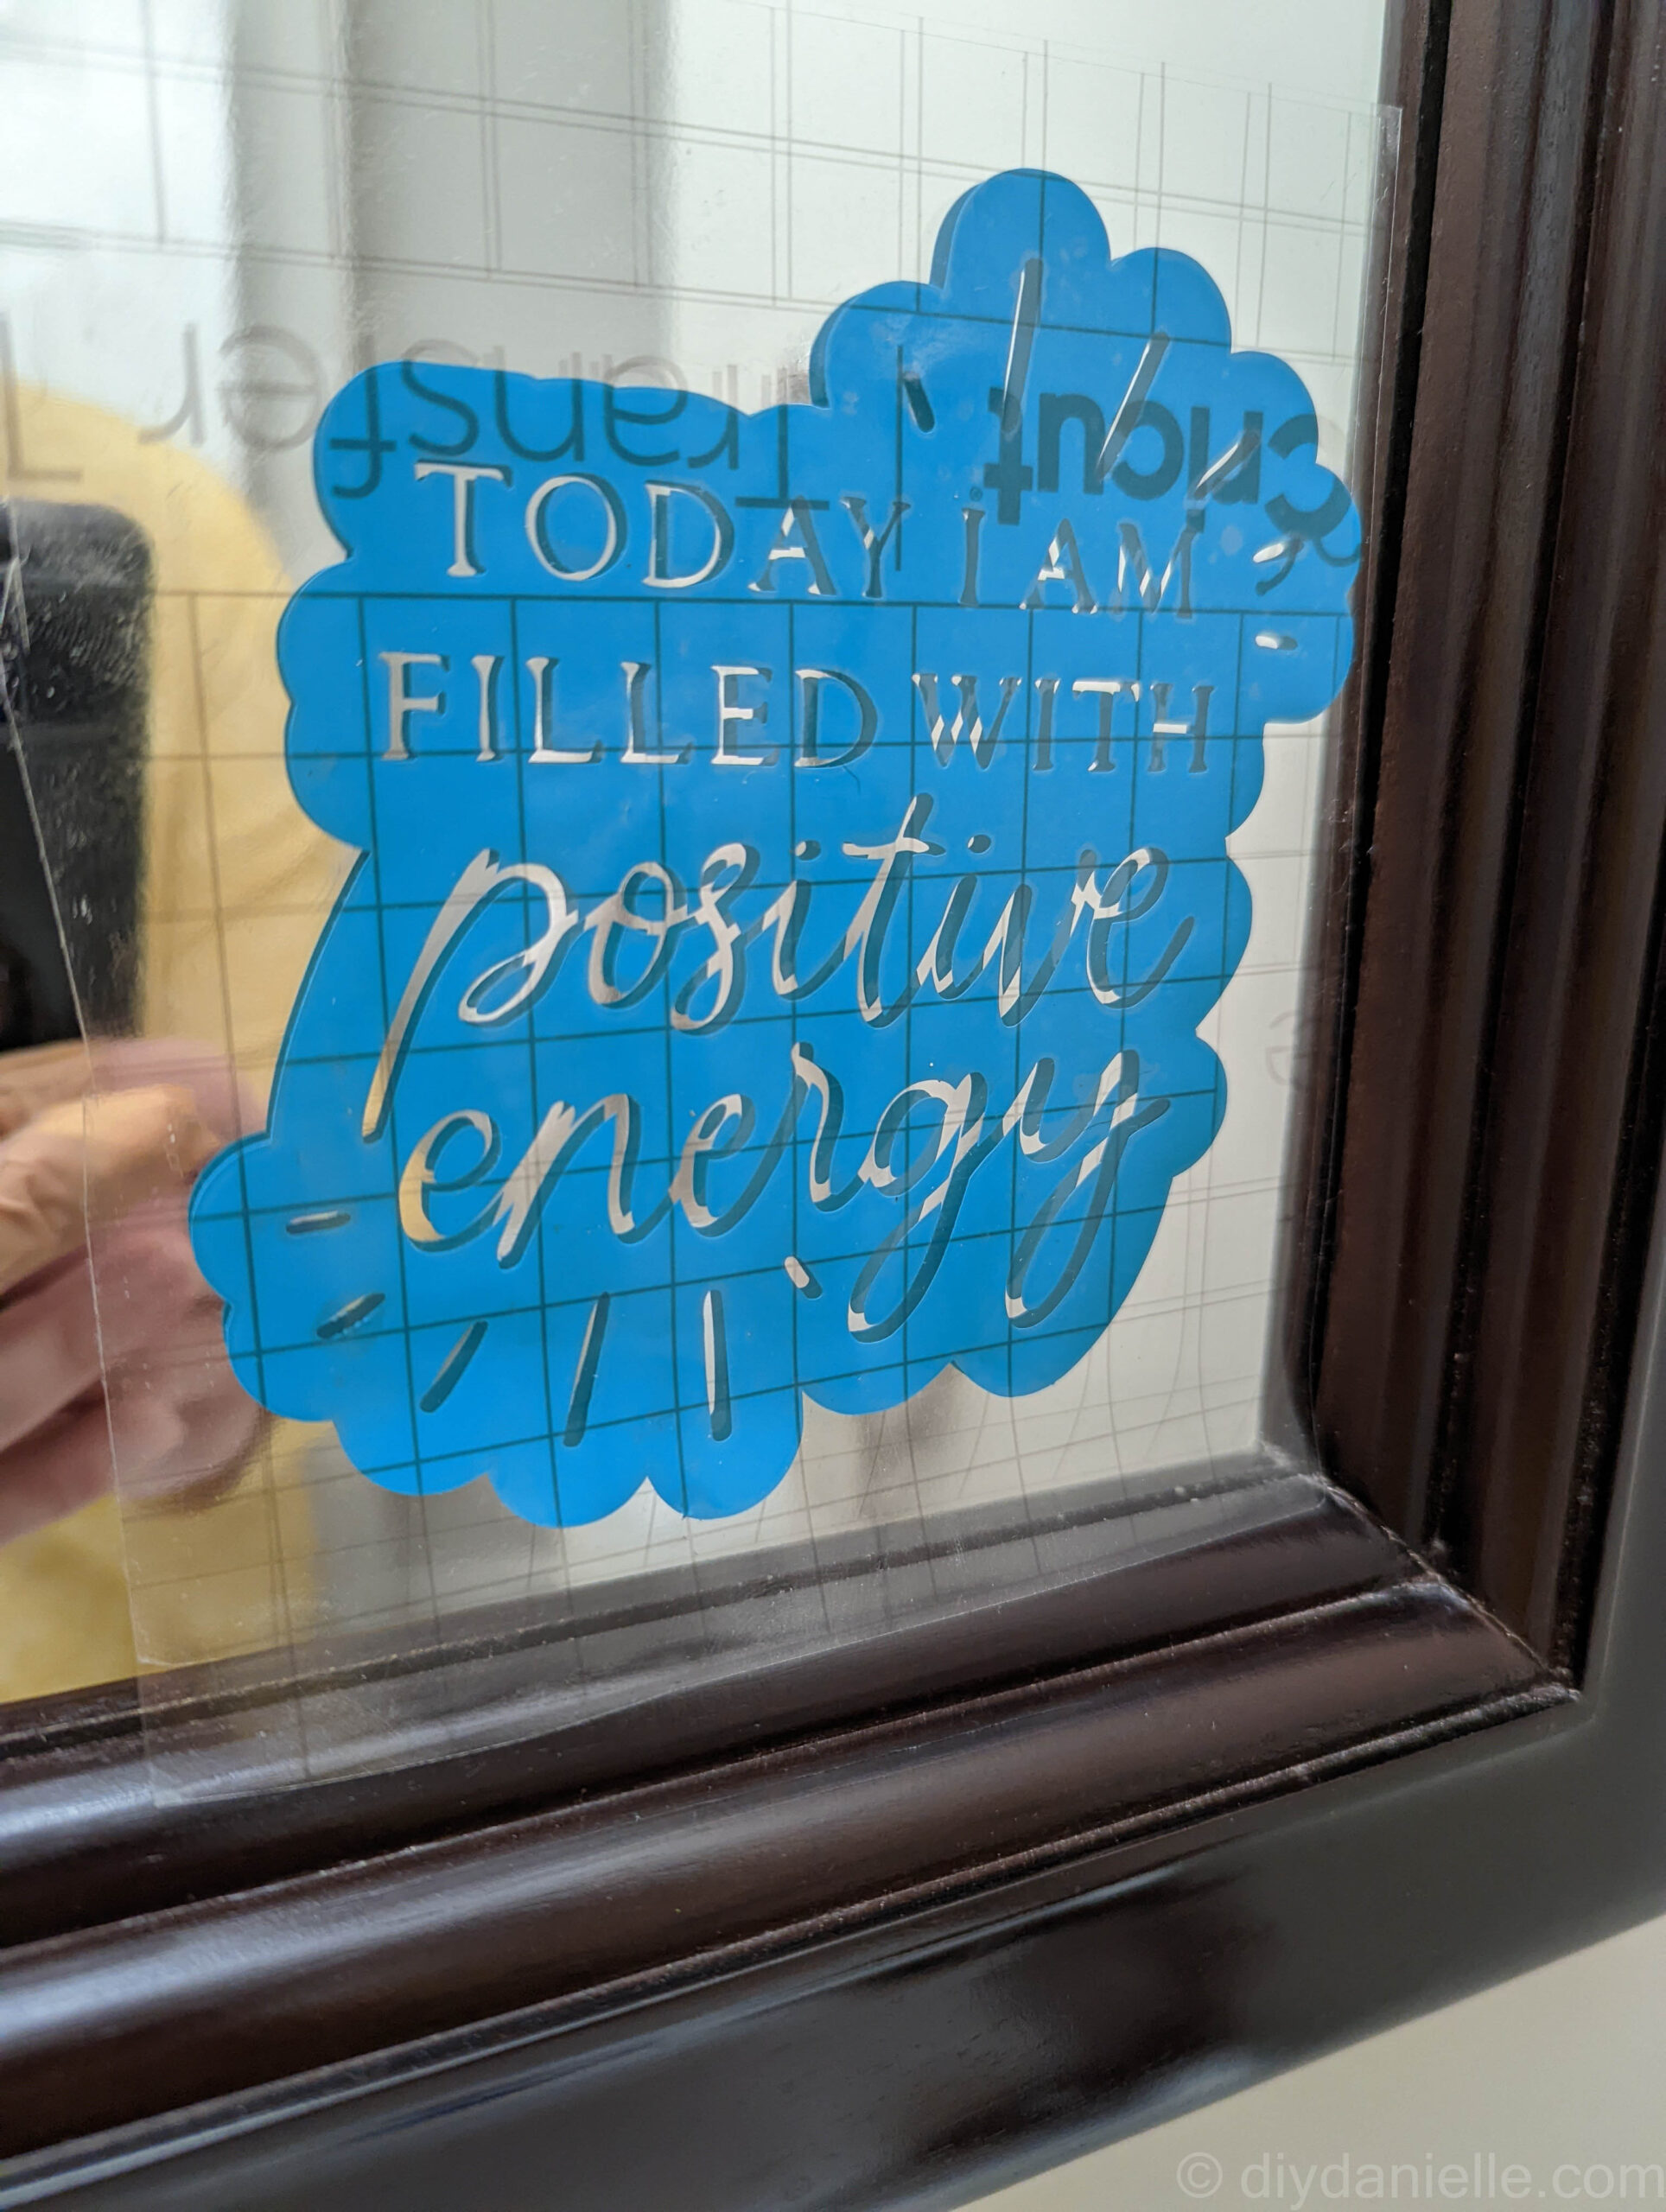
The transfer paper helps you transfer the vinyl (which is really just a strong sticker) to your blank. The lines can help you make sure the vinyl is straight and level, if you want to use them like that.
Stick the vinyl onto the blank/mirror. You can use your fingers or the Cricut scraper/spatula to ensure that all of the pieces are pressed well into the blank so they’ll stick. Smooth out any bumps in the vinyl.
Rounded items, such as cups, are harder to stick vinyl to without any bumps. Successfully applying vinyl to those types of items requires making your design the correct size and working slowly to make sure the vinyl presses firmly around the curves. You can also make cuts in your transfer paper to help it curve around the blank better, just don’t clip the vinyl itself.
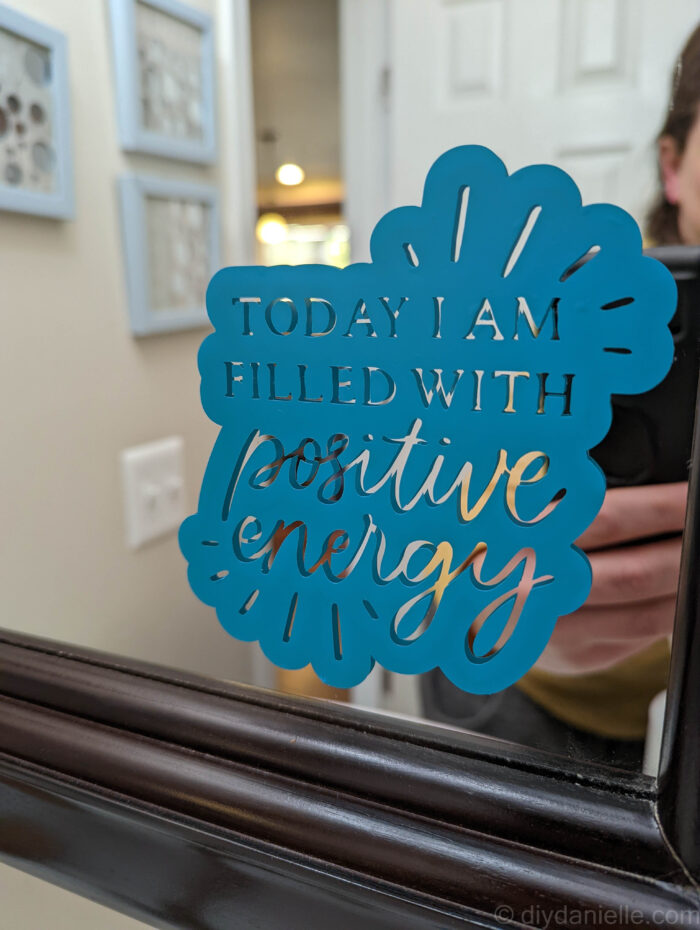
Once the vinyl is stuck onto the item, you can remove the transfer paper by peeling it off slowly.
For large designs, this usually is pretty simple. Just make sure that any dots for the i’s or any other small pieces don’t get left behind on the transfer paper.
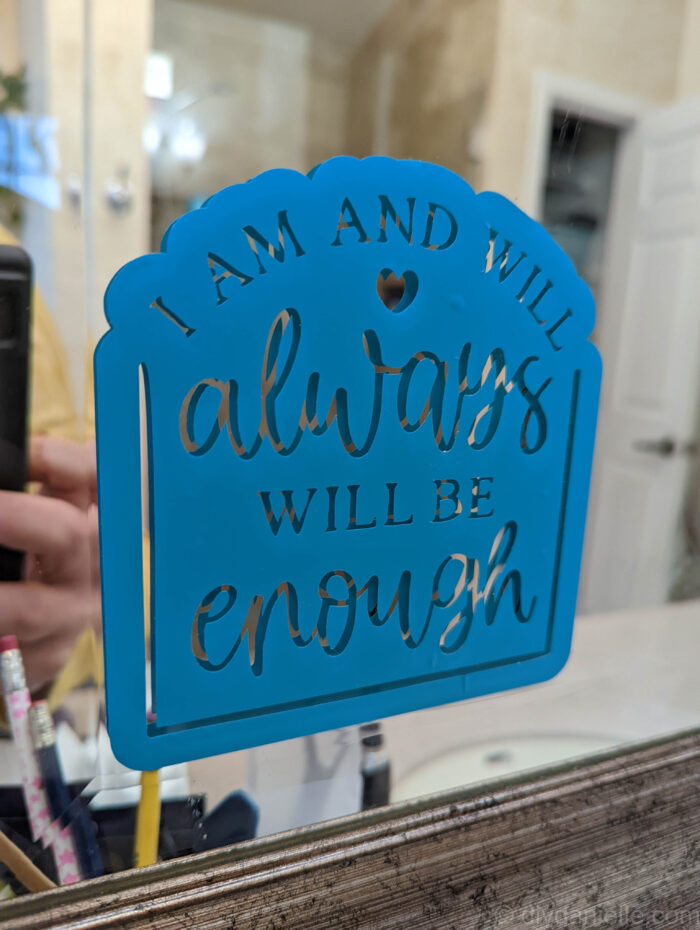
And here’s two of the designs on my mirrors. I LOVE them. Affirmations are such a great way to keep yourself in a good mental space, but it’s so hard to remember to say them. Having them on the mirror makes it easy. I think it’s natural to read them while you’re washing your hands.
How to Remove Permanent Vinyl
You shouldn’t apply permanent vinyl to anything you don’t want to ruin if you need to remove it. Aka, don’t use it to make wall decals. If you do, you may remove the paint (and maybe a bit of drywall) when you try to peel it off. That said, there are ways to remove permanent vinyl from items.
Permanent vinyl removes most easily from items like glass, metal, and plastic. It’s easy to heat up a bit using a hair dryer, then use a scraper to pull it off.
You can also use the heat and pull method on walls or wood, you just need to be very careful to work slowly and not burn your fingers using the hair dryer.
The process is very similar to how to remove bumper stickers from your car: you’re working slowly and carefully to peel the sticker off, trying to not scrape or peel away any paint.
With these mirrors, I should be able to peel the vinyl off pretty easily, even without the additional heat. The permanent vinyl will just be able to stand up to the frequent cleaning better than removable vinyl, which might peel off the first time the mirror is washed.
Please share and pin this post! You can also post your project and tag the DIYDanielle team on Instagram @doityourselfdanielle!