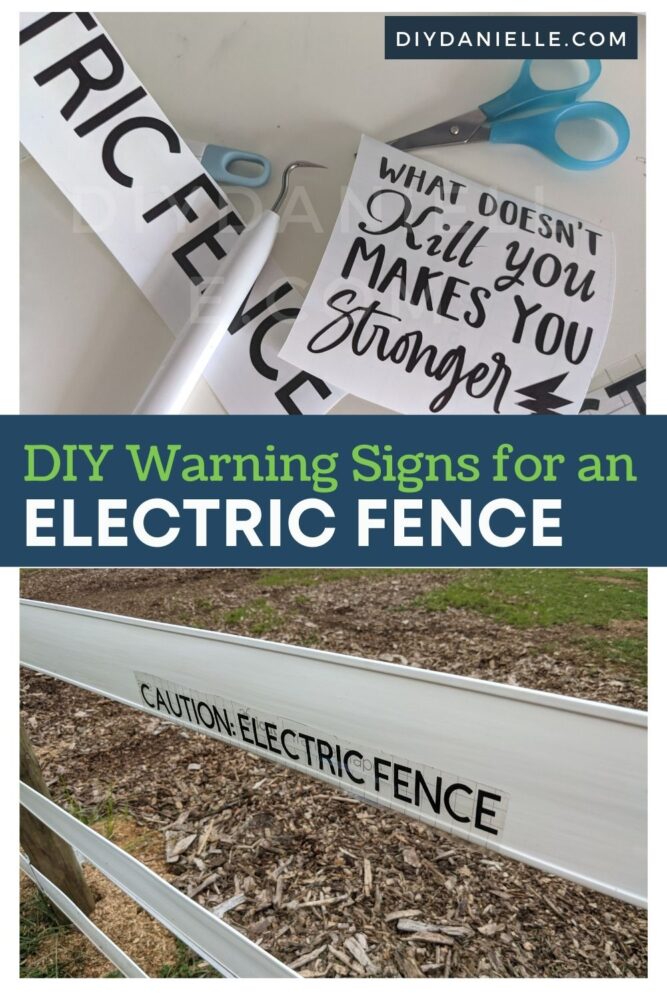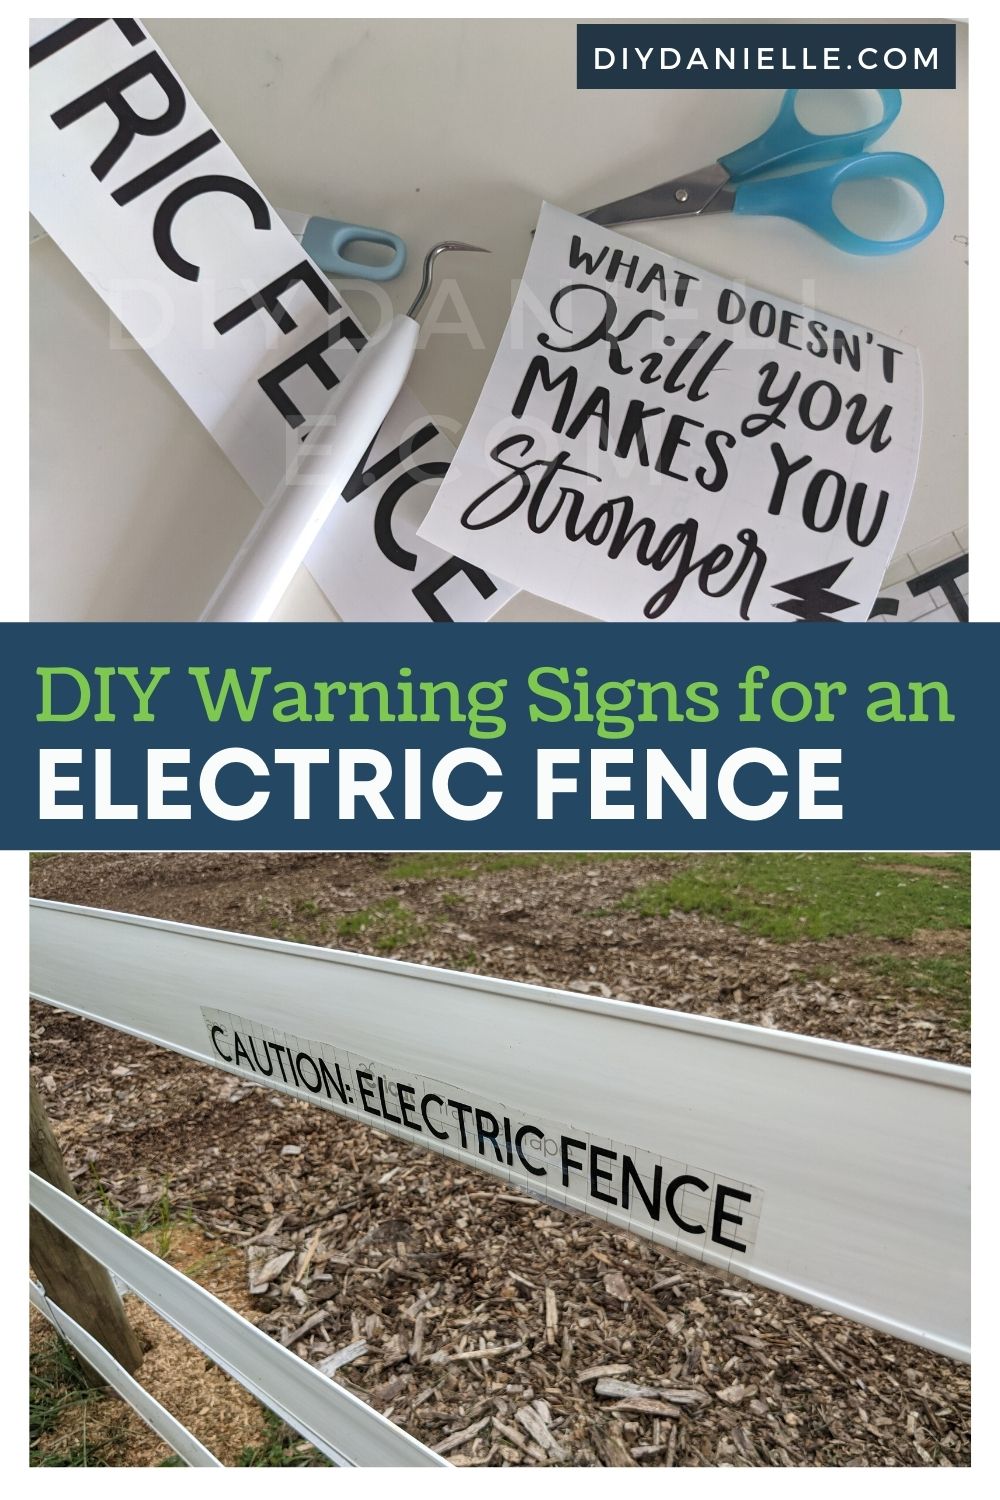
Learn how to make some simple, but fun warning signs for your electric fence using a Cricut machine. Get the free cut file!
We have an absolutely stunning flexible PVC fence that we put up for our horses. I purchased the Ramm Flex Vinyl used when someone was shutting down their boarding facility a year ago. It was rolled up in our shed until this past November when I adopted my rescue Morgan, Piper (who ended up being pregnant and ta-da I have two horses now). The fencing is excellent, but we keep our goats and sheep in the same field. They can scoot under the fence so we setup some electric tape along the bottom to keep them from escaping. A line of electric tape along the top is also useful if your horse leans against the flex vinyl as it keeps the horses from stretching it out; fortunately, both of my horses are very respectful of the fence so we haven’t needed to run an extra line of tape. Regardless, I wanted to put some warning signs for the electric fencing as we often have friends or family come with young kids, and it’s easy to forget about the electric fence and get zapped.
I made these simple signs to attach using permanent vinyl to the flex vinyl, but you could also print this and laminate it, or cut the vinyl to apply to a sign. You could even use Infusible Ink on metal plates and hang them from the fence posts. Here’s my guide to Infusible Ink if you’re new to it.
This post may contain affiliate links which may earn me commissions should you click through them and take certain actions. As an affiliate for Amazon, Cricut, xTool, Home Depot, and other sites, I earn from qualifying purchases. Please DIY carefully. View my full legal disclosures here.
The majority of my content is generated by me, as are 99% of the photos and videos, but I utilize technology for titles, descriptions, video editing out all of my ums, and occasionally for text overlay on images.
Please read the whole post so you don’t miss any important information!
I’m going to talk about how to make these for the flex vinyl fencing. If you opt to apply vinyl to a sign, you can apply it the same way to the sign, then mount the signs on the posts. Just make sure to use metal or wood that is treated so it won’t decay in the rain and snow. My first design, the simple Caution: Electric Fence SVG, is free on Design Space. If you want to mix in some funny signs too, I have those available in my store. I placed the funny and serious signs close to each other so nobody would get mixed up, thinking it was a joke. Look into your local laws about how close you need to hang warning signs on your electric fence.
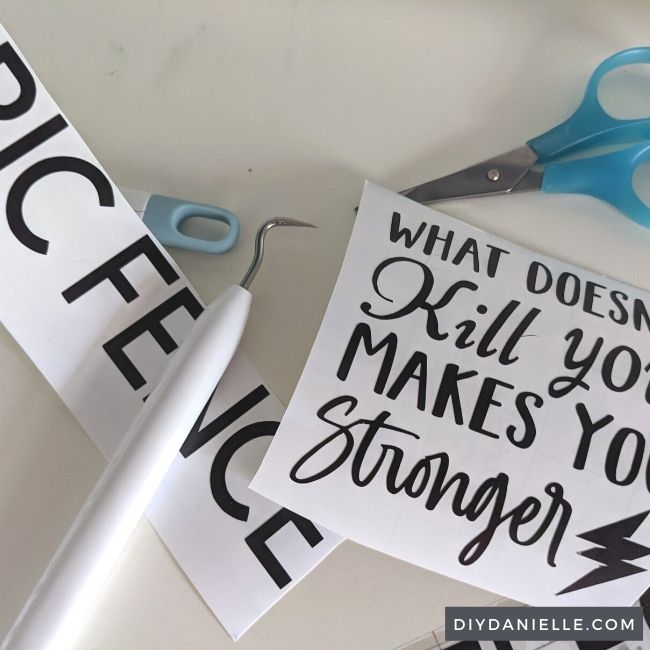
These are the fun SVGs that I used for part of the sign, but I also used some basic caution signs that I’ll link in the supplies below.
Supplies
- Free Simple Cut File for Caution: Electric Fence
- Get the Funny Electric Fence cut files, available on my store.
- Permanent Cricut Vinyl
- Cricut Transfer Tape
- Cricut Maker 3
Use the Discount Code DIYDANIELLE on cricut.com for 10% off any cutting machine or heatpress (no minimum). Excludes: materials/accessories/mystery boxes/etc. Applies to US/CA only, code expires 12/31/23.
Tutorial
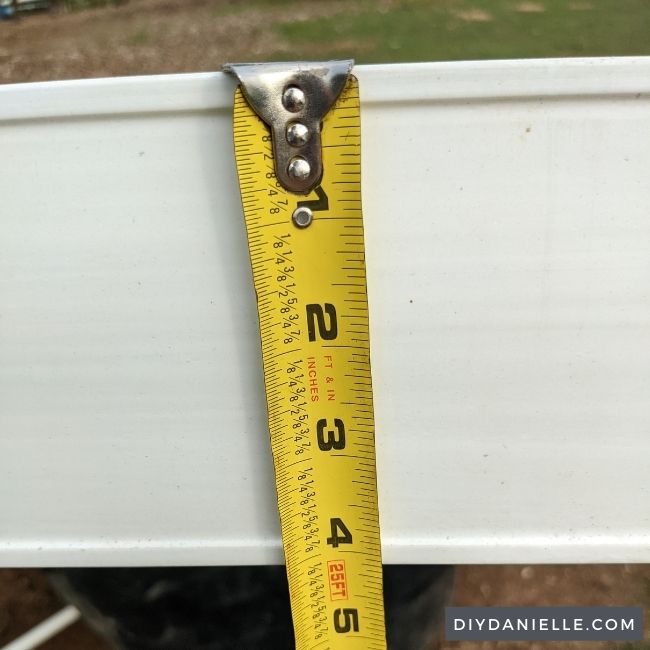
Pull up the Cut File for Caution: Electric Fence. If you’re using my other funny designs, you can upload the SVGs to Design Space as well. Resize for your fence. As you can see below, I needed to measure the height of my flex vinyl fence to make sure the design would fit. If you’re putting the design on a sign, you’ll measure that instead.
Once I resized my designs, I cut them on my Cricut using permanent vinyl. Permanent vinyl is the best option for outdoor projects. While it can still be peeled off something like this fencing, it’s less likely to peel off accidentally from weather-related wear and tear. So far this has held up great with the rain.
Once the Cricut machine cuts these, you’ll weed away the excess vinyl around your design.
Cut a piece of transfer tape the size of your design, remove its backing, and carefully place it on top of the weeded design. Keep the backing on your design until you get to your fence.
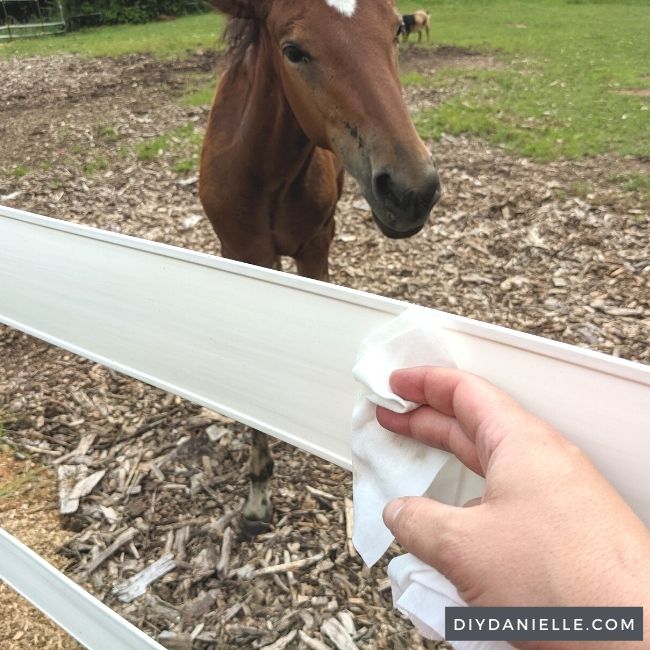
Don’t skip this step. Once you’re at the fence, you need to CLEAN THE SURFACE. Dry it or let it air dry. I used a cleaning wipe (which has alcohol) on it.
Once dry, you can peel the back off your design, then use the transfer tape to place it. Press on carefully to make sure all of the vinyl has stuck to the fence.
Carefully remove your transfer tape! You’re done. Repeat along your fence per local guidelines. I think I did approximately every 50′ and I paired each funny design with the “Caution” sign.
Again, if you don’t have vinyl fencing, you can always put the design on metal or a wood sign and attach to your fence posts!
Please share and pin this post! You can also post your project and tag the DIYDanielle team on Instagram @doityourselfdanielle!