

These DIY paper bookmarks are easy to make with the Cricut Maker 3 and Smart Sticker Cardstock. They make great party favors!
My youngest son’s birthday is in August and I wanted to put together some DIY birthday party favors that would fit with back to school. I also love favors that are useful and won’t take up lots of space. A book mark seemed like the perfect thing to make: I have been having so much fun playing with Cricut’s new Smart Sticker cardstock and I knew that making a bunch of bookmarks with it would be quick and easy!
Here’s how to make your own DIY paper bookmarks with the Cricut! These were favors for my son’s reptile themed party!
This post may contain affiliate links which may earn me commissions should you click through them and take certain actions. As an affiliate for Amazon, Cricut, xTool, Home Depot, and other sites, I earn from qualifying purchases. Please DIY carefully. View my full legal disclosures here.
The majority of my content is generated by me, as are 99% of the photos and videos, but I utilize technology for titles, descriptions, video editing out all of my ums, and occasionally for text overlay on images.
Please read the whole post so you don’t miss any important information!
DIY Paper Bookmark with the Cricut Maker 3
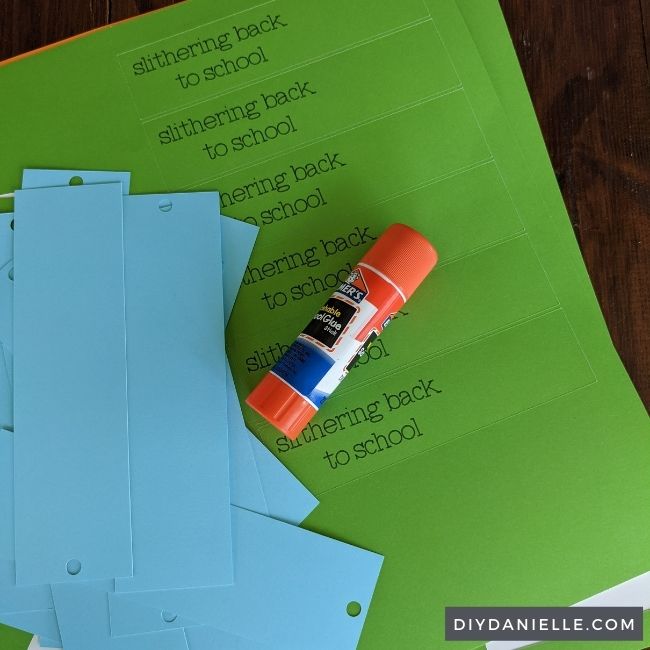
You can start with my Bookmark Design if you feel like it, or simply create a rectangle in Design Space. This design has (3) rectangles to cut out. The bottom rectangle should be regular cardstock, and the top two rectangles can either be Smart Sticker cardstock, or you can use regular cardstock and glue the pieces on. The Smart Sticker cardstock simply has a sticker backing that you can peel off to place your objects… it makes paper crafts a lot easier!
The writing on the top of the rectangle is done with Cricut pens, and the snake design was cut from the Smart Sticker cardstock as well.
Supplies:
- Cardstock in (2) different blues
- Cricut Smart Sticker Cardstock: Pastels, Bright Bow, White, Black
- Bookmark Design
- Cricut Maker 3
- Light Grip mat
- Cricut Pen, Black
- Yarn, string or twine
Use the Discount Code DIYDANIELLE on cricut.com for 10% off any cutting machine or heatpress (no minimum). Excludes: materials/accessories/mystery boxes/etc. Applies to US/CA only, code expires 12/31/23.
Tutorial:
Open the Bookmark Design. If you’re not into snakes, you can replace the graphic and text with whatever you want! Just make sure it still fits on the bookmark.
Cut with your Cricut. The bottom layer should be a thicker cardstock and the Cricut Maker will even cut the hole for the ribbon. When you get to the top rectangle, you’ll be prompted to place the Cricut pen in your housing so the machine can do the writing for you.
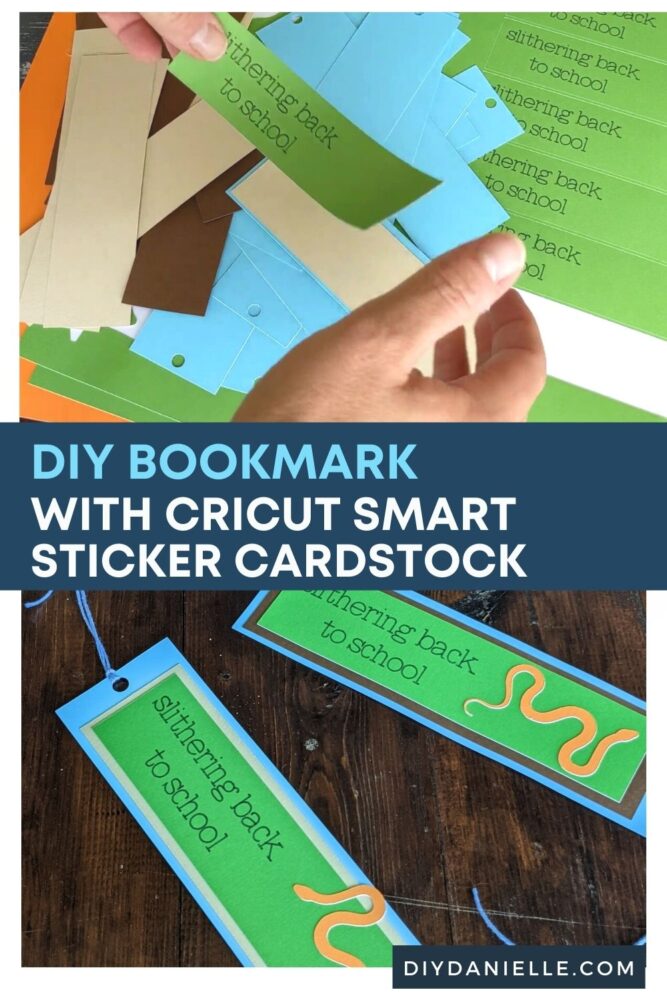
Once all of your layers have been cut, start assembling your bookmarks.
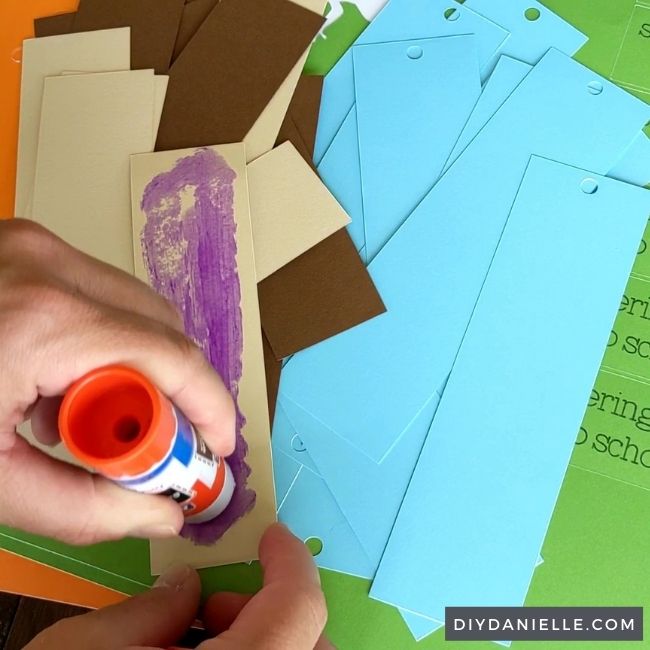
The blue is on the bottom. You’ll add the brown rectangle, then the green rectangle. If you’re using Smart Sticker Cardstock, this is as simple as peeling them off the smart paper and centering them on the blue cardstock. I used regular cardstock for my brown because I didn’t have smart paper in that color; regular cardstock can be attached using a glue stick.
Once the rectangles are all on, you can peel your snake design off your smart paper and pop it on top! If you opt for a different animal, use a plain silhouette. Intricate designs don’t transfer easily with the Sticker Cardstock.
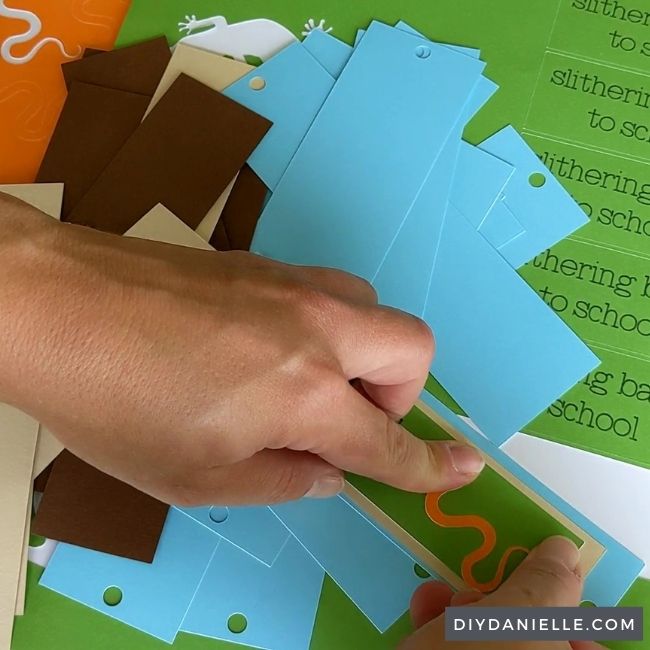
At this point, I just repeated the process for all of the bookmarks.
To finish, I cut a piece of embroidery thread for each bookmark and folding it in half. I pulled the folded end through the hole, then pulled the ends of the thread through the folded end.
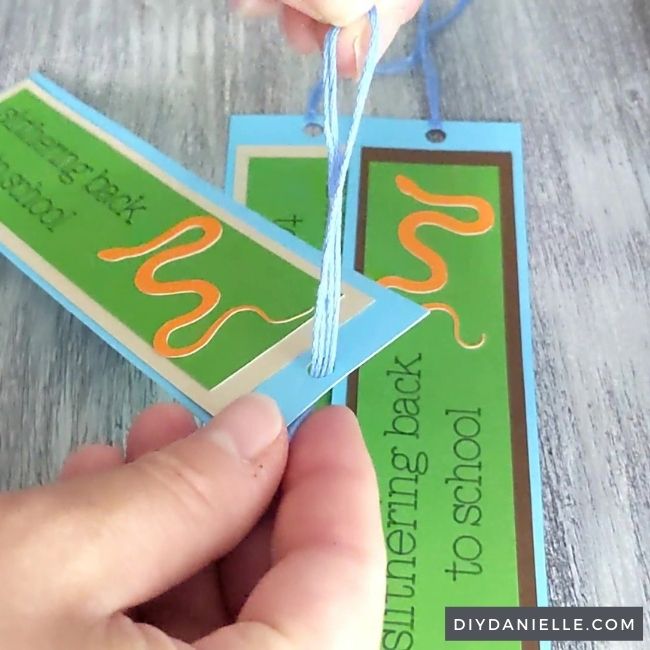
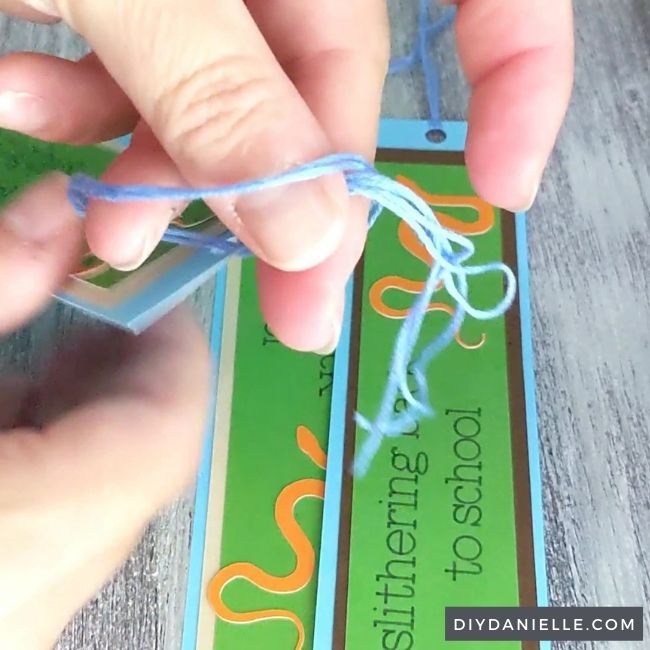
If you want a fluffier tassel, you can use more thread or yarn. You’ll just cut multiple pieces the same length and pull them through together.
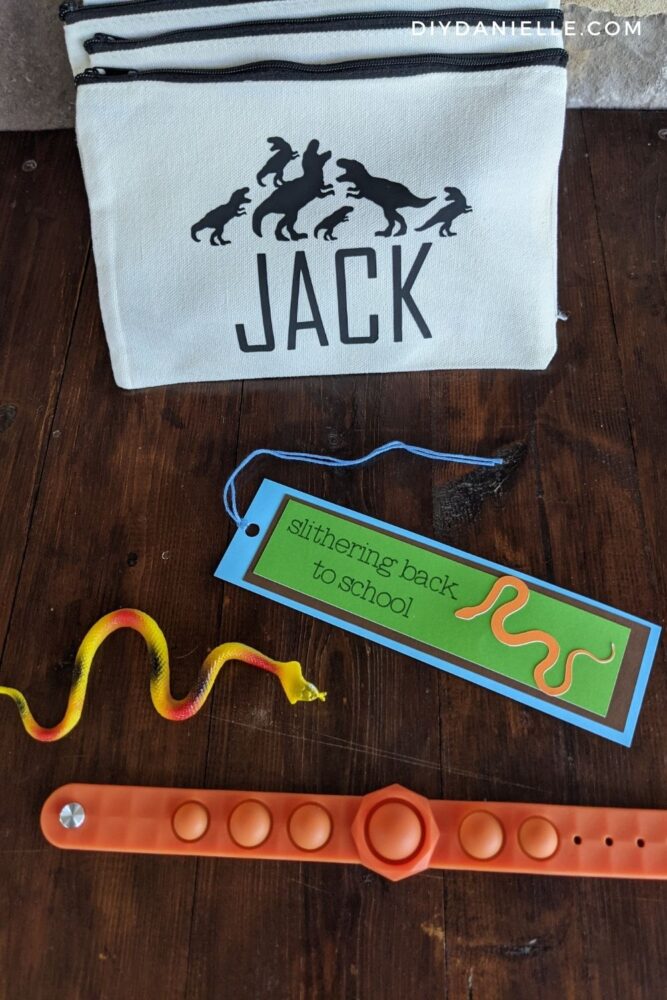
We had Reptile Invasion come out with snakes for the outdoor birthday party, so I went with some favors that revolved around snakes, the pandemic, and back to school. These DIY bookmarks were one of the things I added: I also made small zippered bags with each child’s name, a small snake toy, and a cloth children’s mask. I made a DIY paper banner as well.
Here’s the bundle of favors (minus the mask, that wasn’t finished yet when I took the photo). I LOVE how they came out! You can get the Fidget Bracelets (6 pk) and Blank Zippered Bags on Amazon (10 pk). I used iron on vinyl to put the kids names and some dinosaurs on each of the zippered bags. If you’re new to iron on, here’s a tutorial on how to apply iron-on vinyl.
Please share and pin this post! You can also post your project and tag the DIYDanielle team on Instagram @doityourselfdanielle!
DIY Bookmarks for Kids
Google Web Story: DIY Paper Bookmarks for Back to School